Google Slides is a popular tool for creating presentations, and it comes with several handy features, including image editing. One of the useful tricks is shaping your images. If you’ve ever wanted to turn a square image into a circle or rounded shape, Google Slides makes it easy to do. This guide will help you learn how to make a square image round step by step, without needing advanced design software.
Why You Might Want to Make an Image Round
There are several reasons why rounding an image in Google Slides can improve your presentation:
- Visual Appeal: Rounded images tend to look more polished and professional, giving your slides a sleek design.
- Focusing on a Subject: Circles naturally draw attention to the center, making the main part of the image stand out.
- Design Consistency: If you're using other round elements in your slides, using circular images helps maintain a cohesive design.
- Space Efficiency: Circular images often fit better in tight layouts, reducing unused space.
Whether you’re working on a business presentation or a personal
Also Read This: How to Remove Getty Images Watermark in Photoshop for a Clean Image
Step-by-Step Guide for Shaping Your Image
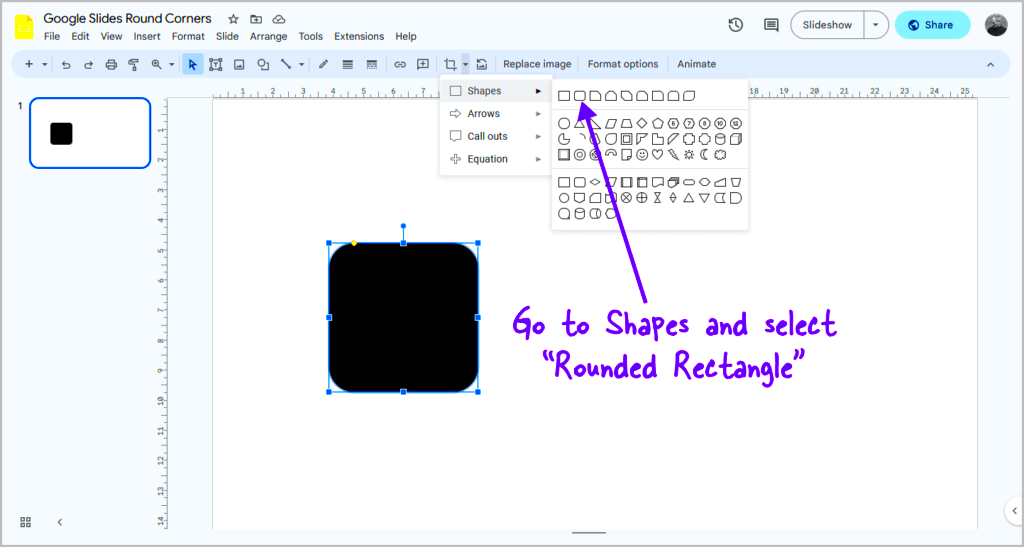
Making a square image round in Google Slides is simple, but following a step-by-step process ensures you get the perfect result. Here’s how to shape your image using Google Slides:
- Insert the Image: First, insert the square image into your slide by clicking Insert in the top menu, then selecting Image and choosing the location of the image (upload from your computer or search the web).
- Select the Image: Once your image is inserted, click on it to select it. This will bring up the image toolbar options.
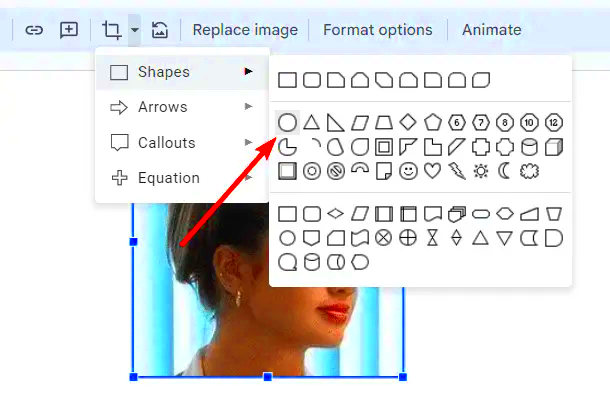
- Use the Crop Tool: Click on the Crop icon at the top of your screen. This allows you to adjust the shape of your image.
- Mask the Image: Instead of cropping traditionally, hover over the small arrow next to the crop icon. You’ll see a dropdown called Mask Image. From here, scroll down and select the circle shape to make your image round.
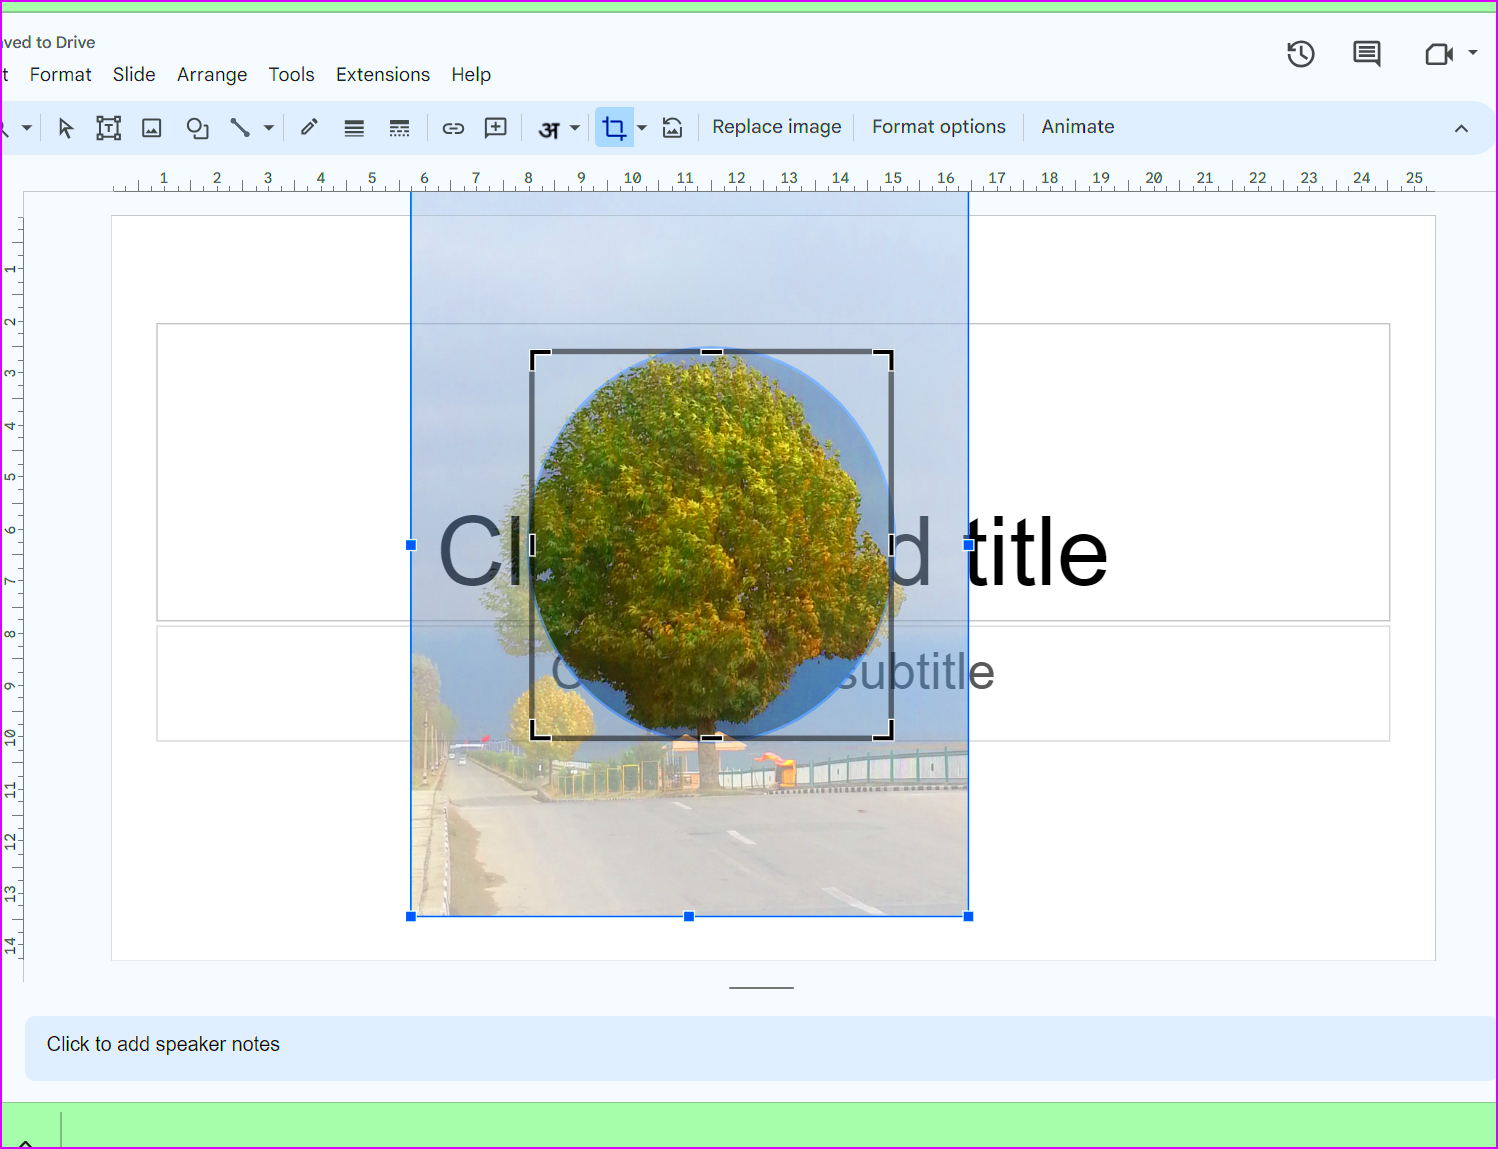
- Resize and Adjust: After applying the circle mask, you can resize and move the image by clicking and dragging its corners. You can also adjust the position within the circle to focus on the key part of the image.
- Final Touches: If needed, apply other adjustments like borders or shadows to enhance the image’s look. You can find these options in the Format Options panel.
Following these steps allows you to create a perfectly shaped image that fits seamlessly into your presentation design.
Also Read This: Displaying TIFF Images in Browsers Correctly
Additional Tips for Image Formatting in Google Slides
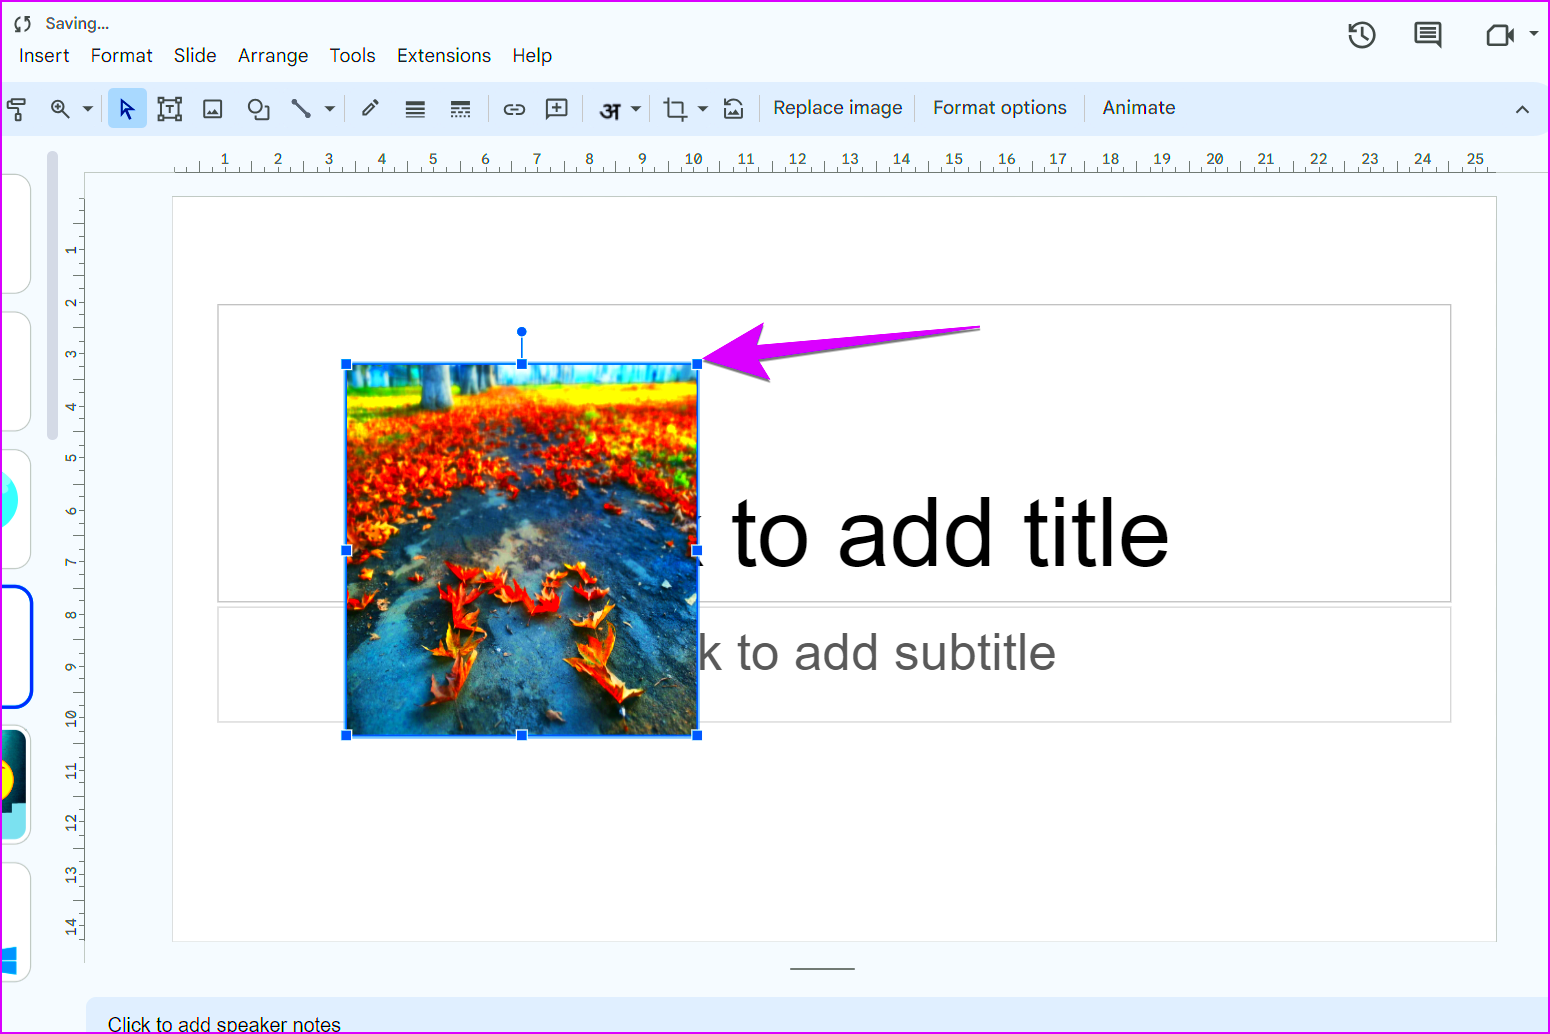
While making an image round is a neat trick, there are other formatting options in Google Slides that can help you customize images even further. Here are a few tips to enhance your images:
- Adjust Transparency: You can make your image partially transparent by going to Format Options > Adjustments > Transparency. This is useful when overlaying text or other images.
- Apply Shadows and Reflections: To add more depth to your image, try using the shadow or reflection effects found under the Format Options panel. Shadows can make your image pop, while reflections give a modern, sleek look.
- Rotate Images: You don’t always have to keep your image upright. Rotating images can add some creative flair. Use the rotate handle at the top of the image, or enter a specific angle in the Format Options.
- Use Borders: Adding a border to your image can help it stand out. You can control the border color, thickness, and style (solid, dashed, etc.) using the toolbar.
Experimenting with these formatting tools can help make your images more engaging and better suited to the overall tone of your presentation.
Also Read This: How to Create YouTube Shorts Ads – A Step-by-Step Guide to Marketing with YouTube Shorts
Common Mistakes to Avoid When Editing Shapes
While Google Slides makes it easy to edit image shapes, there are some common mistakes to be aware of that can affect the quality of your presentation:
- Using the Wrong Shape: Make sure you choose a shape that fits your image. Sometimes forcing a circle onto an image that is too wide or too tall may crop out important parts.
- Not Adjusting the Position: After applying the circle mask, check if the important part of the image is centered. You can double-click the image to reposition it inside the shape.
- Overloading with Effects: Adding too many effects like shadows, reflections, and borders can overwhelm your audience. Try to keep it simple and only use effects that enhance the overall look.
- Ignoring Image Quality: Ensure the image quality doesn’t get reduced. Using low-resolution images can make them look pixelated when reshaped, which can hurt the professionalism of your presentation.
Being mindful of these mistakes can save you time and help you create more polished presentations.
Also Read This: Here’s How to Get Shutterstock Images for Free Without Watermark
FAQ: Troubleshooting Common Issues
While shaping images in Google Slides is generally straightforward, you might run into a few common issues. Here are some frequently asked questions and solutions:
- Why is my image not perfectly round?
This can happen if the image you’re using isn’t a perfect square. Google Slides will try to fit the image into the circular mask, which can result in an oval shape if the image is rectangular. To fix this, try cropping the image into a square before applying the circle mask.
- How can I center the image inside the circle?
If the most important part of your image isn't centered after applying the circle mask, you can double-click the image. This will allow you to drag the image inside the shape to reposition it. Make sure the focus point is in the center before finalizing the shape.
- Why is the image quality reduced after reshaping?
Reshaping or resizing an image can sometimes make it look pixelated or blurry, especially if the original image is of low resolution. Always use high-resolution images to avoid quality loss when applying masks or resizing. If the quality drops, try using the "Reset Image" option and starting over with a higher-resolution image.
- How do I remove the circle shape and revert to the original image?
To remove the shape, select the image, click on the Crop tool again, and choose the rectangle option from the "Mask Image" menu. This will return your image to its original square or rectangular shape.
- Can I apply other shapes besides circles?
Yes, Google Slides offers many other shapes like triangles, stars, or hearts. Simply follow the same steps as you would for a circle but choose a different shape from the "Mask Image" menu.
Conclusion: Simplifying Image Shaping in Google Slides
Shaping your images in Google Slides, especially turning a square image into a round one, is easy and enhances the visual appeal of your presentation. By using the built-in tools and following the simple steps outlined here, you can create polished, professional-looking slides without needing any advanced software. Keep experimenting with different shapes and formatting options to make your presentations stand out!
 admin
admin


