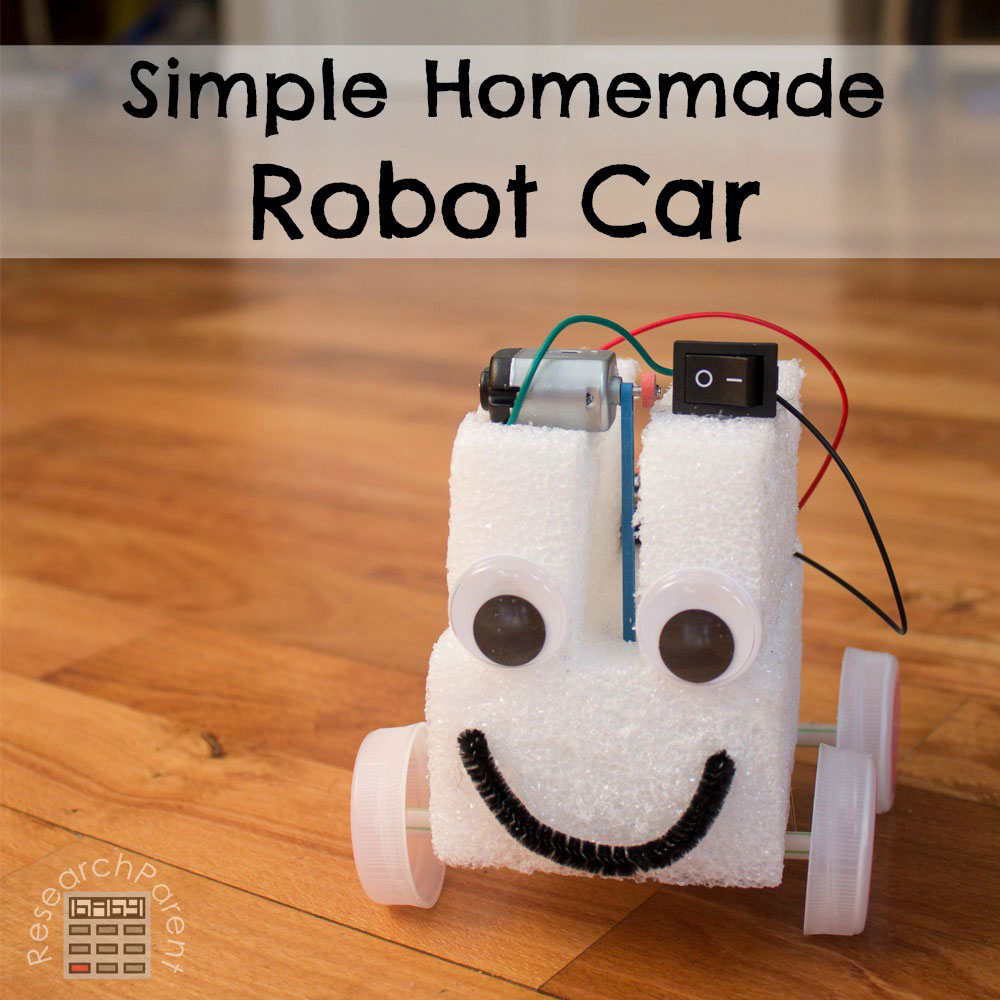
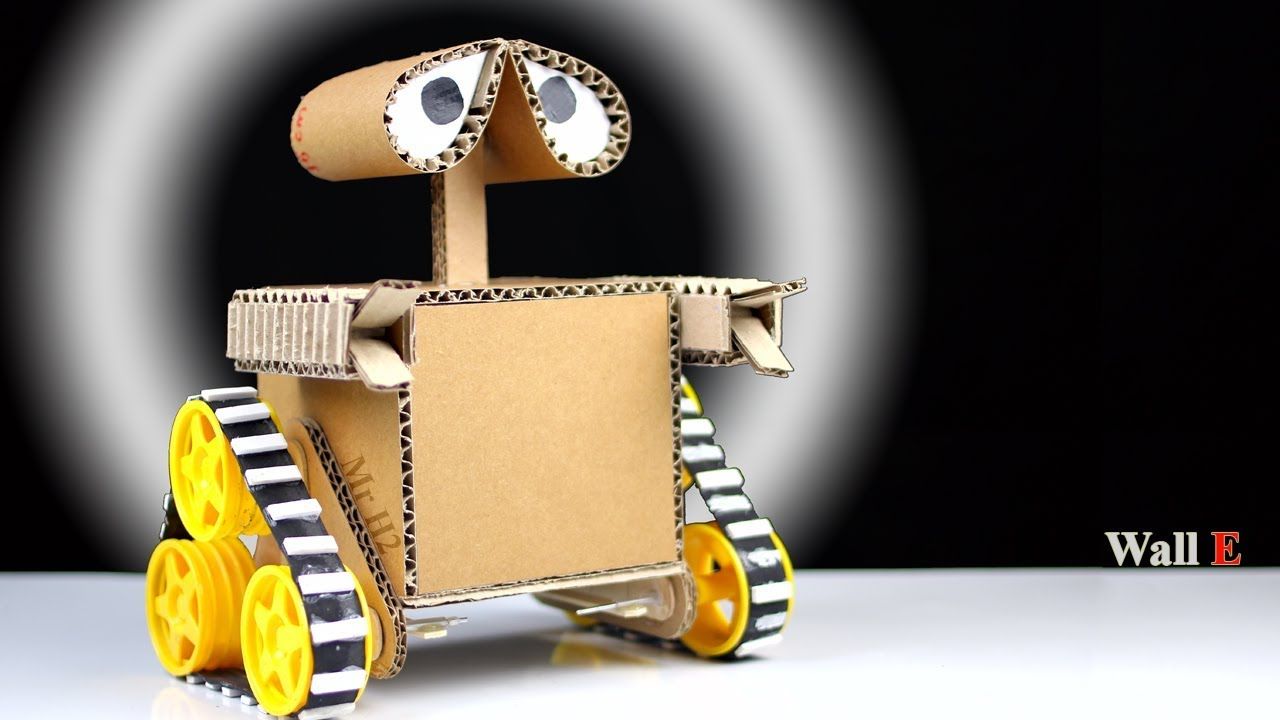
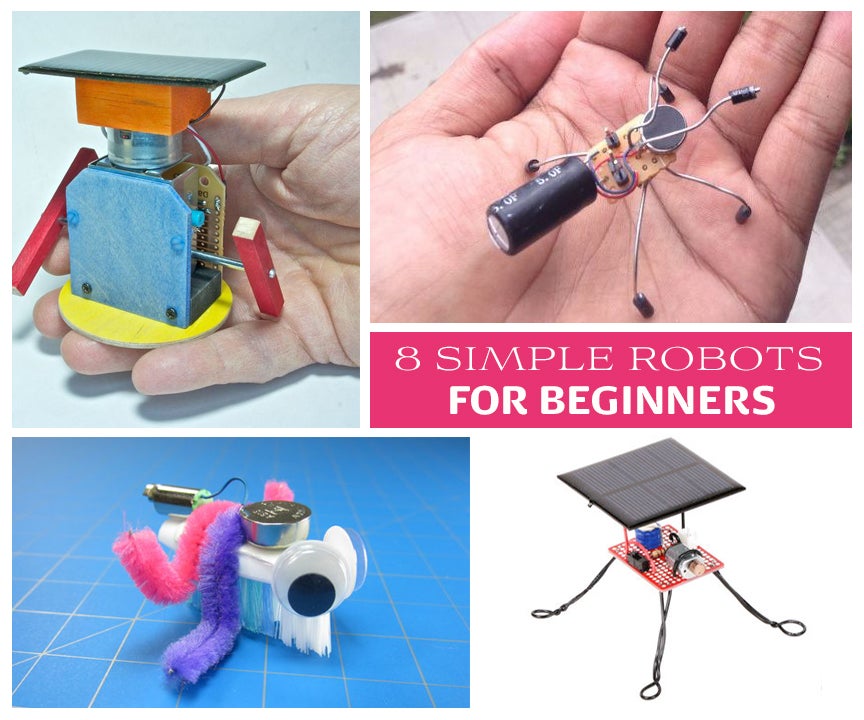
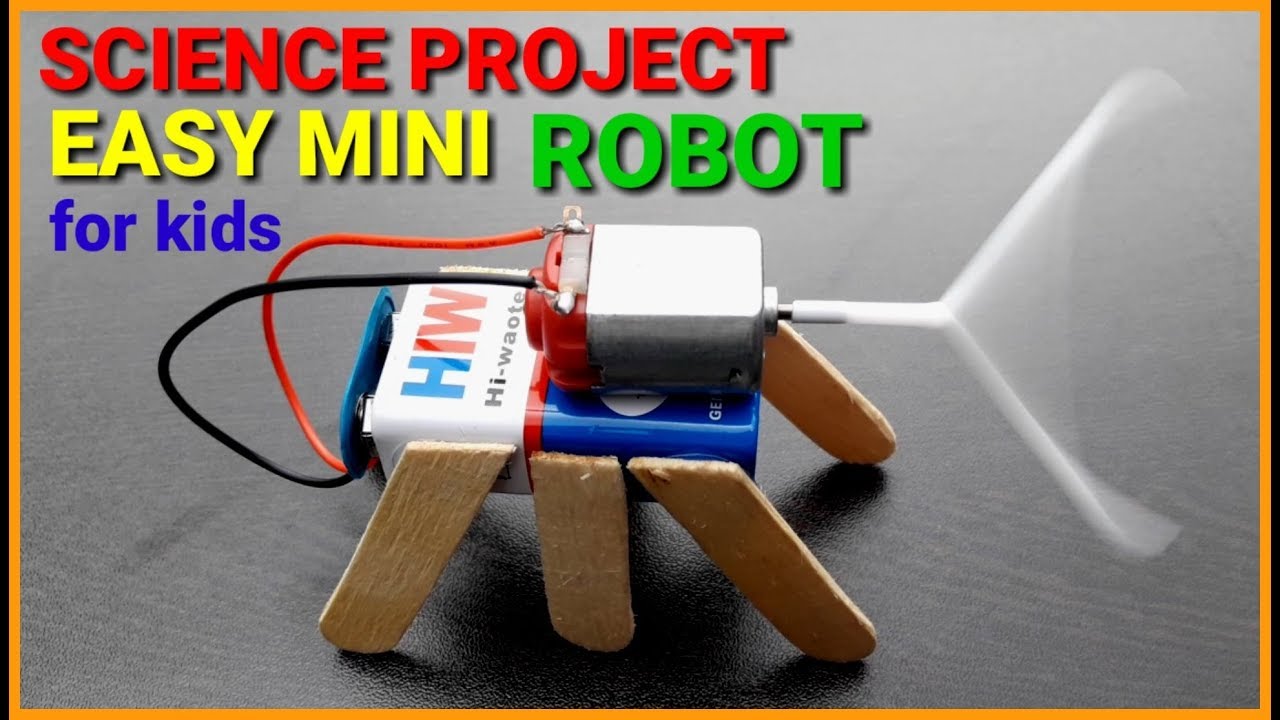
Building a simple robot at home can be an incredibly rewarding project! Not only does it engage your creativity and problem-solving skills, but it also serves as an excellent introduction to robotics and electronics. Whether you’re a complete beginner or someone with a bit of experience, this guide will walk you through the steps to create a basic robot using materials you can easily find at home or at your local store. So, let’s get those gears turning and dive into this fun DIY adventure!
Materials Needed

Before jumping into the construction of your robot, it’s essential to gather all the necessary materials. To keep things straightforward, we’ll focus on commonly available items that won’t break the bank. Here's a list of what you'll need:
- 2 DC motors: These will be the driving force behind your robot's movement.
- Chassis: You can use a plastic or cardboard base, or even a small toy car chassis for structure.
- Wheels: Get two rubber or plastic wheels that fit snugly onto the DC motors. Make sure they are sturdy!
- Battery pack: A pack that holds AA batteries will work well to power your robot.
- Wires: A few insulated wires to connect the components. Make sure they are of different colors for ease of identification.
- Switch: A simple toggle switch allows you to turn the robot on and off easily.
- Adhesives: Glue, tape, or screws to secure your components in place.
- Tools: A screwdriver, scissors, and possibly a soldering iron if you want to ensure more robust connections.
Once you have all these materials gathered, you’ll be well on your way to creating your very own simple robot! Let’s get started on the fun part of putting everything together.
Step-by-Step Instructions

Building a simple robot at home can be an exciting and educational project! Here’s a clear, step-by-step guide to set you on the right path.
- Gather Your Materials: You'll need a few basic components. Here’s a quick list:
- A small chassis (can be made from cardboard or a plastic base)
- Two DC motors with wheels
- A servo motor (for tasks like steering or lifting)
- An Arduino board (like Arduino Uno)
- A breadboard and jumper wires
- Batteries (to power the whole setup)
- Optional: Sensors (Ultrasonic sensor for obstacle detection, etc.)
Programming the Robot

Now that your robot is physically assembled, it’s time to dive into the world of programming! This is where you tell your robot what to do and how to behave.
Here’s how to get started:
- Install the Arduino IDE: If you haven't done so already, download and install the Arduino Integrated Development Environment (IDE) on your computer.
- Connect Your Arduino: Use a USB cable to connect your Arduino board to your computer. This will allow you to upload code directly to the board.
- Write Your First Sketch: Open the Arduino IDE and create a new sketch. Start with a simple code to control the motors. For example:
- Upload the Code: Click on the upload button in the Arduino IDE to transfer the code to your robot. You should see a progress bar and it will let you know when the upload is complete.
- Test Your Robot: Once the code has been uploaded, your robot should start moving according to the program you wrote! Make adjustments in the code if needed.
void setup() { pinMode(9, OUTPUT); // Set pin for one motor pinMode(10, OUTPUT); // Set pin for the next motor } void loop() { digitalWrite(9, HIGH); // Turn motor on digitalWrite(10, LOW); // Turn other motor off delay(1000); // Run for 1 second digitalWrite(9, LOW); // Turn motor off digitalWrite(10, HIGH); // Turn the other motor on delay(1000); // Run for another second } And there you have it! With some patience and creativity, you’ve built and programmed a simple robot! Keep tinkering for even more fun and learning!
5. Testing Your Robot

Once you've assembled your DIY robot, it’s time to put it to the test! Testing is a crucial step that not only helps you ensure everything is working properly but also allows you to enjoy the fruits of your labor. Here's how to go about it:
- Initial Check: Before powering up, double-check all connections. Make sure wires are securely attached, and components are in their correct positions. Trust me, this small step can save you hours of troubleshooting!
- Power It Up: Connect your robot to the power source. If it's battery-operated, make sure to insert the batteries correctly. Watch for any unusual sounds or smoke—if you see or hear anything odd, turn it off immediately!
- Run Basic Functions: Test each of your robot's movements or actions individually. For example, if you built a wheeled robot, try moving it forward, backward, and turning. This will help identify problems with specific components.
- Test Software (if applicable): If your robot involves coding or software, run your code and observe how it behaves. Make sure there are no glitches or errors in the programming.
- Document Observations: Jot down any issues you encounter or functionalities that don’t work as expected. This documentation will be invaluable for troubleshooting later.
Finally, don't forget to enjoy yourself during the testing phase! It's a chance to witness your creation in action. Once you're satisfied everything is functioning as it should, you're well on your way to making enhancements and adjustments!
6. Common Mistakes to Avoid
Embarking on your DIY robot-making journey can be exciting, but it’s easy to trip up on some common pitfalls. Here’s a rundown of mistakes you definitely want to avoid:
- Ignoring the Basics: Starting without a clear understanding of the components you need is a recipe for disaster. Make sure to familiarize yourself with each part and its function.
- Skipping the Planning Stage: Jumping straight into assembly can lead to chaotic wiring and inefficient setups. Spend some time sketching out a plan before you begin!
- Poor Wiring: Tangles and messy wires can lead to shorts and component failures. Keep your wiring neat and clearly label connections if possible.
- Overloading the Power Supply: It’s tempting to use a higher voltage power source for speed, but this could damage your components. Always check the specifications for each part.
- Not Testing Iteratively: Avoid testing only at the end. Regularly test as you build to catch and correct mistakes early on.
- Neglecting Safety Precautions: Always be cautious when dealing with electrical components. Disconnect power when making adjustments and wear safety glasses if needed!
Learning from others’ mistakes can save you time and frustration. By avoiding these common missteps, you'll be well on your way to creating an amazing robot!
How to Make a Simple Robot at Home – Easy DIY Guide
Creating a simple robot at home can be an exciting and educational project. With a few basic materials and some simple steps, you can build a robot that can perform tasks and provide insight into the fundamentals of robotics. This guide will walk you through the necessary components, assembly, and programming involved in building a basic robot.
Materials Needed
- Microcontroller: Arduino Uno or Raspberry Pi
- Chassis: A pre-built robot chassis or any lightweight platform
- Motors: Two DC motors or servo motors for movement
- Wheels: Compatible wheels for the motors
- Power Source: Battery pack or rechargeable batteries
- Wires: Jumper wires for connections
- Sensors (optional): Ultrasonic sensor for obstacle detection
Step-by-Step Assembly
- Assemble the Chassis: Attach the motors to the chassis and fix the wheels onto the motors.
- Connect the Microcontroller: Mount the microcontroller on the chassis and connect it to the motors using jumper wires.
- Power Up: Connect the battery pack to the microcontroller and motors to provide power.
- Add Sensors: If using sensors, connect them to the microcontroller for feedback on the environment.
Programming the Robot
To bring your robot to life, you will need to write a basic program using Arduino IDE or another programming tool. The program should control the motors, process sensor data, and respond to inputs.
| Action | Code Snippet |
|---|---|
| Move Forward | digitalWrite(motorPin, HIGH); |
| Turn Left | digitalWrite(leftMotorPin, HIGH); |
| Sensors Feedback | int distance = sonar.ping(); |
With these steps, you can successfully build and program a simple robot at home. This project not only enhances creativity but also serves as a great introduction to robotics and programming.
Conclusion
Building a simple robot at home is an achievable project that can spark interest in technology and engineering, fostering creativity and problem-solving skills.
 admin
admin


