Have you ever gazed up at the night sky and dreamed of launching your own rocket? Well, you’re in luck! This guide will take you through the exciting process of building a simple rocket at home. It’s a fun project that combines science, creativity, and a bit of engineering. Plus, you’ll get to impress your friends with your very own launch! So, let’s get started on this thrilling journey.
Materials Needed for Building Your Rocket

Before we blast off into the construction phase, let’s gather the necessary materials. Here’s a handy list to ensure you have everything you need:
- Plastic Bottle: A standard 1-liter soda bottle works perfectly.
- Water: This will be your propellant, so have a bottle ready.
- Cork: A cork that fits snugly in the bottle opening to hold in the pressure.
- Air Pump: A bike pump or any hand pump that can connect to your cork.
- Cardboard: To create fins that help stabilize your rocket during flight.
- Scissors: For cutting out the fins and any other parts you might need.
- Tape or Glue: To attach the fins securely to your rocket.
- Safety Goggles: Always prioritize safety when launching your rocket.
Here’s a quick rundown of why each item is essential:
- Plastic Bottle: Acts as the rocket body and holds the water and air pressure.
- Water: When combined with air pressure, it provides the thrust needed to propel your rocket.
- Cork: Seals the bottle to build up pressure before launch.
- Air Pump: Creates the pressure inside the bottle that will launch your rocket.
- Cardboard: The fins help stabilize your rocket in the air, ensuring it flies straight.
- Scissors: Necessary for cutting the fins and any other adjustments needed.
- Tape or Glue: Important for constructing a solid rocket that can withstand launch.
- Safety Goggles: Protect your eyes as your rocket takes flight!
Once you have these materials ready, you’re well on your way to building your very own rocket. Remember, preparation is key, and ensuring you have everything on hand will make the process smooth and enjoyable. Get excited, because soon you'll see your creation soar into the sky!
Also Read This: How to Find Unique and Cultural Content for Kids on Dailymotion
3. Step-by-Step Instructions for Rocket Construction
Welcome to the exciting part of our guide—building your very own rocket! Grab your materials and let’s get started. Follow these step-by-step instructions to ensure a smooth construction process.
Materials You'll Need:
- Empty plastic soda bottle (1-2 liters)
- Cardboard or poster board (for fins)
- Scissors
- Tape or glue
- Water
- Baking soda and vinegar (for propulsion)
- Safety goggles
Step 1: Prepare the Bottle
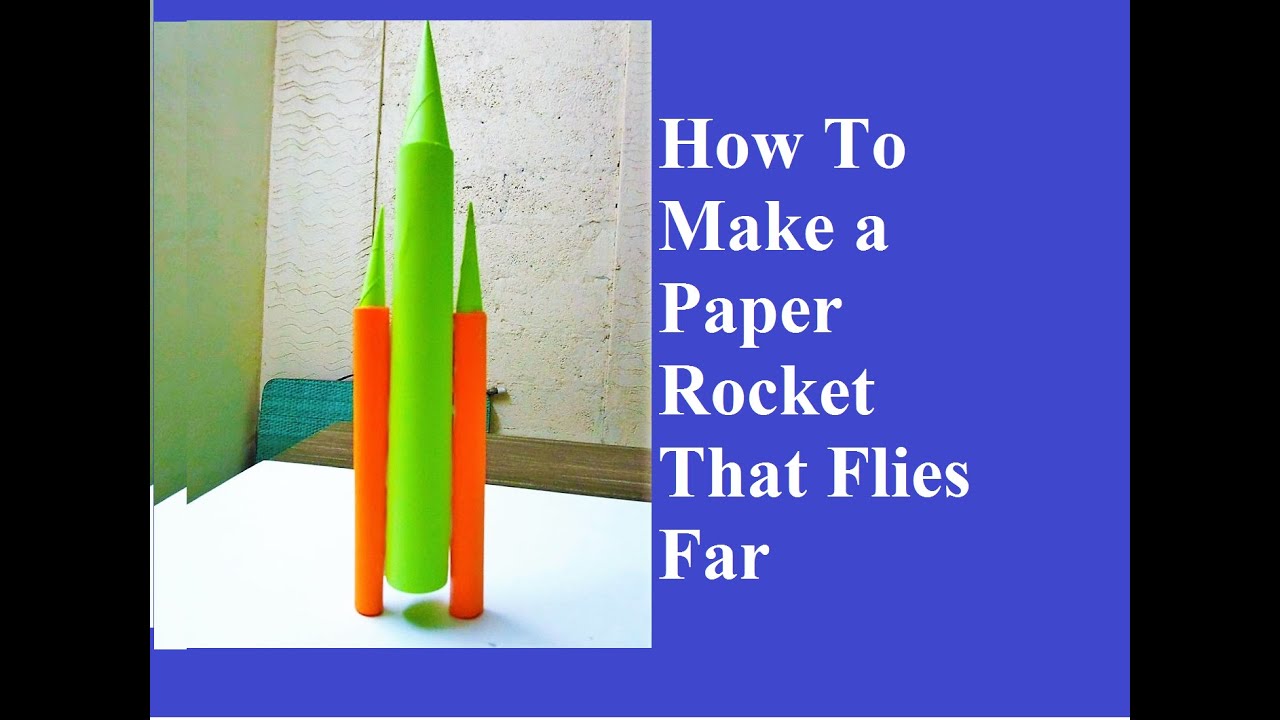
First, take your empty soda bottle and clean it out thoroughly. Make sure there’s no residue left inside. This bottle will act as the main body of your rocket.
Step 2: Create the Rocket Fins
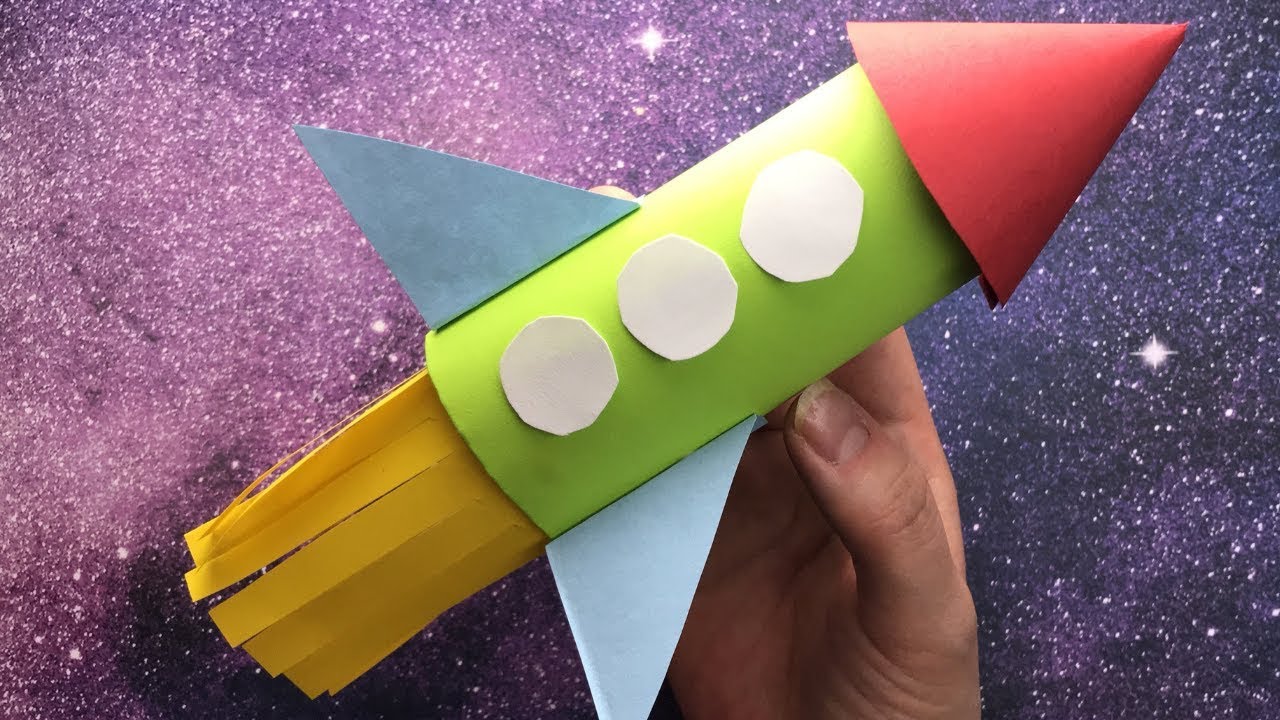
Using your cardboard or poster board, cut out four fins. Each fin should be roughly 6 inches long and 3 inches wide. They don’t have to be perfect, but try to keep them uniform in size. Attach them to the bottom of the bottle using tape or glue, ensuring they’re evenly spaced out. This will help stabilize your rocket during flight.
Step 3: Make the Nose Cone
Next, let’s make the rocket’s nose cone. Take a piece of cardboard and cut it into a circle about 6 inches in diameter. Cut a slit halfway to the center and overlap the edges to form a cone shape. Secure it with tape. Attach this cone to the top of the bottle to give your rocket that classic look.
Step 4: Fill With Water
Now it’s time to prepare the rocket for launch. Fill the soda bottle about a third of the way with water. This water will be part of the propulsion system when you get to the launch stage.
Step 5: Prepare the Propellant
For our propellant, we’ll use baking soda and vinegar. In a small container, mix about 2 tablespoons of baking soda with a little vinegar to create a fizzing reaction. This mixture will serve as our fuel. Be ready to quickly pour this into the bottle later!
Step 6: Launch Time!
Find an open outdoor space for your launch. Place the rocket upside down, with the bottle opening on the ground. Before you’re ready to launch, add the baking soda and vinegar mixture into the bottle, quickly seal it with a cork or the bottle cap, and step back. Watch as your rocket takes flight!
Also Read This: Your Go-To Platform for DIY and Educational Content: Dailymotion
4. Safety Precautions to Consider
While building and launching rockets can be a thrilling experience, safety should always come first. Here are some essential safety precautions to keep in mind:
Wear Safety Goggles: Always wear safety goggles during the launch to protect your eyes from any unexpected splashes or debris.
Choose the Right Launch Site: Ensure you launch your rocket in an open area away from buildings, trees, and power lines. A large, flat, and grassy field is ideal.
Supervise Children: If kids are involved in the rocket-building process, ensure an adult supervises the activity closely. Explain the importance of safety and following instructions.
Use the Right Propellants: Always stick to the recommended materials for propulsion, like baking soda and vinegar. Avoid using any flammable or dangerous substances.
Keep a Safe Distance: After launching the rocket, stand back at least 10 feet to avoid any potential hazards from the rocket's flight path.
Check Weather Conditions: Windy days can affect your rocket's flight. Always check the weather and avoid launching in high winds or storms.
By following these safety precautions, you’ll ensure that your rocket-building adventure is as safe as it is fun. Now, are you ready to launch your creation into the sky? Let’s make it happen!
Also Read This: Is Dailymotion Safe from Viruses in 2020? How to Stay Protected
5. Launching Your Rocket: Tips for Success
Launching your rocket is the most thrilling part of the entire process! It's where all your hard work comes to fruition, and seeing your creation soar into the sky is incredibly rewarding. Here are some tips for a successful launch:
- Choose the Right Location: Find an open area away from buildings, trees, and power lines. Parks or fields are ideal. Make sure the weather is clear and there's minimal wind to ensure a stable launch.
- Check the Launch Pad: Ensure that your launch pad is stable and level. This stability is crucial for a straight ascent. Sometimes, a little sandbag can do wonders!
- Safety First: Always wear safety goggles and make sure spectators are at a safe distance, usually at least 15 feet away from the launch pad. Safety should be your top priority.
- Countdown: Build anticipation by counting down from 5 before you ignite the rocket. This not only adds excitement but also gives everyone time to prepare for the launch.
- Observe the Engine: Pay close attention to the engine as you ignite it. If you notice any irregularities, be ready to abort the launch. Safety comes first!
After ensuring everything is set, take a deep breath, and prepare for lift-off. Enjoy the moment your rocket leaves the ground; it’s a spectacle!
6. Common Mistakes and How to Avoid Them
Even the most seasoned rocket builders make mistakes. But don’t worry; learning from them is part of the fun! Here are some common mistakes and tips on how to steer clear of them:
| Mistake | How to Avoid |
|---|---|
| Insufficient Glue or Tape | Ensure all parts are securely attached. Use high-quality adhesive and double-check all joints before launch. |
| Poor Weight Distribution | Test the balance of your rocket before launch. Adjust the weight by adding or removing materials as needed. |
| Ignoring Weather Conditions | Always check weather forecasts. Avoid launching in windy conditions or during rain. |
| Not Following Safety Protocols | Always prioritize safety by gathering a group to discuss procedures and ensure everyone is following the rules. |
| Not Testing Before Launch | Conduct a few test launches using smaller models to practice and identify any issues with your design. |
By keeping these common mistakes in mind, you’ll increase your chances of a successful launch. Remember, every failure is just a stepping stone toward mastering the art of rocket building!
 admin
admin


