Have you ever stared up at the night sky and wondered what it would be like to touch the stars? DIY rocket making is a fantastic way to engage your creativity and scientific curiosity right in your backyard! Whether you’re a seasoned hobbyist or a curious beginner, building your own rocket can be a thrilling adventure. Plus, it’s a great project for both kids and adults, blending science, engineering, and fun. Let’s take a closer look at how you can embark on your own DIY rocket journey!
Materials Needed for Building a Rocket
To get started on your DIY rocket project, you'll need some essential materials. Don't worry! Most of these items are easy to find or even have lying around your home. Here’s a handy list of what you'll need:
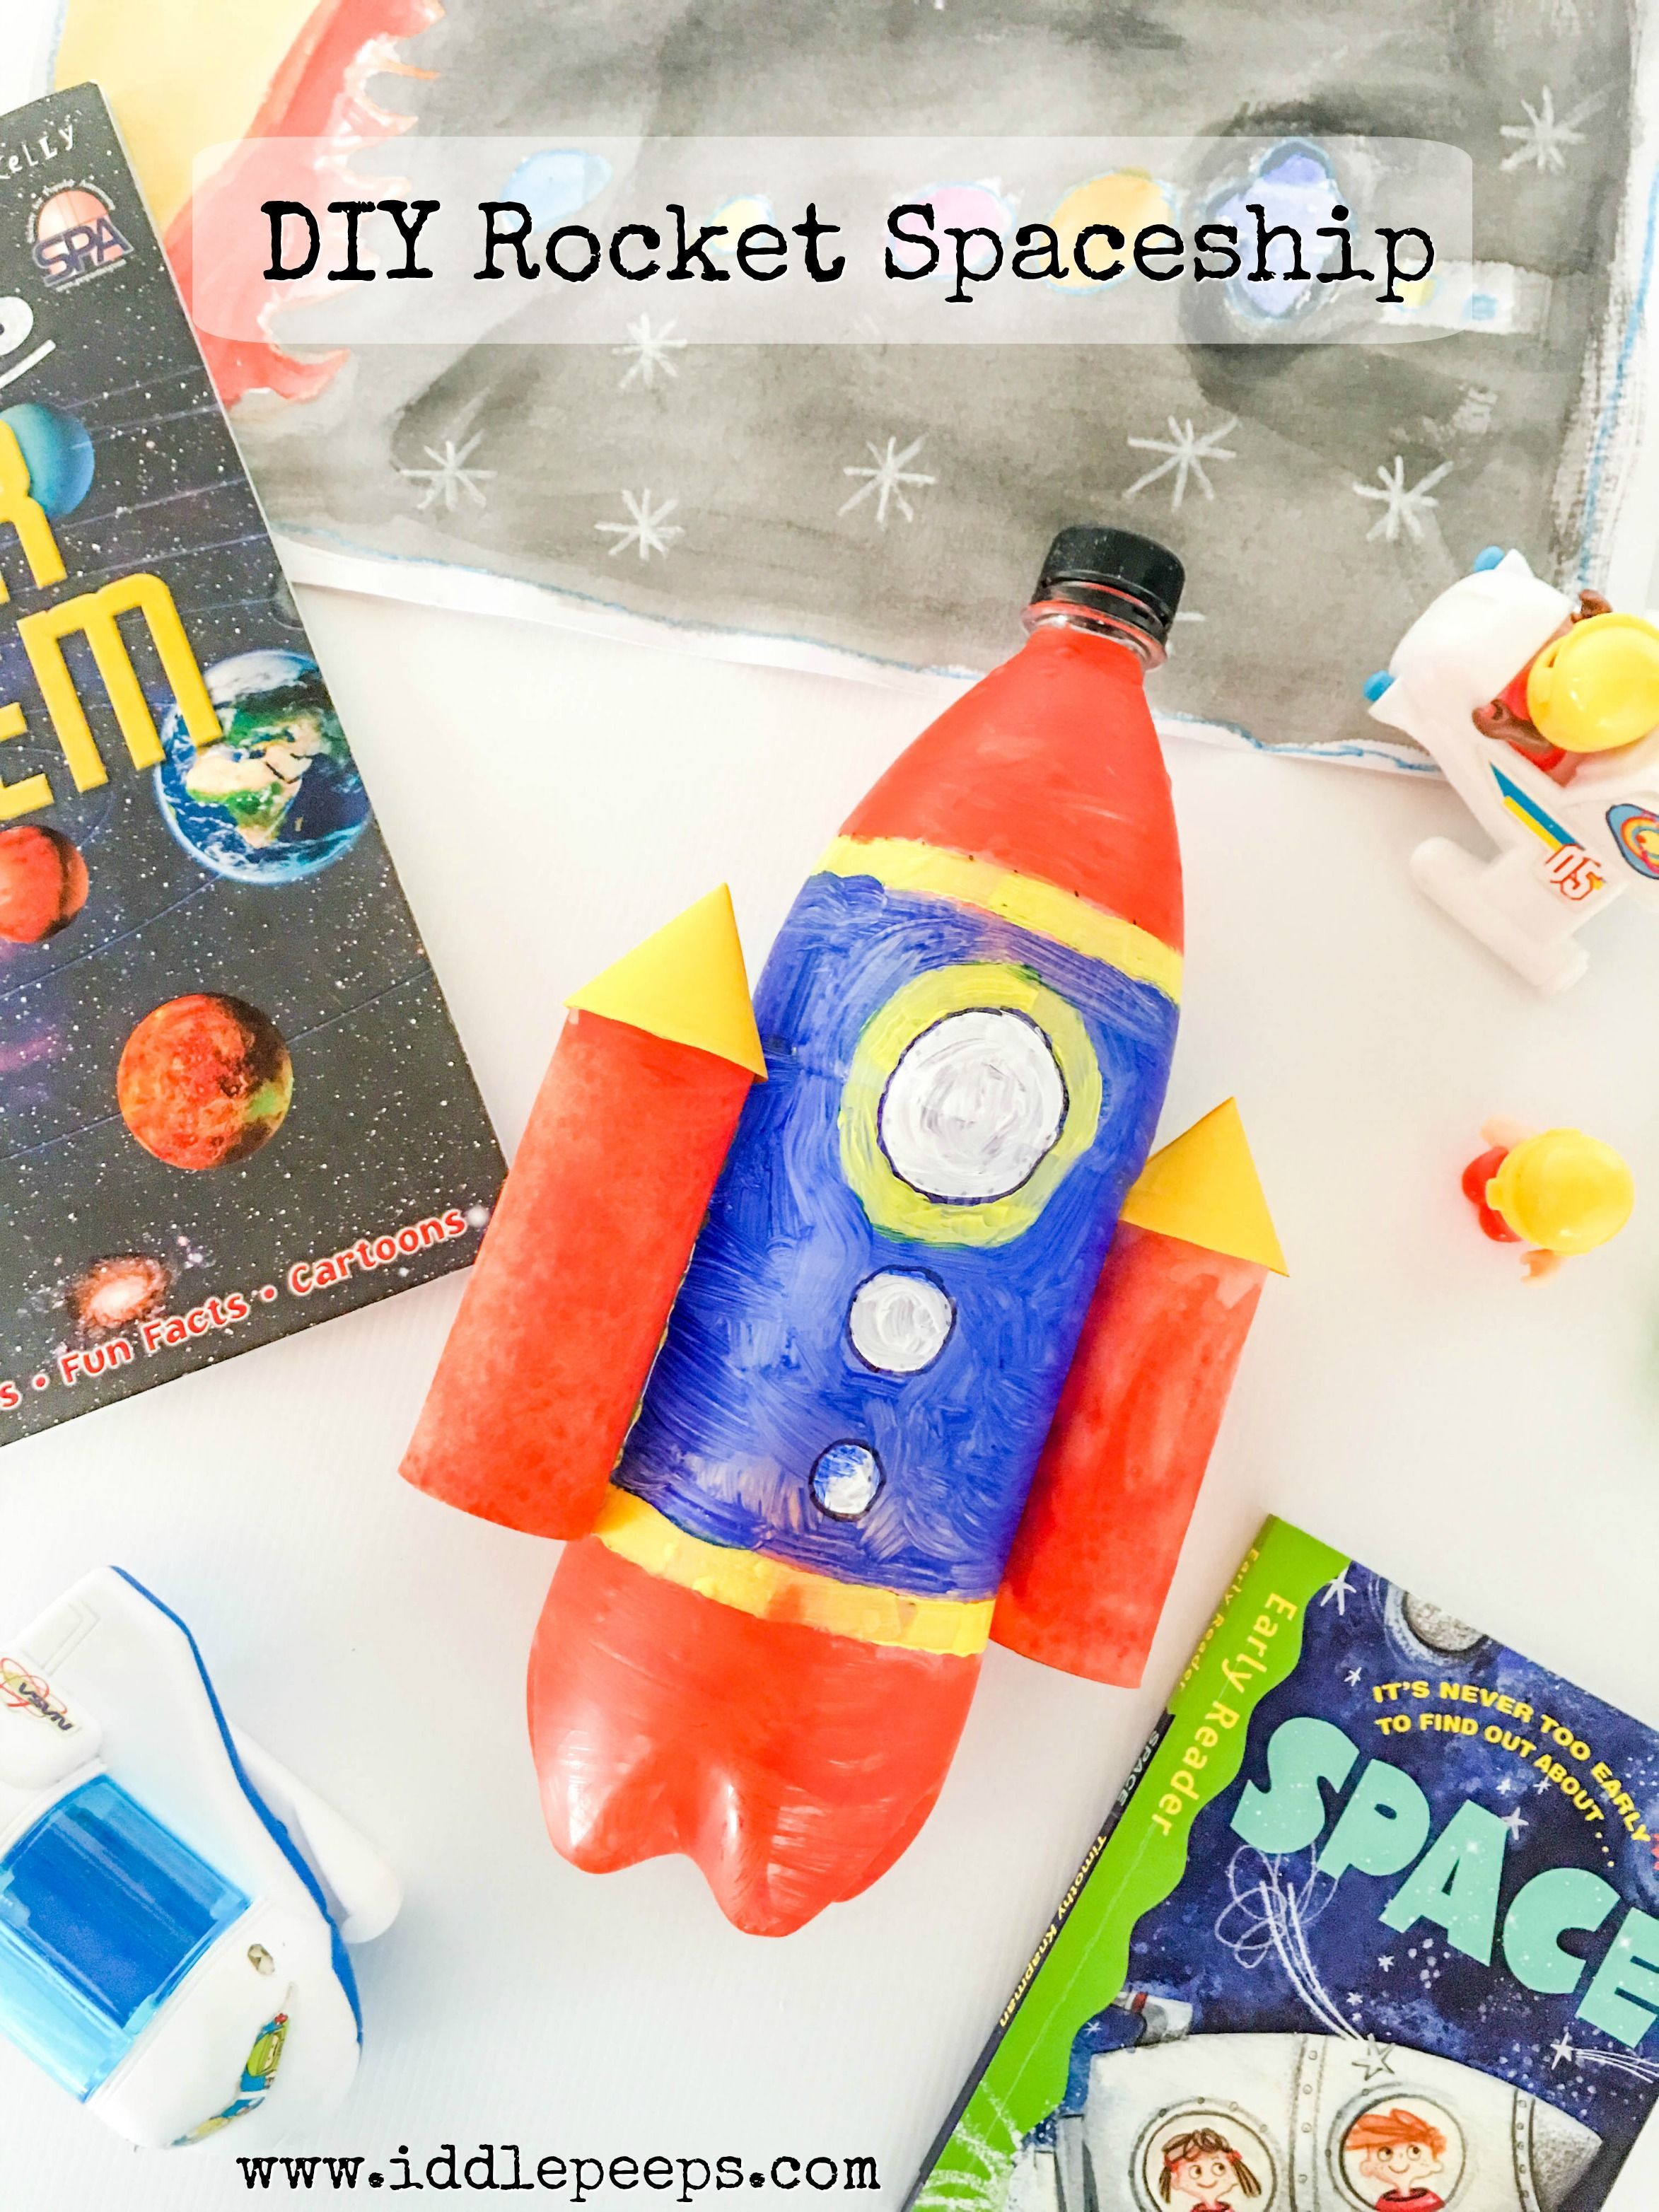
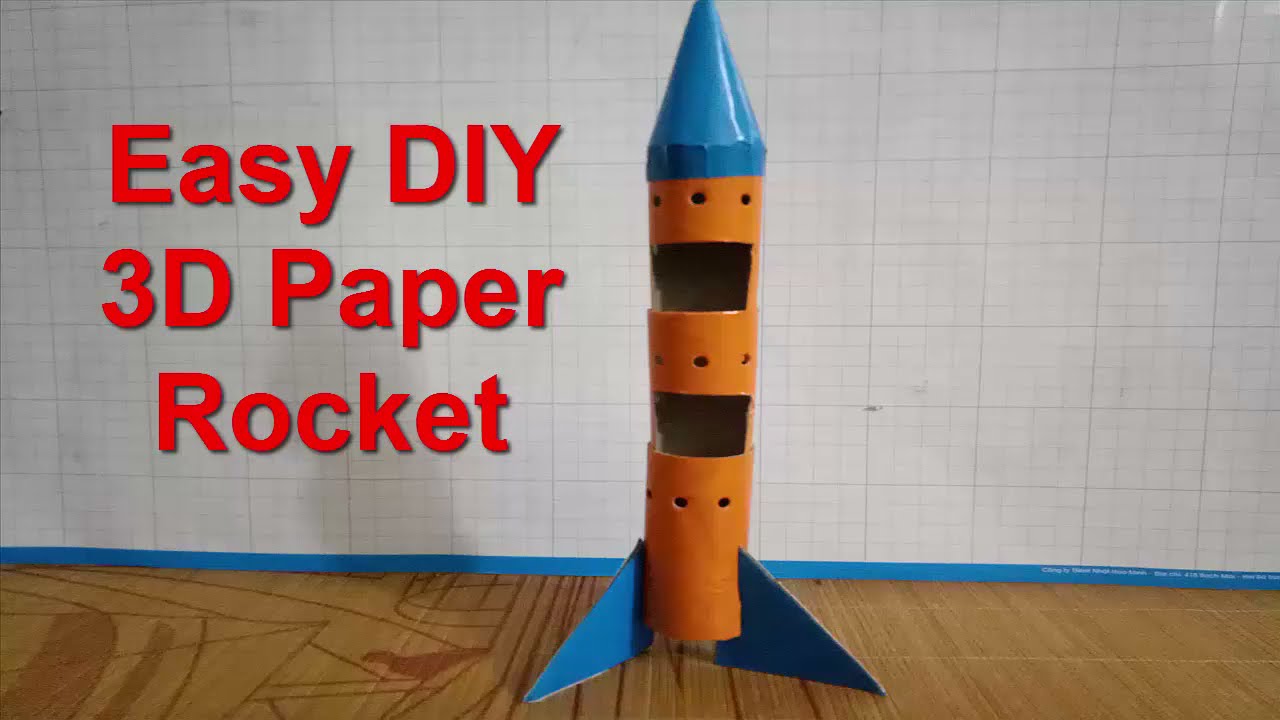
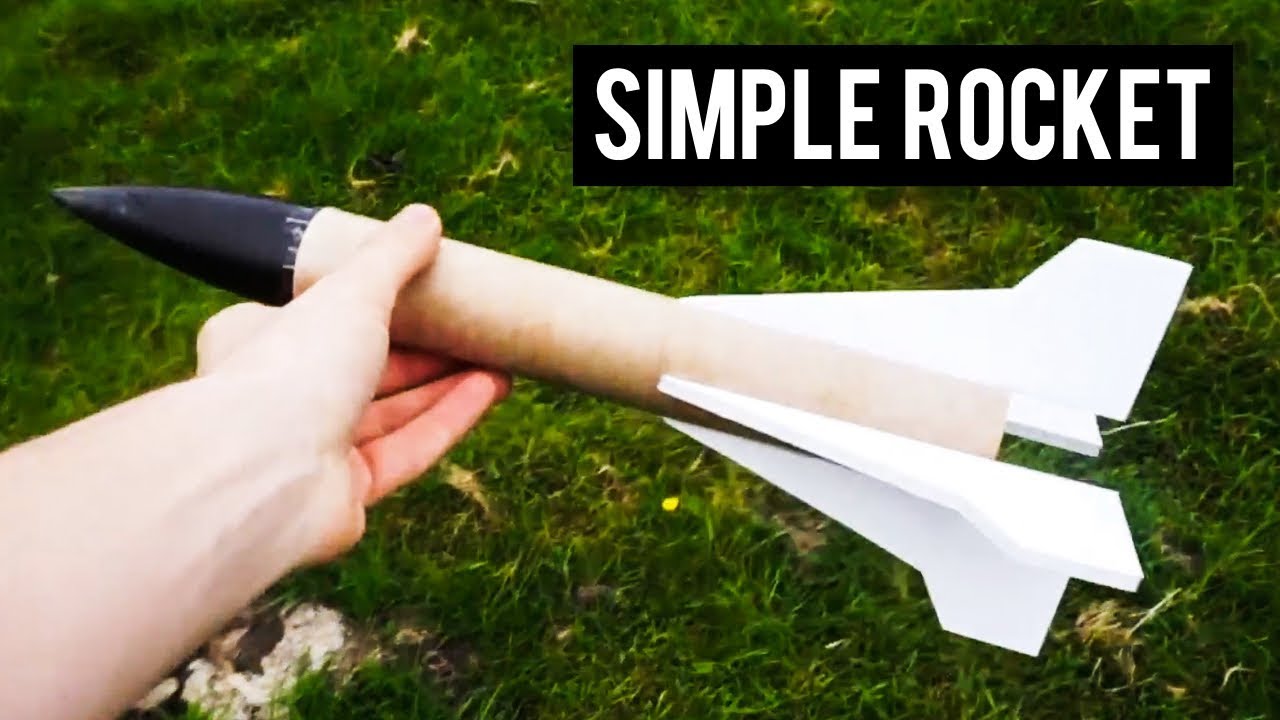
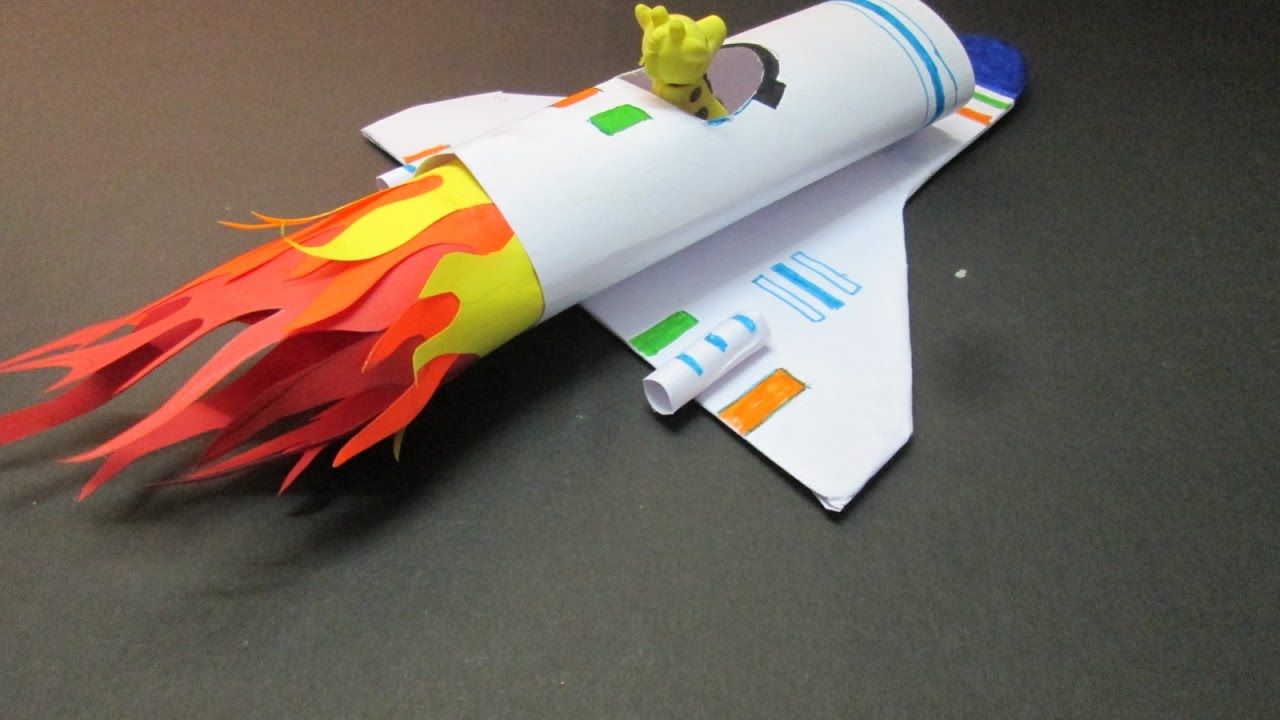
- Cardboard Tubes: These serve as the body of your rocket. You can use toilet paper rolls or paper towel tubes.
- Paper or Plastic Cone: For the rocket's nose cone, you can fashion a cone out of paper or use a small plastic funnel.
- Glue: A strong adhesive like craft glue or white glue will help hold your materials together.
- Scissors: Regular or craft scissors for cutting your materials.
- Markers or Paint: For decorating your rocket and giving it some personality!
- Wings: You can cut out wings from cardboard or use cardstock to enhance your rocket's design.
- Payload (optional): A small item you want your rocket to "carry." This could be a small toy or a piece of candy!
Additionally, if you're working on a more advanced rocket, you might consider using:
- Model rocket engines: For actual propulsion, these can be purchased at hobby stores.
- Safety goggles: Always a good idea when launching your rocket!
- Launch pad: You can make a simple one using a plastic bottle and some sturdy base.
Once you've gathered all these materials, you're ready to start the exciting process of designing and building your rocket. It's essential to think about the shape and size of your rocket, as these will influence how well it flies. Also, don't forget to keep safety in mind! This includes finding a suitable launch area, ideally a wide-open space away from trees, buildings, and people. With the right materials and a safe environment, you’re all set to blast off into the world of DIY rocketry!
Also Read This: How Far Is Tattoo Far? Watch the Show on Dailymotion
3. Step-by-Step Instructions for Creating Your Rocket
Ready to launch into the exciting world of DIY rocket making? Fantastic! Here’s a simple step-by-step guide to create your own rocket at home. This project is not only fun; it’s a great learning experience about physics and aerodynamics!
Materials You'll Need:
- Plastic film canister with a tight-fitting lid
- Baking soda (1 tablespoon)
- Vinegar (about 1/4 cup)
- Cardboard or paper for fins
- Strong tape (like duct tape)
- Safety goggles
- Outdoor launch area
Instructions:
Now, let’s get started with the actual rocket-making!
- Prepare the Fins: Cut out fins from the cardboard or paper. You can make triangular shapes, about 4 inches tall, to attach to the sides of your rocket for stability. Aim for three or four fins to help your rocket fly straight.
- Attach the Fins: Use duct tape to securely attach your fins to the bottom of the film canister. Ensure they’re evenly spaced around the canister to maintain balance during flight.
- Mix the Ingredients: In a separate small container, mix the baking soda and vinegar. When you’re ready to launch, you’ll combine these two elements to create your rocket's propulsion!
- Load Your Rocket: Carefully pour the vinegar into the canister, filling it about a third full. Next, use a small piece of tissue or paper towel to hold the baking soda. You’ll want to create a small pouch that can keep the baking soda from touching the vinegar… yet! Don’t put the lid on yet.
- Seal It Up: Quickly place the lid on the canister, ensuring it's sealed tightly. Turn your rocket upside down so that the baking soda will drop into the vinegar when it’s time to launch.
- Get Ready to Launch: Set your rocket on the ground in a clear area. Step back to a safe distance, put on your safety goggles, and count down to launch!
- Launch: After your count, shake the canister a little to mix the ingredients (if the baking soda hasn’t fallen in yet), then place it on the ground. Stand back and watch as your rocket takes off!
And there you have it! Your very own DIY rocket. Feel free to experiment with different shapes or sizes to see how they affect flight. Isn’t science fun?
Also Read This: How to Make a Dailymotion Playlist Public
4. Safety Tips for Making a Rocket at Home
While making rockets can be a thrilling adventure, it's crucial to prioritize safety. Here are some essential safety tips to ensure a fun and incident-free rocket launching experience:
- Supervision Required: Always have an adult supervise younger children during the rocket-making process. It's vital for ensuring safety and assisting with handling potentially messy materials.
- Wear Safety Goggles: Protect your eyes! Safety goggles are a must when launching your rocket, as the pressure can cause the lid to pop off unexpectedly.
- Choose an Open Area: Conduct your launches in a spacious outdoor environment away from people, buildings, and any flammable materials. A park or an open field works perfectly!
- Mind the Wind: Check the wind direction before launching. Avoid launching directly into the wind to ensure your rocket doesn’t become a projectile.
- Safe Materials Only: Stick to the materials listed in your rocket-making instructions. Avoid using dangerous or unstable chemicals—you only need baking soda and vinegar for a fun, safe experience!
- Prepare for Mess: Rockets can be messy! Have a cleanup plan ready for after the rocket launch, especially since vinegar can make a sticky residue.
- Dispose of Materials Properly: Once you're done, make sure to dispose of any materials, like the canister and fins, responsibly. Recycle whenever possible!
Following these safety measures will help ensure you have a successful and safe rocket launching experience. Now, get ready to blast off and enjoy the wonders of DIY rocket making! Happy launching!
Also Read This: How to Make Crepe Paper Flowers Easy: Step-by-Step Tutorial on Dailymotion
5. Experimenting with Rocket Designs and Modifications
Once you've got a handle on the basics of rocket making, it's time to let your creativity take flight! Experimenting with different rocket designs and making modifications can be incredibly rewarding. Here are some areas to consider when you want to mix things up:
- Body Shape: Try out different shapes for your rocket’s body. A more aerodynamic shape can help reduce drag and improve flight performance. You could use simple cardboard tubes or even repurpose plastic bottles. Don't be afraid to get creative!
- Fin Design: The fins are crucial for stability during flight. Experiment with varying fin sizes and shapes. Triangular fins might provide a different stability profile than square fins. Aim for balance; too many fins will add weight, while too few may cause wobbling!
- Engine Size: If you've mastered a small engine, you might consider moving up to a larger engine to see how it affects height and speed. Keep safety in mind and use the appropriate safety gear.
- Recovery Systems: Instead of a standard parachute, try out different recovery systems like streamers or a simple gliding wing mechanism. How can you design a system that slows your rocket's descent and protects it from damage upon landing?
- Weight Distribution: Altering the weight distribution in your rocket can significantly impact its performance. Larger weights at the nose might help stabilize it, while a more even distribution can create a smooth flight path.
Document each change you make, and take notes on the performance of your rockets. This way, you can analyze what designs work best and which modifications yield desirable results. You’re not just building rockets – you’re learning about physics and engineering in the process!
The best part? It's okay if some of your experiments don’t go as planned! Each failure is just another lesson learned, so embrace the process and keep adjusting your designs!
Also Read This: DIY Tips for Making Hair Curly at Home: Dailymotion Tutorials
6. Launch Day: Preparing for a Successful Flight
Launch day is here! All your hard work has led to this moment, and with the right preparation, you'll ensure a successful flight for your DIY rocket. Here are some essential tips to get you ready:
- Choose the Right Launch Site: Look for a wide-open space, away from buildings, power lines, and crowds. Parks or large fields are usually perfect, as they give your rocket room to soar and land safely.
- Weather Check: Before heading out, check the weather. Windy conditions can affect the rocket's stability and trajectory. Ideally, a calm day with little to no wind is perfect for launching.
- Gather Safety Gear: Safety should be your top priority. Make sure you have protective eyewear, launch wands, and fire extinguishers if you're using solid fuels. Inform everyone around you about the launch to keep a safe distance.
- Inspect Your Rocket: Give your rocket a thorough once-over. Ensure all parts are secure, the recovery system is correctly attached, and there's no damage from previous flights.
- Launch Setup: Set up your launch pad according to the instructions. Ensure your rocket is correctly aligned at the launch angle. An angled launch can lead to better stability and trajectory.
Now it’s time for the countdown! Gather your crew, build the excitement, and ensure everyone knows their role. When you give the signal, start the countdown — “3... 2... 1... Lift-off!”
After your rocket takes to the skies, stand back and watch the magic happen. Enjoy the thrill, capture those moments on video, and remember to collect your rocket safely after landing. This day is about more than just launching a rocket — it’s about the joy of discovery, teamwork, and the fun of DIY projects!
Conclusion and Next Steps for Aspiring Rocket Enthusiasts
Congratulations on taking your first steps into the fascinating world of DIY rocket making! Whether you're a hobbyist, a science enthusiast, or simply looking for a fun project, you've embarked on a journey that combines creativity, engineering, and a little bit of physics. As you reflect on your rocket-making experience, consider the following next steps to further immerse yourself in this thrilling hobby:
- Join a Community: Engage with local rocket clubs or online forums. Sharing your experiences and learning from others can enhance your skills and knowledge.
- Experiment with Designs: Try different rocket designs, materials, and propulsion systems. You might discover innovative ideas that push the boundaries of your projects.
- Attend Workshops: Look for local workshops or maker spaces that focus on rocketry. Hands-on learning from experts can be invaluable.
- Stay Safe: Always prioritize safety when launching your rockets. Review safety guidelines and never launch near populated areas.
- Document Your Progress: Keep a journal or blog about your rocket projects. This not only tracks your progress but can also inspire others.
As you continue to explore rocketry, don't hesitate to challenge yourself with more complex projects. Each launch is an opportunity to learn and grow. Remember, even the most experienced enthusiasts began as beginners. So grab your materials, ignite your passion, and reach for the skies!
 admin
admin


