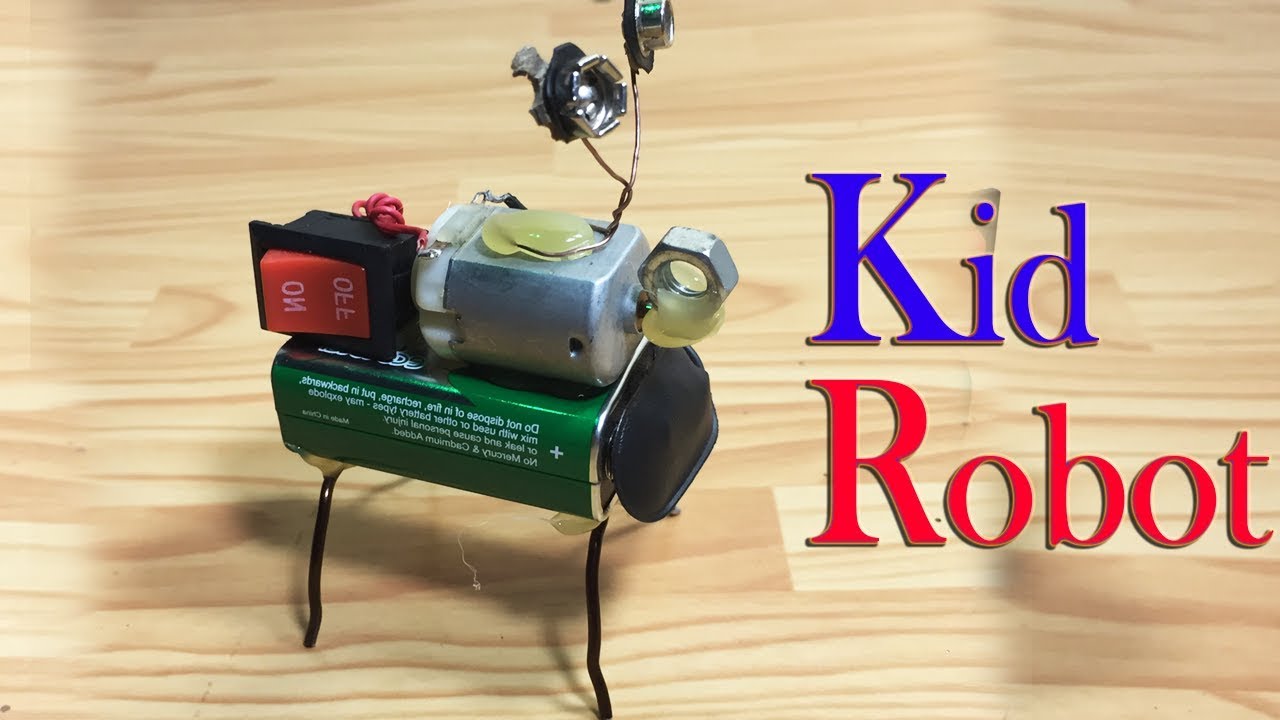
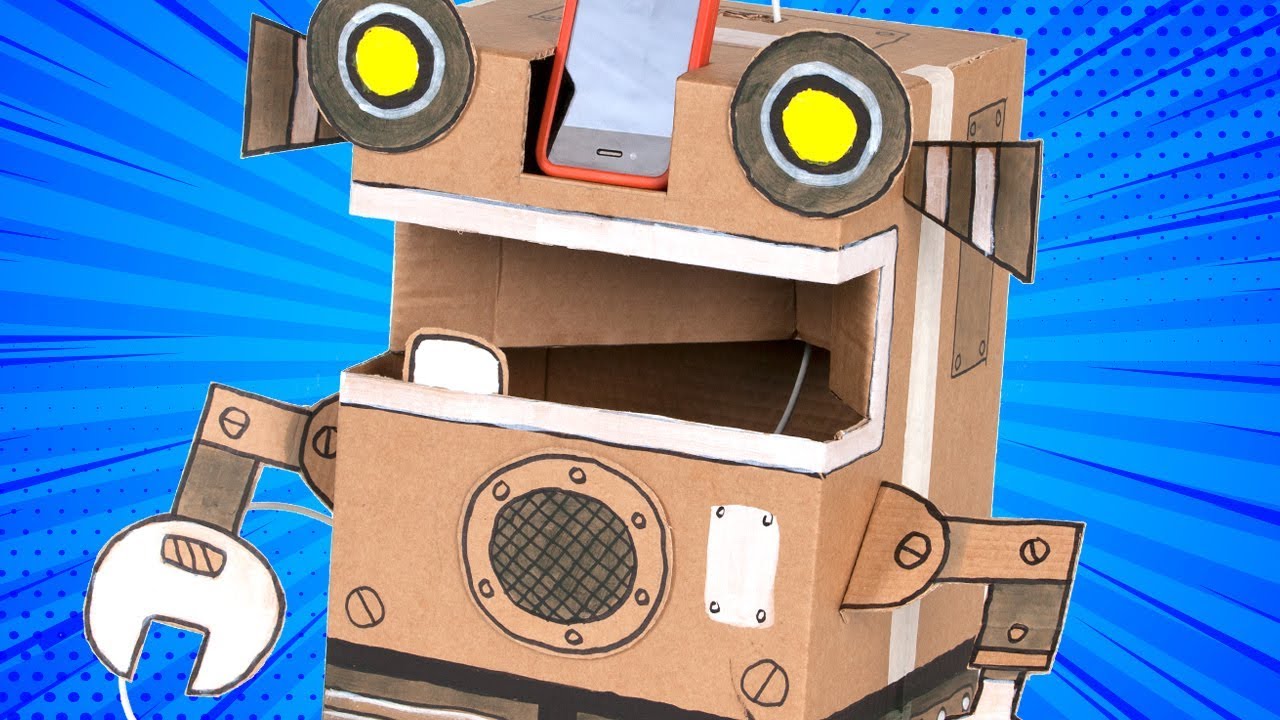
Building a robot at home can be a thrilling and educational experience! Whether you're a tech enthusiast or just looking for a fun project, creating your own robot can spark creativity and problem-solving skills. From simple designs to advanced machines, the possibilities are endless. Plus, it’s a fantastic way to dive into the world of programming, electronics, and mechanics. So, roll up your sleeves, and let’s embark on this exciting journey together!
Essential Materials and Tools Needed

Before jumping into the world of robotics, it’s crucial to gather the right materials and tools. This will not only make your building process smoother but also enhance your learning experience. Here’s a handy list to get you started:
- Microcontroller: The brain of your robot. Popular options include Arduino or Raspberry Pi. These platforms are beginner-friendly and have extensive online communities.
- Chassis: This is the robot's body. You can either buy a ready-made chassis or build one using materials like cardboard, plastic, or even LEGO.
- Motors: These will help your robot move. Consider using DC motors or servos depending on your design needs.
- Wheels: If your robot is mobile, you'll need wheels. Choose the right size based on your chassis type.
- Power Supply: Batteries or power banks will keep your robot running. Lithium-ion batteries are a great option for rechargeable power.
- Sensors: To interact with the environment, you might want to include sensors like ultrasonic sensors for distance measuring or infrared sensors for line following.
- Wires and Connectors: Essential for connecting different components. Jumper wires are particularly useful for prototyping.
- Soldering Kit: If you're planning on making permanent connections, a soldering kit will help you create solid electrical connections.
- Software: Don’t forget about programming! Install Arduino IDE or Python for Raspberry Pi for coding your robot’s behavior.
As you gather your materials, don’t hesitate to keep an eye out for second-hand parts or local maker spaces. They often have tools and materials available for use, plus a community that can offer advice and support. With these essentials at your disposal, you’ll be well on your way to building a fantastic robot that’s all your own!
Also Read This: How to Add Tags to Dailymotion Videos: Optimize Your Content for Discovery
3. Step-by-Step Instructions for Building Your Robot

Building a robot at home can be an exciting adventure! Let’s break it down into simple, manageable steps. Before we begin, ensure you have your toolkit ready, which includes:
- Microcontroller (like an Arduino)
- Chassis (you can use a pre-made robot chassis or create one from cardboard)
- Wheels and motors
- Batteries and battery holder
- Wires and connectors
- Additional sensors (like ultrasonic sensors, if you want to add features)
Step 1: Assemble the Chassis
Start with the chassis, which is the foundation of your robot. If you're using a cardboard base, cut it into a rectangular shape, about 10x6 inches. For pre-made kits, simply follow the instructions included. Attach the wheels to the chassis using suitable connectors.
Step 2: Mount the Motors
Next, attach the motors to your chassis. If your robot is wheeled, you’ll typically need two motors. Secure them in such a way that the wheels can spin freely. Ensure they are aligned well for balanced movement.
Step 3: Install the Microcontroller
Now, let’s install the microcontroller. Secure it on the chassis using screws or double-sided tape. The microcontroller will serve as the brain of your robot, so make sure it’s placed in a location that allows for easy access to the ports.
Step 4: Connect the Wires
Using jumper wires, connect the motors to the microcontroller. For most setups, you’ll connect the positive and negative terminals of each motor to the designated motor pins on your microcontroller. Be sure to follow the wiring diagram included with your kit or find a reliable online resource!
Step 5: Power Up!
Attach the battery holder to the chassis and connect the batteries. Make sure the connections are secure. At this point, your robot should have power, but the fun is just beginning!
Step 6: Test the Movement
Before moving on to programming, it’s a good idea to test the movement of your robot. Write a simple test program to make the motors spin forward and backward. Once everything is set up, your robot should roll around! If it doesn’t, double-check your connections and make sure the power is on.
Also Read This: How to Apply Mascara and Eyeliner for a Bold Look on Dailymotion
4. Programming Your Robot for Basic Functions
Now that your robot is built, let’s dive into programming it! We’ll use Arduino IDE for this example, as it’s user-friendly and perfect for beginners. If you haven’t installed it yet, go to the Arduino website and download the software.
Step 1: Connect the Microcontroller
Plug your microcontroller into your computer via USB. Open the Arduino IDE, choose the correct board and port from the Tools menu.
Step 2: Write Your First Program
Let’s start with a basic program to move the motors. Here’s a simple code snippet to get you started:
#define motor1Pin 3
#define motor2Pin 4

void setup() {
  pinMode(motor1Pin, OUTPUT);
  pinMode(motor2Pin, OUTPUT);
void loop() {
  digitalWrite(motor1Pin, HIGH);  // Turn motor 1 on
  digitalWrite(motor2Pin, HIGH);  // Turn motor 2 on
  delay(1000);                     // Move forward for 1 second
  digitalWrite(motor1Pin, LOW);   // Turn motor 1 off
  digitalWrite(motor2Pin, LOW);   // Turn motor 2 off
  delay(1000);                     // Stop for 1 second
Step 3: Upload Your Code
Click the upload button in the Arduino IDE. Once the code is uploaded, your robot should start moving! If it doesn’t work, check your wiring and make sure the code is correctly inputted.
Step 4: Experiment with Functions
Now that you have the basics down, you can get creative! Try adding sensors to allow your robot to avoid obstacles or follow a line. Experiment with different speeds and movements. The sky's the limit!
By following these steps, you’ll not only have built a robot but also gained valuable programming skills along the way. Happy building!
Also Read This: Is Dailymotion Free to Sign Up and Use? Everything You Should Know
5. Tips for Customizing and Enhancing Your Robot
Building a robot is just the beginning of your creative journey! Once you have the basic structure set up, it’s time to let your imagination run wild with customization. Here are some exciting tips to enhance your robot:
- Choose Your Personality: Think about what kind of personality you want your robot to have. Is it going to be quirky and fun, or serious and sleek? You can reflect this personality through its design, colors, and even programming. For instance, a friendly robot can have bright colors and a cheerful voice!
- Add Unique Features: Consider adding sensors or additional functionalities that make your robot stand out. A robot that can detect obstacles, follow lines, or react to sounds can be quite impressive! For example, you could integrate a light sensor that allows your robot to follow a flashlight.
- Decorate! Don’t underestimate the power of aesthetics! Use paint, stickers, or even 3D-printed accessories to give your robot a distinct look. Imagine a robot that looks like a mini superhero or a retro robot from the '80s! The visual appeal can really make your project shine.
- Experiment with Mobility: If your robot is wheeled, consider experimenting with different wheel types or tracks. If it's humanoid, try out various joint designs to give it more fluid motion. Each change can impact how it navigates its environment, making it more fun to watch!
- Upgrade the Brain: As you become more comfortable with coding, don’t hesitate to upgrade your robot’s programming. Use platforms like Arduino or Raspberry Pi to add more complex behaviors like speech recognition or even AI capabilities. This can truly elevate your robot to the next level.
Remember, the key to customizing your robot is to have fun! Each little tweak is a chance to express your creativity and make your robot uniquely yours. Enjoy the process of experimenting and refining!
6. Showcasing Your Robot: Sharing on Dailymotion and Beyond
Once you’ve built and customized your robot, it’s time to share your creation with the world! Showcasing your robot can be a thrilling experience, especially if you’re proud of the work you’ve put into it. Here’s how to effectively share your robot on platforms like Dailymotion and others:
- Capture Stunning Videos: When recording, make sure to use good lighting and stable shots to highlight your robot’s features and capabilities. Aim for a mix of close-ups to showcase details and wide shots to show it in action. A great video is crucial for grabbing viewers’ attention!
- Engaging Narrative: Don’t just show what the robot can do; tell a story! Explain the inspiration behind the design and any challenges you faced during the build. Share funny moments or unexpected outcomes that happened along the way. A personal touch makes your video more relatable!
- Add Music and Effects: Incorporating background music and sound effects can enhance the viewing experience. Choose tunes that fit the vibe of your robot—upbeat for a fun robot or something more mysterious for a sci-fi creation. Just make sure you have the rights to use any music you choose!
- Engage with Your Audience: After posting, be sure to interact with viewers! Respond to comments, answer questions, and encourage feedback. This interaction can spark new ideas and even collaborations for future projects.
- Explore Other Platforms: Besides Dailymotion, consider sharing your robot on social media platforms like Instagram or TikTok. Create short clips that highlight its coolest features or fun interactions. You can also join online communities like Reddit to share your build and get inspired by others!
Sharing your robot is not just about showcasing your work; it's about connecting with others who share your passion. So, get your camera ready, hit record, and let the world see the amazing robot you've built!
 admin
admin


