Building a remote-controlled aeroplane can be an exhilarating experience, blending creativity and engineering. Whether you're a seasoned hobbyist or a curious beginner, this easy guide will help you soar through the process. You'll learn about the essential materials, step-by-step assembly, and tips to ensure your aircraft takes flight successfully. So, grab your tools and let’s get started on crafting your very own flying machine!
Materials Needed
Before diving into the construction of your remote-controlled aeroplane, gathering the right materials is crucial. Here’s a comprehensive list of everything you’ll need:
- Airframe Material:
- Foam board or balsa wood (for lightweight construction)
- Carbon fiber rods (for added strength)
- Electronics:
- Brushless motor
- Electronic Speed Controller (ESC)
- Receiver and transmitter pair (2.4 GHz is common)
- Servos (typically 2-4 for controlling the wings and tail)
- LiPo battery (3S or 4S depending on your motor specifications)
- Control Surfaces:
- Elevators
- Ailerons
- Rudder
- Tools:
- Hot glue gun (for assembly)
- Small screwdriver (for securing components)
- Hobby knife or scissors (for cutting materials)
- Safety Gear:
- Safety glasses (to protect your eyes during cutting)
- Gloves (optional for handling materials)
With these materials at hand, you’re all set to embark on your exciting journey of building a remote-controlled aeroplane!
Also Read This: Watch How to Make Pizza Dough in Urdu: Video on Dailymotion
Step-by-Step Instructions
Building a remote-controlled airplane may seem daunting, but with a well-structured approach, you'll create a flying marvel in no time! Here’s a simple, step-by-step guide to get you started:
- Gather Your Materials: Before diving in, ensure you have all the necessary components:
- Foam board or balsa wood for the airframe
- Electric motor
- Propeller
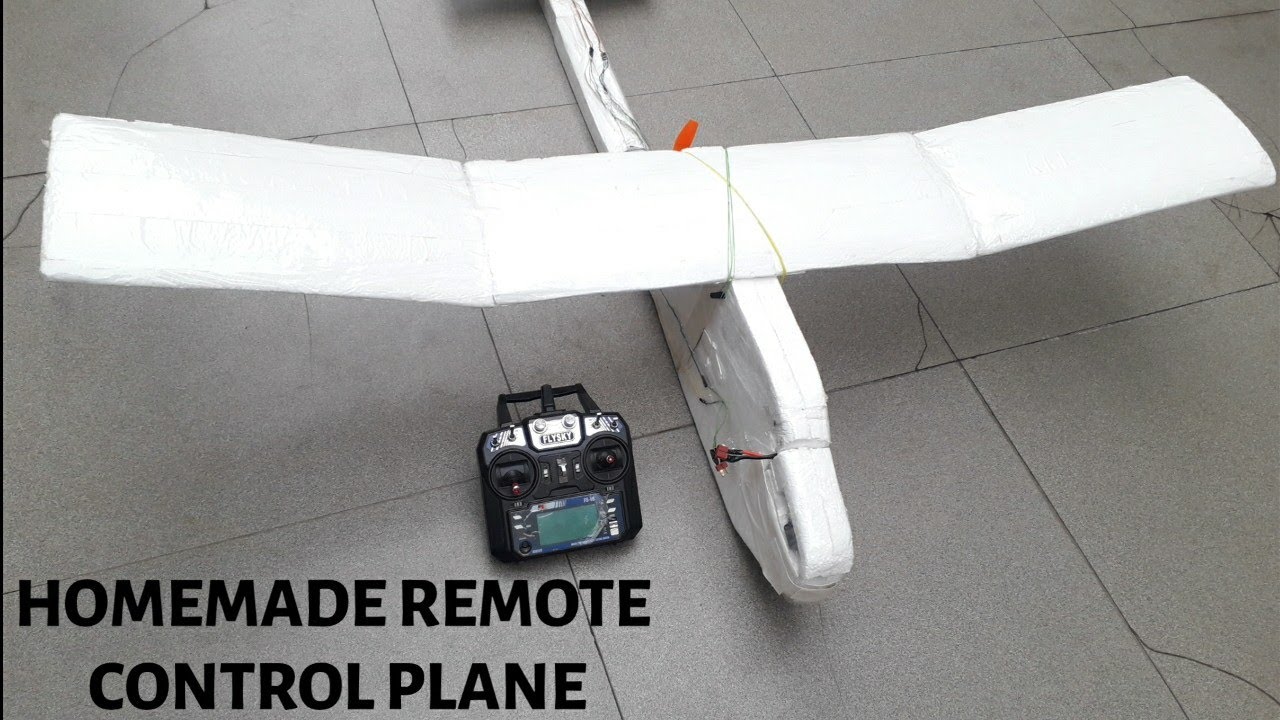
- Remote control system (transmitter and receiver)
- Battery (LiPo recommended)
- Glue (hot glue or epoxy)
- Servos for controlling the rudder and ailerons
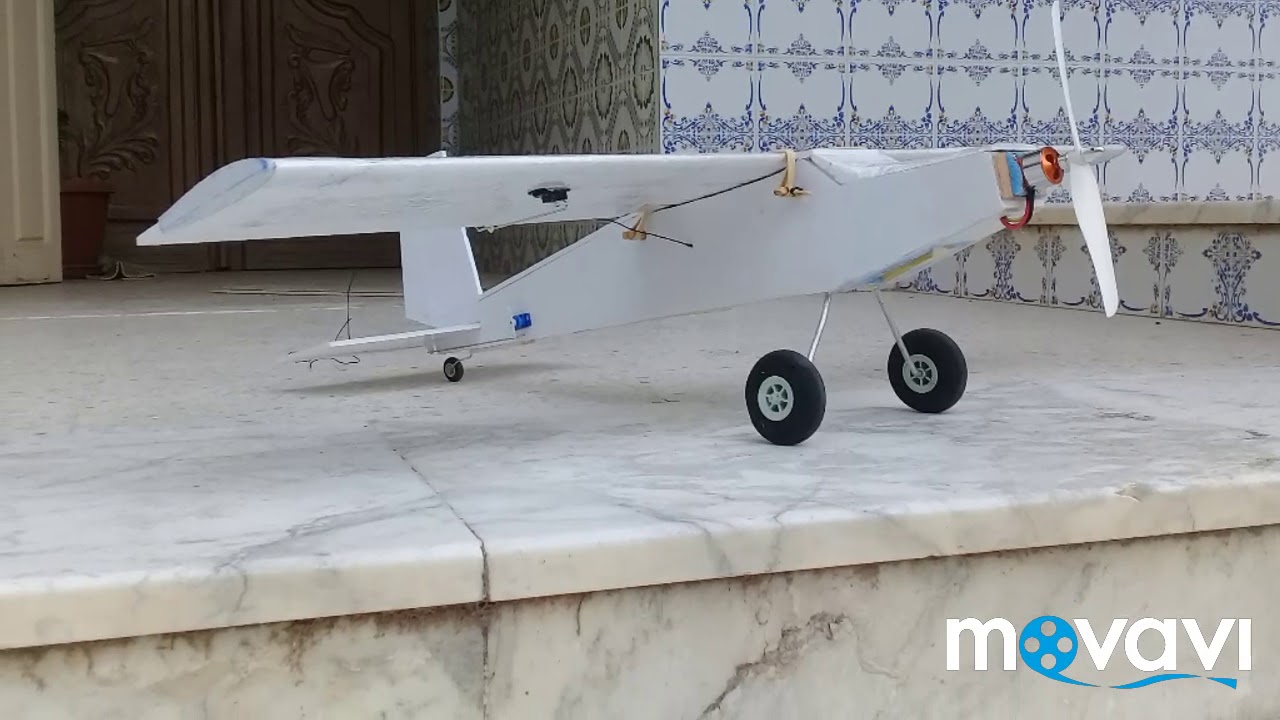
- Design Your Airplane: Sketch a basic design. Keep it simple! A high-wing design is often more stable and easier for beginners.
- Construct the Airframe: Cut the foam or wood according to your design. Ensure that the wings are securely attached to the fuselage, and don't forget to carve out an area for the motor.
- Install the Electronics: Place the motor at the front, connect the servos to the control surfaces (ailerons, rudder), and install the receiver. Make sure everything is securely mounted.
- Connect the Battery: Secure your battery in the fuselage. Ensure the connections are solid but easy to unplug for charging.
- Final Touches: Balance your airplane by adjusting the placement of the battery. A balanced airplane flies better!
Also Read This: How to Use an Older Version of Dailymotion Access and Features Explained
Testing Your Aeroplane
Once you've built your remote-controlled airplane, it’s time for the exciting part—testing! Here’s how to conduct your tests safely and effectively:
- Pre-Flight Check: Before taking to the skies, perform a thorough check:
- Inspect all connections and ensure nothing is loose.
- Check the control surfaces move freely and respond to the remote.
- Verify battery charge and condition.
- Choose the Right Location: Find a spacious, open area away from people and obstacles—ideally a park or a field. Ensure you have permission to fly in that space.
- Launch the Airplane: Start with a gentle toss into the wind. Monitor how it behaves. If it veers off, you might need to adjust the trim on your remote.
- Observe Flight Performance: While in the air, take note of how your airplane responds to control inputs. A well-balanced airplane should glide smoothly.
- Make Adjustments: After your first flight, make any necessary adjustments. This could include repositioning the battery for balance or tweaking the control surface angles.
Remember, practice makes perfect! With each test flight, you'll learn more about your aircraft and improve your flying skills.
Also Read This: How to Create a French Braid Hairstyle on Dailymotion
Troubleshooting Common Issues
Building a remote-controlled airplane can be an exhilarating experience, but sometimes things don’t go as planned. Here are some common issues you might encounter and how to fix them:
- Power Issues: If your plane isn’t responding, check the battery connections. Ensure that the batteries are fully charged and properly connected. Sometimes, a loose wire can cause power loss.
- Control Problems: If your plane isn't responding to the controls, it might be due to interference. Make sure you’re operating on a clear frequency and that your transmitter is in good condition.
- Stability Issues: If your plane wobbles or doesn’t fly straight, check the balance. Adjust the weight distribution by moving components like the battery or adding weight to certain areas. Keep the center of gravity in mind!
- Motor Malfunctions: If the motors aren't spinning, inspect the connections and the motor itself. Sometimes, debris can get lodged in the motor, so a quick clean might just do the trick.
- Control Surface Problems: If the ailerons or elevator aren’t moving correctly, double-check the servo connections and make sure they’re properly calibrated.
By following these troubleshooting tips, you can quickly identify and fix the common issues that arise during your flying adventures!
Conclusion
Building a remote-controlled airplane can be one of the most rewarding projects you undertake. Not only do you learn valuable skills in technology and engineering, but you also get the thrill of watching your creation take to the skies. Remember, the key to success is patience and practice.
Throughout this guide, we’ve covered everything from selecting the right materials to troubleshooting common issues. Here’s a quick recap of the essential steps:
| Step | Action |
|---|---|
| 1 | Choose your model and materials. |
| 2 | Assemble components carefully. |
| 3 | Test your controls before flight. |
| 4 | Troubleshoot any issues that arise. |
So, whether you're soaring through the clouds or just practicing in your backyard, remember to have fun and enjoy the journey. Happy flying!
 admin
admin


