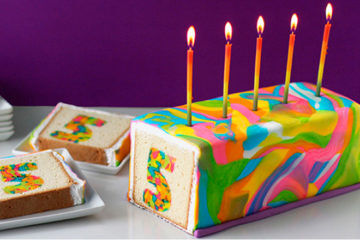
If you’re looking for a vibrant, show-stopping dessert to brighten up any occasion, a rainbow cake is just the ticket! This cake isn’t just a feast for the eyes; it's a delicious layered treat that brings joy to both kids and adults alike. Picture layers of bright, colorful cake stacked high, topped off with fluffy frosting. Whether you're celebrating a birthday or just want to add some fun to your afternoon tea, a rainbow cake is sure to bring smiles. Now, let’s dive into how to create this whimsical masterpiece!
Gathering Ingredients for the Rainbow Cake
Before you get started, it’s important to ensure you have all the right ingredients to make your rainbow cake a success. Here’s a comprehensive list of what you'll need:
- For the Cake:
- 2 ¾ cups all-purpose flour
- 2 ½ teaspoons baking powder
- ½ teaspoon salt
- 1 ½ cups unsalted butter (softened)
- 2 cups granulated sugar
- 5 large eggs
- 1 tablespoon vanilla extract
- 1 cup whole milk
- Gel food coloring in red, orange, yellow, green, blue, and purple
- For the Frosting:
- 1 cup unsalted butter (softened)
- 4 cups powdered sugar
- 1 tablespoon vanilla extract
- 2-4 tablespoons heavy cream
- Sprinkles for decoration (optional)
- Tools You'll Need:
- Mixing bowls
- Electric mixer
- Measuring cups and spoons
- 9-inch round cake pans (6 total)
- Wire rack for cooling
- Spatula and cake leveler (optional)
- Offset spatula for frosting
Once you have everything gathered, you’ll feel more prepared and excited to jump into the baking process. And remember, baking should be as much about the journey as it is about the destination, so enjoy every colorful moment! With the ingredients lined up, you’re one step closer to creating your fabulous rainbow cake. Let’s get ready to have some fun in the kitchen!
Also Read This: How to Unmute Dailymotion Videos for a Smooth Viewing Experience
3. Step-by-Step Instructions to Make the Rainbow Cake
Now that you're all prepped and excited about making your fabulous rainbow cake, let’s dive into the step-by-step instructions! It’s easier than you might think, and the vibrant colors will be absolutely worth it!
- Gather Your Ingredients: Make sure you have everything you need before you start. Here’s a quick checklist:
- 1 ½ cups all-purpose flour
- 1 cup granulated sugar
- ½ cup unsalted butter, softened
- ½ cup milk
- 3 large eggs
- 2 tsp baking powder
- ½ tsp salt
- 1 tsp vanilla extract
- Gel food coloring (red, orange, yellow, green, blue, purple)
- Whipped frosting or buttercream for layering
Also Read This: How to Make a Card for Your Teacher: Dailymotion’s DIY Craft Ideas
4. Tips for Perfectly Layered Cakes
Creating a rainbow cake that's both visually stunning and delicious takes care and a little bit of technique. Here are some handy tips to ensure your layers look gorgeous and taste even better!
- Level Your Cake Layers: After baking, sometimes cakes have a dome shape. Use a serrated knife to cut off the domes for even layers. This will help them stack neatly and not tip over!
- Chill Your Layers: For even easier assembly, refrigerate your baked layers for a few hours or overnight. This makes them firmer and less likely to crumble when you stack them.
- Color Consistency: When mixing colors, keep in mind that colors will deepen as they bake. Start with a lighter shade, so you achieve those beautiful pastel colors in your final result.
- Use a Turntable: If you have one, a cake decorating turntable can make frosting your cake a breeze, allowing you to maintain even pressure while turning the cake.
- Don’t Skimp on Frosting: Make sure you have enough frosting between the layers. This not only adds flavor but also acts as glue to hold the layers together. Who doesn’t love a good frosting-to-cake ratio?
- Piping Details: Get creative with piping! Use the frosting to create decorative borders or fun designs on top of the cake. Sprinkles also don’t hurt!
Remember, practice makes perfect. Don’t stress over making it look flawless; it’s the love and care you put into baking that counts. Enjoy your cake-making adventure!
Also Read This: Dailymotion Streaming on Firestick – Everything You Need to Know
5. Decorating Your Rainbow Cake
Now that your rainbow cake layers are baked and cool, it’s time for the most exciting part: decorating! This is where you can really let your creativity shine. Here’s how to transform your beautifully baked layers into a stunning rainbow masterpiece.
Gather Your Supplies: Before starting, collect all your decorating supplies. You’ll need:
- Buttercream frosting (in white and any other colors you want)
- Food coloring for extra shades if desired
- Sprinkles (rainbow or themed!)
- Cake stand or serving platter
- Offset spatula or a butter knife
Assembly Time! Start by placing your first layer of cake on the cake stand. Remember, you will want to use the layer that’s the flattest on the bottom. Spread a generous amount of frosting across the top. Don’t be shy—this is the glue that holds the layers together!
Once the frosting is applied, stack your next layer on top and repeat the process. You’ll want to continue this until all your layers are stacked. It’s like building a delicious, colorful tower!
Crumb Coat: This is an essential step to achieve that smooth finish. A crumb coat is a thin layer of frosting on the outside of your cake that traps any crumbs. Spread this thin layer around the sides and top of the cake. Then, place the cake in the refrigerator for about 30 minutes to set.
The Final Coat: After your crumb coat has set, it’s time for the final frosting layer. You can either stick with one color or pipe a rainbow effect. If you want to swirl colors, mix different shades of your buttercream together to create beautiful patterns. Use an offset spatula to smooth out the frosting.
Adding the Fun: No rainbow cake is complete without a sprinkle shower! Generously add your rainbow sprinkles on top and around the sides. You can also add fun cake toppers or themed decorations to personalize it even more.
Once you’ve achieved that Instagram-worthy look, step back and admire your creation—you did it!
Also Read This: Monetization Basics: How to Enable It on Your Dailymotion Channel
6. Serving Suggestions and Pairings for the Rainbow Cake
Now that your rainbow cake is beautifully decorated, the next step is to think about how to serve it. This delightful cake is perfect for any occasion, whether it’s a birthday, celebration, or just a fun dessert night. Here are some fun serving suggestions and delicious pairings to consider:
Cake Slices: Cut generous slices of your rainbow cake and plate them beautifully. You can enhance the presentation by placing a small dollop of whipped cream or a scoop of vanilla ice cream on the side. The contrast of the creamy ice cream with each colorful slice is a hit!
Beverage Pairings: When it comes to drinks, you want something light and refreshing. Here are a few options:
- Fruit-Infused Water: Add slices of lemon, lime, or berries to your water for a refreshing choice that complements the sweetness of the cake.
- Iced Tea: A lightly sweetened iced tea can balance the sweetness of the cake beautifully.
- Milkshakes: For a fun spin, serve slices of cake with a matching flavored milkshake—try strawberry or vanilla!
Creative Serveware: Get creative with how you present your cake. Consider using mason jars to make individual cake servings, layering pieces of cake with whipped cream and sprinkles in each jar. It’s a fun and easy way for guests to enjoy their slice without needing plates.
Fun Conversation Starters: Rainbow cake is not only delicious but also a conversation piece. Encourage guests to share their favorite cake memories, colors, or flavors. It’s a fantastic way to engage everyone and make the gathering even more memorable.
Your rainbow cake is sure to be the star of any dessert table. Enjoy the smiles it brings as everyone digs into those vibrant layers of fun! Happy baking and even happier eating!
Conclusion and Final Thoughts on Rainbow Cake
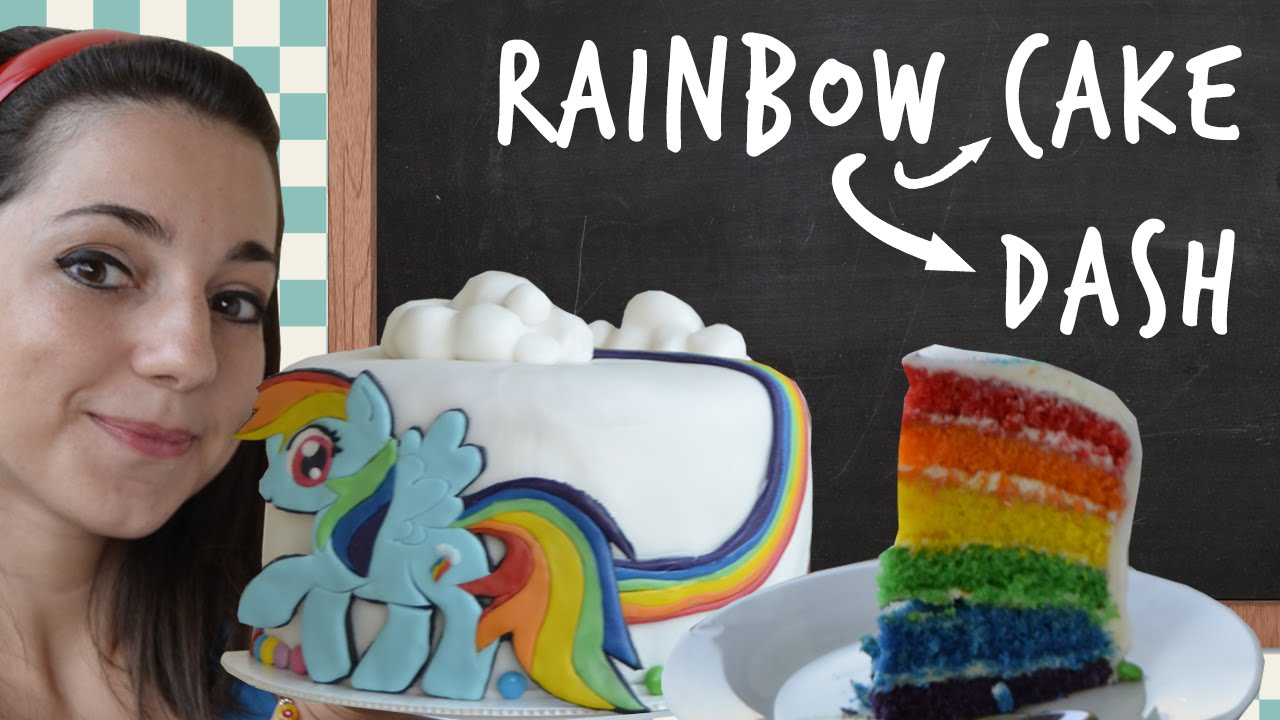
Creating a fun rainbow cake is not only a delightful culinary adventure but also a fantastic way to bring joy to any celebration. With the Nerdy Nummies recipe, you have a step-by-step guide to crafting this visually stunning dessert that will wow your friends and family.
As you embark on this baking journey, keep these essential tips in mind:
- Color Care: Use high-quality gel food coloring to achieve vibrant hues.
- Layering Technique: Ensure each layer is evenly baked and cooled before stacking to maintain stability.
- Frosting Fun: Experiment with different frosting techniques for a professional finish.
- Presentation: Consider adding sprinkles or edible glitter for extra flair!
Your rainbow cake can be customized based on personal preferences, such as:
| Flavor | Color Pairing |
|---|---|
| Vanilla | Red, Orange, Yellow |
| Chocolate | Brown, Dark Purple |
| Lemon | Bright Yellow, Green |
In conclusion, don’t be afraid to let your creativity shine when making your rainbow cake. Whether it’s for a birthday, a holiday, or just because, this recipe is sure to spread joy and brighten any occasion. Happy baking!
 admin
admin


