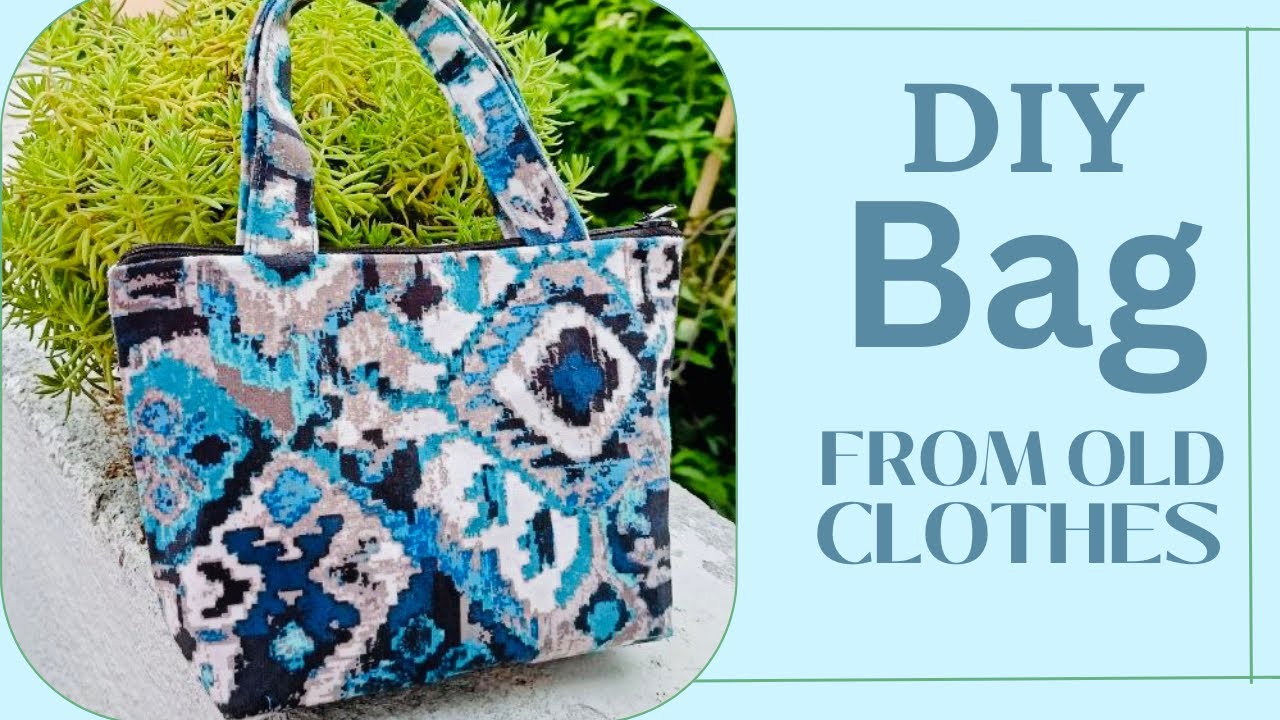
Are you ready to unleash your inner designer? Making a purse at home is not only a fun project, but it also allows you to showcase your personal style. Whether you're a beginner or have some sewing experience, crafting your own purse can be a satisfying experience. In this guide, we'll walk you through the steps, making it easy and enjoyable. Plus, you’ll have a unique accessory that nobody else has!
Materials Needed for DIY Purse
Before we dive into the crafting process, let's gather everything you need to create your fabulous purse. Here’s a comprehensive list of materials and tools:
- Fabric: Choose a fabric that suits your style! Options include cotton, denim, canvas, or something more upscale like faux leather.
- Lining Material: Don’t forget to pick a soft material for the lining, like cotton or polyester. This will give your purse a polished look.
- Interfacing: This adds structure to your purse. You can use fusible interfacing for extra sturdiness.
- Thread: Match your thread to your exterior fabric color. Polyester thread is strong and durable.
- Scissors: A good pair of fabric scissors is essential for clean cuts.
- Sewing Machine: While you can sew by hand, a machine will save you time and effort, especially for thicker fabrics.
- Pins or Clips: These will help hold your fabric pieces together while you sew.
- Measuring Tape: Accurate measurements are key to a well-fitted purse.
- Pattern or Template: Whether you draft your own or use a pre-made pattern, this will guide your cutting and sewing.
- Strap Material: Choose a durable material for the strap, or make a matching fabric strap for a cohesive look.
- Optional embellishments: Buttons, zippers, pockets, or decorative items can add personality to your purse.
Once you have all your materials gathered, you're ready to get started on crafting your purse! The goal is not only to make something functional but also to let your personality shine through your creation. So let's roll up our sleeves and get ready for some creative fun!
Also Read This: How to Make a Doll House: A Fun Craft Guide on Dailymotion
3. Choosing the Right Design for Your Purse

When it comes to making your own purse, the design is everything! The right design will not only reflect your personal style but also meet your practical needs. So, let’s dive into the exciting world of purse designs.
First, think about what you want the purse for. Is it for everyday use, special occasions, or perhaps a specific outing? Here are some questions to guide your design choice:
- Functionality: Will you need to carry a lot of items or just a few essentials?
- Size: Do you prefer a small clutch, medium-sized tote, or a larger handbag?
- Style: Are you looking for a casual bag or something more elegant?
- Pattern and Color: What fabrics and colors resonate with you? Are you leaning towards bold prints or classic neutrals?
Once you have a clear answer to these questions, you can start sketching your ideas or searching for inspiration online. Websites like Pinterest or Instagram are treasure troves for purse design inspiration! Plus, don't forget to consider additional elements like:
- Pockets: Pockets can help keep you organized. Think about whether you want internal pockets for your phone and wallet.
- Straps: Do you want shoulder straps, crossbody options, or even a cute chain?
- Closure Type: Consider different closure types like zippers, snap buttons, or magnetic clasps for security.
After you’ve narrowed down your design, it might help to create a mood board with fabric swatches, colors, and even pictures of purses that inspire you. Finally, don’t be afraid to mix and match ideas! Your purse is a reflection of you, so feel free to get creative and make it uniquely yours!
Also Read This: The Benefits of Dailymotion for Creators and Viewers
4. Step 1: Preparing Your Materials
Now that you've chosen your bag design, let's talk about the first step in the actual making process: preparing your materials. This is a crucial phase, as having the right tools and materials ready will make your sewing experience smoother and more enjoyable.
Here’s a handy checklist of what you’ll need:
- Fabric: Choose a durable fabric that suits your design. Options include cotton, denim, canvas, or faux leather. Make sure to get enough fabric based on your pattern requirements!
- Interfacing: This gives your purse structure. Depending on how stiff you want your purse to be, you can choose lightweight or heavyweight interfacing.
- Thread: Pick a thread that matches your fabric; you’ll be amazed at how a simple detail adds to the professionalism of your purse.
- Sewing Machine: A standard sewing machine will work well, but ensure it’s equipped for sewing heavier fabrics if you’re using anything like leather.
- Tools: Don't forget about necessary tools like scissors, pins, a sewing gauge, and a ruler for accurate measurements.
- Purse Hardware: Depending on your design, you may need zippers, clasps, or any decorative hardware like buckles.
Once you’ve gathered your materials, it's a good idea to lay everything out in your workspace. Organizing your materials not only saves time but also helps evoke a sense of excitement as you prepare for your crafting adventure!
Before you start cutting and sewing, take a few moments to read through your pattern instructions (if you're using one). This will give you a clear picture of the steps involved and help you visualize how everything will come together. Getting familiar with the workflow can minimize mistakes and keep you on track.
And that’s it for preparing your materials! You’re one step closer to creating your fabulous purse. Let's keep the momentum going as we dive into the next steps of this creative journey!
Also Read This: How to Watch Rejected Dailymotion Videos Accessing Blocked Content
5. Step 2: Cutting Fabric and Other Materials
Now that you’ve chosen your fabric and gathered all your tools, it’s time for one of the most critical steps: cutting your fabric and other materials. This part can be quite exciting, as it’s when you’ll see your purse begin to take shape. Let’s break it down step-by-step.
Gather Your Materials: Before you start cutting, ensure you have everything you need at hand. Here’s a quick checklist of materials:
- Fabric (main fabric, lining, and optional interfacing)
- Scissors or a rotary cutter
- Cutting mat (if using a rotary cutter)
- Ruler or measuring tape
- Chalk or fabric marker for marking
Measure and Mark: Using your pattern or measurements, measure out the dimensions of each piece you’ll need for the purse. This typically includes:
- Front and back panels
- Side panels
- Base panel
- Lining pieces
- Straps or handles
Using your chalk or fabric marker, mark the measurements clearly on the fabric. Make sure to keep a steady hand as accuracy is vital here!
Cutting the Fabric: When you’re ready to cut, take your scissors or rotary cutter and start cutting along the marked lines. Here are some tips for a clean cut:
- Always cut on a flat surface to avoid any discrepancies.
- Use sharp scissors or a rotary cutter for smoother edges.
- Cut each piece one at a time to avoid confusion between pieces.
If you’re using interfacing, you might want to cut it slightly smaller than the fabric pieces to avoid any bulk. Once you’ve cut all the pieces, take a moment to double-check everything. This will save you from any headaches later on!
Also Read This: The Power of Dailymotion for Publishers: Unlocking New Opportunities for Earning
6. Step 3: Assembling the Purse
With all your fabric pieces cut out and organized, it’s time to put everything together. This is where your purse starts to come to life! Follow these simple steps to assemble your creation.
Step 1: Start with the Exterior
Take your front and back fabric panels for the exterior of the purse. If your design includes any pockets, now is the time to attach them. Place the pocket piece on the front panel and pin it in place. Use a straight stitch to secure it, making sure the edges are neatly aligned.
Step 2: Attach the Sides
Next, it’s time to attach the side panels. With the exterior pieces right sides together, pin the side panels to the front and back. Sew along the edges, using a 1/4 inch seam allowance. Make sure you go slowly to ensure everything lines up perfectly.
Step 3: Add the Base Panel
Now, take the base panel and sew it onto the bottom edges of the side panels. This will give your purse structure and stability. Again, ensure that everything is aligned and pinned securely before sewing. Start to see how your purse is taking form?
Step 4: Create the Lining
While your exterior is coming together, it’s time to work on the lining. Repeat the same steps for the lining fabric as you did for the exterior. Remember that lining is typically sewn without pockets, but feel free to add pockets if desired. It’s a great place to keep your essential items organized!
Step 5: Join Exterior and Lining
Now that both the exterior and lining are complete, it’s time to connect them. With the lining inside out and the exterior right side out, carefully slide the exterior into the lining. Align all edges and pin them together. Leave a gap of about 4-5 inches in the bottom of the lining to turn your purse right side out later.
Step 6: Final Stitching
Sew all the way around the top edge of the purse. Remember, you’re almost done! Once you’ve stitched the top, carefully pull the exterior of the purse through the gap you left in the lining. This step can be a bit tricky, but take your time.
Step 7: Closing the Gap
Once you’ve pulled the purse right side out, it’s time to close the gap in the lining. Fold the raw edges inside and stitch them closed. After this, tuck the lining neatly inside the purse.
And there you have it! Your purse is coming together beautifully. Next up, you’ll just need to add any finishing touches, such as embellishments or closures, but you’re already on your way to creating a fabulous accessory! Keep going—you’re doing great!
Also Read This: How Dishwashers Work: A Detailed Guide on Dailymotion
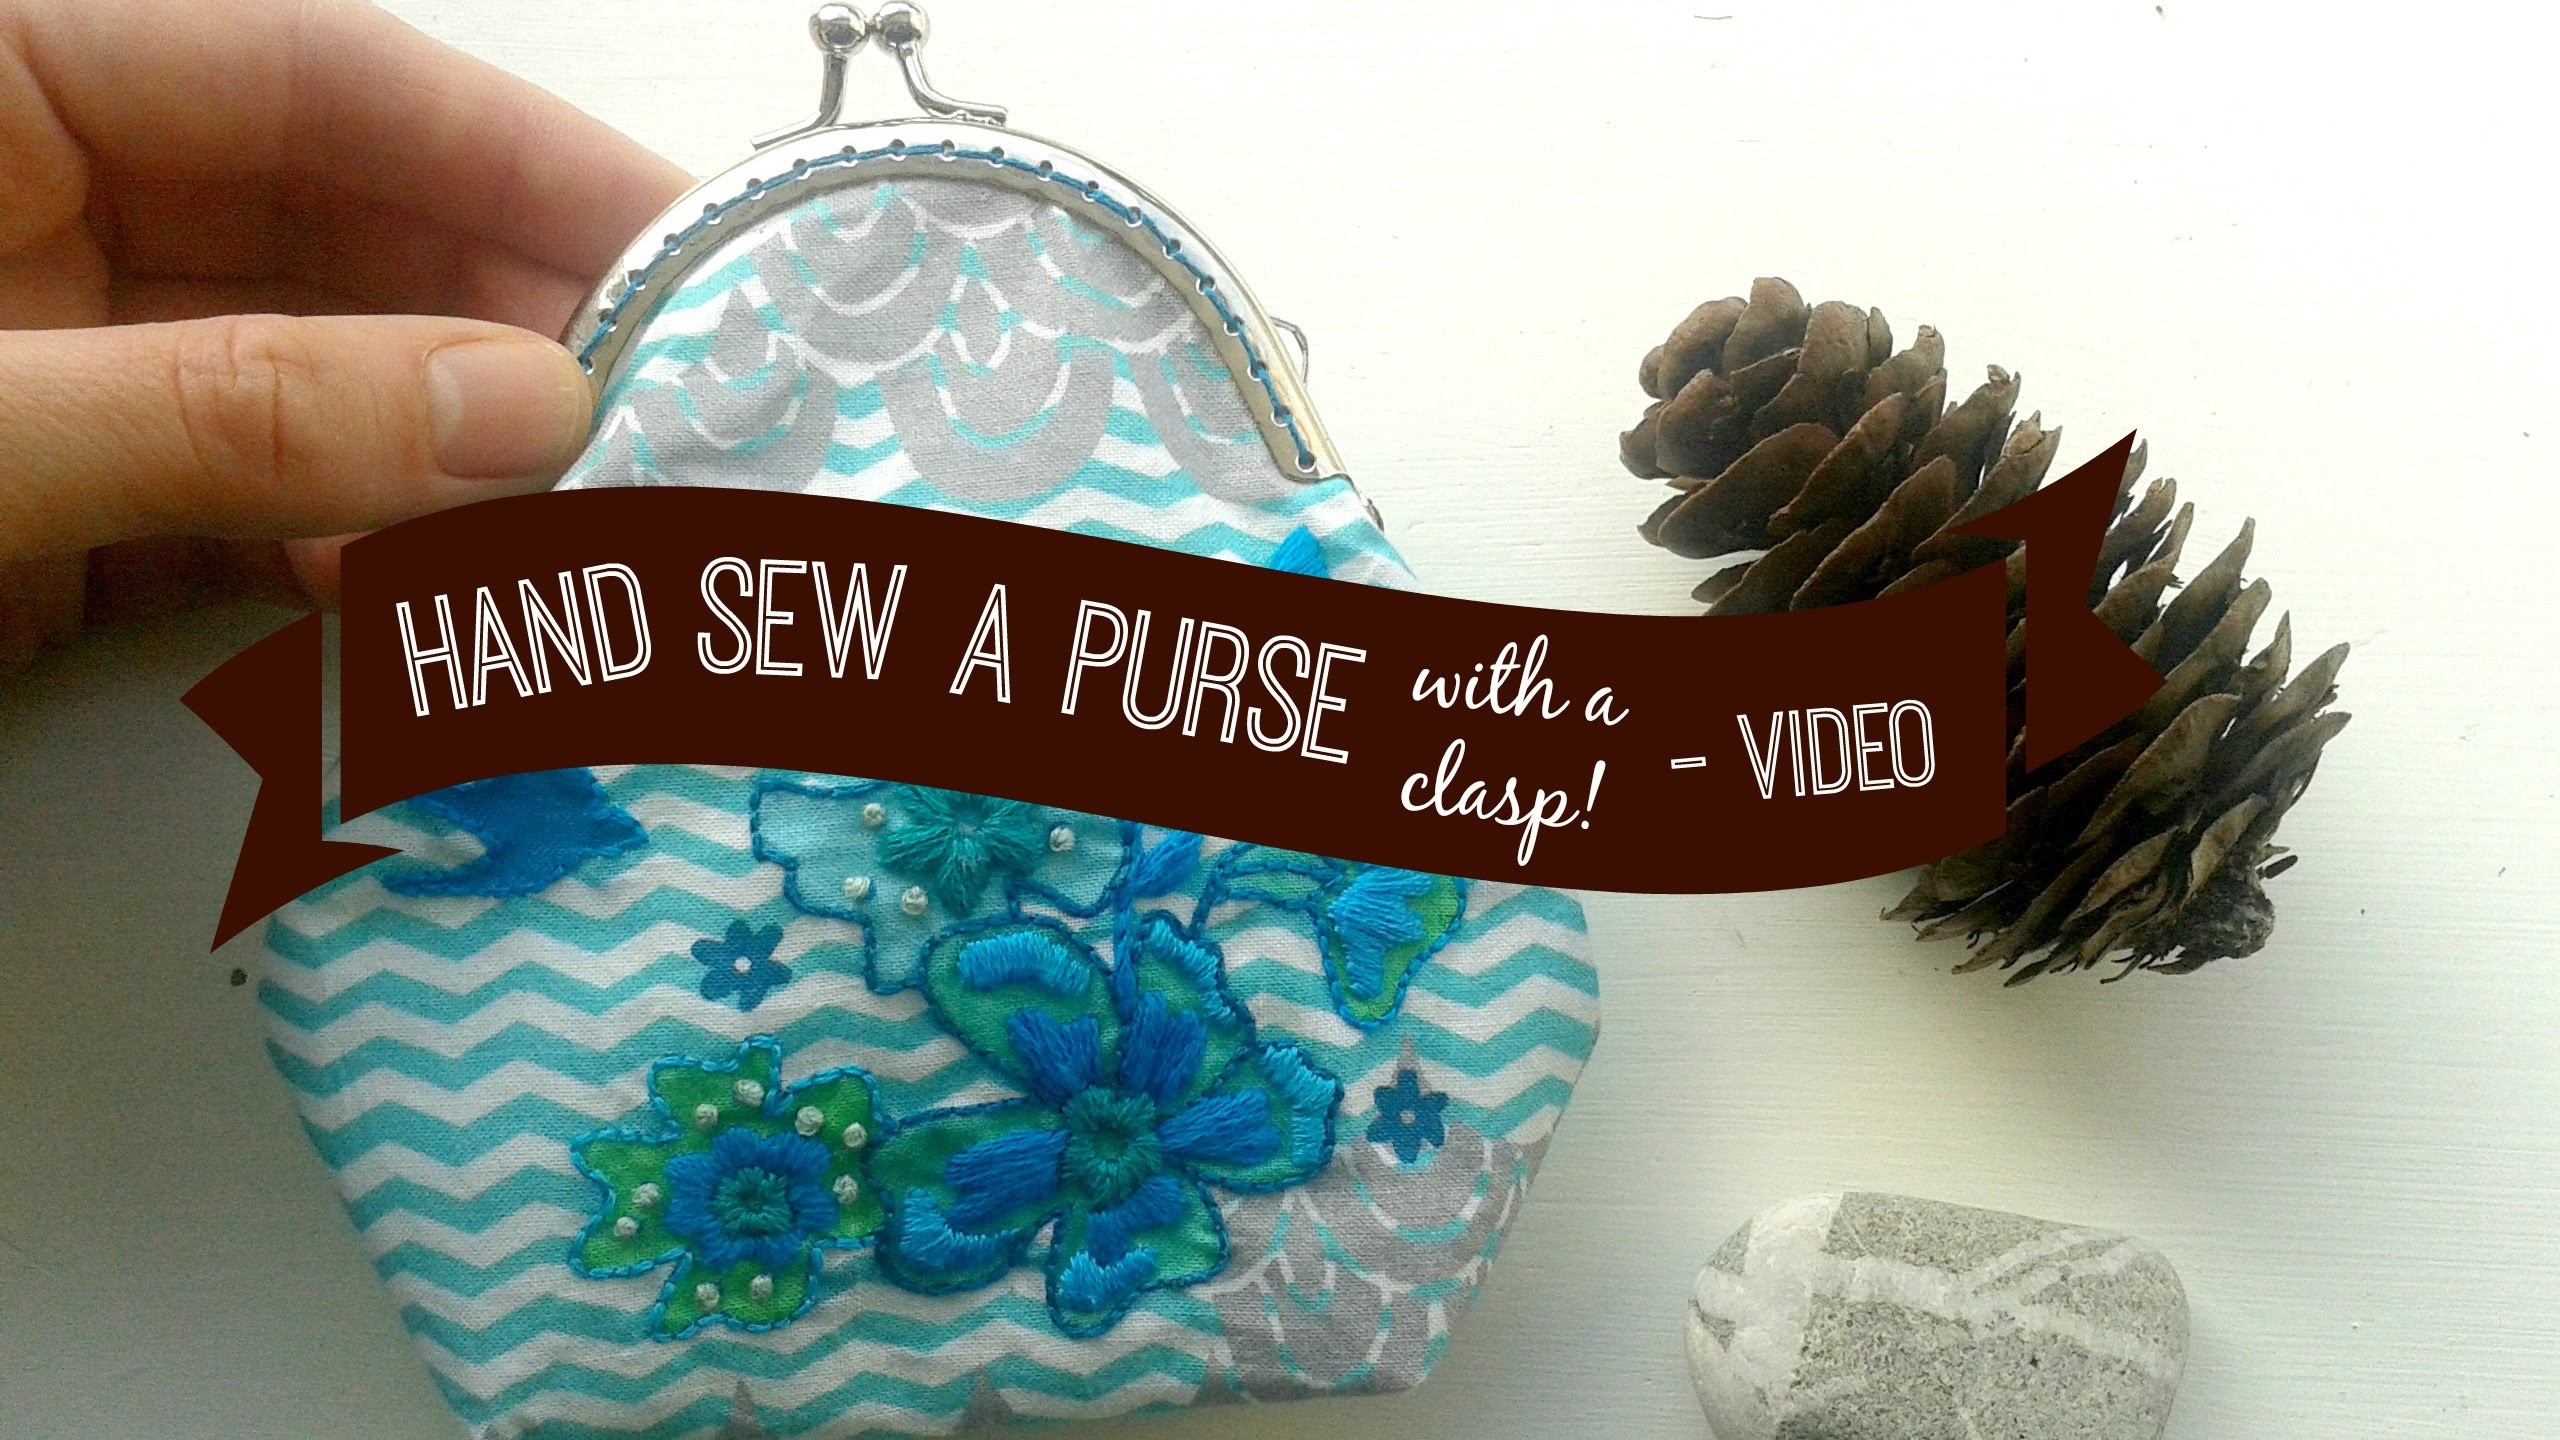
7. Step 4: Adding Closures and Details
Now that your purse is taking shape, it’s time to add some closures and details that not only enhance its functionality but also give it that personal touch. This step is all about making your purse look polished and complete, so let’s dive in!
Choosing the Right Closure
Depending on the style of your purse, there are several options you can consider for closures:
- Magnetic Snap: Easy to use and discreet, these snaps are perfect for a clean finish.
- Button and Loop: A classic choice that adds a handcrafted feel to your purse.
- Zipper: Great for security, especially if you plan to carry valuable items.
- Clasp or Hook: Stylish and can serve as a focal point for your design.
Once you’ve chosen your closure, follow these steps to add it:
- Position the closure on the flap or opening of your purse as per your design.
- Mark where the closure needs to be attached, making sure it's centered and level.
- With your needle and thread or a sewing machine, securely attach the closure as per the manufacturer’s instructions.
Adding Details
Details can truly elevate your purse from basic to beautiful. Here are some ideas to consider:
- Pockets: Sew in an internal pocket for keeping small items organized.
- Linings: Use a contrasting fabric for the lining to add color and personality.
- Embellishments: Think beads, patches, or embroidery that reflects your style. You can hand-stitch or use fabric glue for these additions.
Don't forget about the straps! You can add fabric or leather straps, or even chain straps for a chic look. Ensure they're securely attached and comfortable to hold.
As you add these final touches, remember to step back periodically and look at your purse from a distance. This will help you gauge the overall balance and design.
Also Read This: Exploring What Makes Dailymotion a Viable Alternative for Content Sharing
8. Step 5: Final Touches and Customization
Congratulations on reaching the final step of your purse-making journey! Now, you get to indulge your creativity even further through customization and those all-important final touches.
Adding Personal Flair
This is where your personality can shine! Here are some fun ways to customize your purse:
- Paint or Fabric Markers: Use fabric-safe paint to add designs, patterns, or even your initials for a unique touch.
- Patchwork: Stitch on some fun patches that reflect your interests or experiences.
- Keychains or Charms: Attach little charms to your straps for a whimsical look.
Final Quality Check
Before calling your project complete, it’s essential to do a final quality check. Here are some things to consider:
- Check all stitching for strength. Ensure there are no loose threads or areas that need reinforcing.
- Inspect your closures to ensure they work correctly and securely.
- Make sure all embellishments are secure and won’t come off during use.
- Give your purse a gentle press or steam if necessary to remove any creases.
Show Off Your Creation!
You’ve put in a lot of work, and now it’s time to enjoy the fruits of your labor. Take your new purse out for a spin, and don’t hesitate to show it off to friends and family. You might inspire them to join you in the wonderful world of DIY fashion!
And who knows? Maybe this will spark an entire collection of unique purses, each with its own story. Happy crafting!
Also Read This: How to Safely View NSFW Content on Dailymotion
9. Tips for a Successful DIY Purse Project
Embarking on a DIY purse project can be both thrilling and intimidating, especially if it's your first time. But don't worry! With a bit of patience and creativity, you can create a purse that’s not only functional but also a beautiful representation of your unique style. Here are some tips to help ensure your project goes smoothly:
- Choose the Right Materials: Select materials that are durable yet easy to work with. For beginners, fabrics like canvas or cotton are ideal. If you want something more luxurious, consider faux leather.
- Measure Twice, Cut Once: Always double-check your measurements before cutting your fabric. Mistakes here can lead to wasted materials and frustration.
- Use Quality Tools: Invest in good scissors, a rotary cutter, or a sewing machine. Using the right tools can make a significant difference in your project’s outcome.
- Practice Basic Stitches: If you're new to sewing, practice basic stitches on scrap fabric before starting your purse. This will build your confidence and help you master techniques.
- Follow a Pattern: If you're unsure where to start, consider following an established sewing pattern. Many patterns come with detailed instructions and are designed specifically for beginners.
- Add Personal Touches: Don’t hesitate to personalize your purse. Add pockets, decorative stitching, or unique embellishments that reflect your personality.
- Take Your Time: Rushing the process can lead to mistakes. Enjoy the experience of creating something special and give yourself the time you need to achieve the best results.
- Ask for Help: Consider joining a sewing group or online community. Sharing your experiences and seeking advice can provide you with valuable insights and motivation.
Remember, every project is a learning opportunity. If things don't go exactly as planned, don’t get discouraged. You can always fix mistakes, and with each purse you create, you'll become more skilled and confident in your sewing abilities!
Also Read This: Easy Steps to Succeed in Business with Dailymotion Tutorials
10. Conclusion
Congratulations on taking the leap into crafting your own purse! It's not only an enriching creative endeavor but also a chance to express yourself through fashion. By following this step-by-step guide, you should now feel equipped with the knowledge and skills to create a stunning purse that suits your style and needs.
Whether you choose a simple tote, a chic clutch, or something more elaborate, remember that each stitch is a step towards mastering your craft. Here’s a quick recap of some important takeaways:
- Plan your design and gather necessary materials in advance.
- Follow the patterns and instructions carefully, especially if you're a beginner.
- Always experiment and allow your creativity to shine!
- Have fun with the process and don’t hesitate to make adjustments as needed.
Your finished purse can be a wonderful accessory for yourself or a thoughtful, handmade gift for someone special. So gather your materials, set aside some time, and get crafting! We can’t wait to see what unique designs you come up with. Happy sewing!
Additional Resources and Video Tutorials
When embarking on your journey to create a purse at home, having access to the right resources can significantly enhance your experience. Below are some valuable tools, websites, and video tutorials to help you along the way:
Online Platforms and Websites:
- YouTube - A treasure trove of video tutorials covering numerous styles and techniques.
- Sewing.org - Offers various patterns and tips for purse making.
- Craftsy - Enroll in courses specifically focused on sewing and bag-making.
Recommended YouTube Channels:
- So Sew Easy - Great for beginners and advanced sewists.
- PurseStrings - Focuses specifically on purse-making tutorials.
- Professor Pincushion - Wide range of sewing tips and project ideas.
Books for Further Learning:
| Title | Author | Focus Area |
|---|---|---|
| The Bag Making Bible | Lisa Lam | Purse techniques and patterns |
| Sewing Bags | Maggie Adams | Creative bag designs |
With these resources at your fingertips, you’re better equipped to explore the art of purse making. Embrace the learning process, and soon you’ll be crafting your own unique bags with confidence!
 admin
admin


