Welcome to the world of paper planes! They’re not just simple pieces of folded paper; they’re a gateway to creativity, physics, and endless fun. Whether you’re a kid looking to impress your friends or an adult wanting to relive childhood memories, crafting a paper plane is a delightful activity. With the right techniques, you can create planes that soar gracefully through the air or perform daring tricks. So, let’s dive into the basics and get you ready to start folding!
Materials Needed for Crafting Paper Planes
Before we start folding, let’s gather our materials. Luckily, the beauty of making paper planes is that it requires minimal supplies. Here’s what you’ll need:
- Paper: The most important material! Standard printer paper (A4 or letter size) works well, but feel free to experiment with different types like colored paper or even lightweight cardstock for variation.
- Scissors: While many paper planes can be made without cutting, having scissors on hand can help you customize your designs.
- Ruler: A ruler helps ensure your folds are straight and precise, leading to better flight performance.
- Pencil: Use a pencil for marking measurements if you plan on making specific designs that require accuracy.
- Decorative materials (optional): Think stickers, markers, or washi tape! Personalizing your plane can add to the fun, making it uniquely yours.
Once you have your materials ready, you’re all set to embark on this fun crafting journey. Remember, the beauty of making paper planes lies in experimentation. Don’t be afraid to try different paper types, sizes, and even folding techniques to see how they affect your planes' flight. Let your imagination soar just like your creations!
Also Read This: Simplifying Your Search for Educational and Religious Content on Dailymotion
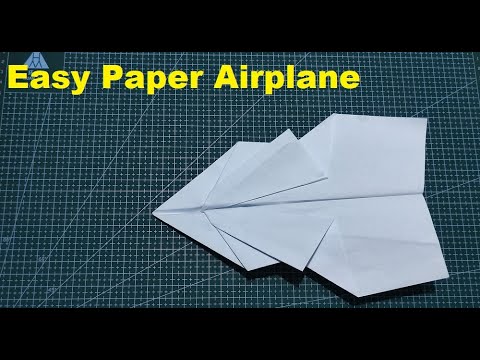
3. Step-by-Step Instructions for Making a Simple Paper Plane
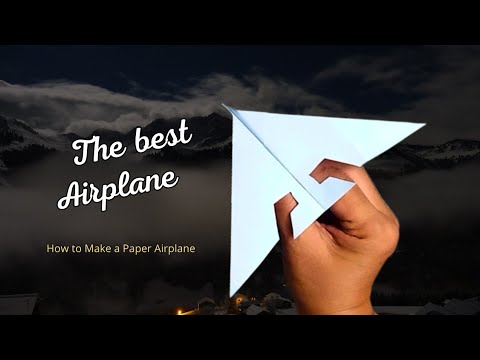
Ready to fly high with your very own paper plane? Let’s get started! Making a simple paper plane is not only fun but also a great way to learn about aerodynamics. Follow these easy steps, and you’ll be soaring in no time:
- Gather Your Materials: All you need is a standard A4 or letter-sized sheet of paper. You might want to use a different type of paper if you're feeling adventurous!
- Make the First Fold: Start by folding the paper in half lengthwise. This is your center crease. Make sure to press down firmly to create a sharp crease, then unfold it back. This crease will help guide your next folds.
- Create the Nose: Fold the top two corners down towards the center crease, forming a triangle at the top. This step gives your plane its distinct nose shape.
- Make the Second Fold: Take the new top edges (the ones you just created) and fold them down to the center crease again. You should have a narrower triangle now, making your plane more aerodynamic.
- Prepare the Wings: Now, fold the paper in half along the original center crease (the one you made at the beginning). Ensure that the triangle points outward.
- Form the Wings: With the plane folded in half, take the top edge of one side and fold it down to create a wing. The wing should angle slightly downward. Flip the plane over and repeat this step on the other side to create the second wing.
- Adjust for Flight: To help it fly better, slightly bend the tips of the wings upward. This adjustment can help with lift!
- Ready for Takeoff: Hold your plane from the bottom and give it a gentle toss. Experiment with different throwing techniques to see how far it can go!
And there you have it! A simple yet effective paper plane that’s ready to take to the skies. Remember, practice makes perfect, so don’t hesitate to make a few more variations!
Also Read This: Don Part 1 on Dailymotion: Where to Stream It
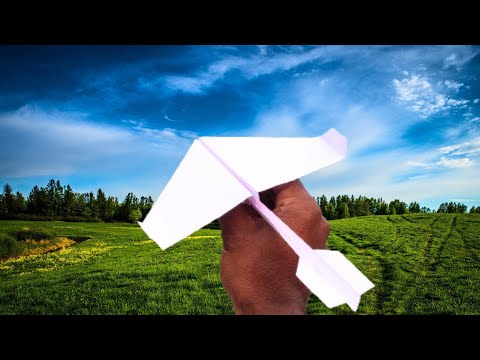
4. Tips for Enhancing Your Paper Plane Design
Now that you’ve got the basics down, let’s talk about how to enhance your paper plane design. Making simple changes can lead to impressive improvements in performance! Here are some creative tips:
- Use Heavier Paper: Try using cardstock or heavier paper. This added weight can lead to more stability and longer flight times.
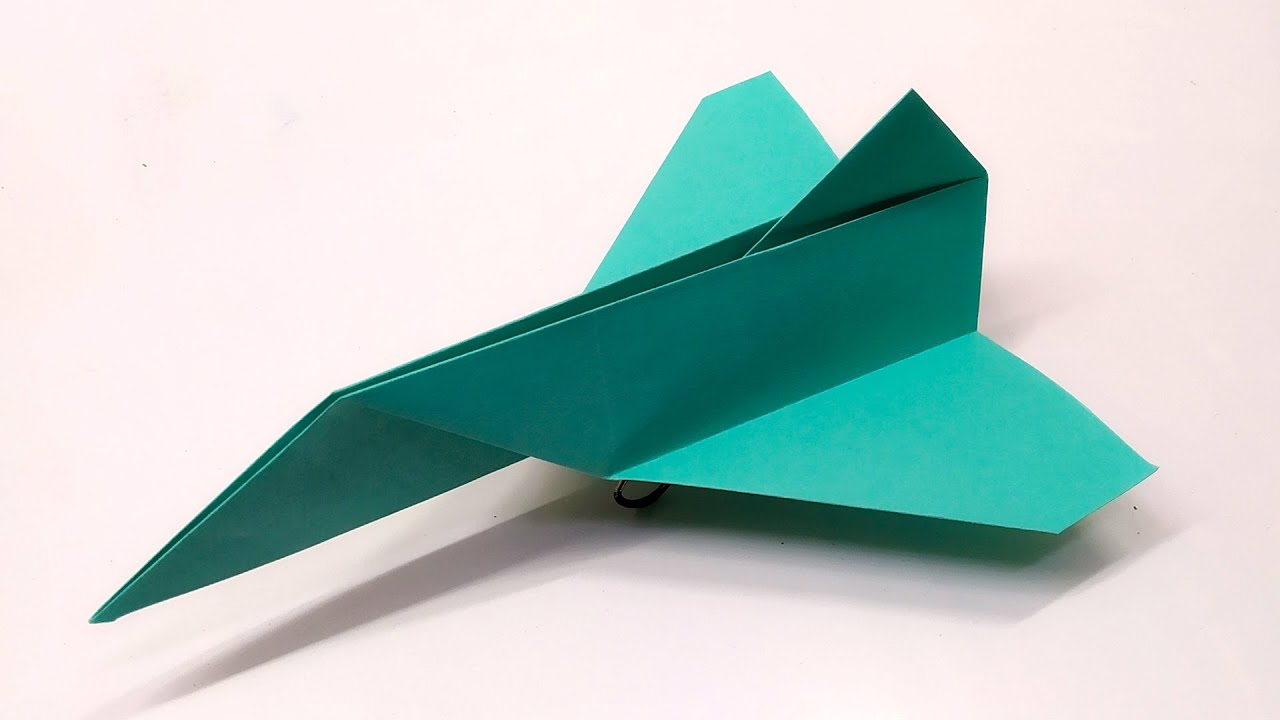
- Experiment with Wing Shape: Instead of just straight wings, experiment with different shapes. For example, try a wing with a slight upward curve or even a delta wing design!
- Add Fins: Adding small fins at the back of your plane can improve stability. Simply cut out small triangles and tape them to the back of your plane.
- Decorate Your Plane: Personalize your plane with colors or designs. Markers, stickers, or washi tape can make your plane look awesome and unique!
- Modify the Wing Span: Altering the width or length of the wings can dramatically change flight dynamics. Wider wings can improve lift, while narrower wings enhance speed.
- Test Different Fold Techniques: Try adjusting the folds to see how it affects the flight. A more pointed nose can help it cut through the air better, while a wider base might help with stability.
With these tips, you can transform your basic paper plane into a high-flying masterpiece. Remember, the sky's the limit—so go ahead, experiment, and see what works best for your design!
Also Read This: How to Make a Paper House: Simple DIY Guide on Dailymotion
5. Common Mistakes to Avoid When Making Paper Planes
Creating the perfect paper plane can be a fun yet challenging endeavor. While it might seem straightforward, there are a few common pitfalls that can affect your plane's performance. Let’s dive into some of these mistakes so you can fly higher and longer!
- Using the Wrong Paper: Not all paper is created equal! Thinner paper can cause your plane to crumple, while very thick paper might make it too heavy to soar. Aim for standard printing paper or lightweight cardstock for the best results.
- Poor Folds: One of the most critical aspects of making a paper plane is folding. Misaligned folds or uneven creases can throw off the balance. Always take your time to make precise, sharp folds. Using a ruler to help guide your lines can be a game-changer!
- Skipping the Tests: After crafting your plane, don’t just throw it once and call it a day. Test it out! Minor adjustments can lead to major improvements. If it dives or rolls, tweak the wings or add a bit of weight to the nose, and see how it affects the flight.
- Neglecting Weight Distribution: Balance is everything in aerodynamics. If your plane is too front-heavy or back-heavy, it won’t fly well. Consider adding small paper clips to the nose or the wings as needed to fine-tune the flight dynamics.
- Overlooking the Wing Shape: The design of your wings can significantly impact how your plane flies. Avoid making them too small or too wide. A good starting point is to have wings that are about half the length of the plane's body for a balanced flight.
By steering clear of these common mistakes, you'll be on your way to crafting a paper plane that not only flies but impresses! Remember, every little adjustment can make a big difference, so embrace the process, and don’t be afraid to try new things.
6. Conclusion and Encouragement to Experiment with Different Designs
Congratulations on embarking on this paper plane adventure! As you’ve seen, crafting a paper plane is not just about folding paper; it's about understanding the principles of flight and having fun in the process. Don’t be discouraged if your first few attempts don’t soar as expected. Every great designer started somewhere!
Consider this: the world of paper planes is vast and full of possibilities. You can find countless designs online, from the classic dart to elaborate gliders. Each design has its own unique flight characteristics, which means there's always something new to explore. Here are a few tips to keep your experimentation exciting:
- Try Different Materials: Experiment with different types of paper or even add extra elements like tape or lightweight materials to see how they affect your plane's performance.
- Modify Designs: Take a basic design and tweak it. Change the angle of the wings, adjust the length, or even add flaps. This is how innovation happens!
- Involve Friends or Family: Make it a fun competition! Challenge them to see who can create the longest-flying plane or the most creative design. It's a great way to learn from each other.
- Document Your Findings: Keep a little notebook with your designs and the results of your test flights. You might discover patterns that lead to your best designs yet.
So, grab that paper and start folding! Embrace every flight, crash, and success as an opportunity to learn. The sky's the limit—literally! Happy flying!
 admin
admin


