Have you ever wondered how something as simple as a piece of paper can defy gravity? Enter the paper helicopter! This fascinating little device is not just a fun craft project but also an impressive example of basic physics in action. Whether you're looking to engage your kids in a hands-on activity or just want to satisfy your own curiosity, making a paper helicopter is an exciting way to explore concepts like lift, air resistance, and gravity. Ready to take flight? Let’s dive right in!
Materials Needed for Your Paper Helicopter
Before we get started with the construction, let’s gather all the necessary materials. The good news? You likely have most of these items lying around your home! Here’s what you’ll need:
- Paper: A standard piece of lightweight paper works best. You can use printer paper, notebook paper, or even colored paper for added fun!
- Scissors: To cut your paper into the right shapes.
- Pencil or Pen: To mark measurements for cutting.
- Ruler: For precise measurements (optional, but helps!).
- Tape or Glue: To secure parts of the helicopter if needed.
- Paper Clip: This will act as a weight at the bottom of your helicopter, helping it fly better.
Once you have all your materials ready, you're just a few steps away from creating your very own flying paper helicopter. Remember, the quality and type of paper can affect how well your helicopter flies, so feel free to experiment with different kinds!
Now that we know what we need, let’s get ready to create something that will soar through the air in style!
Also Read This: What Is the Best Downloader for Dailymotion Top Tools for Easy Downloads
3. Step-by-Step Instructions to Create Your Paper Helicopter
Creating your very own paper helicopter is not just fun; it's a fantastic way to learn about the principles of flight! Let’s break it down into simple steps, so you can easily follow along.
- Gather Your Materials: Before you start, make sure you have everything you need:
- A piece of paper (printer paper works great)
- Scissors
- A ruler
- A pencil
- A paperclip (optional for weight)
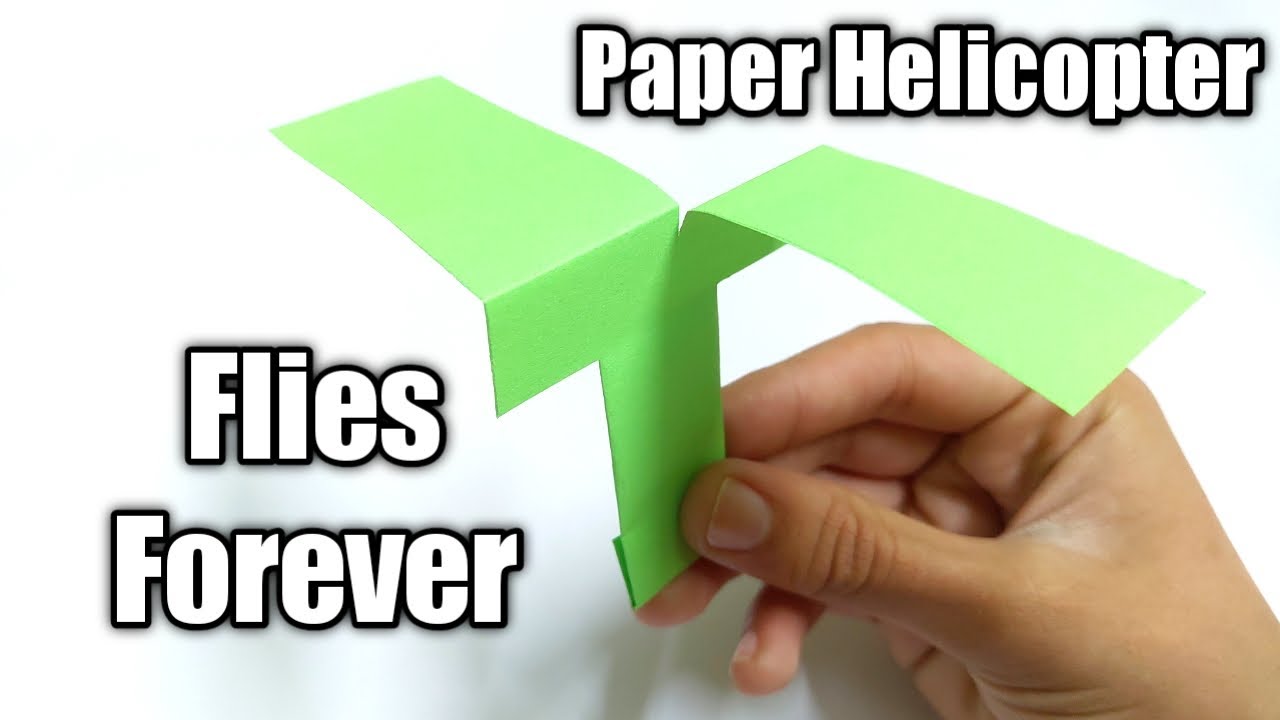
- Cut the Paper: Use your ruler and pencil to measure and draw a rectangle approximately 6 inches long and 1 inch wide on your paper. Use scissors to cut it out carefully.
- Create the Rotor Blades: At one end of the rectangle, measure about 2 inches up from the bottom and draw a line across, cutting along this line, but do not cut all the way through. Leave about half an inch uncut to keep it connected.
- Fold the Blades: Carefully fold each of the two flaps you just cut downwards to form the rotor blades. You want them to be at a right angle to the body of the helicopter.
- Add Weight (Optional): To help your helicopter fly better, you can attach a paperclip to the bottom of the helicopter. This adds a bit of weight and can help with stability.
- Final Touches: If you want to decorate your helicopter, now’s the time! Use markers, stickers, or anything else to personalize your creation.
And there you have it! Your paper helicopter is ready to take flight. Isn’t it amazing how something so simple can be both enjoyable and educational? Let’s move on to the next part: learning how to fly it effectively!
Also Read This: Monetization Basics: How to Enable It on Your Dailymotion Channel
4. How to Fly Your Paper Helicopter Effectively
Now that your paper helicopter is complete, it’s time to see it in action! Flying your helicopter is as much an art as it is a science. Here are some tips to make sure it flies smoothly and gracefully.
- Find the Right Launch Technique: The way you launch your helicopter can greatly impact how it flies. Hold your helicopter by the body, just above the rotor blades. Make sure to give it a gentle but firm toss downwards. Avoid too much force as this can cause it to spin uncontrollably.
- Experiment with Height: Try launching your helicopter from different heights. You’ll find that dropping it from a higher point allows it to spin longer and fall more gracefully. A good height to start is around 5-6 feet.
- Observe the Wind: Wind can be your best friend or your worst enemy when flying your helicopter. If you’re outside, try to launch it on a calm day. Even a slight breeze can affect the flight path.
- Fine-Tune the Weight: If your helicopter isn’t flying well, consider adjusting the weight. Adding or removing a paperclip can help you find the sweet spot where it flies perfectly. Balance is key!
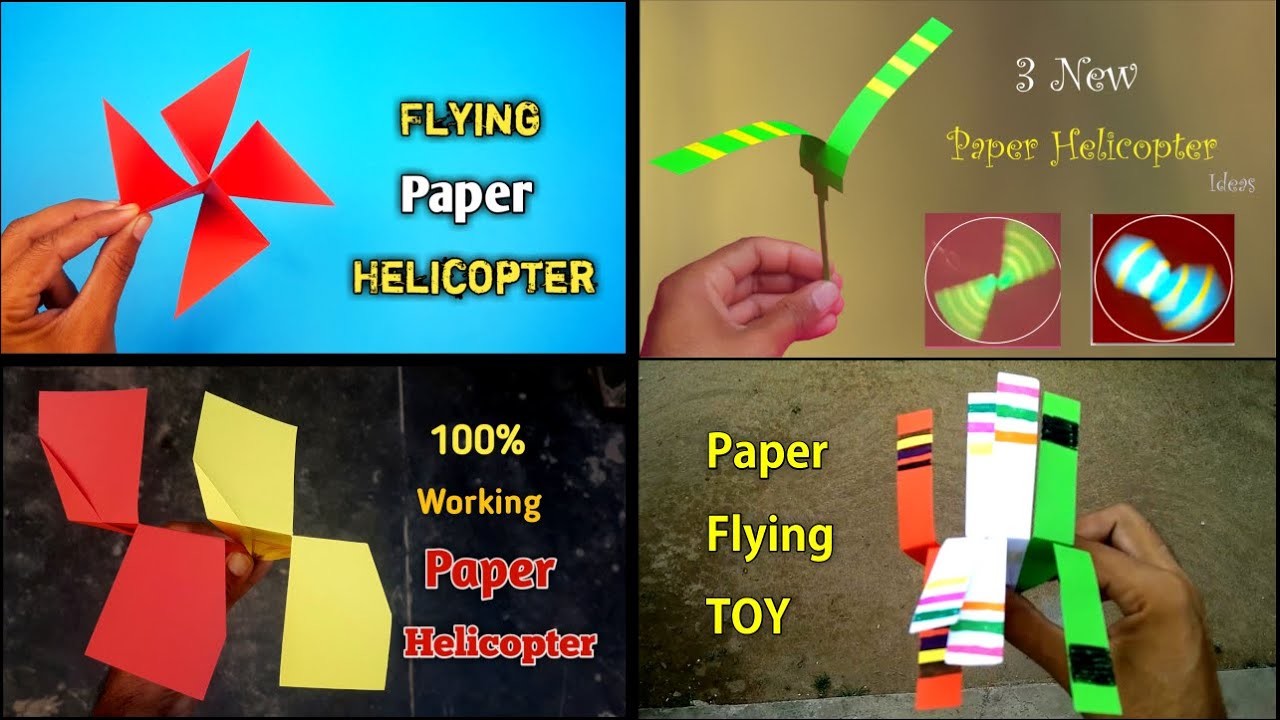
- Try Different Designs: Once you’ve mastered one design, don’t be afraid to experiment! Change the dimensions of your helicopter or the shape of the rotor blades. Each variation can lead to different flight characteristics.
Remember, practice makes perfect! Don’t get discouraged if your helicopter doesn’t fly as expected at first. With a little patience and experimentation, you’ll be a paper helicopter pro in no time!
Also Read This: What Is Dailymotion? Understanding the Video Sharing Platform
5. Troubleshooting Common Issues with Paper Helicopters
Making a paper helicopter is a fun and educational experience, but sometimes things don’t go as planned. Don’t worry! Here are some common issues you might encounter, along with tips on how to fix them.
1. Helicopter Not Spinning: If your helicopter isn’t spinning during its descent, check the following:
- Weight Distribution: Make sure the paper helicopter is balanced. If one side is heavier, it won’t spin effectively. You can add a small paper clip to the bottom to help with balance.
- Blade Length: Ensure both blades are of equal length. If one is longer, it can cause uneven air resistance, preventing proper rotation.
2. Helicopter Falls Too Fast: If your helicopter is plummeting to the ground, it might not have enough drag. Try these adjustments:
- Blade Shape: Experiment with the angle of the blades. Increasing the angle slightly can create more lift.
- Material Thickness: If you’re using very thick paper, consider switching to a lighter paper, which can enhance glide time.
3. Helicopter Getting Stuck: Sometimes, a helicopter may get stuck in a tree or on a ledge. Here’s how to avoid that:
- Launch Angle: Try launching your helicopter from a higher point but at a less steep angle to prevent it from getting caught in branches.
- Wind Conditions: Avoid windy days, as strong gusts can cause your helicopter to drift unpredictably.
By keeping these troubleshooting tips in mind, you can ensure that your paper helicopter flies smoothly and glides gracefully. Remember, practice makes perfect, so don’t get discouraged if things don’t go right on the first try!
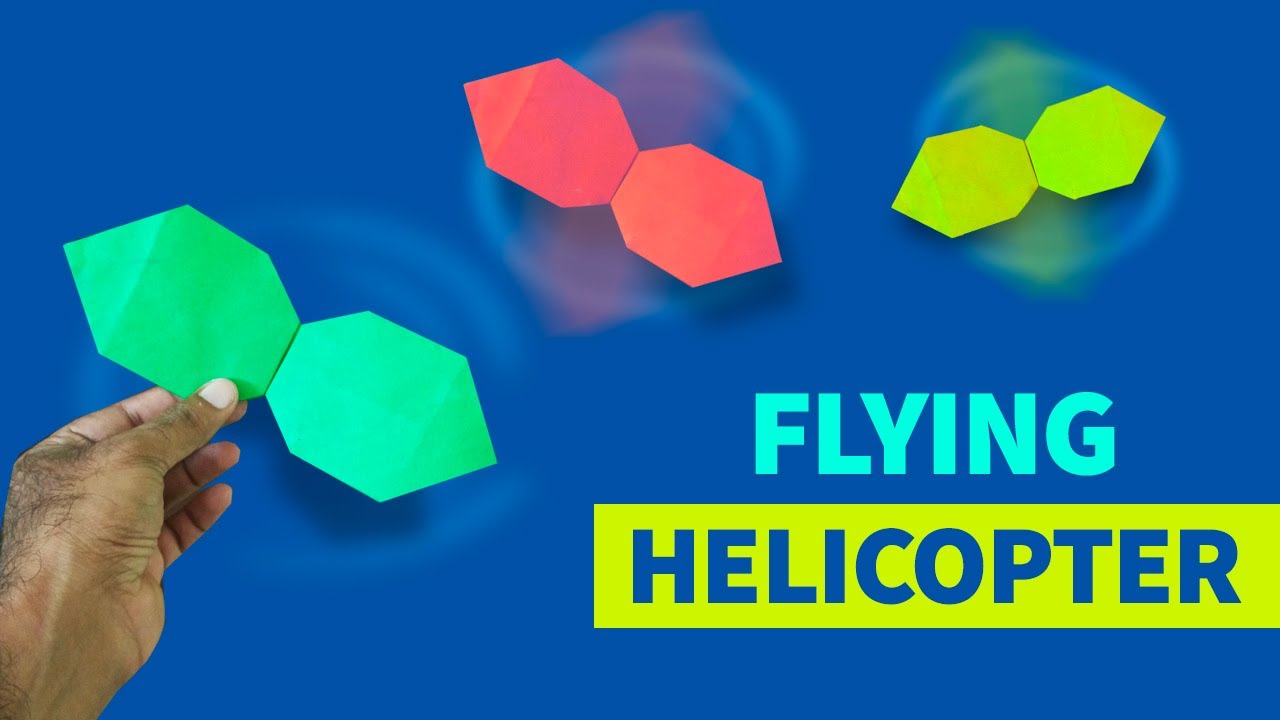
6. Fun Variations and Experiments with Paper Helicopters
Once you’ve mastered the basic paper helicopter, the fun doesn’t have to stop there! Here are some exciting variations and experiments you can try to enhance your helicopter-making skills.
1. Colorful Designs: Instead of plain paper, why not use colored or patterned paper? You can also decorate your helicopter with markers or stickers to make it visually appealing. This won’t just make it look great; it’ll also help you track it better when it’s flying!
2. Different Sizes: Experiment with different sizes of your helicopter. Try making mini helicopters and larger ones to see how size affects flight time and spinning. You might find that smaller versions spin faster, while larger ones might glide better.
3. Adding Weight: Attach small weights (like paper clips) to different parts of the helicopter to see how it affects flight. Does adding weight to the bottom make it fly slower or faster? This is a great way to learn about aerodynamics!
4. Race Your Helicopters: Gather friends or family and have a paper helicopter race. This not only adds a competitive element but also allows you to compare designs and see which one flies the best!
5. Testing Different Materials: Try making helicopters using different types of paper, such as construction paper, newspaper, or cardstock. Each material has its own properties that will affect how your helicopter performs.
By exploring these variations and conducting experiments, you’ll not only improve your skills but also deepen your understanding of physics and flight principles. So, grab your paper, get creative, and have fun flying!
 admin
admin


