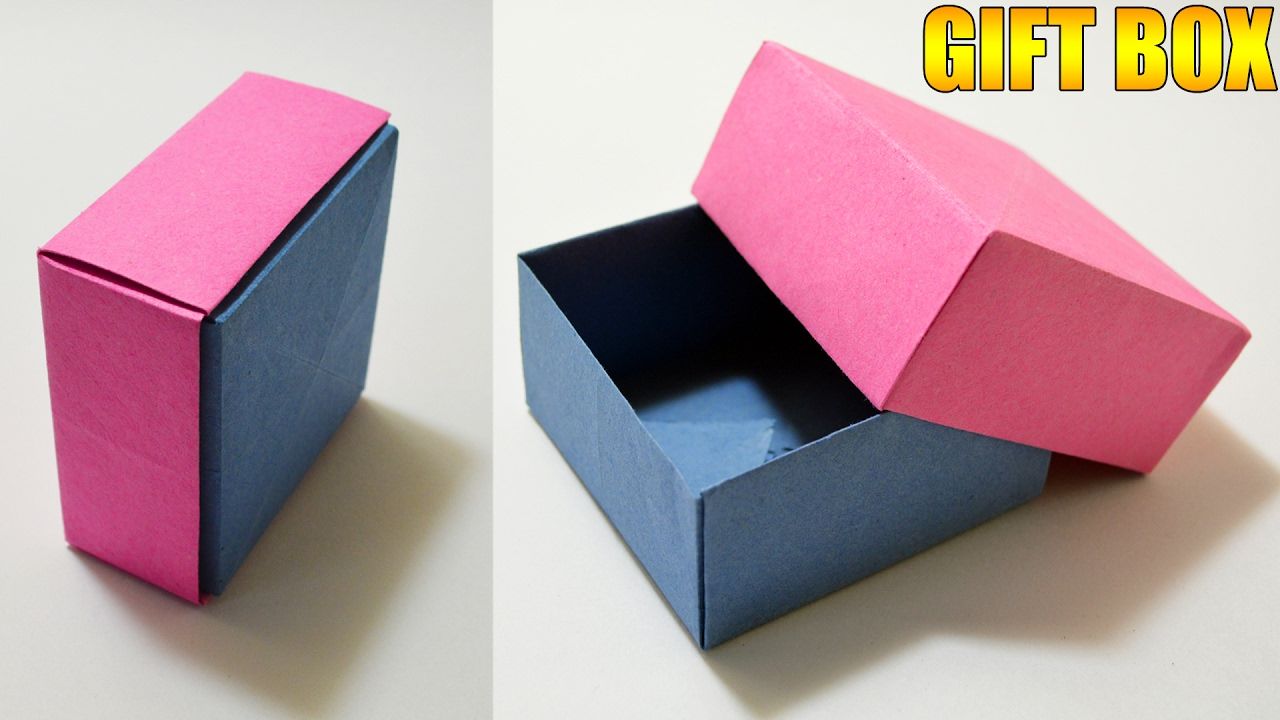
Paper gift boxes are a delightful way to present gifts, adding a personal touch to any occasion. They're not only visually appealing but also eco-friendly, making them a perfect choice for the environmentally conscious. Whether you're wrapping a birthday present, a holiday surprise, or a thoughtful token for a friend, paper gift boxes can elevate your gifting game. Plus, making one can be a fun project! In this guide, I’ll walk you through the process step by step, so let’s dive in!
Materials Needed for Your Paper Gift Box
Before you kick off your paper gift box-making adventure, let’s gather the essentials. Here’s a handy list of materials you’ll need:
- Paper: Choose sturdy craft paper, scrapbook paper, or even recycled paper for an eco-friendly option. Make sure it’s decorative!
- Scissors: A good pair of scissors will help you cut your paper accurately.
- Ruler: This will help you measure your paper for precise dimensions.
- Pencil: For marking your measurements without leaving permanent marks.
- Glue or Double-Sided Tape: These will secure the box together.
- Bone Folder (optional): This tool helps create crisp folds, giving your box a professional look.
- Embellishments (optional): Ribbons, stickers, or stamps can add a personal touch to your finished product.
Gather these materials, and you’ll be all set to create something beautiful! Remember, the type of paper you choose can really influence the overall look of your gift box. For a festive vibe, consider using printed paper, while solid colors can lend a more elegant feel.
Also Read This: How to Download 8 Ball Pool Hack on Dailymotion: A Gaming Tutorial
3. Step 1: Choosing the Right Paper
When it comes to making a paper gift box, the first step is to choose the right paper. This choice can significantly influence both the aesthetics and the sturdiness of your box. Here are some options to consider:
- Cardstock: This is a popular choice because it's thicker and sturdier than regular paper. It holds its shape well, making it ideal for a gift box that needs to endure a bit of handling.
- Wrapping Paper: If you want something colorful and festive, wrapping paper is a great option. Just keep in mind that it’s usually thinner, so you may want to double it up for added durability.
- Craft Paper: Often available in various colors and textures, craft paper is a versatile choice. It’s easy to work with and can add a rustic charm to your gift box.
- Decorative Paper: Think about using patterned or themed paper. This can be an excellent way to personalize your gift box to match the occasion or the preferences of the recipient.
While choosing the paper, consider the size of the gift you plan to put inside. Larger gifts may require larger sheets of paper, while smaller items can be wrapped in smaller pieces. It’s also worth noting that the design of the paper should complement what’s inside. For instance, if you’re wrapping a gift for a baby shower, pastel colors or adorable patterns would fit perfectly.
Once you've made your choice, gather your materials! You’ll need a ruler, scissors, and possibly some adhesive or tape. Get ready to dive into the next step!
Also Read This: Is Dailymotion Safe in 2018? Evaluating Its Security Measures
4. Step 2: Measuring and Cutting the Paper
Now that you've chosen your paper, it's time for the fun part: measuring and cutting! This step is crucial because precise measurements will ensure that your box fits your gift snugly without being too loose or too tight.
Follow these steps to measure and cut your paper:
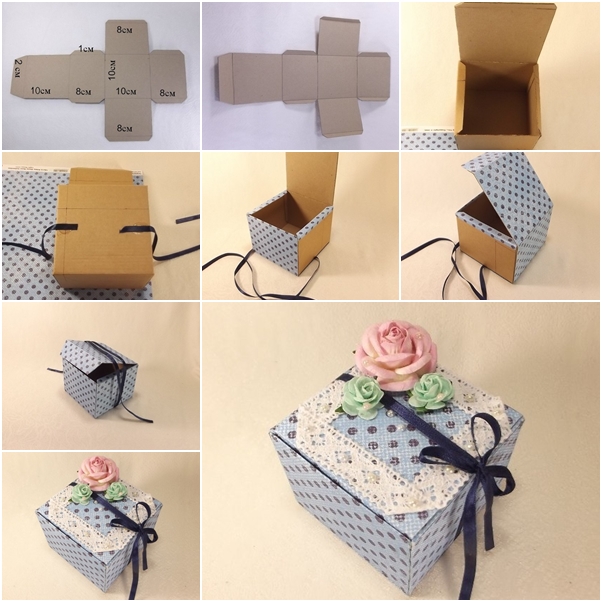
- Measure Your Gift: Start by measuring the dimensions of the gift you want to box. Use a ruler or measuring tape to get the width, length, and height. Write these measurements down.
- Calculate Paper Size: To create a basic box, you’ll typically need to add some extra space for flaps. A good rule of thumb is to add 2 inches to each measurement for the flaps. For example, if your gift is 4 inches wide, 6 inches long, and 3 inches high, your paper should be approximately 8 inches wide and 10 inches long.
- Draw Guidelines: Using a pencil and ruler, lightly mark your measurements on the back side of the paper. This will help guide your cutting. It's best to draw straight lines to ensure neat edges.
- Cut the Paper: With your scissors, carefully cut along the guidelines you've drawn. For a more professional look, consider using a craft knife and cutting mat, especially if your paper is thicker.
After cutting, you should have a rectangular piece of paper with dimensions that allow it to fold into a box. Make sure there are no jagged edges; clean cuts will provide a polished appearance. If you’re feeling adventurous, you can also experiment with different shapes, like hexagons or squares, depending on the look you’re going for.
With your paper perfectly measured and cut, you’re now ready to assemble your box. Stay tuned for the next exciting step!
Also Read This: Unearthing Hidden Gems: Religious Content and Its Reach on Dailymotion
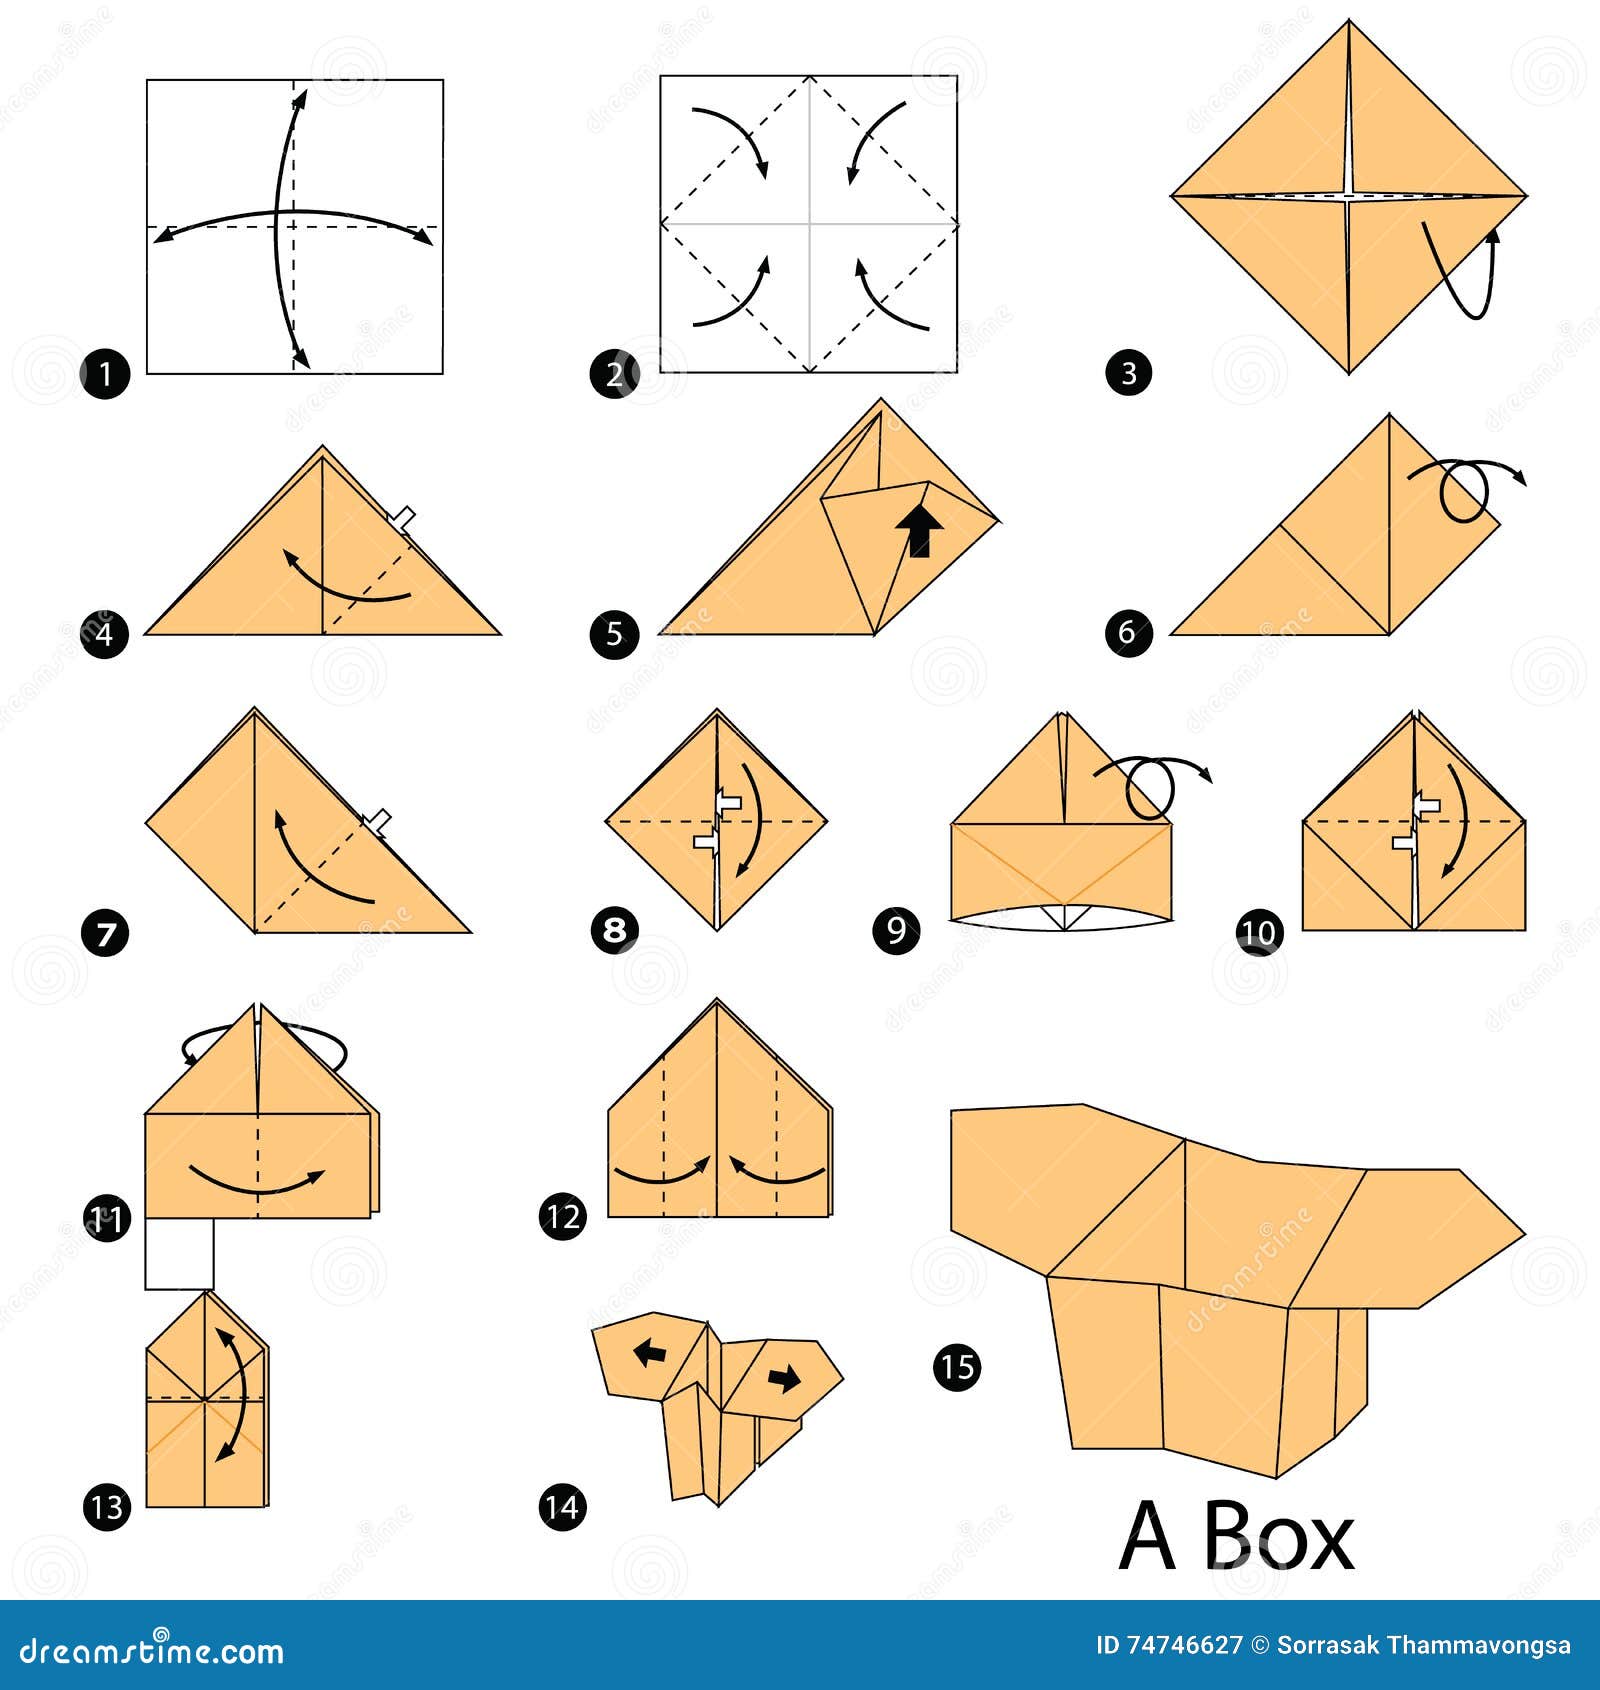
5. Step 3: Folding Techniques for Perfect Edges
Now that you’ve cut your paper to the right size, it’s time to master the art of folding. This is where your gift box starts to take shape, and getting those edges perfect is crucial for a polished look.
First, let’s talk about scoring. Scoring is a technique that creates a line along which you can fold, making it easier to achieve clean, sharp edges. You can use a bone folder or even the back of a butter knife to score your paper gently. Here’s how to do it:
- Place your paper on a flat surface.
- Use a ruler to mark where you want the fold to be. This can be the center for the base or the sides of your box.
- Run the bone folder or knife along the ruler to create a light indentation.
This technique helps to avoid unsightly creases and tears when you fold. Now, let’s get into the actual folding:
- Start with the base: Fold the paper along the scored lines. It’s best to fold towards the inside so that the lines are hidden.
- Use your fingers: Press down firmly on the folds with your fingers to ensure they’re crisp. The better your folds, the more professional your gift box will look!
- Check the corners: Make sure the corners align perfectly. If they’re off, gently re-fold until they match up.
Once you’ve folded all the edges, it’s good practice to run your finger along each crease again, reinforcing those folds. The more precisely you fold, the more impressive your final box will appear. Remember, practice makes perfect here!
Also Read This: Easy Tips for Brewing Authentic Turkish Tea with Dailymotion Guidance
6. Step 4: Assembling the Gift Box
With your paper beautifully folded, it’s time to assemble the gift box! This part can be quite fun, as you’ll see your hard work come together.
Start by laying out your folded sections. You should have a base and four side panels. To assemble:
- Secure the base: If you’ve scored your paper correctly, the base should come together easily. Use double-sided tape or glue to keep the sides attached. Apply tape to the edges where the sides meet the base.
- Attach the sides: Working one side at a time, hold a side panel against the base and attach it with tape or glue. Repeat this process for each side, ensuring that they align perfectly at the corners.
- Final touches: Once the sides are secured, check that everything is straight. You can add a bit more tape or glue to any areas that feel loose.
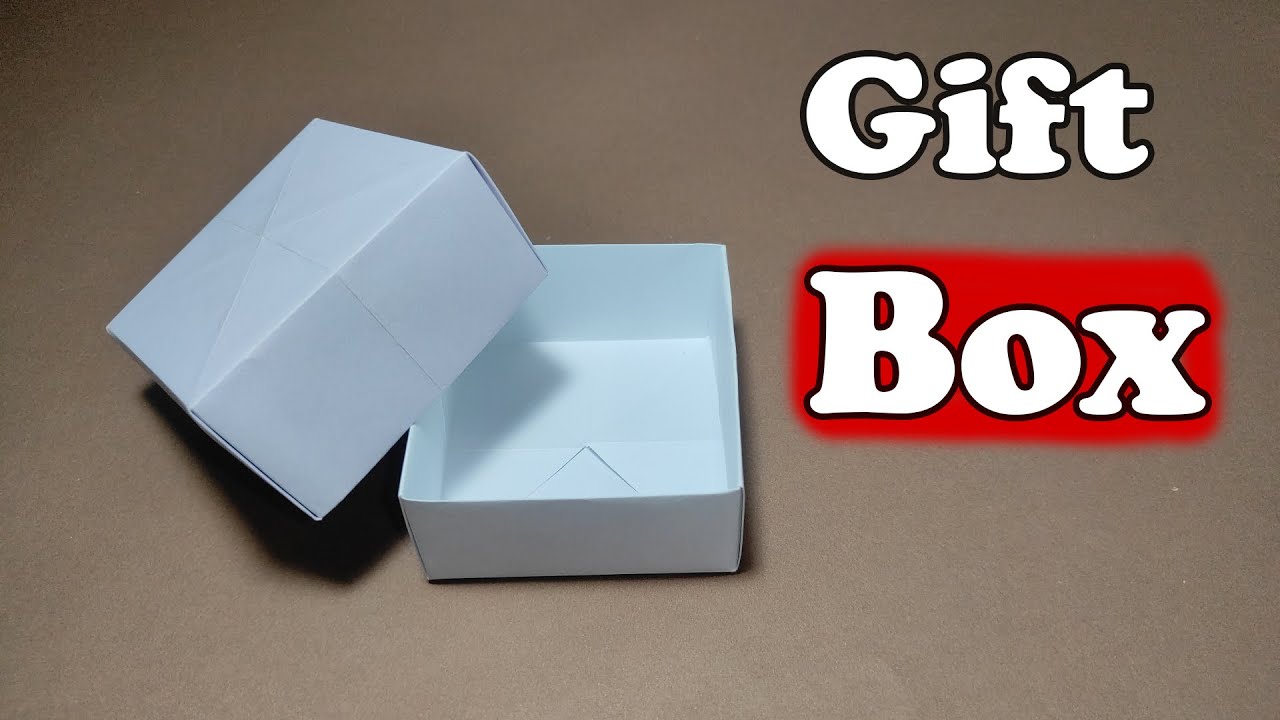
For added flair, consider decorating your box! You can use washi tape, stickers, or even a ribbon to elevate the look. Just imagine how delightful it’ll be to present a gift in a beautifully crafted box!
And there you have it! With just a few simple steps, you’ve created a stunning paper gift box that’s perfect for any occasion. Whether it’s a birthday, holiday, or just because, a handmade box adds a personal touch that store-bought packages simply can’t match.
Also Read This: How to Cook Pizza in a Pressure Cooker
7. Step 5: Decorating Your Paper Gift Box
Now that you've crafted your paper gift box, it’s time to unleash your creativity and give it a personal touch! Decorating your box can transform a simple paper structure into a stunning gift presentation. Here are some fun and easy ways to decorate your gift box:
- Wrapping Paper: Use colorful wrapping paper to cover your box. You can choose seasonal designs, floral patterns, or even a solid color that matches the occasion.
- Stickers and Washi Tape: Get playful with stickers or washi tape. They come in various designs and colors, allowing you to add a pop of personality to your box.
- Ribbon and Bows: A classic way to finish off your gift is with a ribbon or bow. Choose a contrasting color that complements your box. Tie a nice bow on top or wrap the ribbon around the box for an elegant touch.
- Handwritten Notes: Add a personal touch by including a handwritten note or tag attached with twine. This is a lovely way to convey your thoughts and make the gift even more special.
- Paint or Markers: If you’re feeling artsy, grab some acrylic paint or markers and decorate the box with designs, patterns, or even doodles. This is a great way to get kids involved too!
Remember, the aim is to reflect the personality of the gift or the recipient. So, don’t hesitate to mix and match ideas or come up with your own unique styles. Enjoy the process, and let your imagination run wild!
8. Tips for Customizing Your Gift Box
Customizing your gift box can make your present stand out and show the recipient just how much you care. Here are some practical tips to personalize your gift box:
- Theme It: Consider the occasion or the recipient's interests. For instance, if it's for a child, go for a fun cartoon theme. For a wedding gift, use elegant colors and designs.
- Use Personal Photos: Print out small photos that are meaningful to the recipient and attach them to the box. This could be a fun memory, a moment shared with them, or something related to the gift.
- Incorporate Nature: Add dried flowers, leaves, or even small pinecones for a rustic touch. This not only enhances the aesthetics but also gives a unique texture.
- Use Different Box Sizes: Instead of a standard box, try using boxes of varying sizes to create a stack or a unique shape. This can add dimension and interest!
- Add a Personal Message: Personalization goes beyond just decoration. Write a heartfelt message or quote that resonates with the occasion, and place it inside the box or on a tag.
Customizing your gift box is all about creativity and thoughtfulness. By incorporating these tips, you can make your gift truly unforgettable!
 admin
admin


