Crafting with paper is a delightful and creative way to express yourself, and making paper bows is no exception! Whether you're looking to add some flair to your gifts or want to jazz up your home decor, paper bows are versatile and easy to create. With just a few folds and cuts, you can transform simple paper into beautiful bows that can elevate any project.
As you step into the world of paper bow crafting, you'll discover various techniques and styles. From classic ribbon-like bows to whimsical designs, the possibilities are virtually endless. Plus, it’s a fun activity for all ages, making it perfect for family gatherings, parties, or rainy afternoons. So, gather your materials and let’s dive into the wonderful world of paper bow crafting!
Materials Needed for Making Paper Bows

Before we get started with the fun crafting process, let's gather all the materials you'll need. The great thing about making paper bows is that you probably already have many of these items at home! Here's a quick checklist for you:
- Paper: Choose your favorite type of paper. You can use scrapbook paper, wrapping paper, construction paper, or any decorative paper that catches your eye.
- Scissors: A good pair of scissors will help you achieve clean cuts.
- Glue or Tape: You'll need something to hold your bow together. Craft glue works well, but double-sided tape is also a quick option.
- Ruler: For measuring and ensuring your paper pieces are cut evenly.
- Pencil: Use it to mark measurements on the paper before cutting.
- Embellishments (optional): Think beads, glitter, or sequins if you want to add an extra touch of creativity!
Here’s a quick table summarizing the materials:
| Material | Purpose |
|---|---|
| Paper | Main material for crafting the bow |
| Scissors | To cut the paper |
| Glue or Tape | To assemble the bow |
| Ruler | For precise measurements |
| Pencil | To mark cutting lines |
| Embellishments | To decorate and personalize the bows |
With these simple materials in hand, you're all set to start crafting your paper bows. Let's unleash our creativity!
Step-by-Step Instructions for Creating a Paper Bow

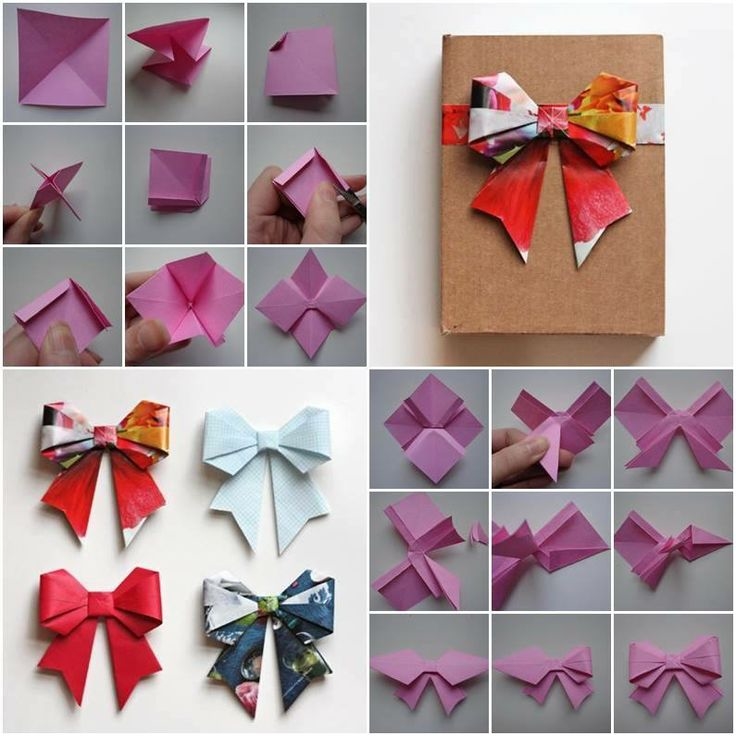
Making a paper bow can be a fun and simple project, perfect for all ages! Whether you're dressing up a gift or just enjoying some crafting time, follow these easy steps:
- Gather Materials: You'll need:
- Colored paper or cardstock
- Scissors
- Glue or tape
- Pencil
Creative Variations of Paper Bows

The great thing about paper bows is that they can be customized in countless ways, adding a personal touch to your craft! Here are some fun variations you can try:
- Patterned Paper Bows: Use wrapping paper or scrapbook paper with fun designs. This can add instant style without much effort.
- Layered Bows: Create multiple smaller bows in different colors and attach them together for a layered look. This can be especially eye-catching!
- Mini Bows: Make tiny bows for adorning cards or smaller gifts. Simply reduce the size of your paper strips - about 0.5 inches wide can work wonders!
- Textured Bows: Experiment with different materials like felt or fabric for a unique, tactile experience. These can be great for special occasions!
- Bows with Ribbons: Use ribbon along with your paper for an even more luxurious look. Simply attach a paper bow to a ribbon bow for extra flair!
There's really no limit when it comes to creativity! So grab your materials and start experimenting! Your next paper bow could be a masterpiece!
5. Uses for Paper Bows in Crafts and Gifts

Paper bows are not just a delightful addition to any gift; they have a myriad of uses that can enhance your crafting experience! Here are a few creative ideas:
- Gift Wrapping: A paper bow instantly elevates the presentation of a gift. Whether it’s for a birthday, wedding, or holiday, a handmade bow adds a personal touch that store-bought gifts often lack.
- Scrapbooking: Incorporating paper bows in your scrapbook pages can add dimension and charm. They serve as cute embellishments that draw attention and can complement your photos beautifully.
- Decorations: Use paper bows to jazz up your home decor. Hang them on doors, walls, or even in your window. Paper bows can brighten up a room for special occasions like parties, holidays, or even just because!
- Card Making: Enhance your handmade cards for any event with these lovely bows. They can serve as a focal point or a sweet accent to convey your heartfelt wishes.
- Party Favor Bags: Adorn party favor bags with charming paper bows to make your treats look extra special. They add an element of excitement and creativity to your celebrations!
As you can see, the versatility of paper bows makes them an essential item for any crafting enthusiast!
6. Tips for Successful Paper Bow Crafting
Crafting the perfect paper bow can be a fun and rewarding experience, but there are some tips that can help ensure your bows turn out beautifully every time. Here are some handy suggestions:
- Choose Quality Paper: Select paper that’s sturdy but flexible enough to fold easily, like craft or scrapbook paper. This will help your bows maintain their shape.
- Use Sharp Scissors: Dull scissors can lead to ragged edges. Sharp scissors ensure clean cuts, which will make your bows look neater and more professional.
- Experiment with Sizes: Don’t be afraid to play around with different sizes! Large bows make bold statements, while smaller ones can be delicate accents.
- Add Variations: Mix and match colors and patterns for a unique look. Adding double-sided paper can also give your bows an interesting twist!
- Secure with Glue: Make sure to secure your bow's shape with a dab of glue or tape. This will keep it looking fresh even after being handled!
By following these tips, your paper bow crafting will be smooth and enjoyable, allowing you to unleash your creativity without a hitch!
How to Make a Paper Bow with Fun Crafting Ideas
Creating paper bows can be a delightful and creative endeavor, perfect for adornment on gifts, decorations for parties, or personalizing your crafting projects. With just a few simple materials, you can craft elegant and whimsical bows. Below are some fun crafting ideas and techniques to help you make the perfect paper bow.
Materials Needed
- Colored or decorative paper
- Scissors
- Glue or double-sided tape
- Ruler
- Pencil
Basic Steps to Create a Simple Paper Bow
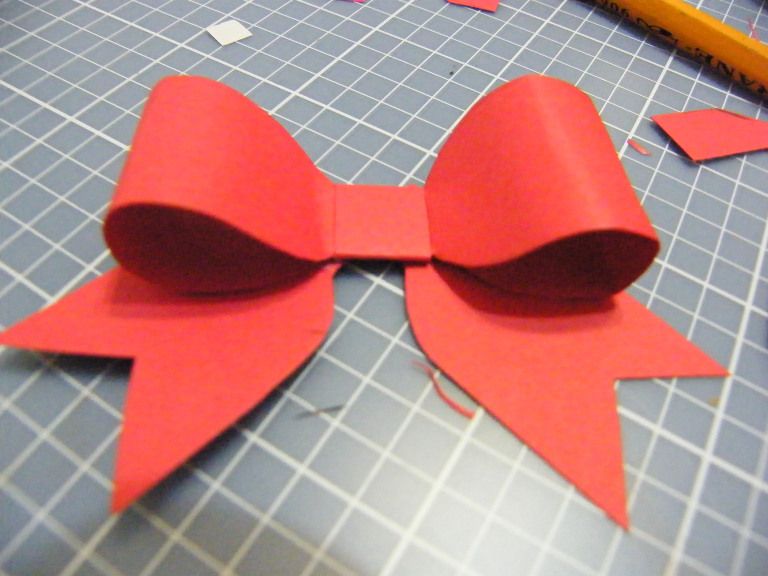
- *Cut the Paper: Start by cutting a rectangular piece of paper. The size can vary depending on the desired bow size; a common size is 6 inches by 2 inches.
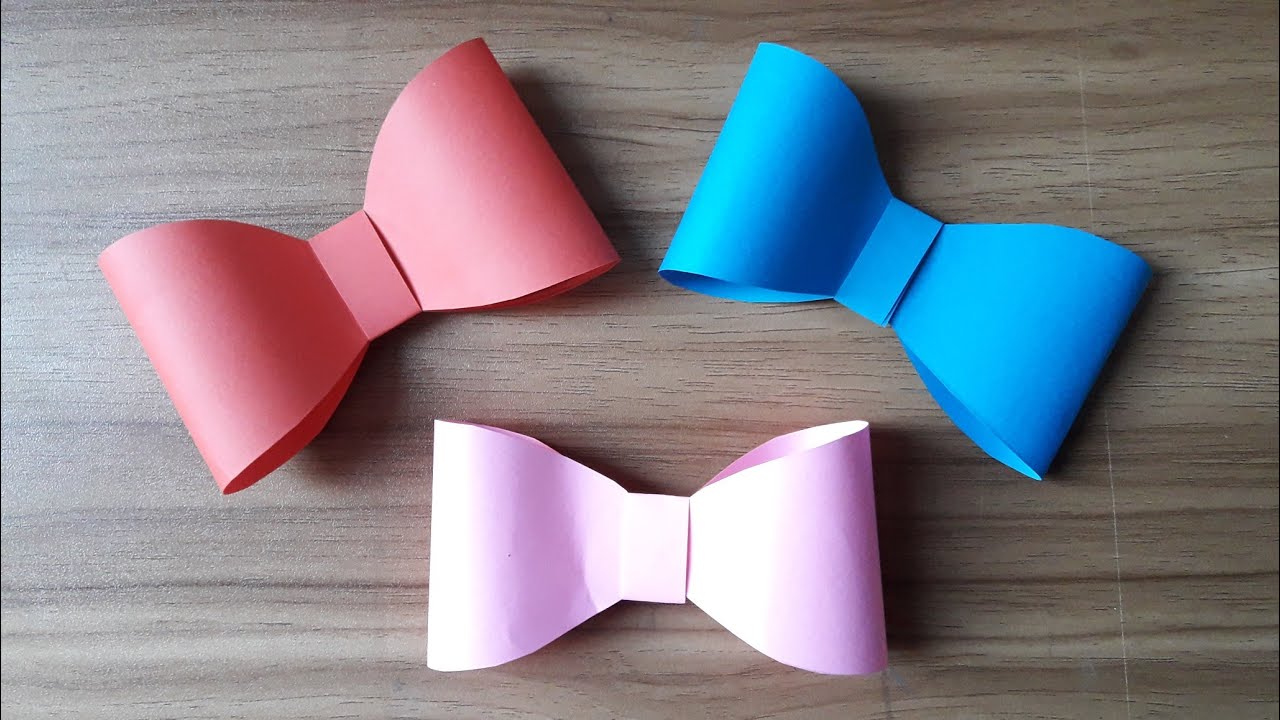
- Create the Loops: Fold the paper lengthwise to form a loop and secure it with glue or tape. Repeat this process to create another loop.
- Form the Center Knot: Cut a small strip of paper (about 1 inch by 3 inches). Wrap it around the center of the two loops and secure it with glue.
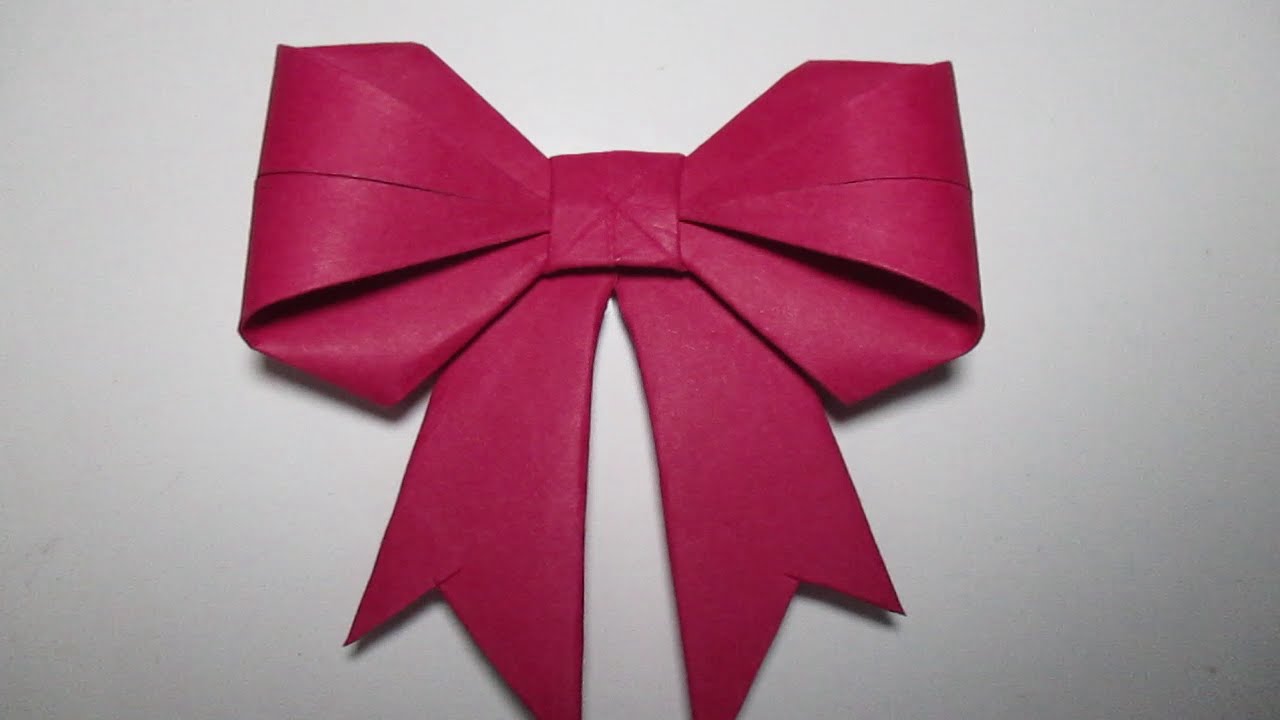
- Finishing Touches: Adjust the loops to create a fuller bow and trim the ends at an angle for a polished look.
Creative Variations
Once you've mastered the basic bow, you can experiment with different designs:
- Use Patterned Paper: Choose vibrant and fun designs to make your bows stand out.
- Add Glitter or Sequins: Spice up your paper bows by applying some glitter or sequins for a sparkling effect.
- Layering Bows:* Create multiple paper bows in different sizes and layer them for added dimension.
With these simple steps and creative ideas, the possibilities are endless. Enjoy the craft of making unique paper bows that add a special touch to any gift or occasion.
Conclusion: Enjoy the Art of Paper Bow Making!
 admin
admin


