If you’re looking for a fun and creative way to spend your time, loom band crafting is the perfect hobby! This hands-on activity allows you to express your creativity by making colorful accessories and gifts. One of the most delightful projects is creating a loom band flower ring. Not only is it a fantastic way to use up leftover bands, but it also results in a charming piece of jewelry that can be worn or given away. So, roll up your sleeves and let's dive into the world of loom bands!
Materials Needed for the Loom Band Flower Ring
Creating a loom band flower ring is an enjoyable process, and having the right materials on hand makes it even easier. Here’s what you need:
Essential Materials
- Loom Bands: Choose vibrant colors to make your flower ring stand out. You can use regular or mini bands depending on your preference.
- Loom Tool: This is essential for weaving the bands together. If you don’t have one, you can use a fork or your fingers.
- Hook Tool: A hook tool is useful for pushing bands and securing your work. It helps in maneuvering and tightening the bands.
- Triple or Double C Clip: You'll need this to secure your flower ring's structure once the bands are woven together.
- Scissors: A pair of scissors may be necessary for trimming any excess band or adjusting lengths.
Optional Materials
- Beads: Adding beads in the center of the flower gives it an extra pop of personality and charm.
- Metallic Loom Bands: These can give your flower ring a fun sparkle, especially if you're creating it for a special occasion.
- Decorative Items: Consider embellishments like glitter or paint to customize your ring further!
Once you gather these materials, you’re ready to unleash your creativity! Loom band crafting is not just for kids; it’s a wonderful stress-relieving activity for crafters of all ages. So, let’s get started on making that beautiful flower ring!
Also Read This: How to Download Dailymotion Videos on Mobile
3. Step-by-Step Instructions for Making a Loom Band Flower Ring
Ready to dive into the fun and colorful world of loom bands? Making a flower ring is a fantastic way to get started! Just follow these simple step-by-step instructions, and you'll have your very own charming accessory in no time. Grab your loom bands, a loom (if you have one), and let’s get crafting!
Here’s what you’ll need:
- Loom bands (various colors for petals, center, and band)
- Loom (optional; you can also use your fingers)
- Plastic hook or your fingers for weaving
- Clear rubber band (or a ring base if you have one)
Once you have your supplies ready, let’s get into the steps:
- Create the Petals: Start by choosing the color(s) for your flower petals. You will need about 6 to 8 bands for the petals. If you want to make a multi-colored flower, feel free to alternate colors!
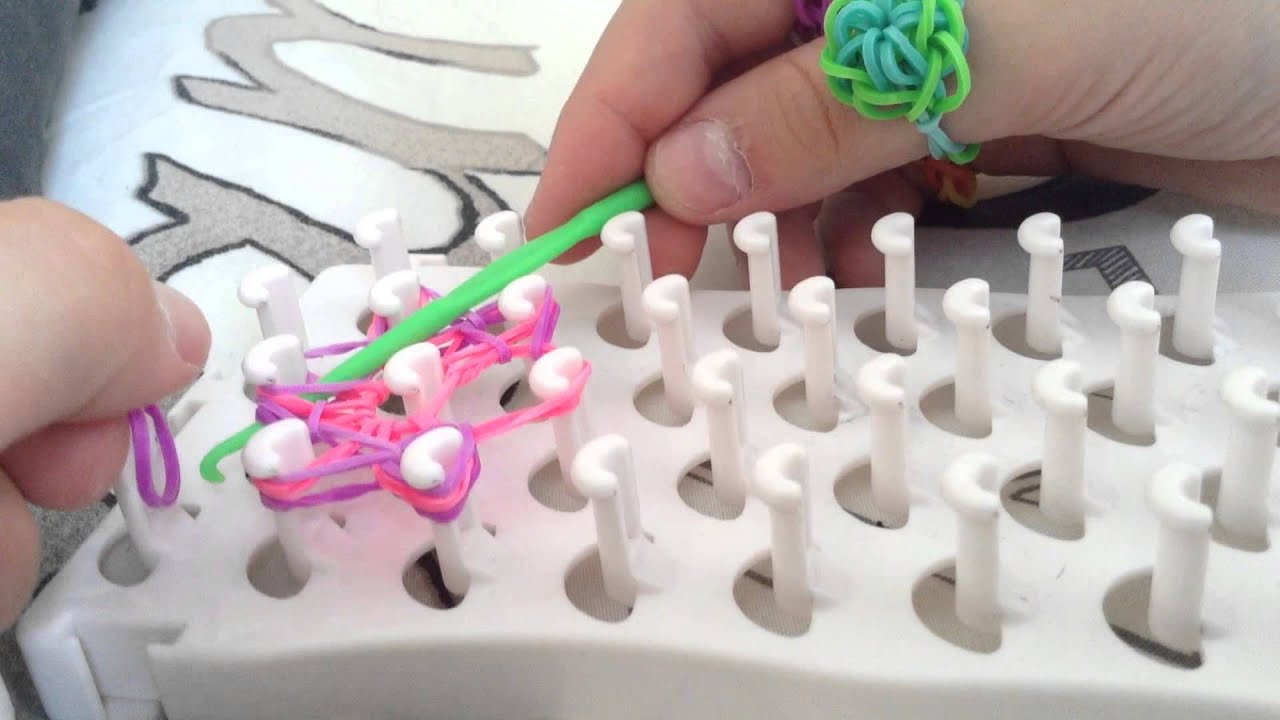
- Form a Petal: Twist one loom band into a figure-eight and place it on your loom (or hold it if you’re doing it by hand). Repeat this step for each petal you wish to create. For each petal, make sure to remember the order of colors!
- Adding More Bands: Take another loom band, loop it through the first petal you created, and add it to the loom or hold it in place. You can add more bands for thickness or mix colors as you prefer.
- Connect Petals: Now, take a single band and pull it through each of the petals you made earlier. This will help secure them into a ring shape. Pull tightly to make sure the petals stay together.
- Creating the Center: For the center of your flower, use a contrasting color, and repeat the twisting and looping steps as you did for the petals. You can make a small ball shape or a simple loop; it’s all about what you envision!
- Attach the Center: Once you've formed your center piece, secure it onto the petals by looping another band through them, pulling tightly so the inner part is snugly fit.
- Form the Ring Base: To create a ring base, take a long band (or several bands tied together) and form it into a circle that fits your finger size. Secure both ends with a clear rubber band or another band.
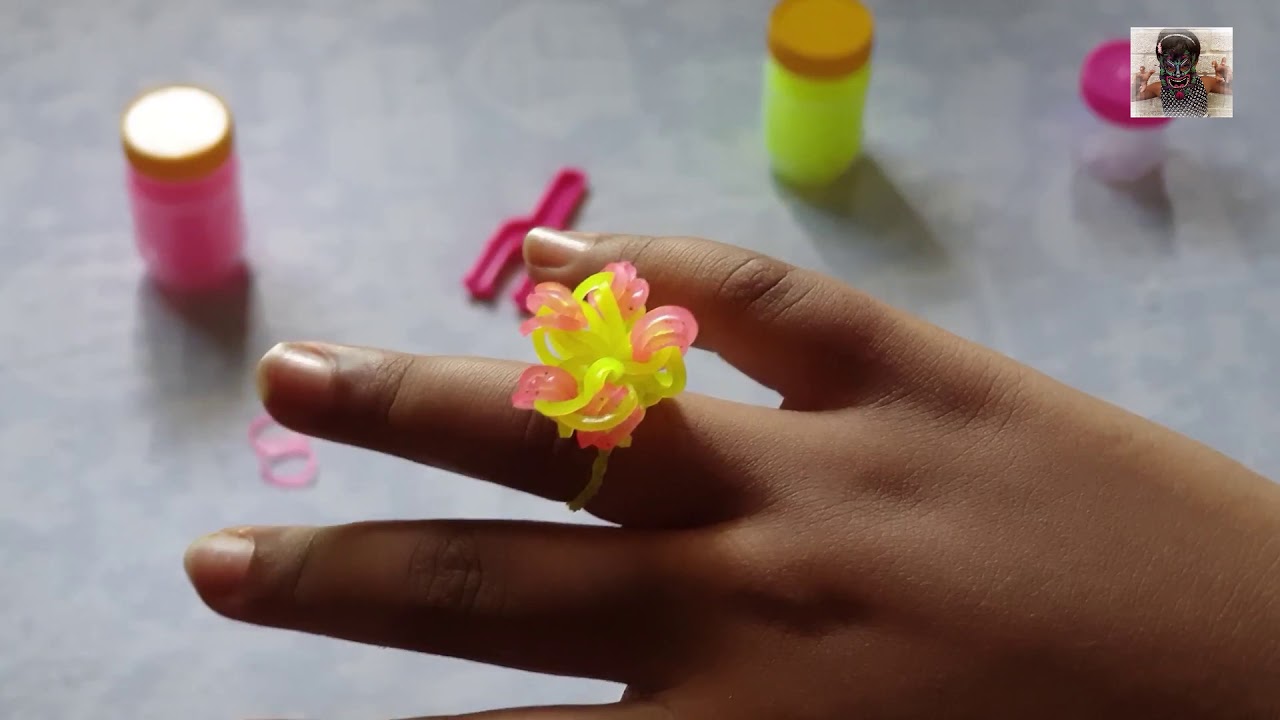
- Assemble Your Flower Ring: Finally, attach the flower you've crafted to the ring base. You can use small pieces of bands to tie the flower securely or just slip it onto your new ring base!
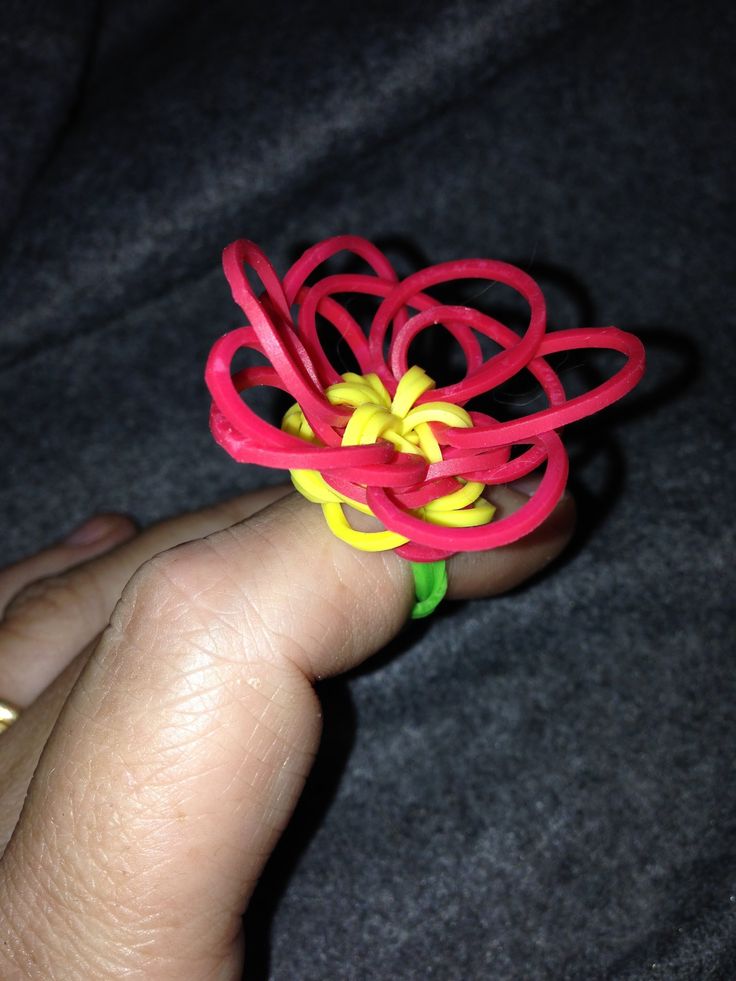
And there you have it! Your very own loom band flower ring! It’s sure to turn heads and brighten your day. But don’t stop here. You can take your creation to the next level!
Also Read This: How to Do Manicure and Pedicure at Home on Dailymotion: A Complete Guide for Gorgeous Nails
4. Tips for Customizing Your Loom Band Flower Ring
Now that you've mastered the basic flower ring, why not get a little creative? Customizing your loom band flower ring can make it truly unique and personal. Here are some fun tips to help you add your own flair:
- Color Combinations: Experiment with different color palettes! Try pastels for a soft look or bold, bright colors for something eye-catching. You can even tie in seasonal colors - think reds and greens for Christmas or oranges and browns for autumn.
- Different Petal Shapes: Not every flower has the same petal shape. Instead of the standard rounded petals, try making pointy petals or layered petals for a different style. Use your creativity to craft what feels right to you!
- Add Beads: Spice things up by incorporating beads into your design! A few beads as the center of the flower or interspersed among the petals can give your ring a lovely shine and texture.
- Create a Matching Set: Why stop at just a ring? Make matching bracelets or necklaces to create a stunning coordinated look. The more, the merrier!
- Use Different Textures: Mix different types of bands (glittery, neon, glow-in-the-dark) to add visual interest. Textured bands can offer a nice contrast to smooth bands and make your project pop!
Personalization is the key, so don’t hesitate to try new things. Remember, there are no limits when it comes to crafting with loom bands. Let your imagination run wild and enjoy the creative journey! Happy crafting!
Also Read This: Exploring the Best Alternatives to YouTube
5. Common Mistakes to Avoid When Making Loom Band Rings
Making loom band rings can be a fun and rewarding crafting experience, but it's easy to make some common mistakes along the way. Let's highlight a few pitfalls to steer clear of so your creations turn out just as beautiful as you envision!
- Choosing the Wrong Size Bands: If you pick bands that are too loose or too tight, your ring might not hold its shape. Always make sure you're using the recommended size bands for your loom.
- Poor Tension Control: It's essential to maintain consistent tension while weaving. If you pull your bands too tight, they'll distort the design; too loose, and the ring could fall apart. Practice makes perfect!
- Losing Track of Your Pattern: With intricate designs, it's easy to lose your place. Keep a visual guide nearby or write down the steps you're following. This will help you avoid confusion and mistakes that can lead to tearing apart your hard work.
- Skipping the Anchor Bands: Anchor bands are crucial for keeping your design secure until you finish. If you forget to add these at the start, you might find your whole ring unraveling!
- Not Using Enough Bands: Some beginners think less is more and end up using insufficient bands. Ensure you're using enough to fill your loom properly—undercooked bands make for flimsy construction.
- Ignoring Color Combinations: The color combinations can make or break your design. Plan your color scheme in advance to avoid ending up with unexpected results that might not please your aesthetic senses.
By being aware of these common mistakes, you will save yourself time and frustration, allowing you to enjoy the crafting process even more! Mistakes are a part of the learning experience, so don't be discouraged if something doesn't turn out perfectly. Every piece you create helps you improve your skills.
Also Read This: How the States Got Their Shapes: Watch the Documentary on Dailymotion
6. Conclusion and Next Steps for DIY Enthusiasts
Congratulations! You have ventured into the whimsical world of loom band flower rings, and hopefully, you've enjoyed the process as much as the end result. DIY crafting is not just about making something beautiful; it's about expressing yourself, developing new skills, and—let's be honest—having a little fun along the way!
Now that you’ve mastered the basics, here are a few next steps to consider:
- Experiment with Different Designs: Try creating different types of rings, such as animal shapes, hearts, or even intricate geometric patterns. Challenge yourself to create something new each time!
- Host a Craft Night: Gather your friends or family for a loom band crafting party. Sharing the experience can make it even more enjoyable, and you can learn tips from each other.
- Explore Advanced Techniques: Once you're comfortable with basic rings, look for tutorials on advanced methods like fishtail or diamond patterns. Push your creativity even further!
- Make Gifts or Accessories: Use your newfound skills to create personalized gifts for friends and family. Homemade jewelry adds a special touch to any occasion.
- Join Online Communities: Join forums or social media groups dedicated to loom crafting. Sharing your projects and seeing others' creations can inspire you and help you improve.
So gather those bands, get your loom ready, and let your creativity shine. The world of loom bands holds endless possibilities, and each ring you make brings you one step closer to becoming a true DIY master. Happy crafting!
Explore More Creative Loom Band Projects
If you love crafting with loom bands, you're in for a treat! Beyond making flower rings, there are countless creative projects that can enhance your loom band skills. Here are some exciting ideas to inspire your next crafting session:
- Loom Band Bracelets: Create a variety of bracelets using different weaving techniques like the fishtail, double crossover, or the starburst pattern. Customize with beads for extra flair!
- Loom Band Animals: Try your hand at making cute animals, such as swans, puppies, or bunnies. These adorable figures can serve as toys or charms.
- Headbands and Hair Accessories: Craft stylish headbands or hair clips by combining loom bands in various colors and patterns that match your outfits.
- Keychains and Bag Charms: Personalize your keys or bags by creating fun keychains or bag charms. Experiment with different shapes and themes!
- Home Decor: Make decorative items for your home, like colorful coasters, miniature baskets, or even wall art that showcases your unique style.
To get started with these projects, all you need are your loom bands, a loom tool, and some creativity! Don't forget to watch tutorials online for step-by-step guidance.
With endless possibilities, loom band crafting can be a fun and relaxing pastime. So gather your supplies, unleash your creativity, and dive into the wonderful world of loom band projects!
 admin
admin


