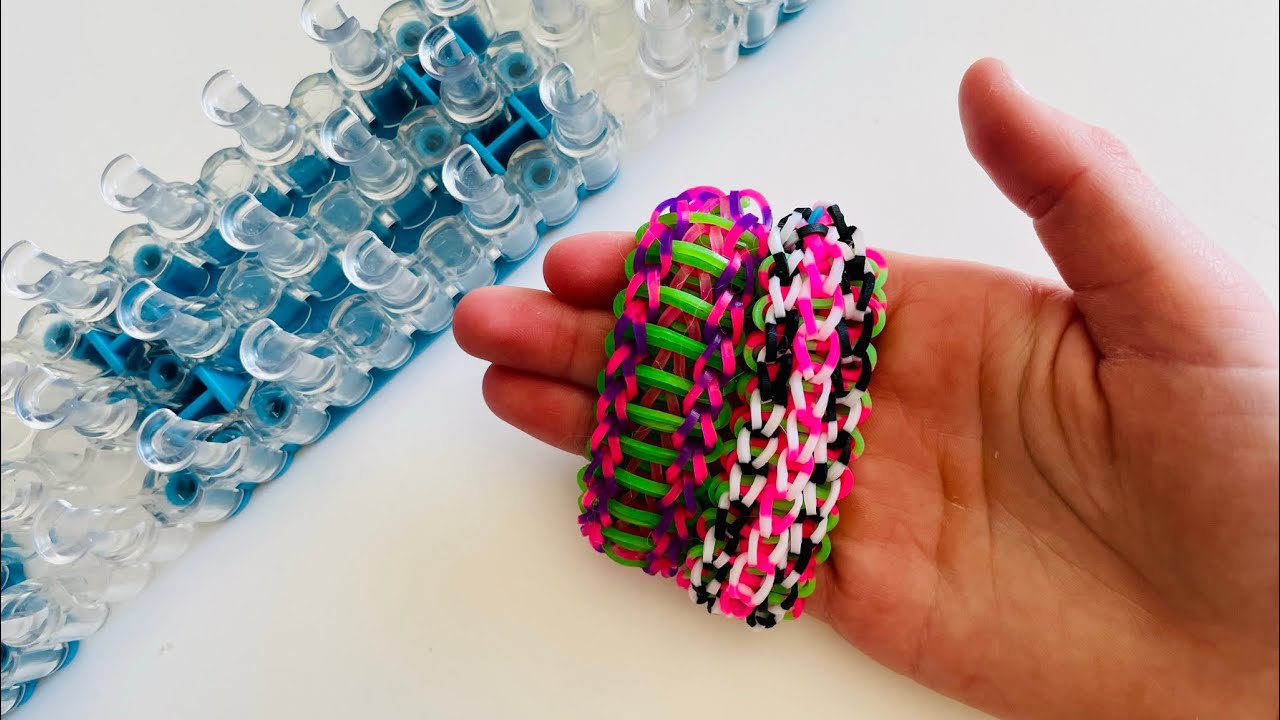
Have you ever wanted to create something unique with your loom bands? Ladder bracelets are a fantastic way to showcase your creativity while keeping it stylish and fun! These bracelets, characterized by their intricate, layered appearance, are perfect for both beginners and seasoned loom enthusiasts. In this guide, we'll walk you through the process of making your very own ladder bracelet, sharing tips, tricks, and a dash of inspiration along the way. Let's dive into the colorful world of loom bands!
Materials Needed for Your Ladder Bracelet
Before we get started, let’s gather all the materials you’ll need to craft your ladder bracelet. Having everything on hand will make the process smoother and more enjoyable. Here’s what you’ll need:
- Loom Bands: Choose a variety of colors to make your bracelet vibrant. A mix of 3-5 colors usually works well!
- Loom Tool: A standard loom tool will help you maneuver the bands easily.
- Hook Tool: This is essential for pulling bands through and securing your design.
- Clip or S-Clips: These will hold your bracelet together at the ends.
- Work Surface: A clean, flat surface will help keep your bands organized and prevent any spills.
Optional items that can enhance your crafting experience include:
- Beads: Add some flair by incorporating beads into your design.
- Ruler: To measure lengths if you’re looking for precision.
Now that you’ve gathered all your materials, you’re ready to embark on your crafting adventure! Remember, the beauty of making a ladder bracelet lies in your creativity, so feel free to experiment with colors and patterns that resonate with you.
Also Read This: How to Switch to Full Screen Mode While Watching Videos on Dailymotion
3. Step-by-Step Instructions for Making a Ladder Bracelet
Creating a Ladder Bracelet with loom bands is not only a fun project but also a fantastic way to showcase your creativity! Let’s break down the process into simple, easy-to-follow steps. Grab your loom bands, your loom, and let’s get started!
What You’ll Need:
- Loom bands in your favorite colors
- A loom
- A hook tool
- A C-clip or S-clip
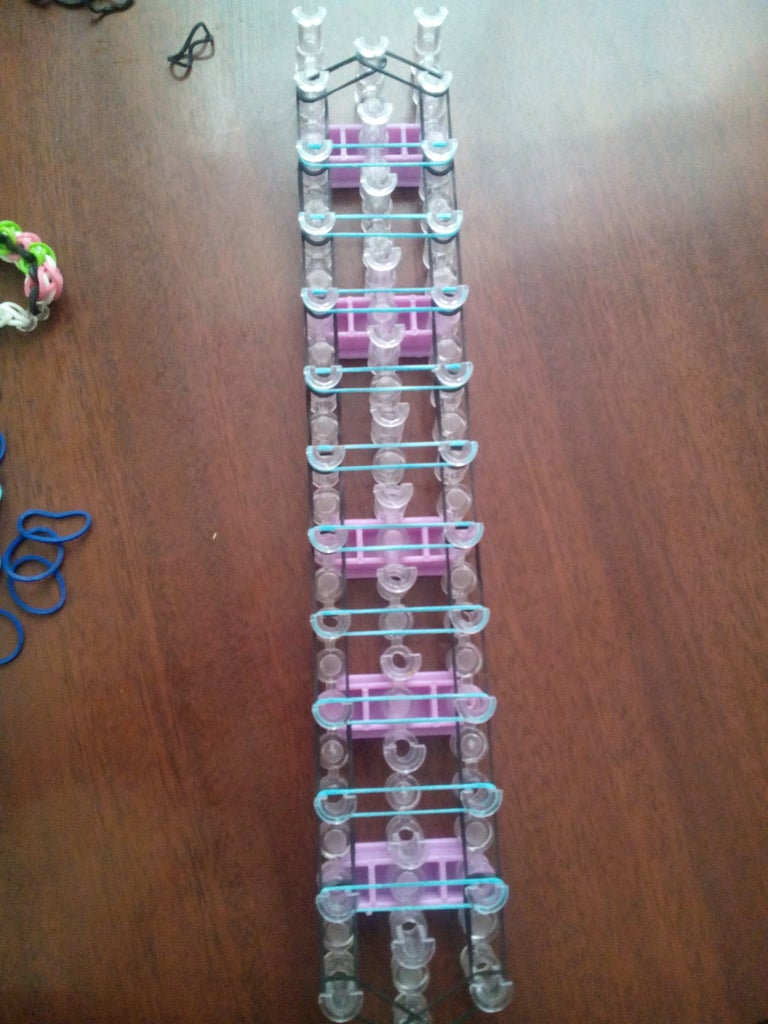
Step 1: Set Up Your Loom
Place your loom in the horizontal position, with the arrow pointing towards you. This orientation will make it easier to follow the pattern.
Step 2: Start with the Base Bands
Take your first band and place it diagonally from the first pin on the left to the second pin on the right. This forms the first “ladder rung.”
Next, place the second band diagonally from the second pin on the left to the third pin on the right. Continue this pattern until you reach the end of the loom.
Step 3: Add More Rungs
Now, let’s add the vertical bands! Starting at the first pin, stretch a band straight down to the next pin on the same side. Repeat this for each pin on the left side. This creates the vertical support for your ladder!
Step 4: Hooking the Bands
Using your hook tool, start from the bottom pin on the left. Gently pull the bottom band over the top band and off the pin, looping it back onto the pin below. Repeat this process for all the pins on the left side. This step is crucial as it locks the bands into place.
Step 5: Remove the Bracelet
Once you’ve hooked all the bands, carefully pull the bracelet off the loom. Be gentle to avoid breaking any bands!
Step 6: Secure the Bracelet
To finish, use your C-clip or S-clip to secure the ends of your bracelet. Simply attach it to the last few bands and voila! You’ve made your very own Ladder Bracelet!
Also Read This: Using IDM to Download Videos from Dailymotion
4. Tips and Tricks for a Perfect Ladder Bracelet
Now that you’ve got the basics down, let’s dive into some tips and tricks to elevate your Ladder Bracelet game. Making a perfect bracelet takes practice, but with these suggestions, you'll be a pro in no time!
1. Choose Quality Bands: Always opt for high-quality loom bands. Cheap bands may snap easily, leading to frustration. Brands like Rainbow Loom or Cra-Z-Art are reliable choices.
2. Color Combinations: Don’t hesitate to mix and match colors! Create patterns like a rainbow effect or alternate colors for a striking look. You could even create themed bracelets for special occasions!
3. Tension is Key: When hooking the bands, maintain even tension. If your bands are too tight, they might snap. Too loose, and they could come undone. Finding the right balance will keep your design intact.
4. Practice Makes Perfect: Don’t get discouraged if your first few attempts aren’t perfect. Keep practicing different patterns and techniques. Each bracelet you make teaches you something new!
5. Use a Loom Board: If you find your loom cumbersome, consider using a loom board. These are portable and allow for more flexibility in your designs.
6. Watch Tutorials: There are countless video tutorials online that can provide visual guidance. Sometimes seeing someone else do it can clarify tricky steps.
By keeping these tips in mind and practicing regularly, you’ll soon be creating stunning Ladder Bracelets that you’ll be proud to show off or gift! Happy looming!
Also Read This: How to Enable or Disable Comments on Dailymotion Videos
5. Exploring Creative Variations of Ladder Bracelets
Once you’ve mastered the classic ladder bracelet, it’s time to unleash your creativity! There are countless variations you can try, each adding a unique twist to the traditional design. Let’s explore some exciting options that will elevate your loom band game.
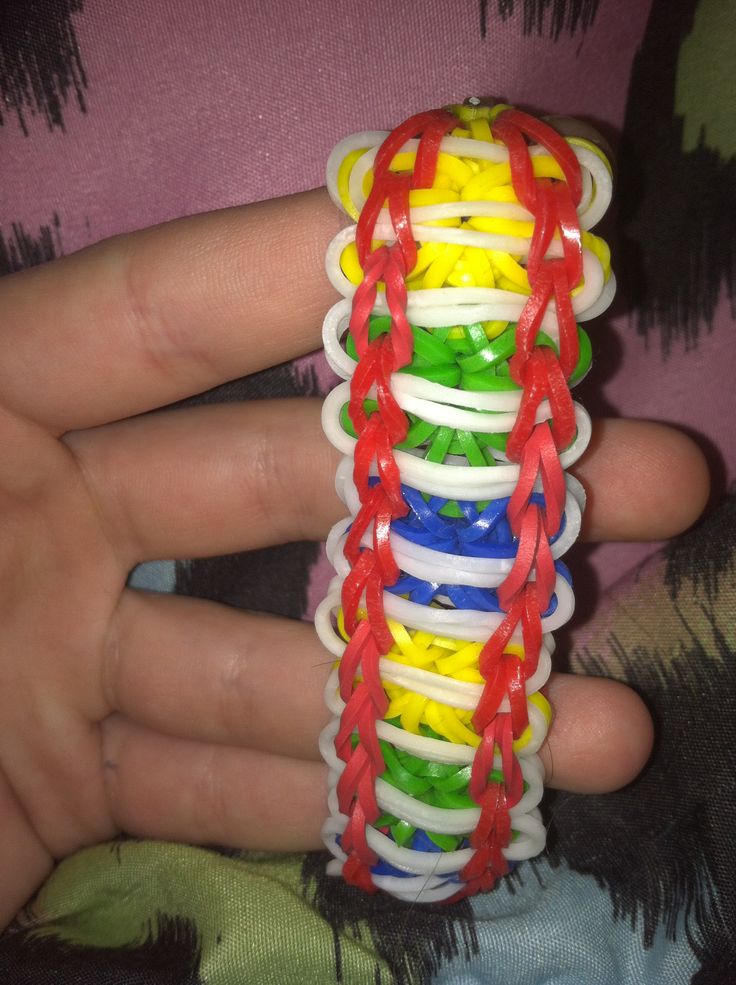
1. Rainbow Ladder Bracelet: Who doesn't love a splash of color? By using multiple colors in a repeating pattern, you can create a vibrant rainbow effect. Start by alternating colors for each row, or mix them for a gradient effect. This not only makes your bracelet eye-catching but also allows you to use up leftover bands from previous projects!
2. Glitter Ladder Bracelet: Add some sparkle to your life! Incorporate glitter bands into your design for a fun and flashy look. You can create a basic ladder bracelet and add glitter bands in every few rows or just at the edges to create a shimmering border.
3. Double-Strand Ladder Bracelet: Want to make your bracelet thicker? Use two strands of bands instead of one. This not only gives your bracelet a more substantial feel but also allows you to play with colors even more. Try pairing a solid color with a patterned band for an engaging contrast.
4. Ladder Bracelet with Charms: Adding charms to your ladder bracelet can give it a personalized touch. Choose charms that reflect your personality or interests—like a heart for love, a star for dreams, or even a small initial. Simply slip the charm onto the band before finishing your bracelet, and voilà! You’ve made it uniquely yours.
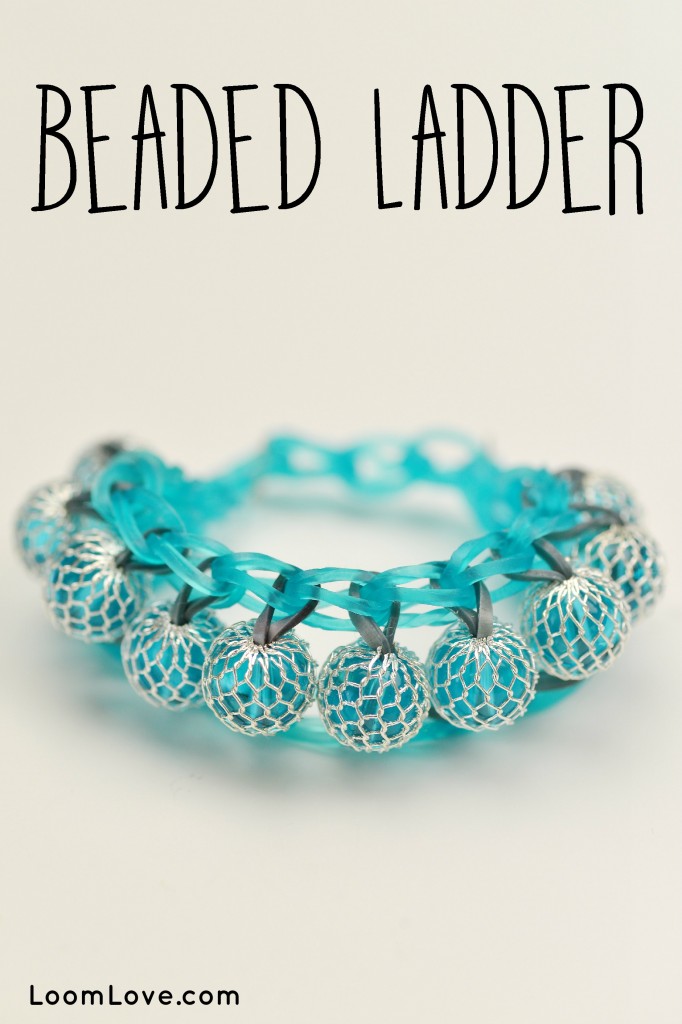
5. Beaded Ladder Bracelet: Why not elevate your design with beads? Thread beads onto your loom bands before creating your bracelet. This adds texture and a lovely visual element, making your ladder bracelet stand out even more. You can arrange the beads in a specific pattern or scatter them for a more casual look.
These creative variations not only make your ladder bracelet more unique but also give you the chance to experiment and discover your style. Don’t be afraid to mix and match techniques! The beauty of crafting with loom bands is that there are no strict rules—only endless possibilities!
6. Where to Find Additional Tutorials and Inspiration
Feeling inspired yet? There’s a whole world of creativity out there waiting for you! If you're looking for tutorials and new ideas to expand your loom band repertoire, here are some fantastic sources:
- YouTube: This platform is a treasure trove of loom band tutorials. Channels like “Loom Love” and “Super Looms” offer step-by-step guides for various bracelet styles, including the ladder bracelet. Just search for "ladder bracelet tutorial," and you’ll find tons of videos to guide you!
- Social Media: Platforms like Instagram and Pinterest are buzzing with creative loom band designs. Use hashtags like #LoomBandArt or #LadderBracelet to discover inspiration from other crafters. You’ll find beautiful images that can spark your imagination!
- Craft Blogs: Many crafting enthusiasts maintain blogs filled with tips, tricks, and detailed tutorials. Websites like “The Spruce Crafts” provide informative posts about different loom techniques, while others focus solely on loom bands.
- Online Forums: Join online communities such as Reddit or Facebook groups dedicated to loom weaving. Here, you can share your creations, ask for advice, and get inspired by what others are making.
- Craft Stores: Don’t forget your local craft stores! They often host workshops or have bulletin boards with information about loom band events. It's a great way to meet fellow loom band enthusiasts and learn new techniques.
With these resources at your fingertips, you'll never run out of ideas for your next loom band project. So grab your bands, let your creativity flow, and get ready to create some amazing ladder bracelets!
 admin
admin


