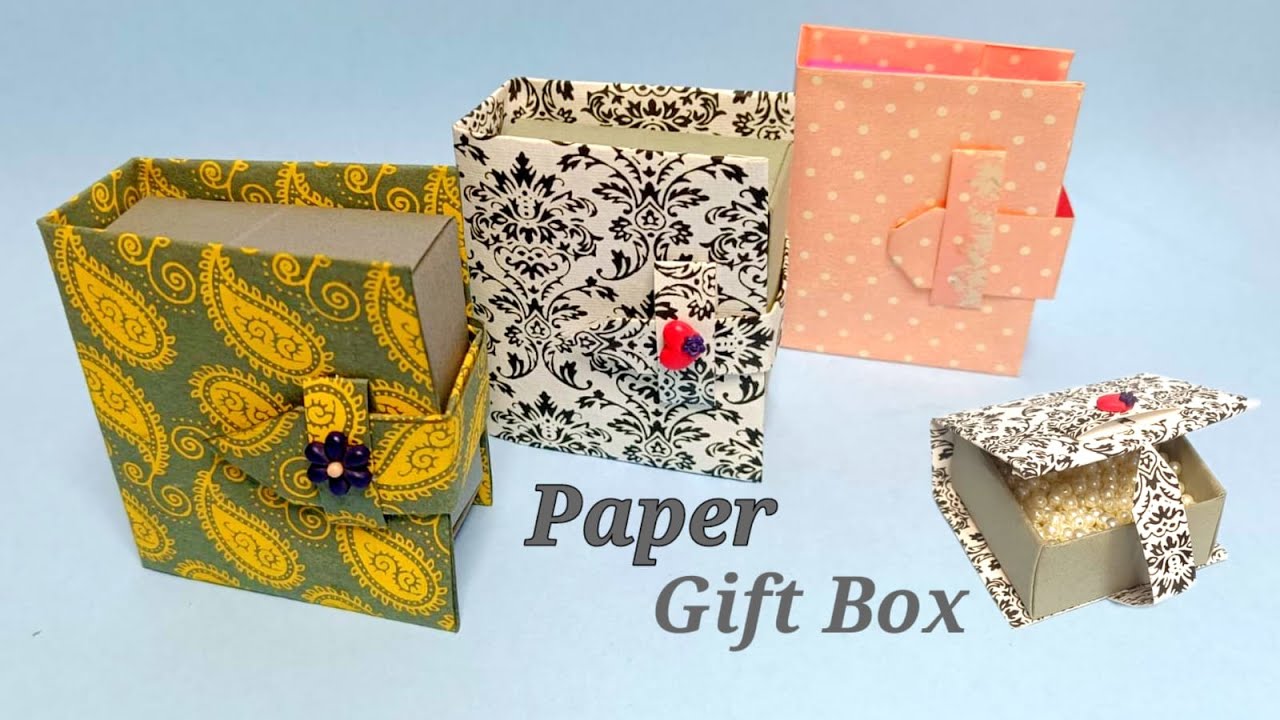
Are you looking for a unique way to present your gifts? DIY gift boxes made from paper are not only fun to create, but they also add a personal touch that store-bought boxes just can’t match. Whether you’re celebrating a birthday, an anniversary, or just want to brighten someone’s day, a custom gift box lets you show your creativity. Plus, it’s a fantastic way to repurpose materials you already have at home. Let’s dive into some exciting ideas and materials you’ll need to get started!
Materials Needed for Paper Gift Box Projects
Before you jump into crafting, let’s gather the essentials! Here’s a list of materials you’ll need to create your paper gift boxes:
- Paper: Choose from cardstock, scrapbook paper, or even old maps for a vintage look.
- Scissors: A good pair of scissors is crucial for precise cutting.
- Ruler: You'll want to measure accurately to get the right dimensions.
- Pencil: For marking measurements on your paper.
- Glue or Tape: Use craft glue or double-sided tape to secure your box.
- Embellishments: Stickers, ribbons, or stamps can add that special flair.
Now, let’s break down what each of these materials can contribute to your DIY project:
| Material | Usage |
|---|---|
| Paper | Forms the base and design of your gift box. |
| Scissors | Essential for cutting paper to the desired size and shape. |
| Ruler | Ensures precise measurements to create a perfectly symmetrical box. |
| Pencil | Helps in marking where to cut and fold without leaving permanent marks. |
| Glue or Tape | Secures the structure of your gift box to keep it intact. |
| Embellishments | Adds a personal touch and enhances the visual appeal. |
With these materials at your fingertips, you're well on your way to creating beautiful and personalized gift boxes. Remember, the sky's the limit when it comes to creativity—don’t hesitate to mix and match different papers and embellishments to reflect the personality of the recipient!
Also Read This: How to Make a Birthday Cap with Paper DIY Craft on Dailymotion
3. Step-by-Step Instructions for Creating a Basic Paper Gift Box
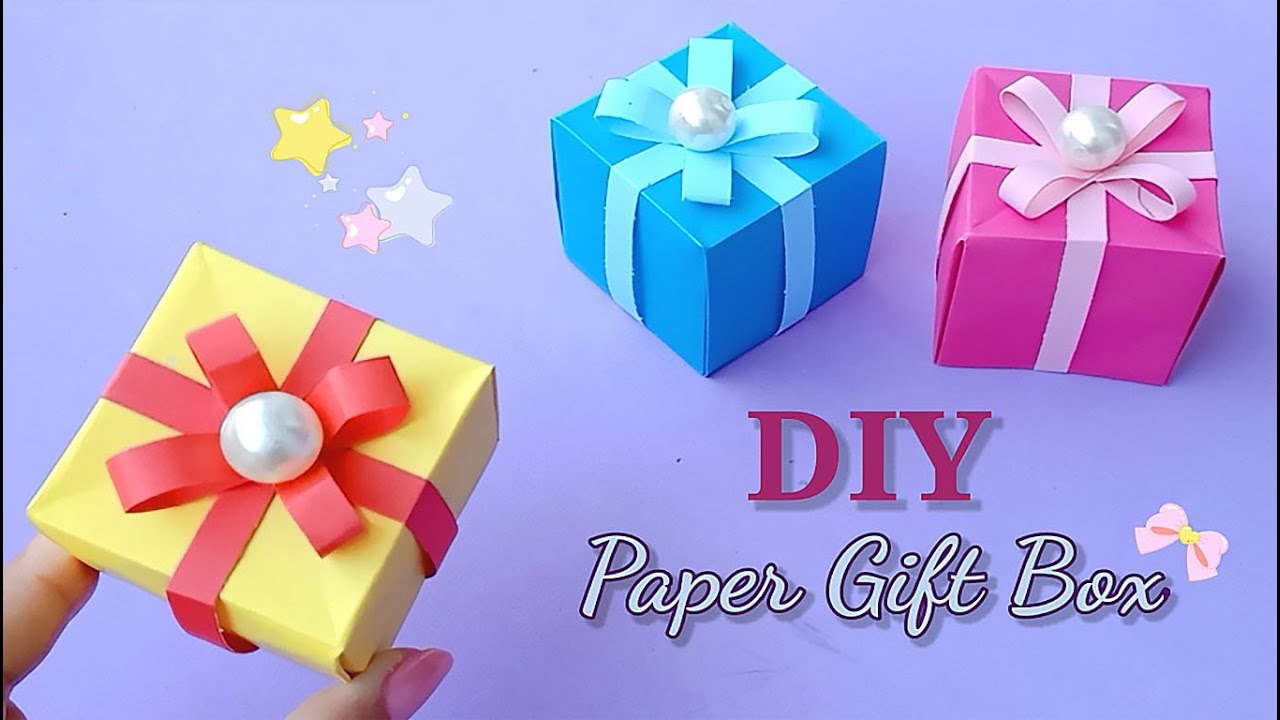
Creating a basic paper gift box is easier than you might think, and it’s a fantastic way to add a personal touch to your gifts! Here’s a simple guide to get you started:
- Gather Your Materials: You will need:
- Colored or patterned paper (cardstock works best)
- Scissors
- Ruler
- Pencil
- Glue or double-sided tape
With just a few simple steps, you've created a charming gift box that is not only functional but also beautifully crafted. This basic design serves as a blank canvas, ready for your creativity!
Also Read This: How to Download Dailymotion Playlist: A Complete Guide for Playlist Downloading
4. Creative Variations to Personalize Your Gift Boxes
Why settle for a plain gift box when you can transform it into something truly unique? Here are some creative variations to personalize your gift boxes:
- Pattern Play: Instead of solid-colored paper, use wrapping paper with fun patterns or even pages from magazines. This adds character and a pop of color that will delight the recipient.
- Theme-Based Boxes: Tailor your gift box to the occasion! For a birthday, use vibrant colors and fun stickers. For a wedding, opt for elegant whites and golds, perhaps incorporating lace.
- Hand-Drawn Designs: Grab some markers or colored pencils and draw designs on your box. You can doodle, write quotes, or even make a mini mural related to the gift theme!
- Layered Boxes: Create a nested set of boxes. Make smaller boxes to fit inside larger ones, and use different colors for each layer. It adds an element of surprise as the recipient opens each box.
- Gift Box Tags: Don’t forget to add a tag! Use pre-made tags or create your own from leftover paper. Write a thoughtful message or the recipient's name for a personal touch.
By incorporating these creative variations, your paper gift boxes can become cherished keepsakes rather than just wrapping. The effort you put into personalizing them will make your gifts all the more memorable!
Also Read This: DIY Guide to Making a Woofer at Home with Dailymotion Tutorials
5. Decorating Your Paper Gift Boxes
Once you’ve crafted the perfect paper gift box, it’s time to add your personal touch! Decorating your gift box is where you can truly unleash your creativity. Here are some fun ideas to inspire you:
- Washi Tape Wonders: This decorative tape comes in a variety of colors and patterns. Use it to create borders, stripes, or even fun shapes on your gift box. The best part? It’s easy to peel off if you want to change things up!
- Hand-Painted Designs: If you have a knack for painting, grab some acrylic paints and a brush! You can create anything from delicate floral patterns to bold geometric shapes. This adds a unique and artistic flair to your gift box.
- Stamp It Up: Use rubber stamps to print fun designs or messages on your gift box. Choose a theme that matches the occasion, like hearts for Valentine’s Day or snowflakes for winter holidays. Pair it with colorful ink for an eye-catching effect!
- Natural Elements: Incorporate dried flowers, twigs, or leaves for a rustic look. Glue them onto the box or tie them with twine for an earthy, charming touch. This is perfect for a nature lover!
- Personalized Tags: Create custom gift tags using scrap paper. Write a heartfelt message or quote to make your gift extra special. You can even attach a little photo for a nostalgic touch!
Remember, the goal is to make the gift box feel personal and inviting. Don’t be afraid to mix and match these ideas or to add your own spin. After all, the best decorations reflect your unique style and the personality of the recipient!
6. Tips for Choosing the Right Paper and Design
Choosing the right paper and design is crucial for making your DIY gift boxes stand out. Here are some tips to guide you through the selection process:
- Consider the Occasion: The first step is to think about what the gift is for. A bright, cheerful paper with playful designs is perfect for a birthday, while elegant metallic or pastel shades are great for weddings or anniversaries.
- Think About the Recipient: Tailor your choice to the personality of the person receiving the gift. For someone who loves vintage styles, look for floral patterns or muted colors. For a modern minimalist, opt for solid colors with clean lines.
- Weight of the Paper: Choose paper that’s sturdy enough to hold your gift but not so thick that it’s difficult to fold. A good balance is key! Cardstock is a great option for a more substantial feel, but lighter papers can be used for simpler boxes.
- Mix and Match: Don’t be afraid to pair different patterns and textures! Combining a patterned paper with a solid color can create a visually appealing contrast. Just make sure the colors complement each other.
- Test Samples: If you’re unsure about a design or color, buy a small sample first. Lay it out next to your gift to see how well they match. This can save you from any last-minute surprises!
Ultimately, the right paper and design can elevate your gift box from ordinary to extraordinary. Trust your instincts, have fun with it, and let your creativity shine through. Your thoughtful approach will make any gift feel even more special!
 admin
admin


