Have you ever watched a helicopter soar through the sky and wished you could create one yourself? Well, you're in luck! With Dailymotion's fantastic craft tutorial, you can design your very own flying helicopter right at home. This project is not only fun but also a great way to engage with family or friends. Whether you're a beginner or have some crafting experience, this guide will help you every step of the way. So, let's get started on making your aerial dreams come true!
Materials Needed for Your Homemade Helicopter
Before we dive into the crafting process, let's gather all the materials you’ll need to create your flying helicopter. Having everything at hand will make the project much smoother and more enjoyable.
Here’s a comprehensive list:
- Craft Foam or Cardboard: This will be the base of your helicopter. Choose lightweight materials for better flight.
- Small Plastic Propellers: You can find these at craft stores or online. They help your helicopter fly! If unavailable, you can make your own using paper.
- Glue or Tape: For assembling the parts securely. Hot glue works great, but regular craft glue is also fine.
- Scissors: To cut your base and propeller shapes. Ensure they’re sharp for clean cuts.
- String or Fishing Line: To help your helicopter fly if you choose to make a suspended version.
- Weights (like small washers): These will help stabilize your helicopter during flight.
- Decorative Items (optional): Stickers, markers, or paint for personalizing your helicopter and giving it character!
- Measuring Tape or Ruler: To ensure your parts are measured accurately. Precision is key!
- Battery-Powered Motor (optional): For those who want a powered helicopter. Make sure to get a lightweight motor that fits your design.
Make sure to check your materials before starting the project. Gathering everything in one spot can also make the crafting process more enjoyable—no need to run around looking for supplies while you’re in the zone!
Now that you have your materials ready, you're one step closer to crafting your very own helicopter. Don’t forget to consider safety while using scissors or glue! Once you’ve gathered everything, you’ll be prepared to follow the Dailymotion tutorial step by step. Let's get those propellers spinning!
Also Read This: Creating Fat Loom Bands on Dailymotion
3. Step-by-Step Instructions to Build Your Helicopter
Alright, let’s dive into the fun part! Building your own flying helicopter at home is an exciting project that you can complete using just a few materials. Ready? Let’s get started with our step-by-step instructions!
Materials You’ll Need:
- 1. Plastic bottle (1-liter works great)
- 2. Lightweight aluminum foil
- 3. Plastic straws
- 4. A small piece of cardboard
- 5. Scissors
- 6. Tape (preferably strong, like duct tape)
- 7. Ruler
- 8. Craft knife (for adult supervision)
- 9. Your smartphone or camera (for Dailymotion tutorial reference)
The Building Process:
Follow these steps carefully, and you'll have your very own helicopter taking to the skies in no time:
- Preparing the Propellers: Cut two strips of aluminum foil about 3 inches wide and 12 inches long. These will be the helicopter’s propellers. Ensure they are even so they can balance properly. Fold them into a helicopter shape so they can spin.
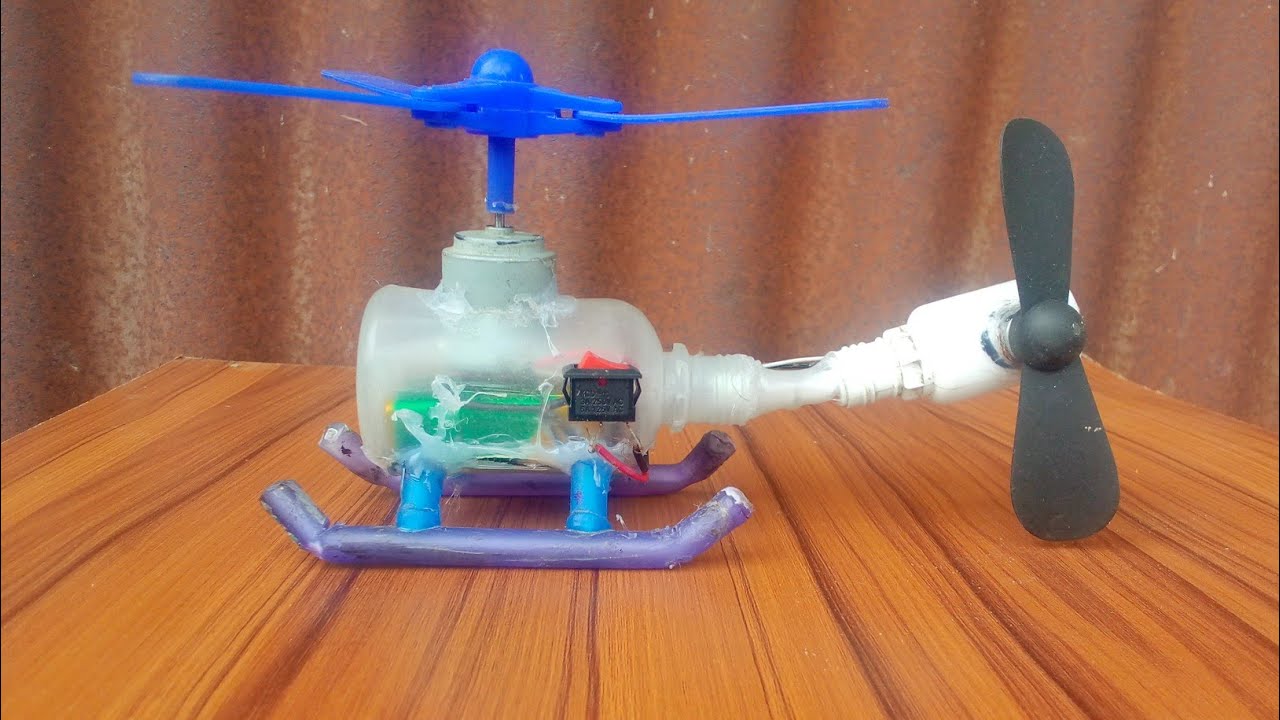
- Creating the Body: Take the plastic bottle and remove the label to achieve a smooth surface. This will be the helicopter’s body. You may want to paint it or decorate it later.
- Attaching the Propellers: Use the straws to create a framework for your propellers. Tape one straw vertically on the top of the bottle to act as the base. Then, attach the two strips of aluminum foil to both ends of another horizontal straw using tape. Make sure the propellers can spin freely.
- Making the Tail: Cut a small piece of cardboard to act as the tail rotor and attach it to another straw which will serve as the tail for your helicopter. Make sure it's not too heavy!
- Final Assembly: Attach the tail setup to the rear of your helicopter, then balance everything out. You may need to adjust the weight distribution by adding small bits of plastic or other lightweight materials if it feels unsteady.
- Test Flight: Once everything is secured, it’s time for the test flight! Hold the helicopter by the base and give the propellers a spin. You can gently throw it into the air and see how it glides!
Congratulations! You've just built a simple flying helicopter. For a visual escort, check out the detailed Dailymotion tutorial linked to this post!
Also Read This: Straightening Hair Without Heat with Dailymotion Tutorials
4. Tips for Successful Helicopter Flight
Now that you’ve got the basics down, let’s talk about how to ensure your helicopter flies smoothly. Here are some practical tips to enhance your flight experience:
- Balance is Key: Make sure your helicopter is evenly balanced. If one side is heavier, it may tilt or crash. Adjust by adding or removing weight accordingly.
- Experiment with Propeller Design: The shape and size of your propellers can significantly affect flight. Don’t hesitate to alter their dimensions or test different materials like paper or thin plastic. You can also try varying the angle of lift.
- Find Optimal Flight Conditions: Take your helicopter outside on a calm day without strong winds. Wind can easily disrupt your helicopter’s flight, making it difficult to control.
- Monitor Battery Levels: If your helicopter has any electronic components, ensure your batteries are fresh. Dull batteries can lead to underwhelming performance.
- Take Notes: Keep a flight log! Document what works and what doesn’t. Over time, you can tweak your design for better aerodynamics.
- Ask for Help: Don’t hesitate to check out forums or your Dailymotion community. Fellow enthusiasts can provide helpful tips and tricks you might not have considered.
Remember, experimentation is part of the fun. The more you play around with your design, the better you’ll get at creating a helicopter that can confidently soar through the skies. Happy flying!
Also Read This: How to Download Dailymotion Videos Without Any Software
5. Common Mistakes to Avoid When Making Your Helicopter
Building a helicopter at home sounds fun, right? But there are a few common pitfalls that many people run into along the way, which can be easily avoided with just a little preparation. Here’s a handy guide to help you steer clear of those roadblocks!
- Ignoring Weight Distribution: One of the most critical aspects of your helicopter's flight is its balance. If your weight is unevenly distributed, your helicopter might rotate or crash unexpectedly. Make sure to place the weight evenly, and double-check before taking your helicopter for a spin!
- Using Incorrect Materials: The materials you choose play a huge role in the helicopter's performance. Using too heavy materials can inhibit flight, while too light materials might lead to structural issues. Always opt for lightweight but sturdy materials like balsa wood, plastic, or foam.
- Rushing the Construction Process: It may be tempting to speed through the steps to see your helicopter in action, but patience is key. Rushing can lead to sloppy finishes and loose connections, which can compromise the integrity of your helicopter. Take your time, and follow the tutorial closely for the best results.
- Neglecting to Test Your Design: Your first design might not be perfect, and that's completely okay! Failing to test your helicopter after building it can result in missed opportunities to learn. Always perform test flights, and don’t hesitate to make adjustments based on your observations.
- Skipping the Safety Checks: Safety should always come first, even in a fun craft project. Ensure that all parts are securely attached and that there are no sharp edges or loose components that could cause injuries. A little extra time on safety can save you from accidents.
By keeping these common mistakes in mind, you'll be better equipped to create a flying helicopter that glides gracefully through the air, rather than becoming a heap of broken parts. Remember, each mistake is a stepping stone to improvement, so don’t get discouraged if things don’t go perfectly on the first try!
Also Read This: How to Watch Dailymotion on Live TV: Stream Videos on Your Television
6. Fun Variations to Try with Your Helicopter Design
Once you've mastered the basics of helicopter crafting, why not spice things up a bit? There are countless variations you can try to make your flying creation even more exciting. Here are some fun ideas to get your creativity flowing!
- Colorful Propellers: Instead of plain wooden or plastic blades, why not decorate your propellers with bright colors or patterns? Use non-toxic paint or markers to make them stand out. This not only adds a personal touch but can also enhance visibility in the air!
- Different Rotor Designs: Experiment with various rotor shapes. Wider or narrower blades can affect lift and stability. Try a dual-rotor design for incredible flair! Each variation can lead to different flight characteristics.
- Adding Unique Payloads: Challenge yourself by attaching lightweight figures, mini LEGO blocks, or other decorations to see how it affects flight. It’s a fun way to introduce physics concepts related to weight and balance!
- Creating a Thematic Helicopter: Design your helicopter based on a theme you love—such as superheroes, nature, or even your favorite movie! Use stickers, drawings, or props that relate to your theme for a unique look.
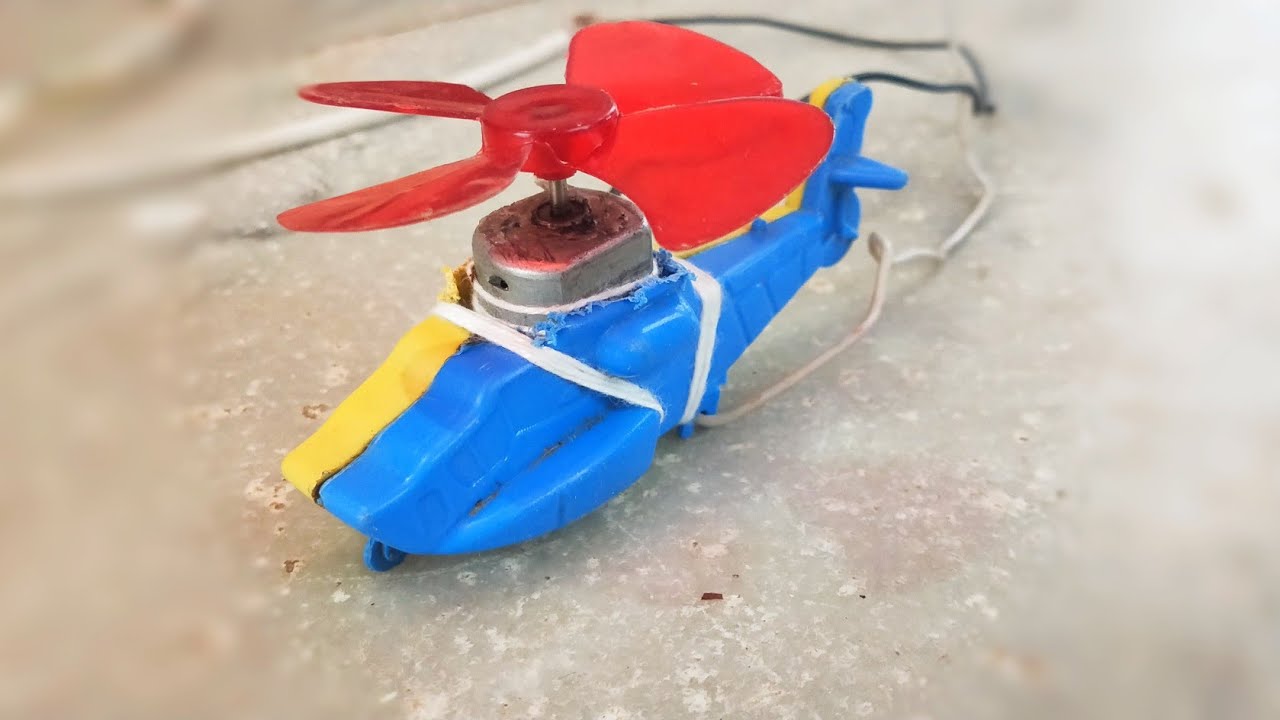
- Incorporate Technology: If you’re tech-savvy, think about incorporating a small motor for an automatic helicopter or experiment with remote controls. This can elevate your project to a whole new level!
Each of these variations offers not just an aesthetic charm, but also a chance to explore the principles of aerodynamics and design. So grab your materials and let your imagination run wild as you come up with the next great helicopter design!
Conclusion and Final Thoughts
Creating a flying helicopter at home using Dailymotion's craft tutorial is a fascinating project that can spark creativity and provide valuable learning experiences. Here are some final thoughts to keep in mind:
- Patience is Key: As with any DIY project, patience is essential. If your helicopter doesn't fly as expected on the first try, don't get discouraged!
- Explore Variations: After mastering the basics, consider experimenting with different designs or materials to enhance performance.
- Safety First: Always ensure that you follow safety precautions, especially when working with sharp objects or adhesives.
By engaging with this project, not only do you get to build a flying helicopter, but you also gain insights into the principles of aerodynamics and mechanics. This can be a great activity for family bonding or educational purposes.
In conclusion, making a flying helicopter at home is not just about the final product but also the learning journey that comes with it. So gather your materials, follow along with the Dailymotion tutorial, and enjoy the thrill of creating something spectacular! Happy crafting!
 admin
admin


