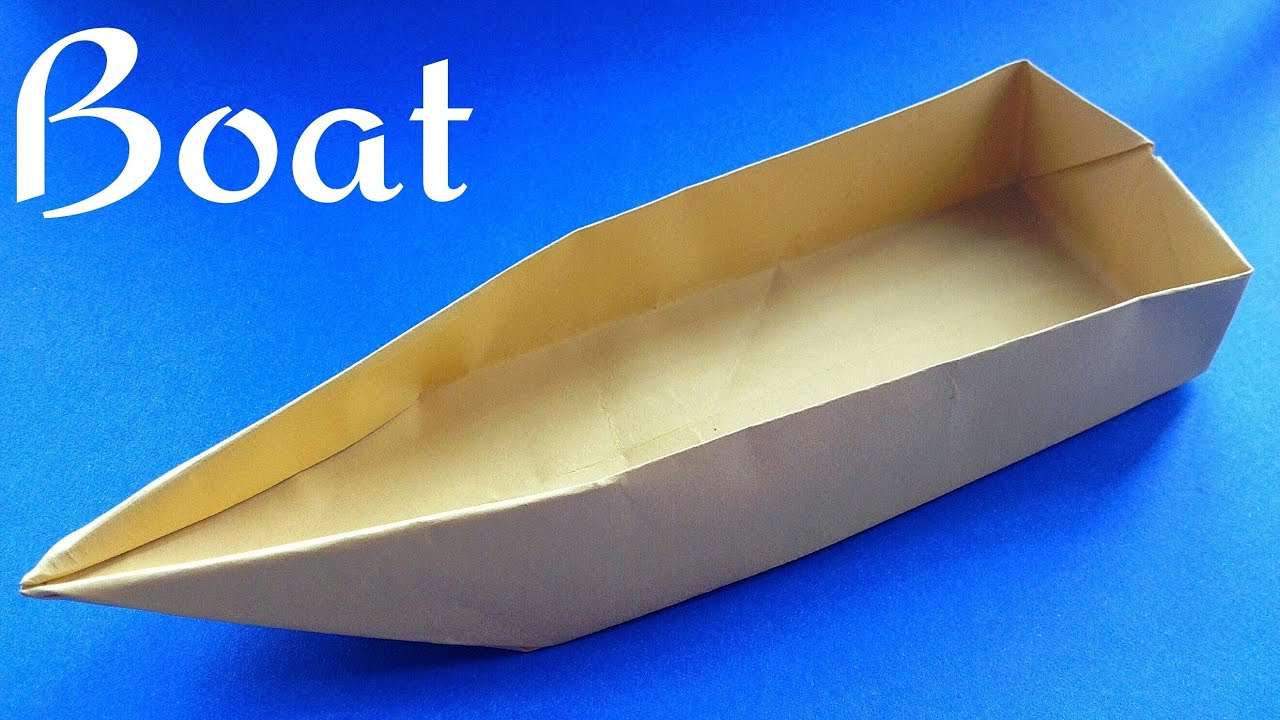
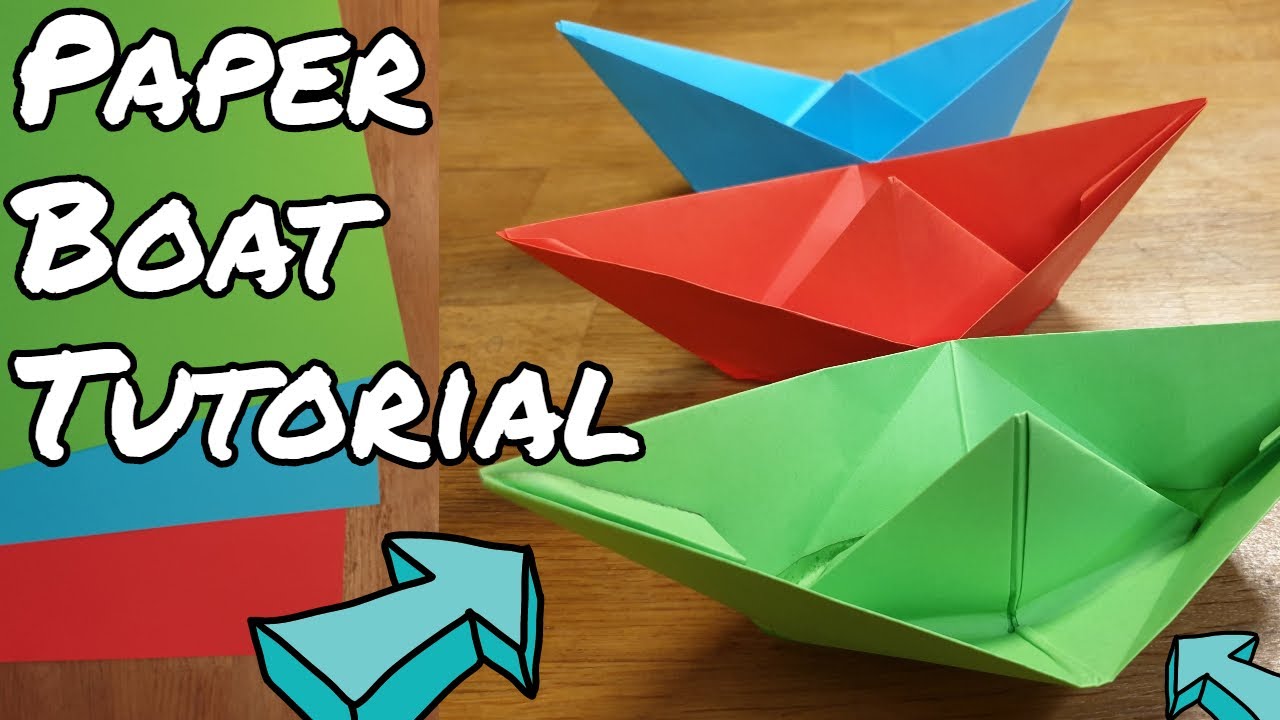
Have you ever watched a paper boat sail gracefully across water and thought, “I wish I could make one of those!”? Well, you’re in luck! Making a floating paper boat is not only a fun and simple craft but also a delightful activity that brings back childhood memories. Whether you’re looking for a fun project to do with your kids, or even just want to enjoy a little creativity on your own, this step-by-step tutorial will guide you through the entire process. So, let’s dive right in!
Materials Needed

Before we set sail, let’s gather all the materials you’ll need to create your very own floating paper boat. Don’t worry; you won’t have to make a trip to the store for this! Most of these items are probably already lying around your house.
- Paper: Any kind of paper will do—printer paper, notebook paper, or even colorful origami paper for a stylish twist.
- Scissors: If you’re using larger sheets of paper, scissors will help trim it down to size. But if you’re using standard A4 paper, you can skip this step!
- Water: You need a basin or a bathtub filled with water for your boat to float. You can also use a large bowl.
- Marker or crayons: If you want to add some artistic flair to your boat, grab some markers or crayons to decorate before folding.
- Optional accessories: Small items like beads or stickers can enhance your boat's look and make it stand out!
Once you’ve gathered all your materials, you'll be ready to navigate through the fun process of making your floating paper boat. Let’s get started!
Step-by-Step Instructions

Building a floating paper boat is a delightful project that combines creativity with a bit of engineering. Follow these clear and simple steps to craft your own paper boat:
- Materials Needed:
- A sheet of paper (any type will work, but origami or construction paper is ideal)
- Scissors (optional, depending on your design)
- A flat surface to work on
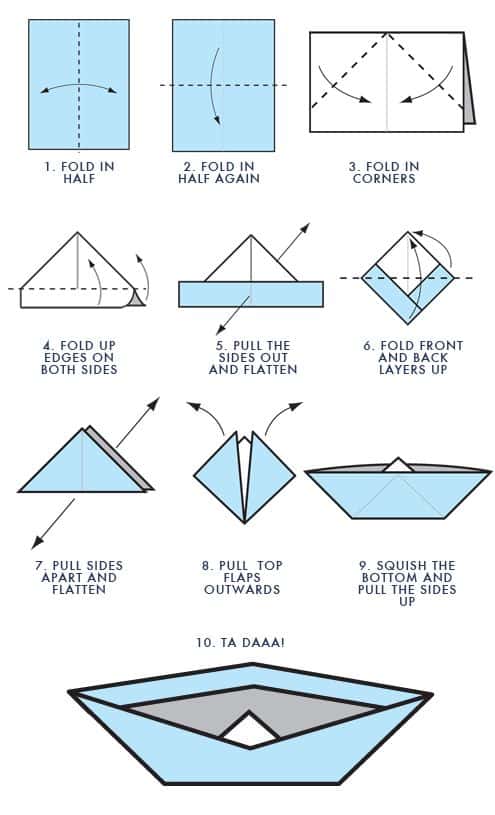
- Fold the Paper in Half: Start by taking your paper and folding it in half lengthwise. Make sure the crease is sharp by running your fingers along the fold.
- Create the Triangle: Open the paper back up, and then fold the top two corners down towards the center crease. This will create a triangle at the top, with a rectangle below.
- Fold the Bottom Rectangle: Take the bottom flap of the rectangle and fold it up towards the triangle. Do this on both sides—this forms the base of your boat.
- Shape the Boat: Now, open it slightly and fold the sides towards the center again. You will start to see the boat shape emerge.
- Final Touches: Pull the two outer flaps apart gently while shaping the bottom of the boat. Make any final adjustments to ensure it stands well.
- Test Your Boat: You can now place your boat gently on water to watch it float. Feel free to decorate it for added personality!
Tips for Ensuring Your Boat Floats

Making sure your paper boat actually floats can sometimes be a bit tricky, but here are some handy tips to ensure your creation stays buoyant:
- Choose the Right Paper: Not all paper is created equal. Thicker paper can make your boat sink, so opt for something lightweight, like standard printer paper or origami paper.
- Seal Your Creases: Make sure that your folds are crisp and secure. This not only helps maintain the shape but also minimize potential leaks.
- Balance Is Key: When assembling the boat, ensure that it's symmetrical. An uneven design can cause the boat to tip over in the water.
- Weight Distribution: If you want to add decorations or passengers to your boat, make sure they are lightweight. Keep the weight evenly distributed to maintain balance.
- Water Conditions Matter: Test your boat in calm waters. Choppy conditions can make your boat unstable regardless of how well it's built.
- Experiment! Don’t be afraid to try different designs or make modifications. Sometimes, trial and error can lead to the best floating boats!
5. Common Mistakes to Avoid

Making a floating paper boat is a fun and creative activity, but it can be easy to make some common mistakes that could lead to disappointing results. Here are some pitfalls to watch out for:
- Using the Wrong Type of Paper: It's tempting to use any paper you have lying around, but some types of paper are more suited for boat-making than others. Thin paper might tear easily, while very thick paper could make it too heavy to float.
- Incorrect Folding: Precision is key when folding your paper. Make sure your folds are sharp and accurate. Any unevenness can lead to leaks or instability in the boat.
- Ignoring Water Conditions: Remember that not all water is ideal for floating. Avoid placing your boat in choppy waters; find a calm, still body of water to test its floating capabilities.
- Over-Dipping in Water: If you're testing your boat in water, don’t let it sit too long. Too much water can cause the paper to weaken and break apart, leading to a sunken vessel.
- Over-Decoration: While it might be fun to decorate your boat, ensure that any added materials are lightweight. Heavy decorations can counteract the buoyancy of your boat and may cause it to sink.
By keeping these common mistakes in mind, you'll have a much better chance of crafting a successful floating paper boat. Happy folding!
6. Conclusion
So there you have it — a simple and enjoyable way to create a floating paper boat! Whether you're looking to engage in a nostalgic childhood activity or to entertain the little ones, making these boats can provide endless fun. Just remember the key steps: choosing the right paper, mastering your folds, and ensuring stability in the water.
Here’s a quick recap of what we discussed:
- Materials Needed: Simple paper and some creativity.
- Folding Techniques: Precision in your folds is crucial.
- Testing Your Boat: Calm waters are your best friend.
- Avoiding Common Mistakes: Be mindful of paper types, water conditions, and the weight of decorations.
Making a floating paper boat is not only a wonderful way to connect with your artistic side but also a great opportunity to bond with family and friends. So grab some paper, follow the simple steps outlined in this tutorial, and watch your boat float away! Happy crafting!
 admin
admin


