Fishtail rubber band bracelets have taken the crafting world by storm, captivating both kids and adults alike. Easy to make yet incredibly stylish, these bracelets are a fun way to express your creativity while socializing with friends or enjoying a quiet afternoon at home. Whether you're looking to add some flair to your outfit or create heartfelt gifts for loved ones, making a fishtail bracelet is a delightful experience. So, roll up your sleeves, gather around, and let’s dive into this fun tutorial that will have you crafting these trendy accessories in no time!
Materials Needed for Your Bracelet

Before jumping into the tutorial, it's essential to gather all the necessary materials. Here’s a list of everything you'll need:
- Colored Rubber Bands: Choose a variety of colors for vibrant designs. You can go with two or more colors to create patterns!
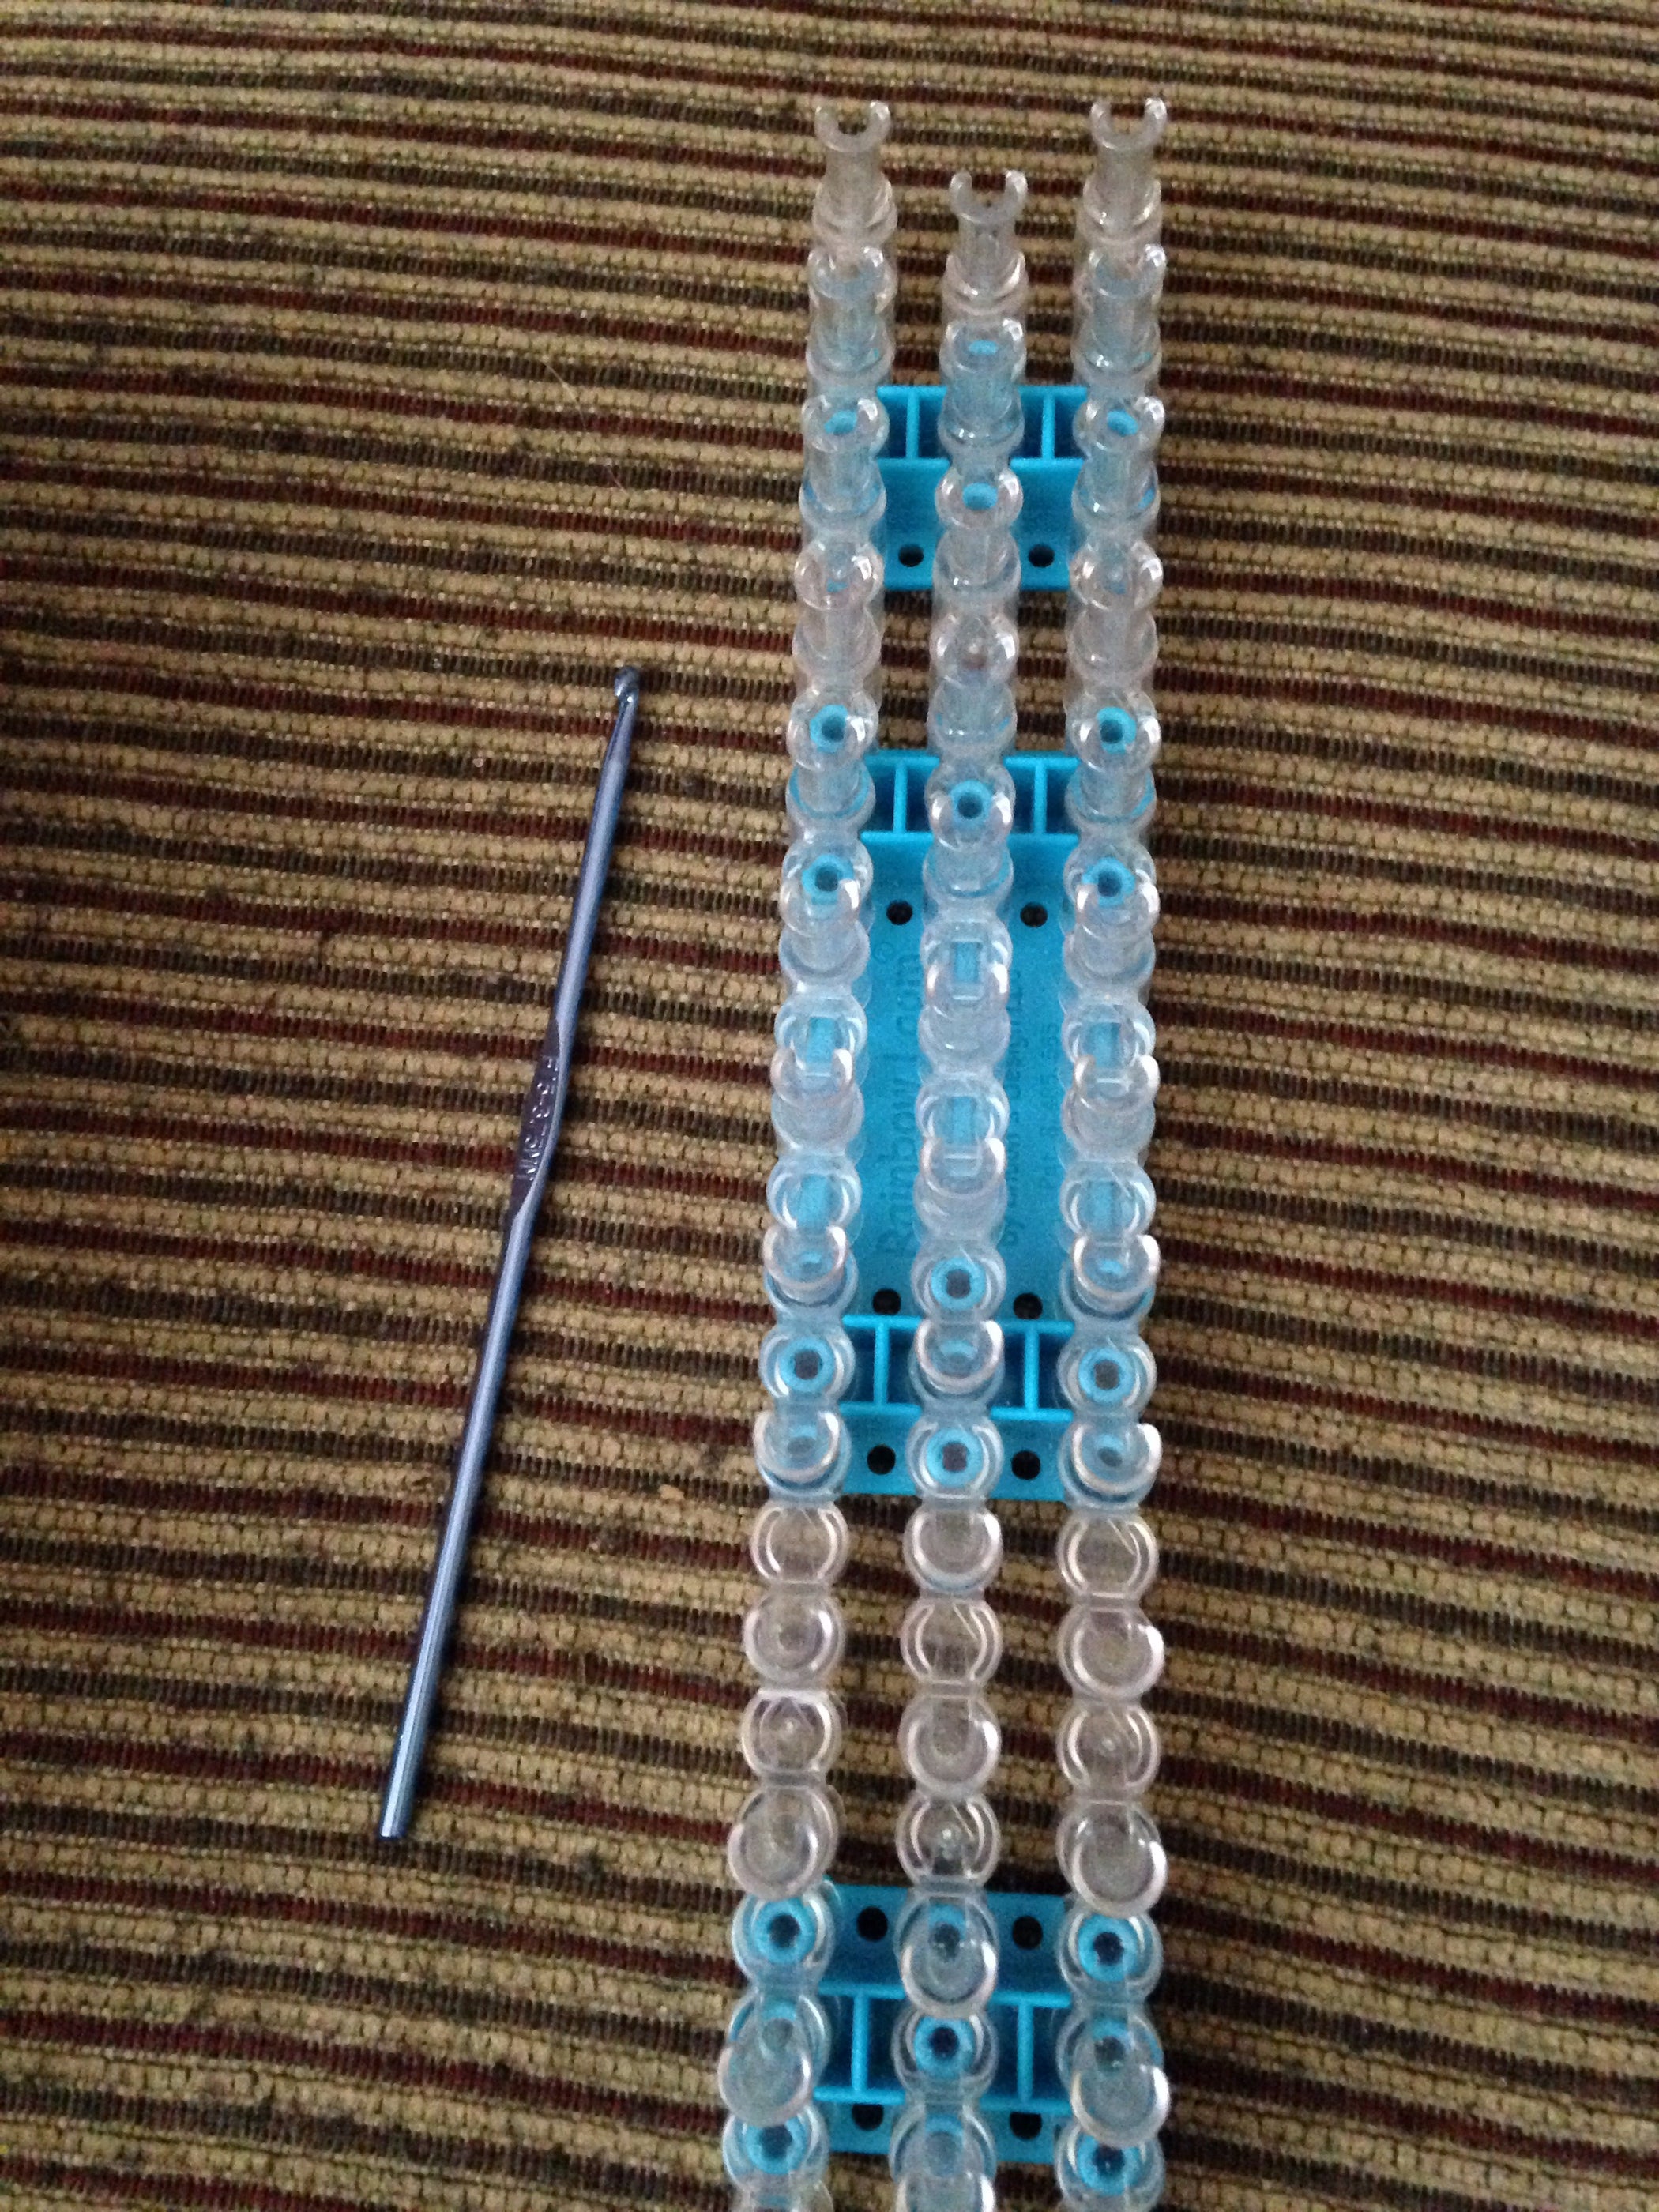
- Bracelet Loom (Optional): While you can make a fishtail bracelet with just your fingers, a loom board can help you in crafting more intricate designs.
- S-clips or Clips: These little clips will secure your bracelet once it’s finished, preventing it from falling apart.
- Scissors: Handy for cutting any excess rubber bands.
- Fish Hook (Optional): If you want to turn your bracelet into a necklace or earrings, you might want a fish hook for attaching to designs.
With the right materials, you're just a step away from creating your own stunning fishtail rubber band bracelet! Happy crafting!
Step-by-Step Instructions

Alright, let’s dive into the fun part of making your very own fishtail rubber band bracelet! It’s super easy, and you’ll be done in no time. Grab your materials first, so you’re all set to go. You’ll need:
- Rubber bands (in various colors for a fun look!)
- A loom (or you can do it with your fingers)
- A clip or a hook to secure the bracelet
Now, let's get started with these simple steps:
- Prepare Your Loom: Set your loom so that the arrows on the ends are pointing away from you. If you're using your fingers, just relax your hands because we'll need them for the next steps.
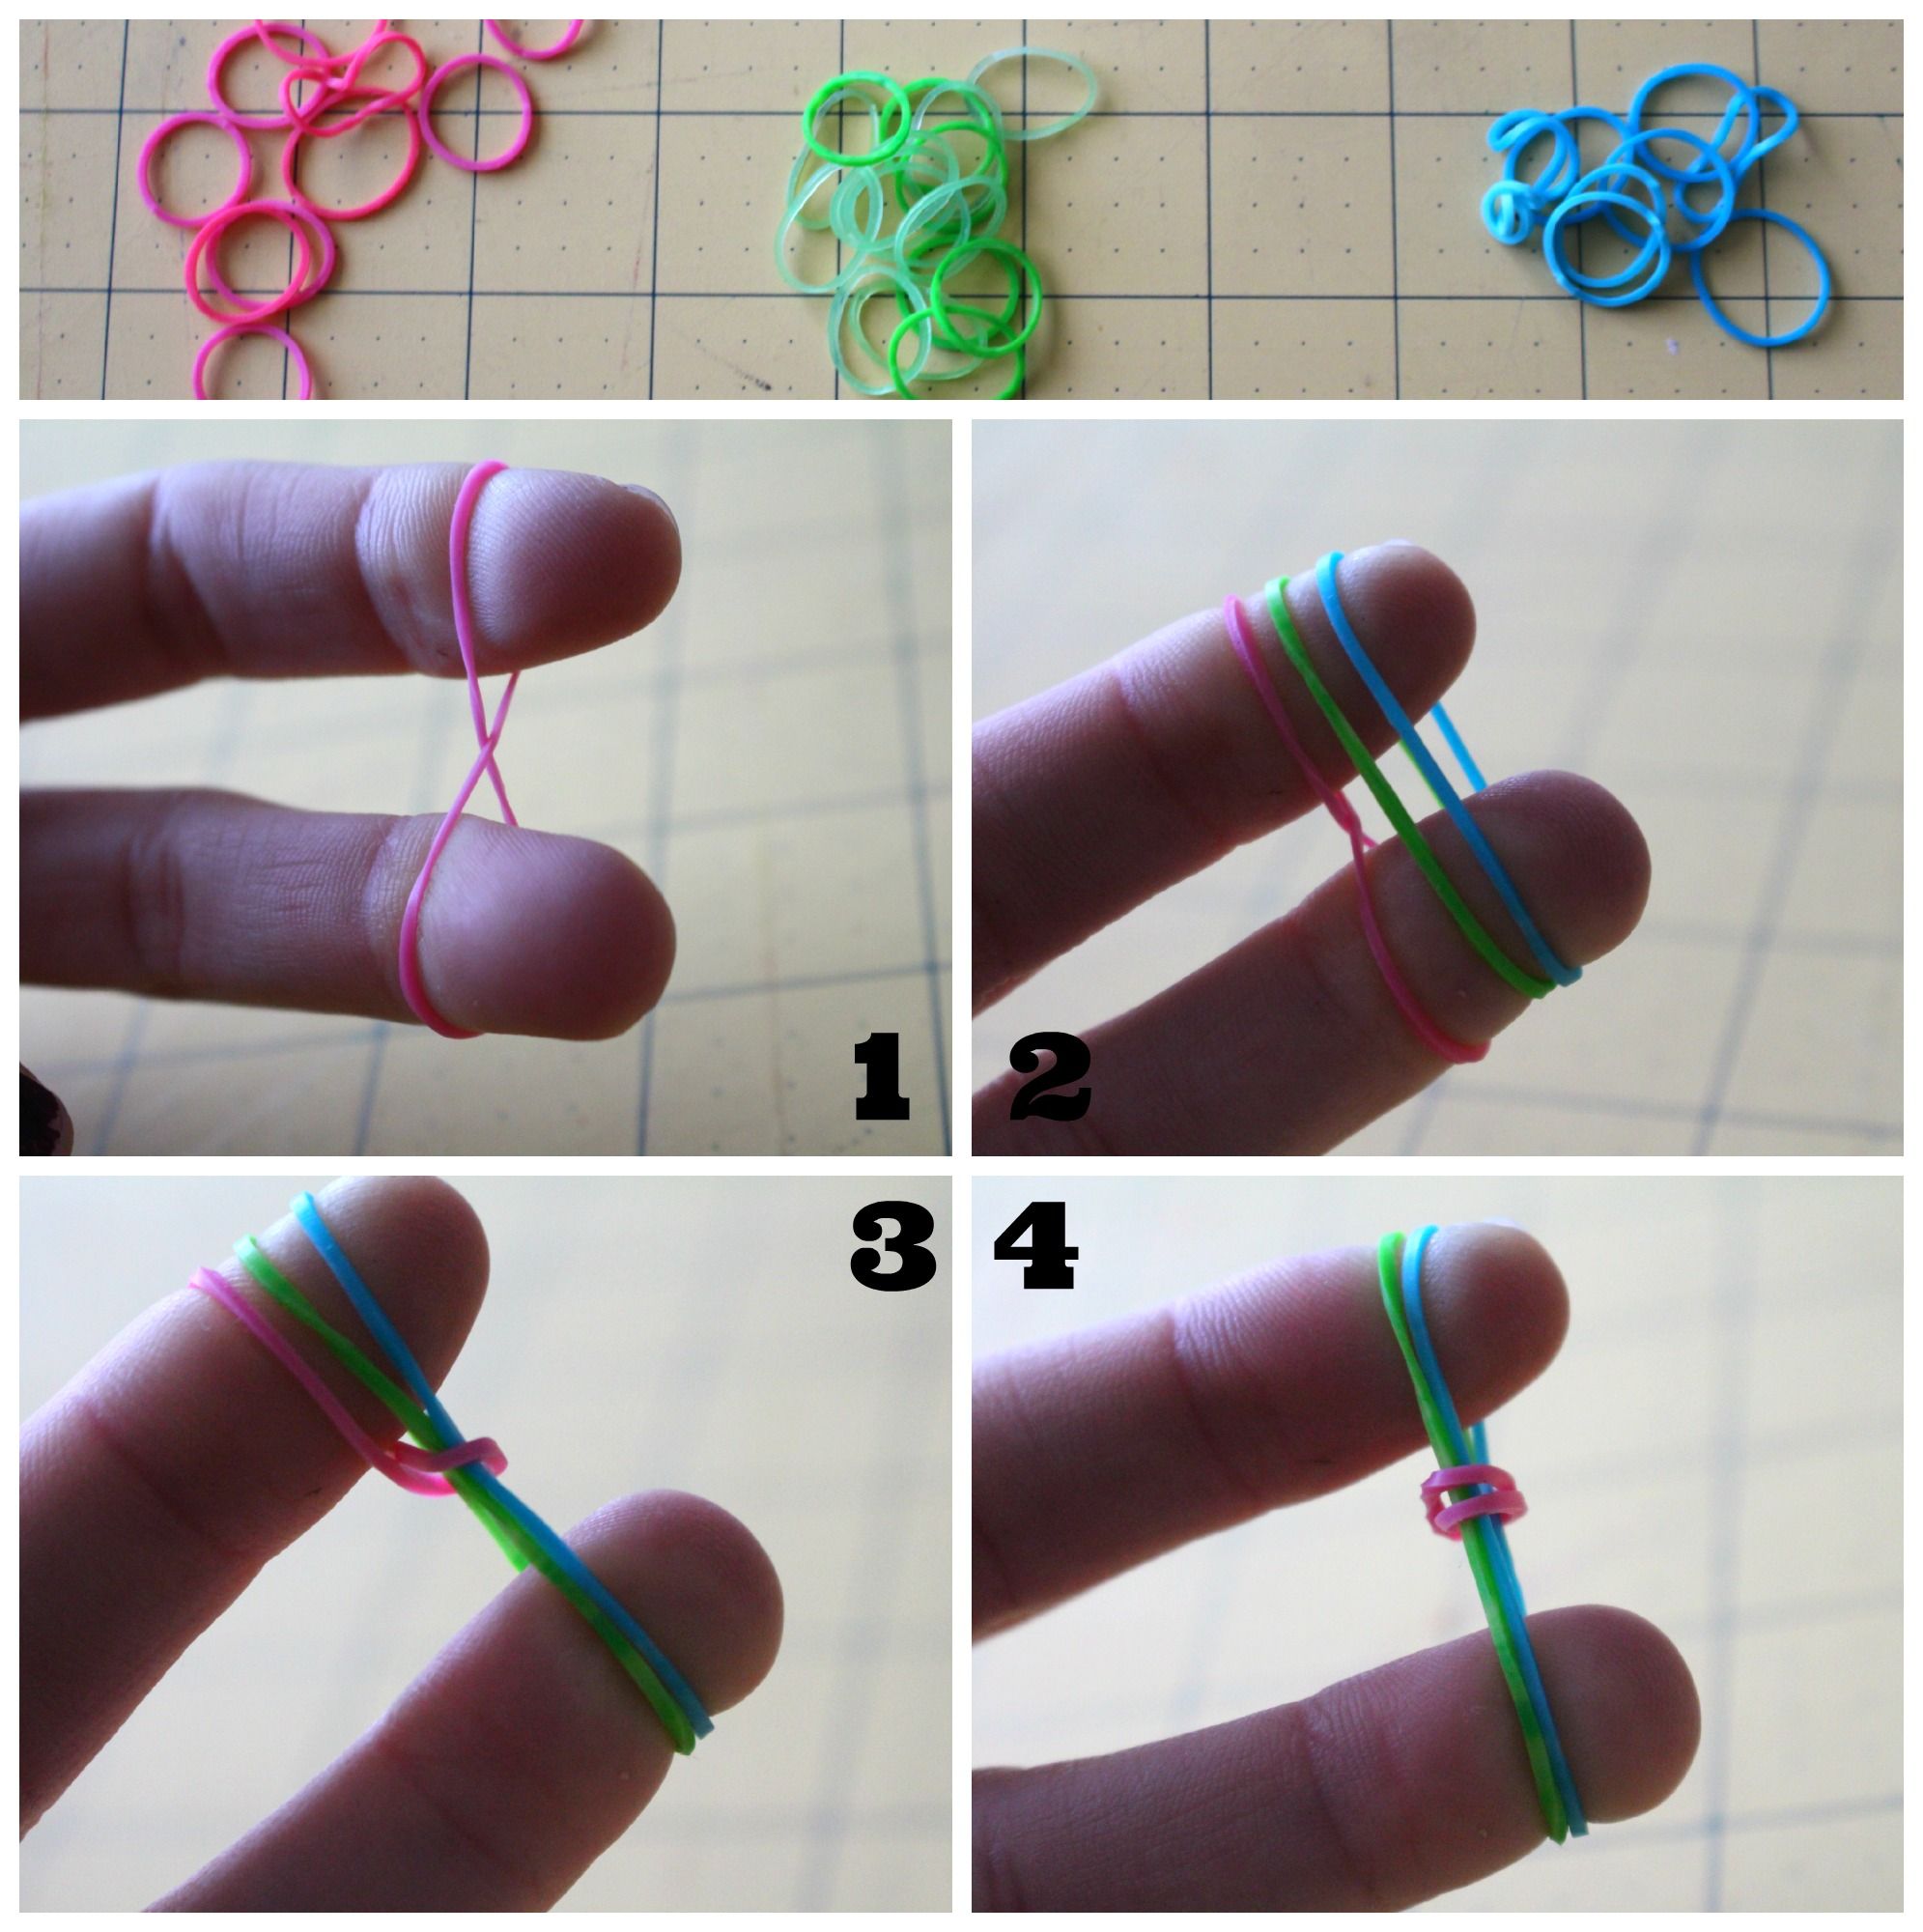
- Start with the First Band: Take your first rubber band and stretch it across the first two pegs in a diagonal position.
- Continue Weaving: Add a second rubber band, stretching it from the next peg to the third. Keep alternating diagonally between pegs for your desired length!
- Adding Colors: Here's the fun part! Feel free to switch colors whenever you want to create unique patterns.
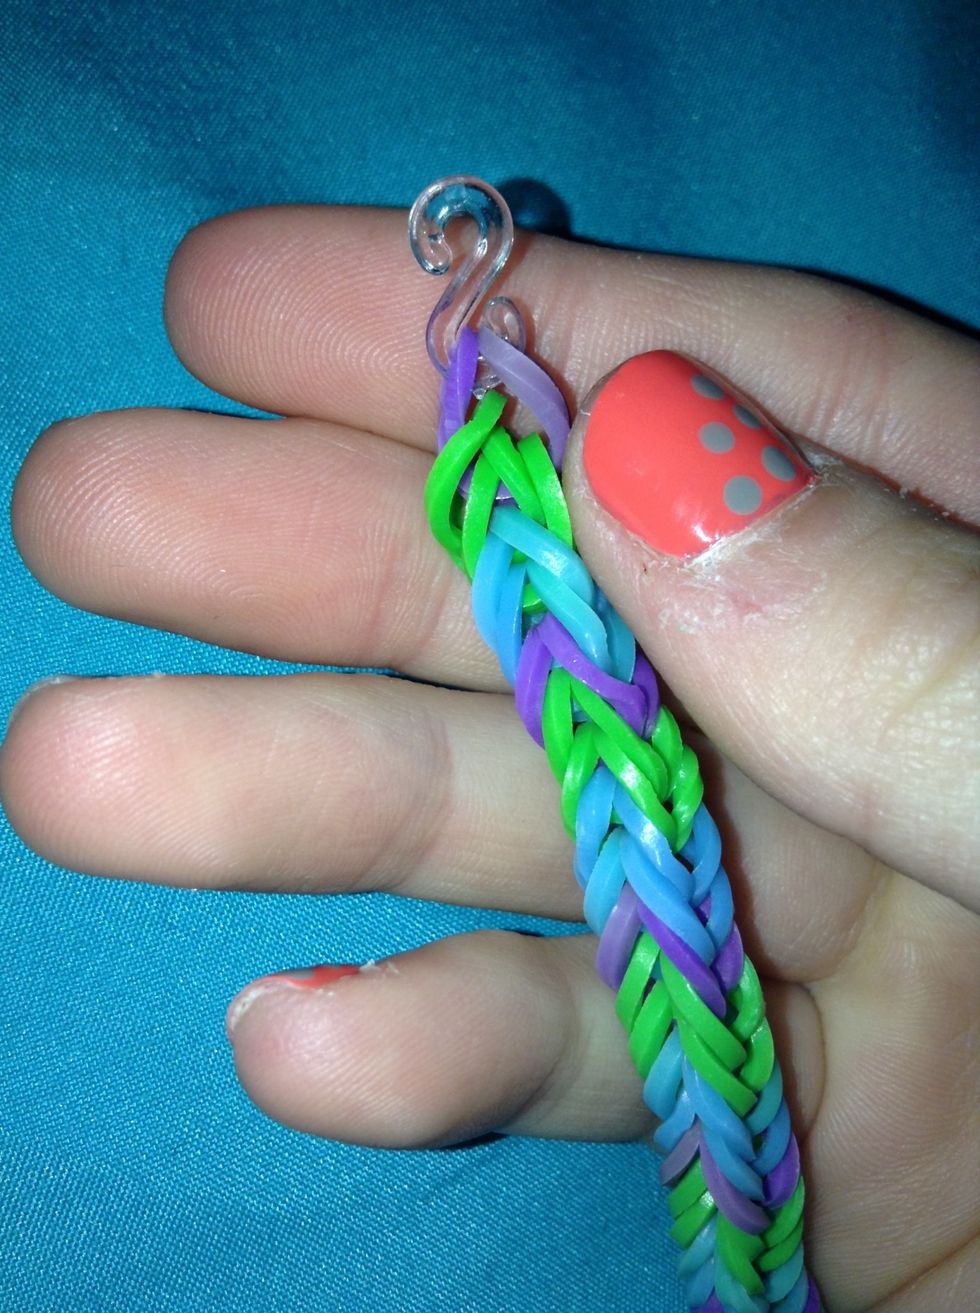
- Finish It Off: Once you have the desired length, you'll need to hook all the bands into the end peg. Secure it tightly with your clip or hook.
And voilà! You've made your very own fishtail rubber band bracelet. Feel free to show it off to your friends!
Tips for Creating a Perfect Fishtail Bracelet

Creating a fishtail rubber band bracelet should be a fun and creative process, but by following some handy tips, you can take your bracelet-making skills to the next level. Here are a few secrets to help you achieve that perfect fishtail look:
- Use Quality Bands: Opt for good-quality rubber bands that are stretchy but durable. This will ensure your bracelet lasts longer without breaking.
- Choose Vibrant Colors: Don’t hesitate to mix and match colors! Bright, contrasting colors can make your bracelet pop and look truly unique.
- Tightness Matters: Ensure you’re pulling the bands tight enough while weaving. A loose bracelet can get messy and won’t hold its shape.
- Practice Makes Perfect: If you’re new to this, experiment with different band placements and techniques. The more you practice, the easier it will get!
- Watch Tutorials: Sometimes a visual guide can help. Check out YouTube videos for step-by-step tutorials.
With these tips in mind, you’ll be on your way to creating stunning fishtail bracelets that you’ll be proud to show off! Have fun crafting!
Creative Variations and Designs

Once you've mastered the basic fishtail rubber band bracelet, you'll quickly find that the possibilities are endless! You can get creative by experimenting with different techniques, colors, and materials. Here are some fun variations and designs you might want to try:
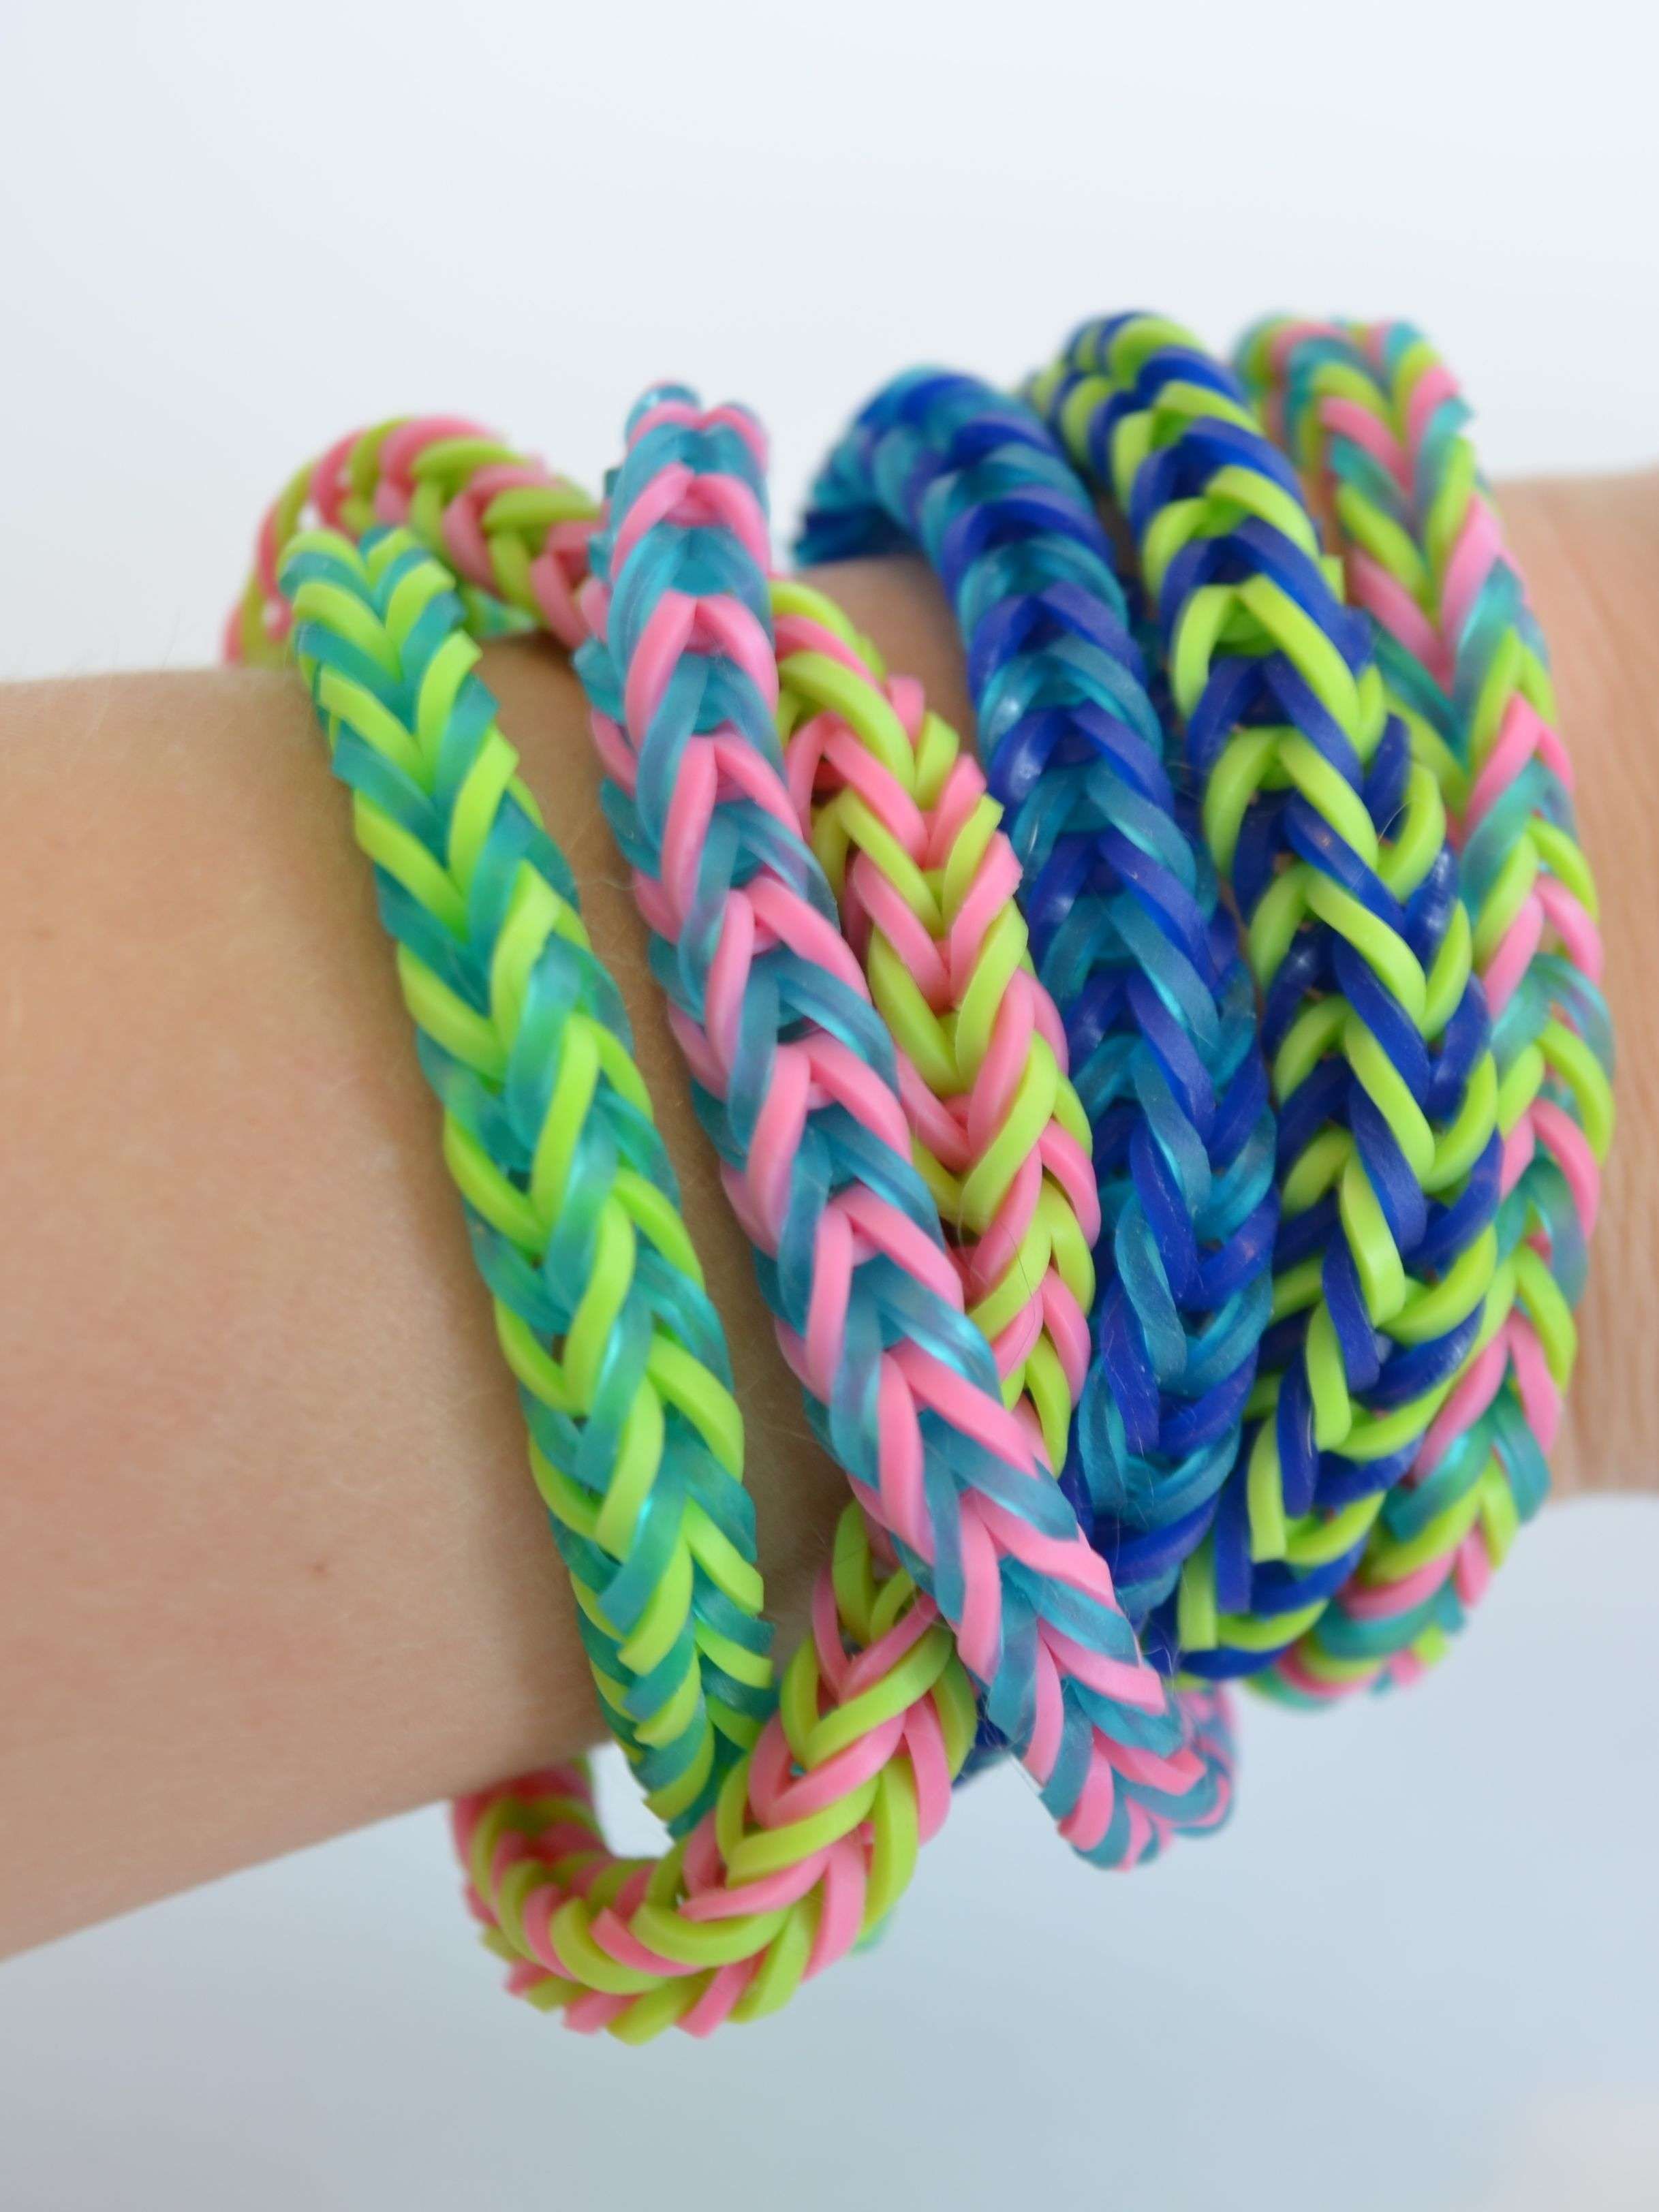
- Two-Tone Fishtail: Use two different colors of rubber bands for a striking contrast. You can alternate colors with each band or create sections for a unique look.
- Rainbow Fishtail: Gather a collection of colorful bands and make a vibrant rainbow bracelet. This is perfect for festivals or just adding a pop of color to any outfit.
- Charm Integration: Add a small charm to your fishtail bracelet by threading it onto one of the rubber bands. This makes your creation even more personalized!
- Wider Variations: Instead of using a single rubber band for each loop, try doubling up on bands to create a bolder, bulkier fishtail design. This version stands out beautifully!
- Layered Fishtail: Create two or three bracelets of different colors and sizes, then layer them on your wrist for a trendy stacked look.
As you explore these variations, don't hesitate to combine ideas or invent your own! The essence of crafting is letting your imagination run wild.
Where to Find More Tutorials and Resources
If you're eager to dive deeper into the world of rubber band crafting, there are tons of resources at your fingertips! Here are some great places to find tutorials, inspiration, and community support:
- YouTube: Search for channels dedicated to rubber band bracelet tutorials. Video demonstrations can help clarify tricky steps, and you'll often find creative ideas from other crafters.
- Instagram and Pinterest: These platforms are filled with beautiful imagery and written guides on crafting. Follow hashtags such as
#RubberBandBraceletsto discover new designs. - Craft Blogs: Many bloggers create step-by-step guides for rubber band projects. Look for blogs focused on DIY crafts for comprehensive tutorials.
- Crafting Books: Check local libraries or bookstores for crafting books that specialize in rubber band projects. These often include multiple patterns and tips!
- Online Communities: Join Facebook groups or Reddit forums where crafting enthusiasts share their projects, ask questions, and offer support.
With these resources, you’ll never run out of ideas or guidance. So gather your rubber bands, and let’s keep those creative juices flowing!
How to Make a Fishtail Rubber Band Bracelet - Fun Tutorial
Creating a fishtail rubber band bracelet is a fun and creative activity that anyone can enjoy, regardless of age. This tutorial will guide you through the process step by step, ensuring that you have a delightful crafting experience. You don't need to be an experienced crafter to make this stylish bracelet; just follow these simple instructions!
Materials Required
- Rubber bands in various colors
- S-clips or C-clips for fastening
- Hook tool (optional but helpful)
- Clip board or table for stability
Step-by-Step Instructions
- Prepare Your Work Area: Ensure your workspace is clean and organized.
- Select Your Rubber Bands: Choose two or more colors to make your bracelet vibrant and exciting.
- Start the Weaving Process:
- Take one rubber band and twist it before placing it on your workspace.
- Continue adding twisted rubber bands while alternating colors to create the fishtail effect.
- Finish and Secure: Once you reach your desired length, use an S-clip to secure both ends of your bracelet.
Storage and Care
Once your bracelet is complete, store it in a cool, dry place to maintain its elasticity and color. Avoid exposure to excessive heat and moisture.
Customization Ideas
Feel free to experiment with different sizes, colors, and patterns. You can also incorporate charms or beads to add a personal touch to your bracelet!
Conclusion and Final Thoughts
Making a fishtail rubber band bracelet can be a relaxing and enjoyable hobby, allowing you to express your creativity and style. Whether you choose to make them for yourself or as gifts for friends and family, the possibilities are endless!
 admin
admin


