Are you feeling the heat? Don’t sweat it! Creating your own DIY fan at home can be a fun and rewarding project that keeps you cool. With just a few materials and some simple steps, you can build a fan that’s not only functional but also adds a personal touch to your space. Plus, following Dailymotion’s easy guidelines makes the process a breeze. Let’s dive into the materials you’ll need to get started!
Materials Needed for Building Your DIY Fan
Before you roll up your sleeves, gather the following materials. Having everything at hand will make your DIY experience smoother and more enjoyable:
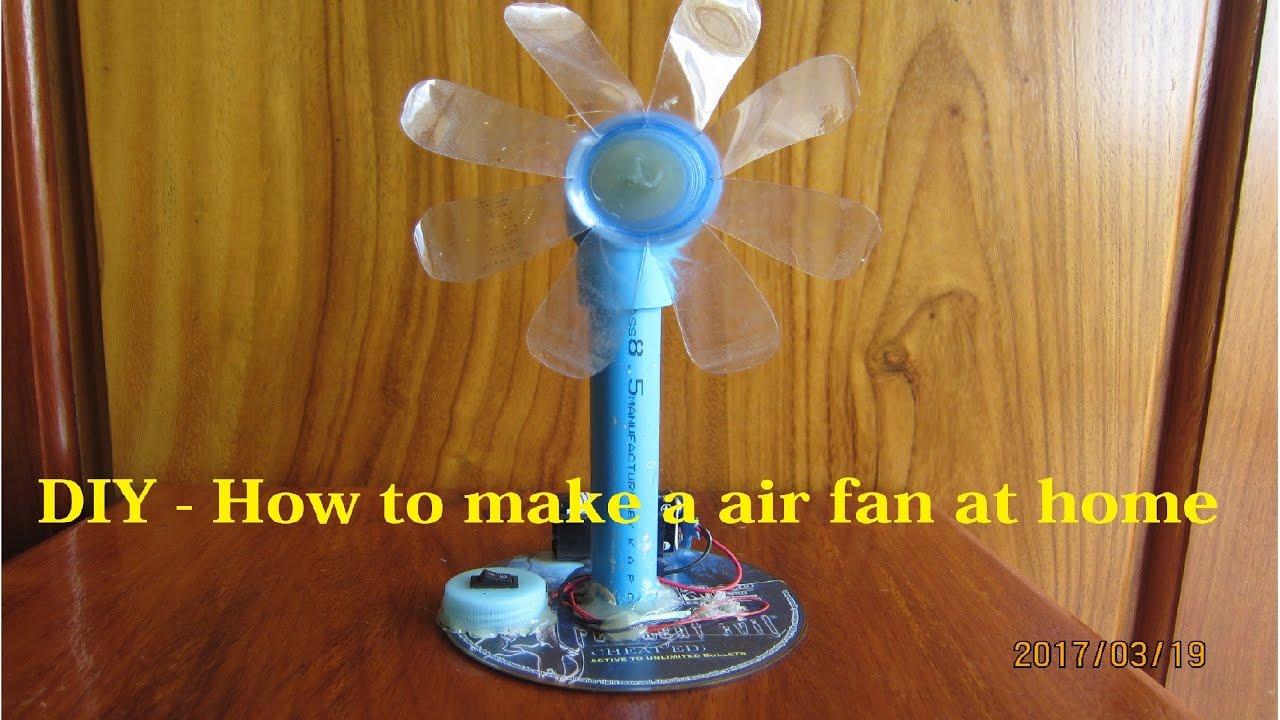
- Small Electric Motor: Look for a motor that operates on low voltage; a computer cooling fan motor works perfectly!
- Fan Blades: You can use plastic or cardboard. If you're feeling creative, consider repurposing old toy fan blades or even making your own from lightweight materials.
- Base: A sturdy base is essential for stability. You can use wood, a thick piece of cardboard, or even an old flower pot.
- Power Source: Depending on your motor, this could be batteries or an AC adapter. Ensure it matches your motor's requirements.
- Switch: A simple toggle switch will allow you to turn your fan on and off easily.
- Wires: Use insulated copper wires to connect your motor to the power source. Make sure they’re long enough to reach your base!
- Hot Glue Gun: This will be your best friend for attaching parts together securely.
- Tools: You’ll need scissors, a screwdriver, and possibly a drill if you’re using wood for the base.
Optional items that can enhance your fan:
- Paint or Markers: To decorate your fan and make it uniquely yours.
- LED Lights: For some added flair, consider adding LED lights around the base or on the fan blades.
Once you have all your materials ready, you’ll be well on your way to creating a custom fan that not only cools you down but also showcases your creativity. Let’s get building!
Also Read This: How to Make a Loom Band Flower Ring: Fun DIY Project on Dailymotion
3. Step-by-Step Instructions
Creating your own DIY fan at home can be a fun and rewarding project! Here’s a simple, step-by-step guide to get you started. Grab your materials and let’s dive in!
Materials Needed:
- A medium-sized plastic or cardboard box
- A small electric motor (like those from old toys or gadgets)
- A fan blade (you can repurpose one or make your own)
- A power source (like batteries or a USB cable)
- Wires and electrical tape
- Scissors or a utility knife
- Optional: Paint or decorations to customize your fan
Instructions:
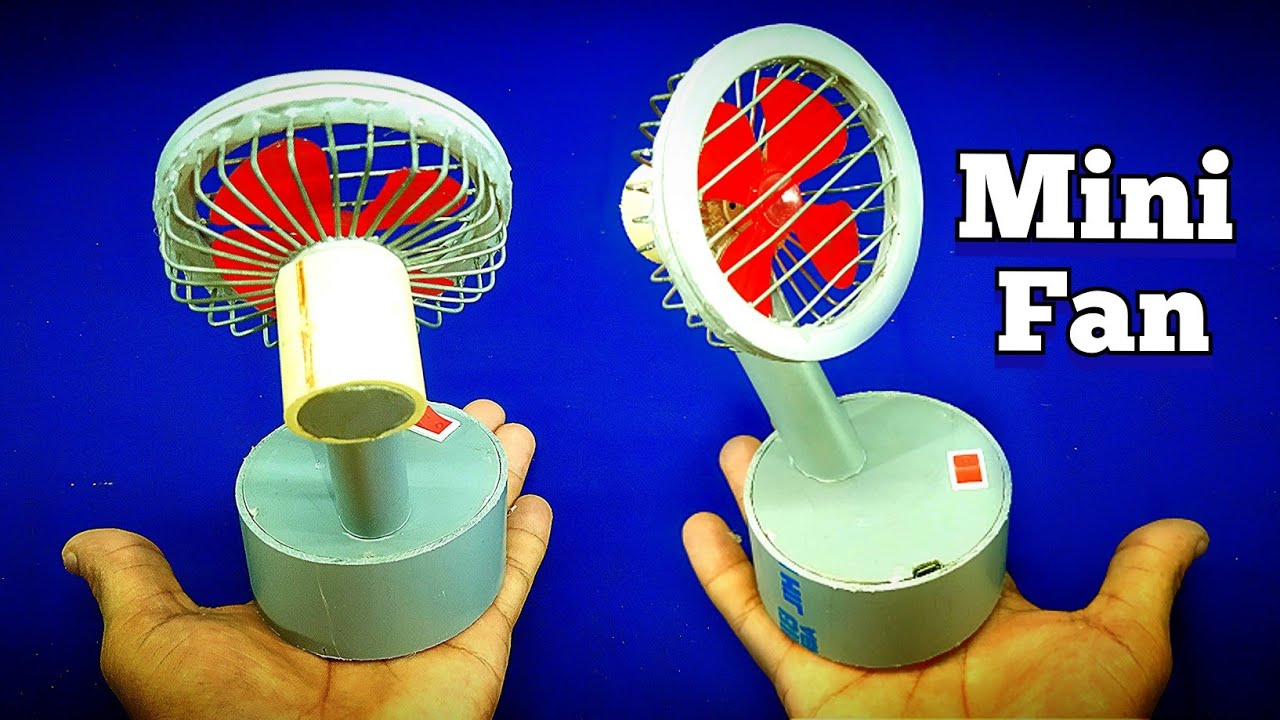
- Prepare the Box: Start by cutting a hole in one side of your box. This will be the frame for your fan. Make sure it's large enough to fit the fan blade comfortably.
- Attach the Motor: Secure the electric motor inside the box, ensuring that the shaft of the motor is aligned with the hole you just cut. You can use hot glue or screws to keep it in place.
- Install the Fan Blade: Attach the fan blade to the motor shaft. If it’s a tight fit, you might need to secure it with some adhesive or a small screw.
- Connect the Wires: Using the wires, connect your motor to the power source. If you’re using batteries, make sure you understand the correct polarity. For USB, just connect the power and ground wires properly.
- Seal the Box: Once everything is connected and secure, close up your box. You may want to add some extra ventilation holes if needed.
- Power Up: Turn on your power source and watch your DIY fan come to life! Adjust its position or modify the blade design for better airflow.
And there you have it! A simple yet effective DIY fan that you created with your own hands. It's a great project for those hot summer days or just for learning about electronics!
Also Read This: How to Make Doll House Furniture: Creative Ideas on Dailymotion
4. Tips for Optimizing Fan Performance
Now that you’ve built your DIY fan, let’s take it up a notch! Here are some practical tips to enhance its performance and efficiency:
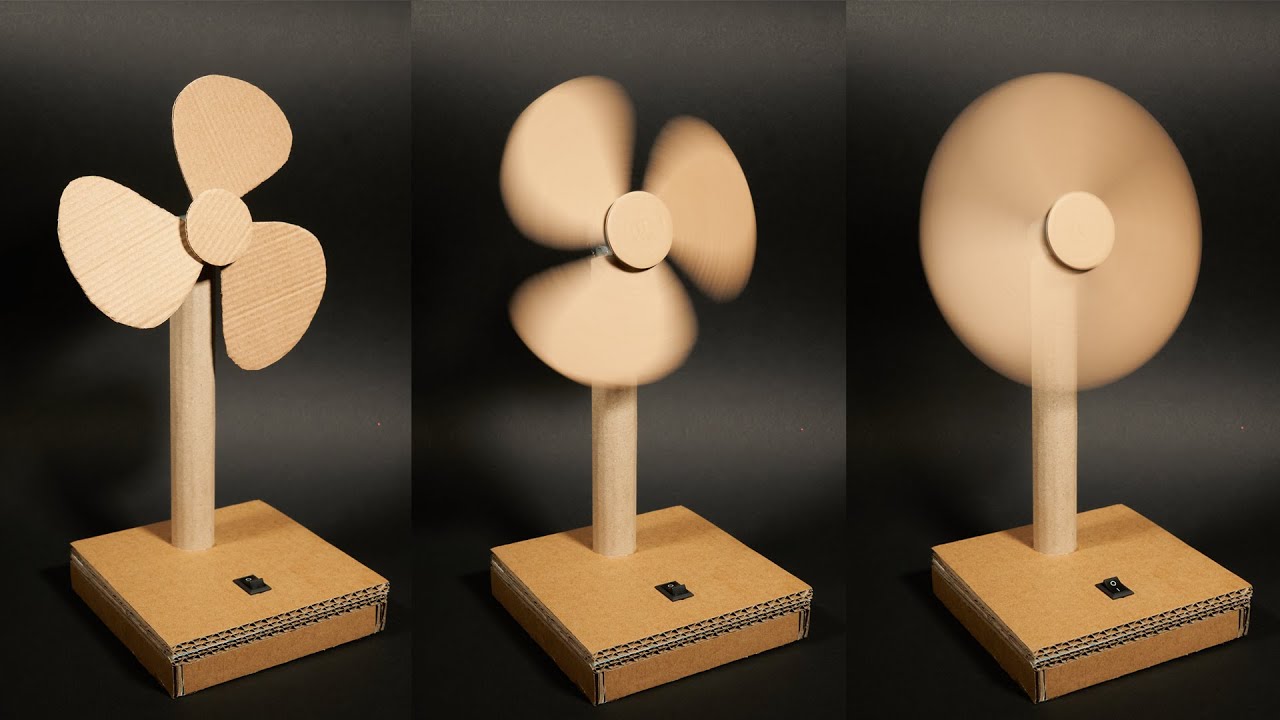
- Blade Design: The shape and size of the fan blades can significantly affect airflow. Consider using larger blades or experimenting with angled designs to maximize air movement.
- Speed Control: If possible, add a speed controller to your circuit. This allows you to adjust the fan speed based on your comfort level, saving energy in the process.
- Positioning: Place your fan in a strategic location. For instance, positioning it near a window can help circulate cool air indoors while pushing out warm air.
- Regular Maintenance: Keep your fan clean. Dust buildup can hinder performance, so wipe down the blades and motor regularly.
- Power Efficiency: If you're using batteries, opt for rechargeable ones to save costs and reduce waste. If using a USB, make sure your power source is efficient.
- Noise Reduction: If noise is a concern, consider adding some rubber padding under the motor to reduce vibrations. This can make your fan quieter and more enjoyable to use.
By following these tips, you can enjoy a more effective and long-lasting DIY fan. Happy crafting! Remember, the more you experiment, the better your fan will become!
Also Read This: Following Dailymotion Channels on Apple TV Effortlessly
5. Common Mistakes to Avoid
Creating a DIY fan at home can be a fun and rewarding project, but there are some common pitfalls that you’ll want to avoid to ensure your fan operates efficiently and safely. Here are a few mistakes to keep in mind:
- Skipping the Planning Phase: Many DIY enthusiasts rush into the project without a clear plan. Take the time to sketch out your design, gather materials, and list the steps you need to follow. This will save you time and hassle in the long run.
- Using Incompatible Materials: Not all materials are created equal! For instance, if you're using a motor that requires a specific voltage, make sure your power source matches. Mixing and matching can not only lead to inefficiencies but could also damage your fan.
- Neglecting Safety Precautions: Safety should always be your top priority. Using electrical components without proper insulation or neglecting to unplug your fan while working on it can lead to accidents. Always wear safety gear and follow electrical safety guidelines.
- Ignoring Weight Distribution: A common mistake is improperly balancing the fan blades. If they’re not evenly spaced or weighted, your fan may wobble or become noisy. Take the extra time to ensure your blades are evenly placed and secured.
- Not Testing Before Final Assembly: Before you seal everything up, do a test run! This helps you catch any issues early on, like improper wiring or misaligned blades. It’s much easier to make adjustments now than to take everything apart later.
By avoiding these mistakes, you’ll be well on your way to creating a functional and efficient DIY fan. Remember, patience and attention to detail are key!
6. Conclusion
Congratulations! You've made it through the steps of creating your very own DIY fan. Not only have you learned how to build something practical, but you’ve also tapped into your creativity and problem-solving skills. Whether you’re using it to cool down on a hot summer day or just showcasing your handiwork, there’s a sense of pride that comes with crafting something yourself.
As you wrap up your project, here are a few final thoughts to consider:
- Personalize Your Fan: Don’t hesitate to add your own flair! Paint it your favorite color, or add decorative elements like stickers or fabric. Making it reflect your personality can enhance your space.
- Share Your Creation: Whether it’s a blog, social media, or a DIY forum, sharing your project can inspire others. Plus, you might receive tips and feedback that could help with your next project!
- Experiment and Innovate: Now that you’ve got the basics down, consider experimenting with different designs and mechanisms. What about solar-powered fans or multi-speed settings? The sky’s the limit!
So, grab your materials, put on your creative hat, and start building! The satisfaction you’ll feel from using something you made with your own hands is truly unmatched. Happy DIY-ing!
 admin
admin


