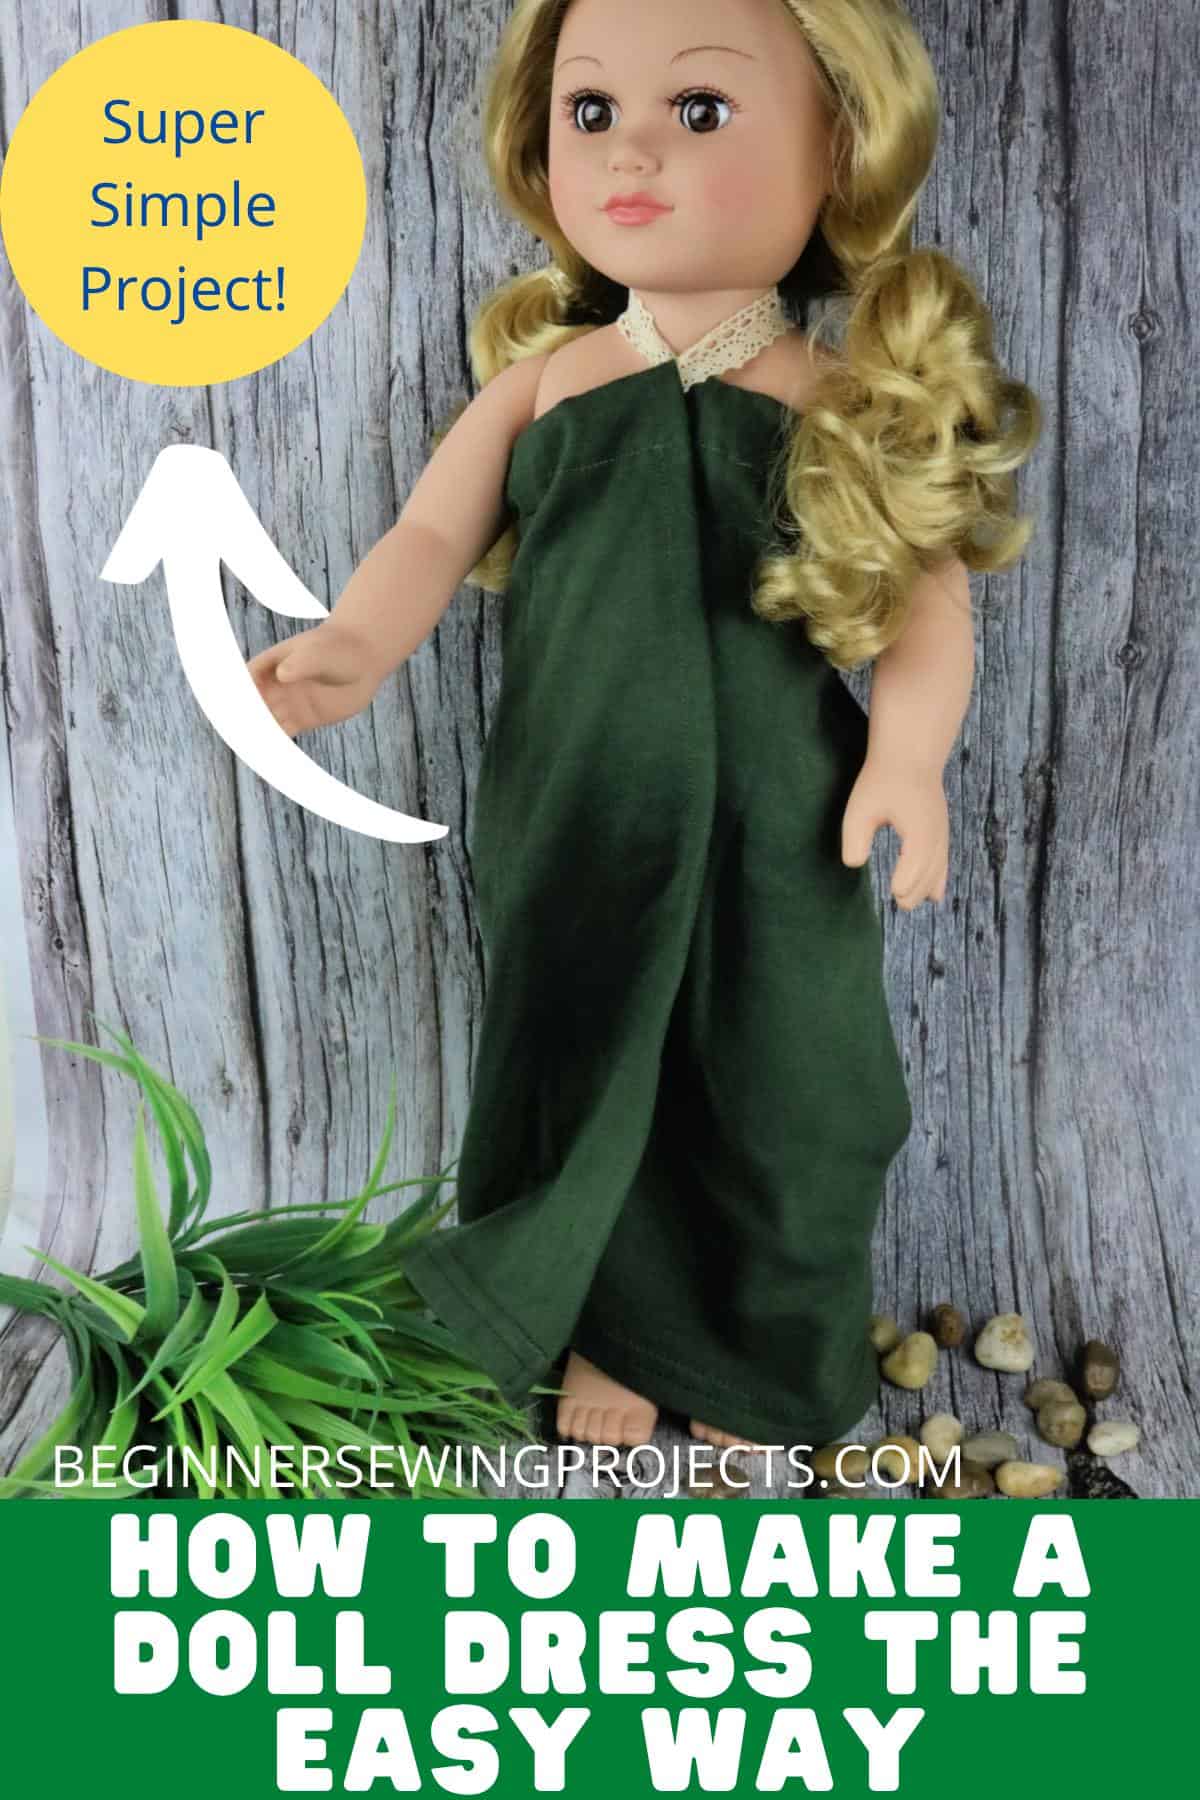
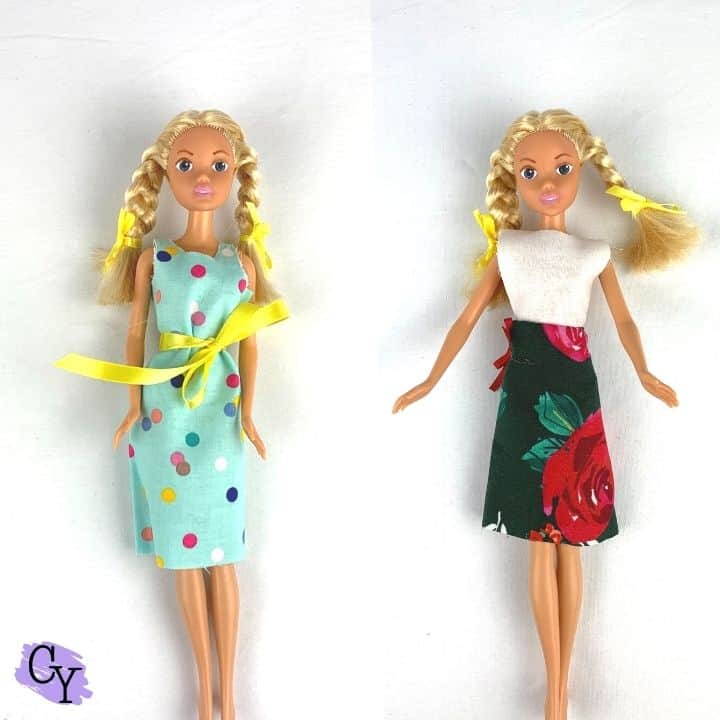
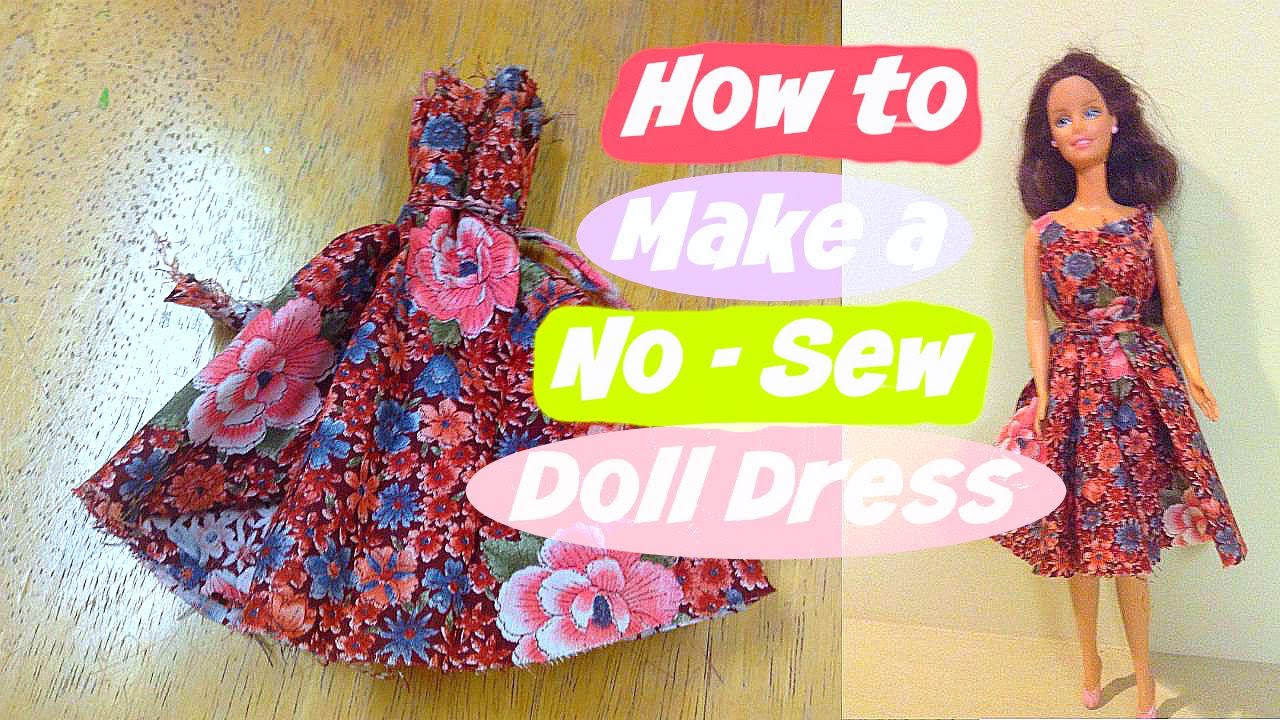
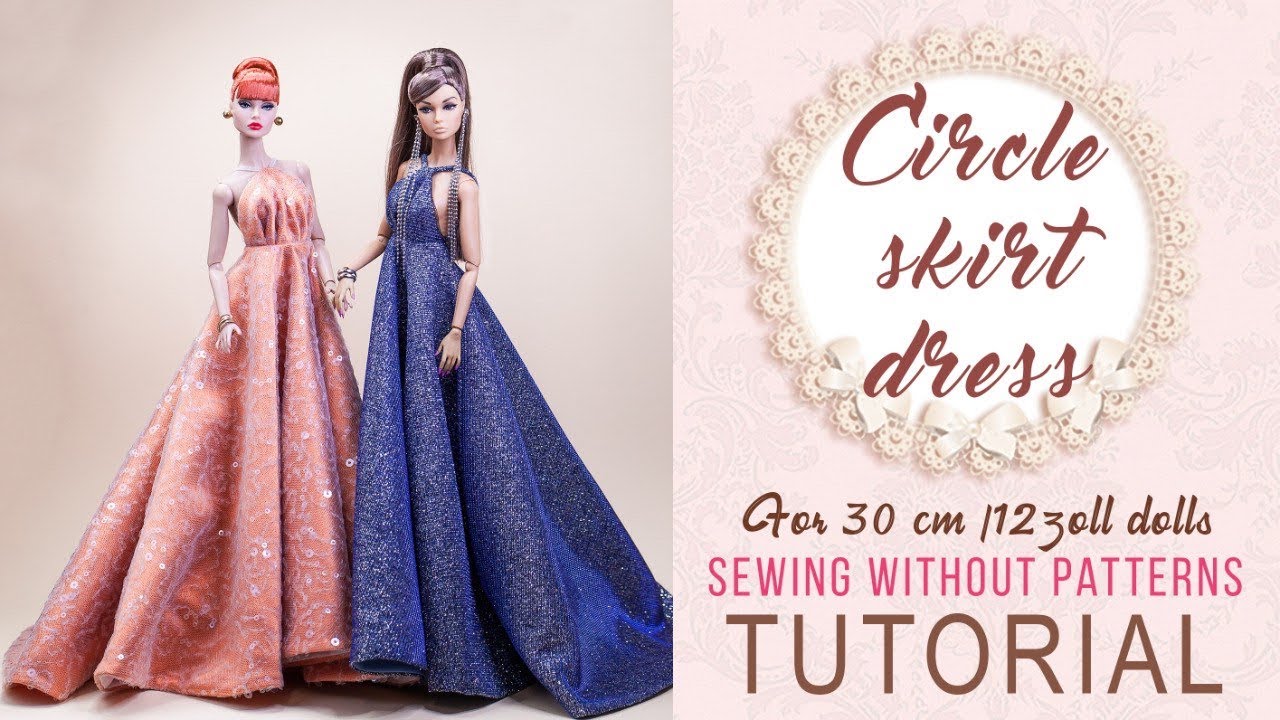
Welcome to our delightful sewing tutorial where we’ll be diving into the crafty world of doll dressmaking! Whether you're an experienced sewist or just starting out, this step-by-step guide will walk you through the process of creating a charming dress for your beloved doll. Not only is sewing a rewarding hobby, but it also sparks creativity and adds a personal touch to your doll collection. So, grab your sewing tools, and let's stitch together something special!
Materials Needed

Before we get started on sewing that adorable doll dress, it's crucial to gather all the materials you'll need. Below is a handy list to ensure you have everything on hand for a smooth sewing experience:
- Fabric: Choose a cute cotton fabric or any fabric of your choice, preferably with a fun print to add character!
- Sewing Machine: While you can sew by hand, using a sewing machine will speed things up and give your dress a professional finish.
- Thread: Make sure to select a thread that matches or complements your fabric color.
- Scissors: Sharp fabric scissors are essential for clean cuts.
- Measuring Tape: For getting accurate measurements, which is key to ensuring a perfect fit!
- Pins: To hold the fabric pieces together while you sew.
- Pattern Paper: Optional, but helpful for creating a template for your doll dress design.
- Iron: A good iron will help press your seams for a crisp finish.
- Button or Velcro: These can be used for the closure of your doll dress.
Having all these materials ready will make your sewing session enjoyable and efficient. Now that you’re poised for creativity, let’s get those sewing machines humming!
3. Preparing the Pattern

So, you’re ready to get crafty! Before you dive into sewing, let’s talk about preparing the pattern. This step is crucial because a good pattern sets the stage for a fabulous doll dress. Whether you’re using a store-bought pattern or creating your own, here's how to go about it:
- Choose Your Pattern: If you're using a pre-made pattern, make sure it's the right size for your doll. Common doll sizes include 18-inch dolls, like American Girl dolls, or smaller ones, like those miniatures.
- Materials You'll Need: Grab some parchment paper, a ruler, scissors, and a pencil for tracing. If you’re working from a printed pattern, you might also need some tape for any adjustments.
- Trace the Pattern: Lay your pattern flat on the parchment paper, and trace around it using the pencil. Make sure to include any notches and markings; they are essential for ensuring all the pieces fit together.
- Make Adjustments: If you want a bit of flair—like a longer skirt or puffier sleeves—now's the time to customize! Just be cautious not to over-complicate your design; simpler patterns often have the best results.
- Cut Out Your Pattern Pieces: Carefully cut along the lines you’ve traced. This will give you your working pattern pieces to guide you as you cut your fabric later.
Once your pattern is prepared, you’re one step closer to creating that stunning doll dress. Pat yourself on the back—onwards to the next step!
4. Cutting the Fabric

Cutting fabric might seem straightforward, but it’s often where many sewing projects stumble. It’s essential to do this step with care and precision to ensure your doll dress turns out just as lovely as you envision. Here’s how to effectively cut your fabric:
- Choose Your Fabric: Depending on your design, opt for a fabric that’s easy to handle. Cotton is a popular choice for beginners because it’s forgiving and comes in a plethora of beautiful prints!
- Pre-wash Your Fabric: If your fabric is susceptible to shrinking, give it a quick wash and dry before you start cutting. This will save you heartache down the line!
- Lay Out Your Pattern: Spread out your fabric on a flat surface and lay your pattern pieces on top, ensuring they’re properly aligned. Use weights or pins to hold them in place so they don’t shift around.
- Mark the Fabric: Use tailor’s chalk or a fabric marker to trace around the pattern pieces. Make sure you include any seam allowances and notches. This will ensure everything aligns perfectly when you sew!
- Cut With Precision: Now grab your sharp fabric scissors! Carefully cut along the marked lines. Take your time—rushing this step might lead to uneven edges, which can throw off the entire dress.
After cutting the fabric, you’ll see your pieces come to life! Take a moment to admire your handiwork before moving on to the fun part: sewing everything together!
Sewing the Dress

Sewing the dress can be the most exciting part of your project! With the pieces cut and ready to go, you’re about to bring your vision to life. Start by laying out your fabric pieces on a clean surface. Make sure the right sides are facing each other since it's essential to have the outside of the fabric showing when you're done. Here’s a simple step-by-step process:
- Pin the Bodice Pieces Together: Align the bodice front and back pieces, pinning along the shoulders and sides. Ensure they are securely fastened to avoid any shifting while sewing.
- Sew the Bodice: Using a straight stitch, sew along the pinned edges. A 1/4-inch seam allowance works well here. Don’t forget to backstitch at both ends to secure your stitches!
- Attach the Skirt: Now, gather the skirt fabric by creating some pleats or ruffles. To do this, sew two rows of long stitches along the top edge of the skirt, then gently pull the threads to gather the fabric to your desired fullness.
- Join Skirt and Bodice: With the right sides together, pin the gathered skirt to the bodice. Sew around the waist, making sure the gathers are evenly distributed.
- Finish the Edges: To prevent fraying, finish the raw edges with a zigzag stitch or use pinking shears. This will give your doll dress a polished, professional look.
And there you have it—the main structure of the dress is complete. Now, let’s move on to the finishing touches to make it really shine!
Finishing Touches
The finishing touches are what transform a good doll dress into a great one! This is your opportunity to get creative and add your personal flair. Here are some fun ideas to consider:
- Hems: Fold the bottom edges of the dress about a 1/4 inch up and stitch them down to create a clean hem. Use a blind hem stitch for a discreet finish if you want an extra polished look.
- Add Embellishments: Think about adding lace, ribbons, or even decorative buttons. Attach them securely so they hold up during play.
- Attach Closures: Depending on your design, you might need to sew on a snap, button, or hook-and-loop tape (like Velcro) at the back for easy dressing.
- Press the Dress: Don’t skip this step! A good press with an iron can make all the difference. Be sure to use the right temperature for your fabric to avoid any damage.
- Add Accessories: To complete the ensemble, consider making a matching headband, shoes, or even a tiny purse!
Once you've added all these final touches, step back and admire your work. You've just created a beautiful doll dress that your child will treasure for years to come!
How to Make a Doll Dress with a Step-by-Step Sewing Tutorial
Creating a doll dress can be a delightfully rewarding project, perfect for both beginners and experienced sewers alike. This step-by-step tutorial will guide you through the process, equipping you with all the tools, tips, and tricks needed to craft a lovely dress for your doll.
Materials Needed
- Fabric (cotton is a great choice)
- Basic sewing supplies (needle, thread, scissors)
- Pins or fabric clips
- Measuring tape
- Dress pattern (or create your own)
- Sewing machine (optional)
Step-by-Step Instructions
- Measure Your Doll: Measure the waist, chest, and length from the shoulders to the desired dress length.
- Cut the Fabric: Using your measurements, cut out the fabric pieces according to your pattern. You will typically need a front and back piece for the bodice, a skirt piece, and any embellishments.
- Sew the Bodice: Pin the right sides of the fabric together and sew along the edges, leaving the bottom open for attaching the skirt.
- Prepare the Skirt: Gather the fabric (if needed) to create volume, and then sew the skirt piece onto the bodice securely.
- Add Finishing Touches: Hem the edges, add buttons, ribbons, or any other details to personalize your dress.
Tips for Success
| Tip | Description |
|---|---|
| Choose the Right Fabric | Select fabric that is easy to work with and appropriate for doll clothing. |
| Practice Patience | Take your time, especially with cutting and sewing for clean results. |
| Get Creative | Feel free to experiment with colors and patterns to make unique designs! |
By following these steps, you can create beautiful doll dresses that will delight both the creator and the lucky recipient. Enjoy the process, and don't hesitate to add your personal flair to each creation!


