For designing eye-catching presentations, Google Slides is a versatile tool, and one of the features that can enhance your designs is the capability to crop images into different forms such as circles. Adding circle visuals could help to make your slides appear more polished and professional. Learning how to create circle images in Google Slides is an important capability that is simple to acquire, whether you need to emphasize important team members or showcase product photos. In this guide we shall look at the basic steps of creating such images.
Why Use Circular Images in Presentations?

Due to some reasons circular images are widely used in presentations:
- Focus on the Subject: Circular images remove background distractions, helping the audience focus on the key subject of the image.
- Aesthetic Appeal: Circular images have a softer, more engaging look than standard rectangular or square images, making the presentation visually appealing.
- Professional Design: Circular images are commonly used in professional presentations, such as business slides or profile pictures, giving a clean, modern look.
- Easy to Align: Circular images can be easily arranged in creative layouts, such as grids or as part of infographic designs.
It is important to utilize images that are circular in PPTs where both appearance and layout count as tantamount to the message being conveyed through its slides. This allows these slides not to be just words on paper, thus creating an illusion of space between themselves and making them attractive visually for the listeners’ viewership.
Also Read This: How to Scale Thumbnails in Behance for Optimizing Your Portfolio’s Visuals
Steps to Insert and Crop an Image into a Circle
To crop an image into a circle in Google Slides, simply do the following:
- Insert the Image: First, click on the "Insert" tab in Google Slides and select "Image". You can upload an image from your computer, or choose one from Google Drive, Google Photos, or a web search.
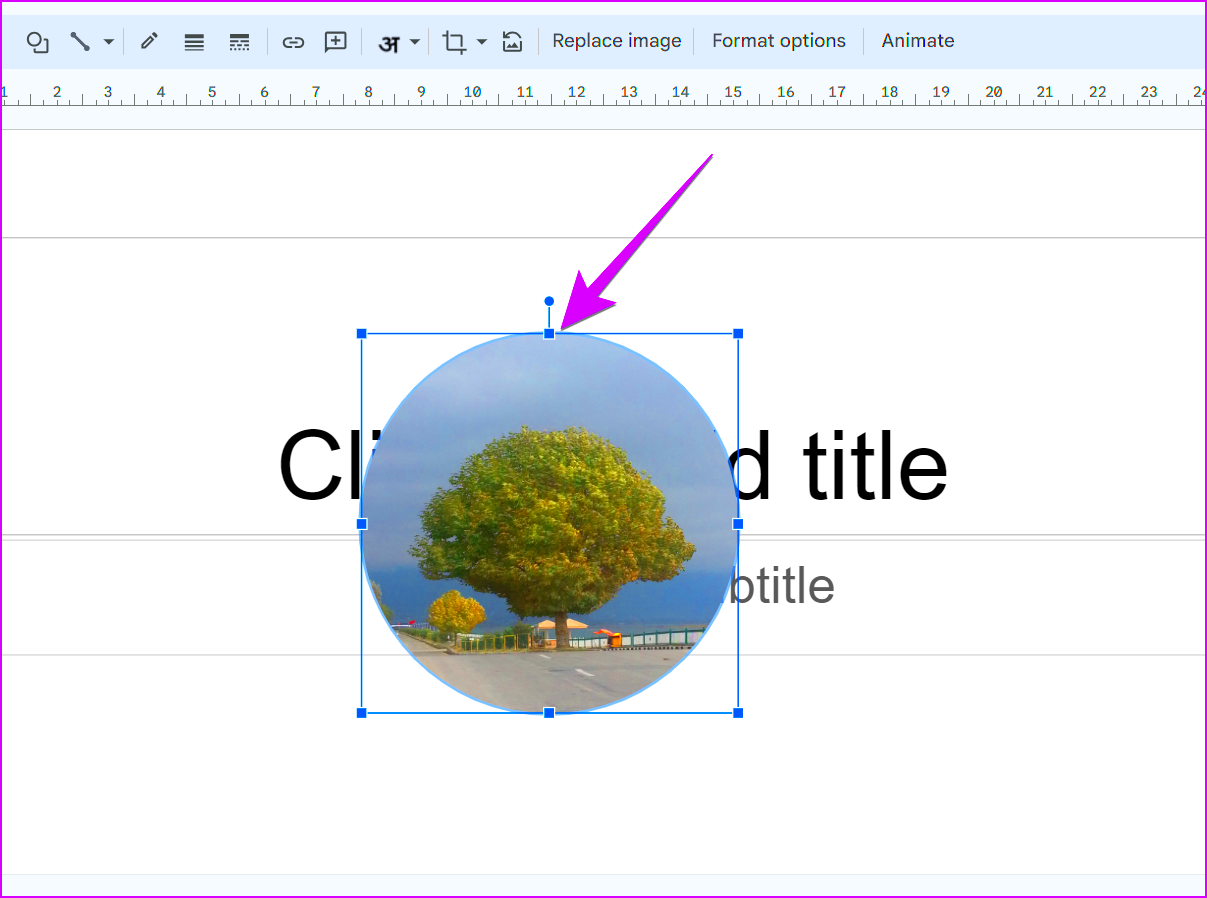
- Select the Crop Tool: Once your image is placed on the slide, click on it to select it. Then, click on the crop icon in the toolbar at the top.
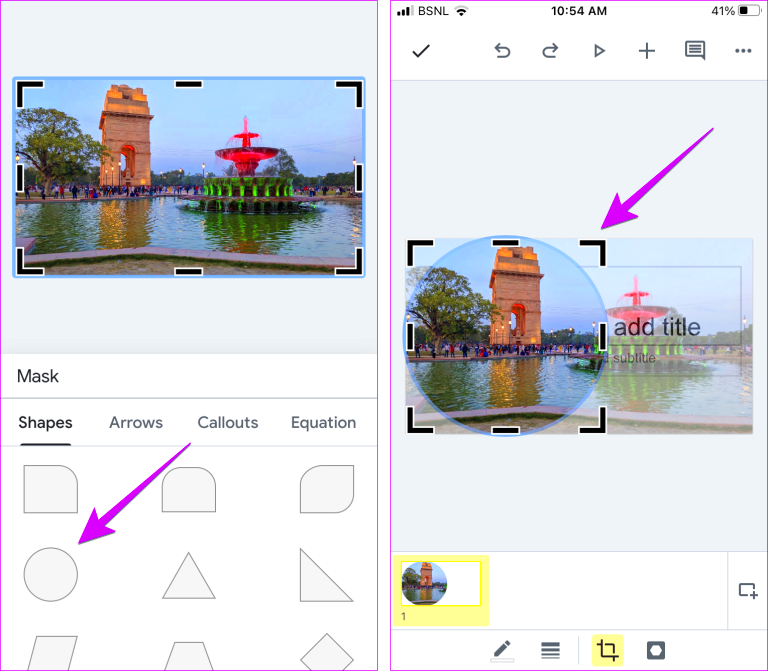
- Crop as a Shape: Click the small arrow next to the crop icon to reveal the "Shape" menu. Scroll down to find the "Shapes" option and choose the circle shape (called "Oval").
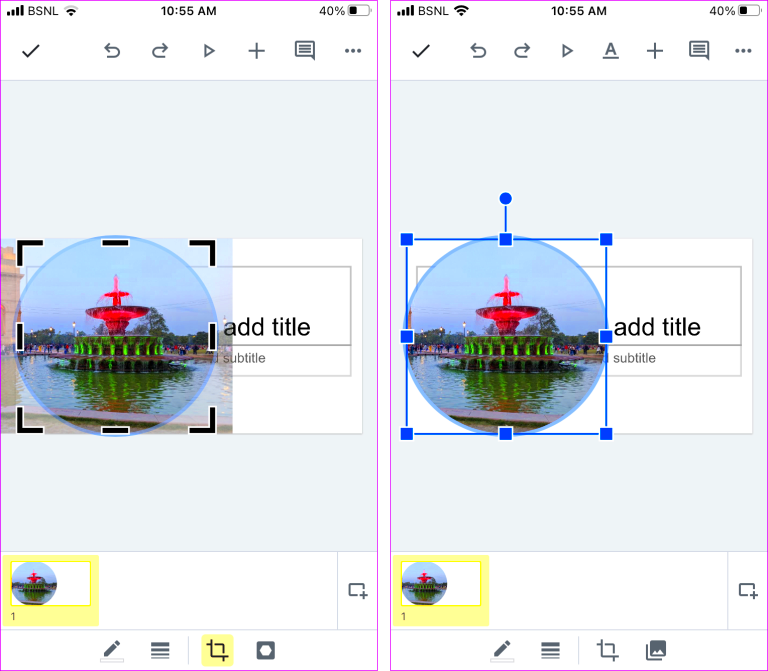
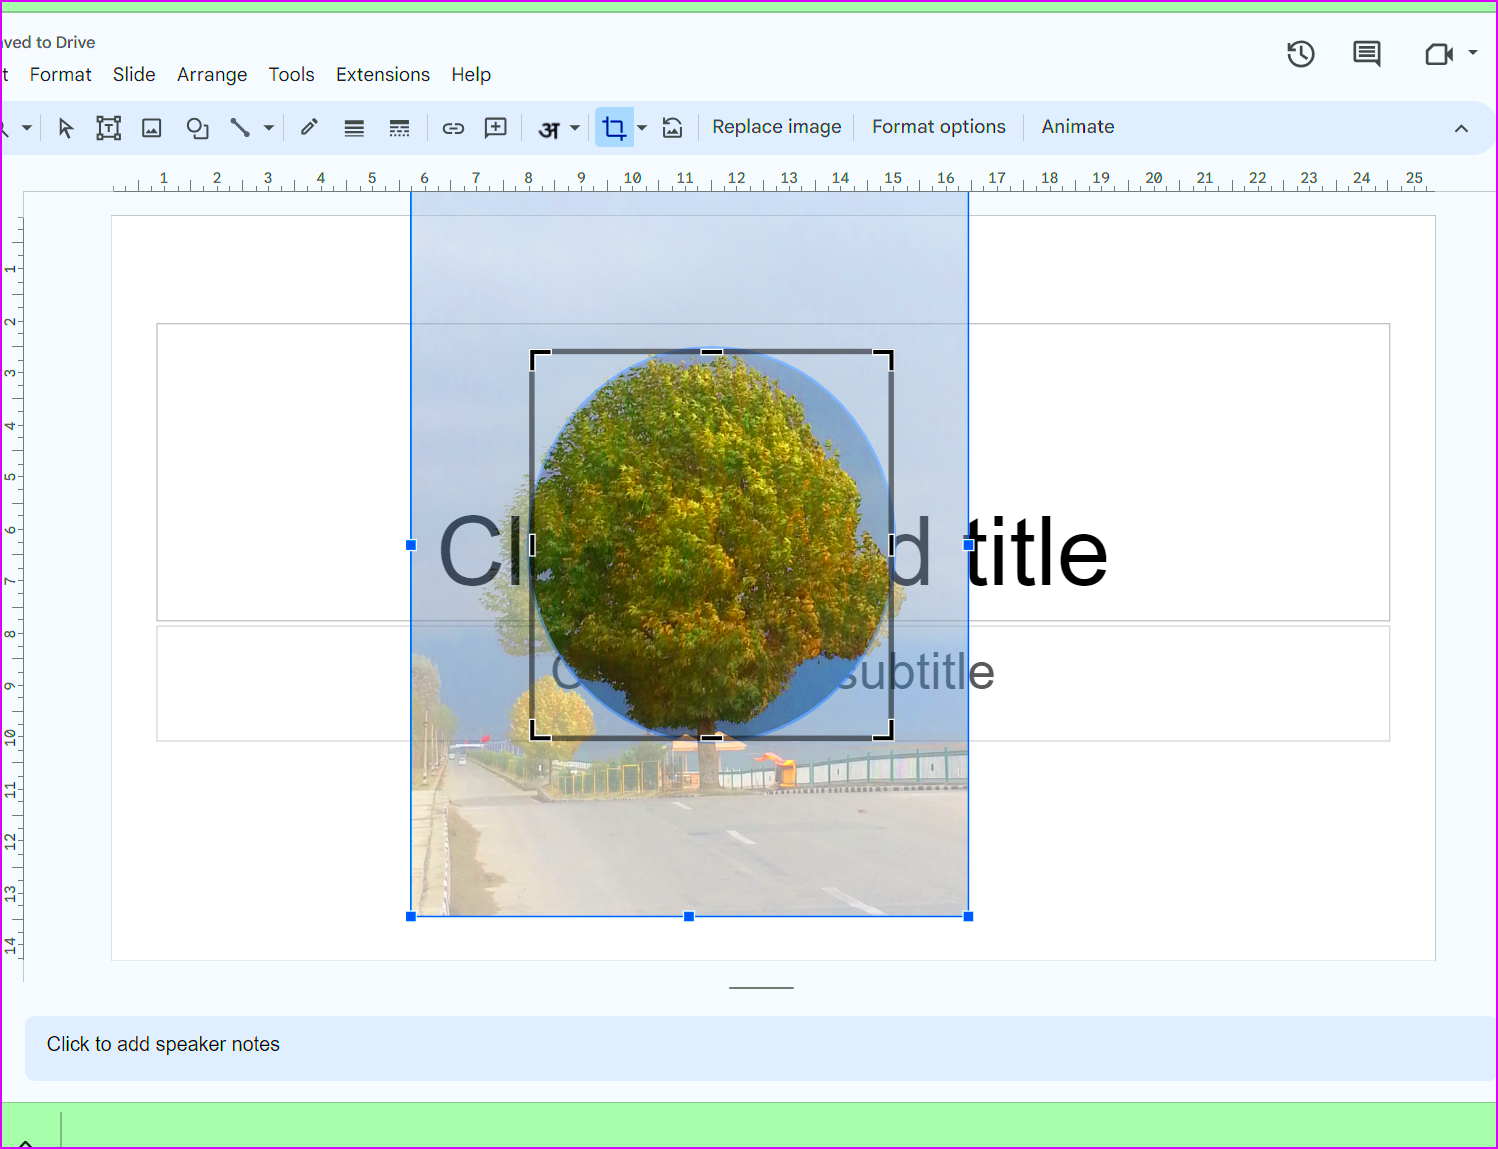
- Adjust the Circle: Once your image is cropped, you can adjust the size of the circle by dragging the corners or sides of the image. Hold the Shift key to keep the proportions of the circle.
- Finalize Your Design: After adjusting, simply click outside the image or press Enter to finalize the cropped circle shape. You can now move and position your circular image anywhere on the slide.
And there you go! You have now made a circular format image using Google Slides.. The next step is to customize it with some edge or effects in order to help improve its visual setting.
Also Read This: Creating Welcome Charts for Classrooms with Dailymotion Assistance
Customizing the Circle Image with Borders and Effects
Google slides allow you to create circular images that you may then personalize with borders and other effects so that they stand out. It is easy to make these adaptations which will harmonize the overall appearance of your slide show. This is how you can do it:
- Adding a Border: To add a border, click on your circle image, then select the "Border color" tool in the toolbar. You can choose a color that complements your slide theme. Next, use the "Border weight" tool to adjust the thickness of the border. For a more polished look, opt for a 2-3 pixel border.
- Using Border Dash: If you want something more creative, try using the "Border dash" option to make your border dotted or dashed. This adds a unique design element to your circle image.
- Applying Drop Shadows: Drop shadows can give your image a three-dimensional look. To add a shadow, right-click the image and choose "Format options". Then, check the "Drop shadow" box and adjust the transparency, blur, angle, and distance to your liking.
- Reflection Effect: You can also add a reflection to your image by enabling the "Reflection" option under the "Format options". Adjust the size and distance to create a subtle or prominent reflection.
This particular effects are there to help your round pictures stand out and make your presentation more interesting.
Also Read This: Achieve a Radiant Glow with Shimmer Application Techniques on Your Face
Tips for Creating Perfect Circular Images
For those who want to learn how to make images round look better, there are a few things you should take note of:
- Use High-Quality Images: Always use high-resolution images. Low-quality images can look pixelated when cropped into a circle, which can negatively impact the overall look of your presentation.
- Center the Subject: When cropping into a circle, make sure the key subject of the image (like a face or product) is centered. This helps maintain the focus and balance of the image.
- Hold Shift for Perfect Circles: When resizing your image, holding the Shift key will ensure that you maintain a perfect circle. Without this, you may accidentally create an oval shape.
- Test with Different Sizes: Don’t be afraid to experiment with the size of the circle. A larger circle may emphasize the subject more, while smaller circles can be great for icons or secondary elements.
- Maintain Consistency: If you are using multiple circular images in one slide or across your presentation, try to keep their sizes and styles consistent. This creates a more cohesive and professional look.
The above tips will lead to a cleaner and more professional look of your circle images, which will certainly make your slides’ design look better.
Also Read This: How to Replace an Image in After Effects
Common Mistakes to Avoid When Cropping Images in Google Slides
Making circular cuts on images is not quite difficult, but there are a number of common errors that can happen during the process. You need to avoid such pitfalls if you want to enhance the look of your pictures:
- Distorted Circles: A common mistake is accidentally creating an oval instead of a perfect circle. Always hold the Shift key when resizing to avoid this issue.
- Poor Image Quality: If you start with a low-resolution image, cropping it into a circle can make it appear even more pixelated. Always use high-quality images for the best results.
- Misaligned Subjects: If the subject of the image isn’t centered properly, parts of it may be cropped out, resulting in an unbalanced or awkward composition. Make sure to position the subject in the middle of the crop area.
- Overuse of Effects: While borders, shadows, and reflections can enhance your image, too many effects can clutter the design. Use these tools sparingly to maintain a clean and professional look.
- Inconsistent Image Sizes: Using inconsistent sizes for your circle images across different slides can disrupt the visual flow of your presentation. Ensure that all your circle images are similar in size for a more cohesive appearance.
When you are conscious of the discussed mistakes, you will avoid design imperfections and make sure that your round pictures enhance a professional look that is classy.
Also Read This: Can You Make Money on Rumble Exploring Monetization Options
FAQ: Troubleshooting Issues with Circle Images in Google Slides
The following are several typical problems that users encounter when handling circular images in Google Slides as well as how to fix them out.
| Issue | Solution |
|---|---|
| My image turns into an oval instead of a perfect circle. | Hold the Shift key while resizing the image after cropping. This ensures that the proportions stay equal, keeping the shape perfectly circular. |
| The image is pixelated or blurry after cropping. | Ensure that you are using a high-resolution image. Low-quality images will often look distorted when resized or cropped into a circle. |
| Parts of my image are getting cropped out. | Make sure the subject of the image is centered before applying the crop. You can reposition the image within the shape by double-clicking it and dragging it into place. |
| Effects like shadows or reflections aren’t showing up. | Double-check that you’ve applied these effects correctly. Go to "Format options", ensure that the "Drop shadow" or "Reflection" boxes are checked, and adjust the settings to make the effect more visible. |
| The border around my image doesn’t look right. | Ensure that your border weight is appropriate for the size of the image. Thicker borders work better on larger images, while thinner borders are ideal for smaller ones. Also, make sure the border color contrasts well with both the image and slide background. |
It is worth remembering that the majority of issues associated with circular images can be solved just by verifying their image quality, form formatting, and effects.
Conclusion: Enhancing Your Presentations with Circle Images
Inserting circular images in Google Slides can change a plain presentation into something distinctively beautiful. This is because they will help emphasize important topics, enhance the overall layout of your design and give your slide deck a smooth appearance. You will are going to have such great looking presentations that are likely to impress if you follow these steps and keep off the usual errors.
 admin
admin


