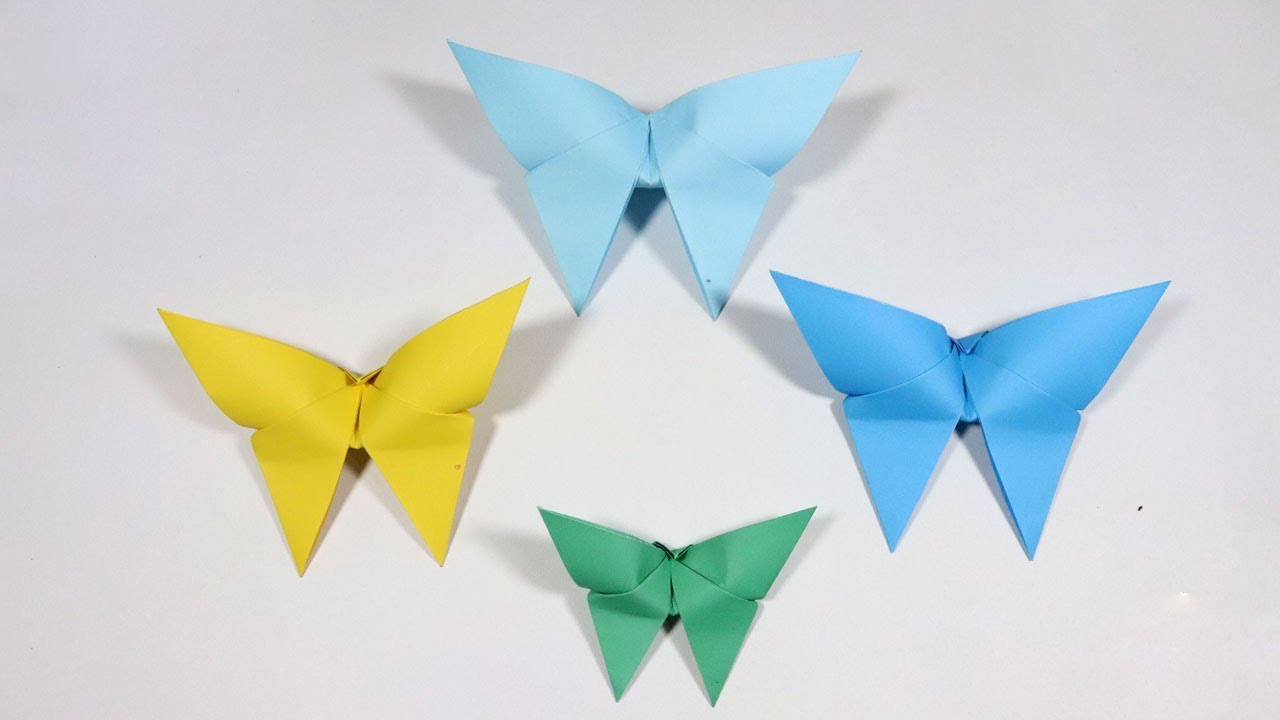
Creating a paper butterfly is not just a fun and creative activity; it's a fantastic way to spend some quality time with friends or family. Whether you're looking to brighten up your home décor or make a unique gift, this easy step-by-step tutorial will guide you through the process. Plus, the best part? You don’t need to be an expert in arts and crafts to achieve beautiful results! Grab your materials and let’s get started on this colorful journey to crafting your very own paper butterfly.
Materials Needed
Before diving into the crafting process, it’s essential to gather all the materials you’ll need. Here’s a comprehensive list to ensure you have everything at hand:
- Colored Paper: Choose vibrant colors for a lively butterfly. Construction paper works great!
- Scissors: Ensure they're sharp enough to cut cleanly through paper.
- Glue Stick or Tape: Needed for assembling your butterfly.
- Pencil: Use for sketching outlines before cutting.
- Markers or Crayons: For adding decorative details and patterns.
- Pipe Cleaners: These can be used for antennae—get some in fun colors!
- Ruler: Useful for measuring and ensuring symmetry.
- Template (Optional): You can create or print a butterfly template for ease.
With these materials ready, you’ll be all set to embark on your butterfly-making adventure! Remember, the beauty of this craft is in the creativity you pour into it, so feel free to experiment with different colors and designs.
Also Read This: How to Couple Dance on Dailymotion with Fun and Easy Steps for Partners
Step-by-Step Instructions
Creating a paper butterfly is not just fun; it’s a delightful way to unleash your creativity! Follow these simple steps to craft your very own butterfly:
-
Gather Your Materials:
- Colored paper (any color of your choice)
- Scissors
- Glue (or double-sided tape)
- Pencil
- Markers or crayons (for decorating)
-
Fold the Paper:
Start by taking a square piece of colored paper. Fold it in half diagonally so that it forms a triangle. Unfold it back to the square.
-
Shape the Wings:
Now, fold the top two corners of the triangle down to meet the bottom point. This will create a shape reminiscent of a butterfly’s wings.
-
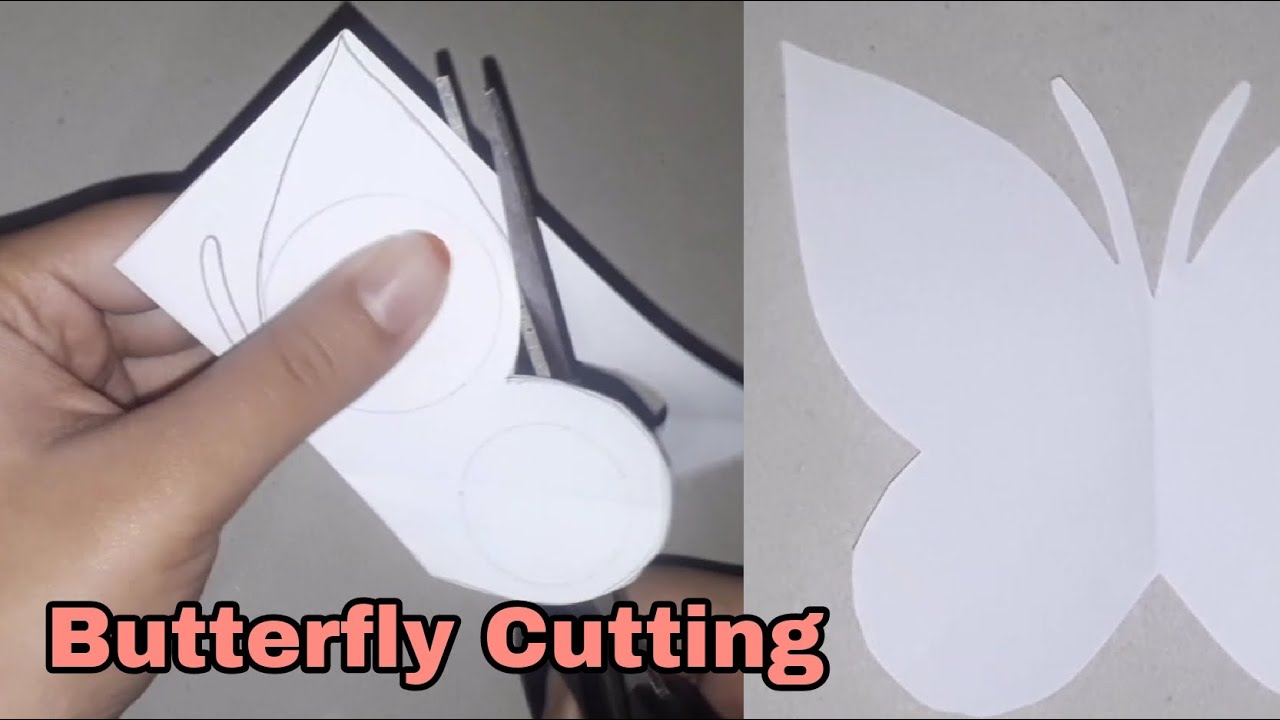
Cut the Wings:
Using scissors, round the outer edges of the wings to give them a softer, more natural look. Ensure both sides are symmetrical.
-
Add Details:
Use markers or crayons to add patterns and colors to your butterfly. Be as creative as you like! You can even add glitter for some sparkle.
-
Assemble the Butterfly:
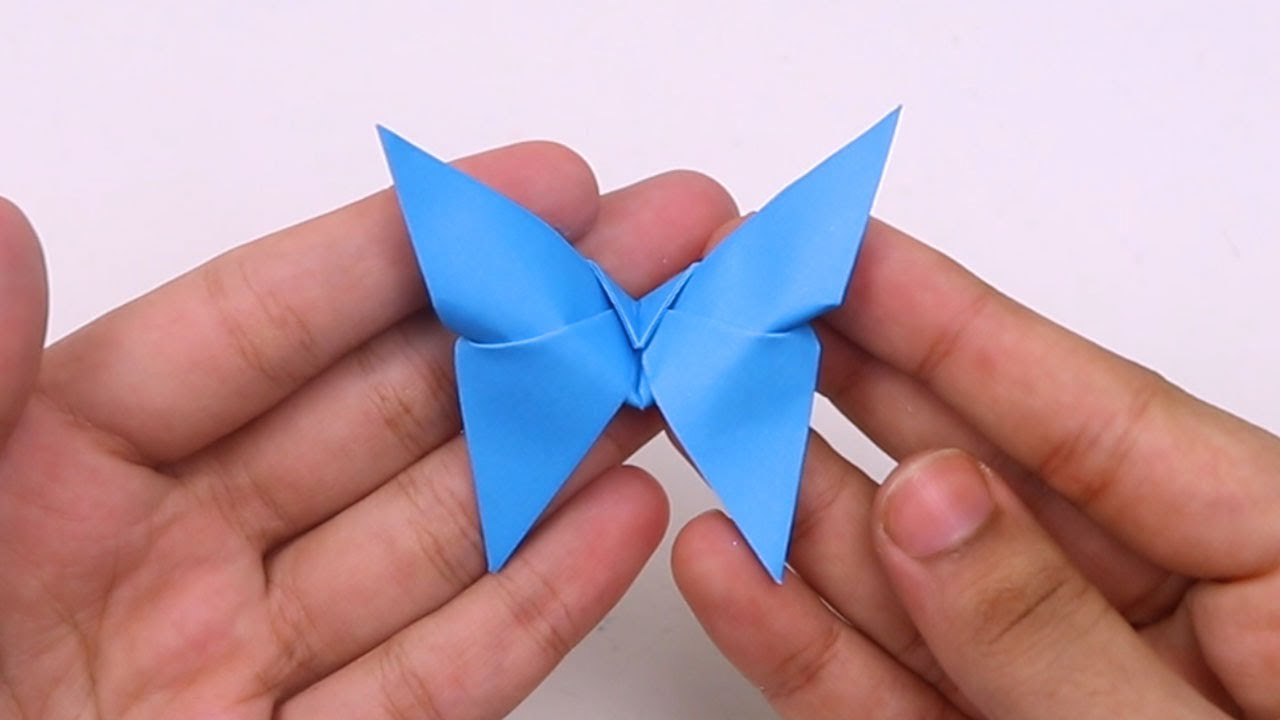
Fold the paper in half again, and then pinch the center to form the body. Secure it with glue or tape. Your beautiful butterfly is ready!
Also Read This: Don Omar "Canción de Amor" Music Video on Dailymotion: Watch and Enjoy
Tips for Success
To ensure your paper butterfly turns out beautifully, consider these handy tips:
- Choose Vibrant Colors: Bright and contrasting colors will make your butterfly stand out. Think of shades like neon pink, sunny yellow, or deep blue.
- Practice Your Cuts: If you're new to crafting, practice cutting shapes on scrap paper first. This will help improve your technique!
- Be Mindful of Symmetry: Pay close attention to the symmetry of your butterfly. Symmetrical wings often look more appealing and lifelike.
- Explore Different Sizes: Try making butterflies in various sizes. Small ones can be cute decorations, while larger ones can serve as focal points in a craft display.
- Get Inspired: Check out tutorials on platforms like Dailymotion or Pinterest for ideas and new techniques to enhance your butterfly-making skills.
With these steps and tips, you’re set to create stunning paper butterflies that can brighten up any space!
Also Read This: How to Do Glowing Makeup on Dailymotion: Create a Radiant Look with Simple Tips
5. Creative Variations
Once you've mastered the basic paper butterfly, why not explore some creative variations to add a personal touch? Here are some fun ideas to inspire your crafting journey:
- Colorful Patterns: Use patterned paper instead of plain. Floral, polka dots, or even stripes can add an exciting flair. You can mix and match different patterns for each wing!
- 3D Butterflies: For a more dynamic look, try folding the wings slightly to create a 3D effect. This simple trick can make your butterflies appear as if they are ready to take flight.
- Giant Butterflies: Scale up your design! Use a larger sheet of paper to create giant butterflies that can be used as wall decorations for parties or nursery rooms.
- Decorative Elements: Add embellishments such as glitter, sequins, or even tiny beads to your butterflies for a sparkly touch. A bit of glue and some creativity can turn a simple butterfly into a dazzling masterpiece!
- Seasonal Themes: Create butterflies that reflect different seasons. Think autumn leaves for fall, pastel colors for spring, or even holiday-themed designs for winter festivities.
- Mixed Media: Combine paper with other materials like fabric or felt for added texture. This can make your butterflies more visually interesting and unique.
Remember, the sky's the limit! Let your imagination run wild, and don't hesitate to experiment with different materials and techniques.
6. Conclusion
Creating paper butterflies is not just a fun and easy craft; it's also a wonderful way to express your creativity and bring a touch of whimsy into your life. Whether you're making them for decoration, gifts, or simply for the joy of crafting, these delicate creations can brighten anyone's day.
By following our step-by-step tutorial, you can easily make beautiful butterflies that can be customized to suit your style and preferences. And with the various creative variations discussed, you can transform a simple craft into something truly special.
So grab your paper, scissors, and some colorful decorations, and let your crafting adventure begin! Don't forget to share your creations with friends and family; they might just want to join in on the fun. Happy crafting!
 admin
admin


