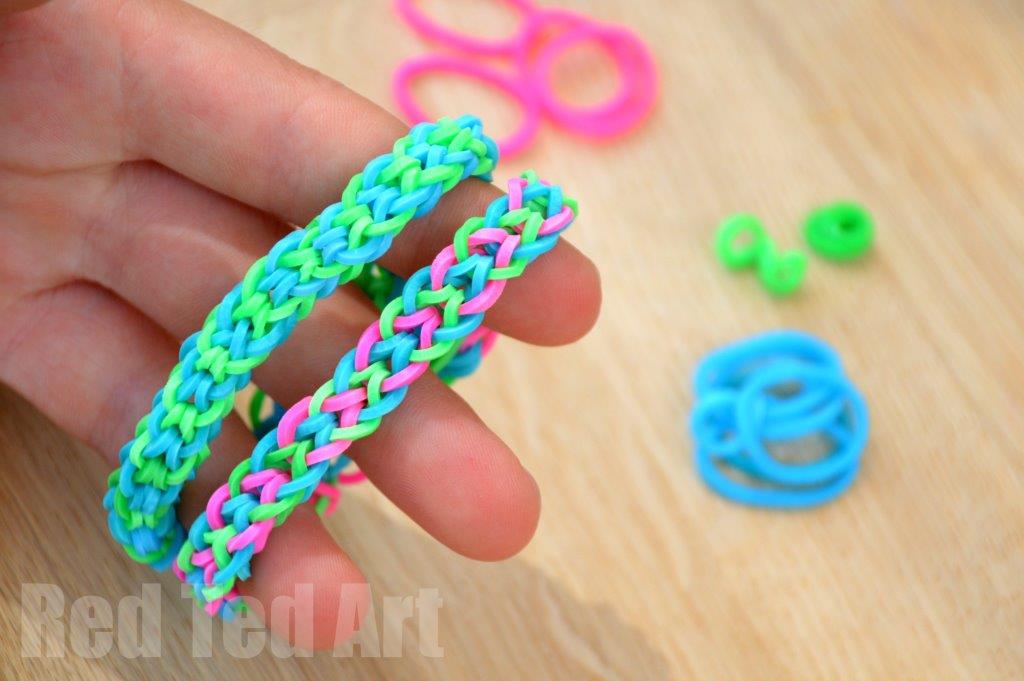
Welcome to the colorful world of loom band bracelets! If you're looking for a fun and creative hobby that can spark your imagination, you’ve come to the right place. Loom bands are not just a craft; they are a medium for expressing your creativity and making beautiful accessories. Whether you want to create something special for yourself or gift it to a friend, loom band bracelets are a great way to dive into the world of DIY. Let's unravel the basics!
What You Will Need to Get Started
Before you dive into creating your masterpiece, let's make sure you have everything you need. Here’s a handy list of tools and materials that will set you on your journey to making fabulous loom band bracelets:
- Loom Band Kit: This kit typically contains a variety of colored bands. Some even come with themed packs or glow-in-the-dark options!
- Loom Tool: A simple tool that helps you manipulate the bands and create designs more easily.
- C-Clips or S-Clips: These small plastic pieces are essential for securing your bracelet once it’s finished. They come in various styles and colors!
- Scissors: You might need these to trim any excess bands at the end of your project. Safety first—make sure to use them carefully!
- Storage Box: It's a good idea to have a dedicated space to keep your bands organized. You can use small containers or a full storage box with compartments.
- Design Ideas or Patterns: Look for books, printouts, or online tutorials to expand your creative options. Pinterest is a treasure trove for inspiration!
Optional but helpful tools include:
- Tweezers: These can be useful for maneuvering the bands around the loom, especially for intricate designs.
- Marker Pen: Some crafters like to mark the different levels and rows on their loom with a washable marker for better guidance.
Once you gather your materials, you're all set to embark on this colorful craft adventure. Remember, the key to creating fantastic loom band bracelets is patience and a bit of practice. Let’s roll up those sleeves and get started!
Also Read This: How to Find Unique and Cultural Content for Kids on Dailymotion
3. Setting Up Your Loom
Before we dive into creating our beautiful bracelet, we need to get our loom set up properly. Trust me, taking a few minutes to set everything up right will make your crafting experience so much smoother!
First things first, let’s gather our tools:
- Your loom (make sure it’s clean and free of debris)
- Loom bands in your chosen colors
- A hook (usually comes with your loom kit)
- A clip for securing your bracelet (C-clip or S-clip works just fine)
Now, let’s get to setting it up:
- *Position Your Loom: Lay your loom down on a flat surface with the arrows facing away from you. This orientation is crucial because it tells you the direction you’ll be working.
- Choose Your Pegs: For a basic bracelet, you usually don’t need to use all the pegs. If you’re making a single chain, set up your loom by keeping it in a straight line, preferably using the center pegs.
- Adjust the Loom: Depending on the type of bracelet you’re making (like a fishtail or single chain), adjust the loom’s pegs in the desired configuration. Most beginners stick to the single row setup initially.
And that’s it! It might seem simple, but having your loom organized will make a world of difference. The next step is to start adding those colorful bands!
Also Read This: How to Make a Rubber Band Bracelet: Dailymotions Simple Tutorial
4. Creating the First Row of Your Bracelet
Now that your loom is set up, it’s time to dive into the fun part: creating the first row of your bracelet! This part is where your creativity really shines, so let’s take it step by step.
Follow these instructions for a classic single chain pattern:
- Start with Your First Band: Take your first band (let’s say it’s a bright pink) and stretch it from the first peg to the second peg on the loom. Make sure it is sitting straight and securely over the pegs.
- Add More Bands: Continue adding bands, stretching from the second peg to the third peg, then from the third peg to the fourth, and so on. Feel free to mix in colors as you go! Each band should sit on top of the previous one, creating a lovely layered effect.
- Double Check Your Loose Ends*: As you place each band, ensure that they’re not twisting. This will help your bracelet stay neat and tidy.
Here's a quick tip: If you're having trouble managing the bands, try keeping your fingers as close to the base of the loom as possible. It can help maintain tension and keep everything in line.
Once you have your first row completed, take a moment to admire your work! You’re already on your way to creating a stunning accessory.
Remember, the more practice you have, the better you’ll get at placing those bands. As you become more confident, consider trying different patterns and designs. Loom band jewelry is all about experimenting and having fun!
Next up, we’ll dive into the magical world of weaving these bands together to complete your bracelet. So, hang tight and get ready for some more creative fun!
Also Read This: How to Get Pregnant Tips and Advice on Dailymotion
5. Adding Colors and Patterns
One of the best parts of making a bracelet with loom bands is the endless opportunity to unleash your creativity! Adding colors and patterns not only personalizes your bracelet but also makes the process incredibly fun. Here’s how to go about it:
Choose Your Color Palette: Start by selecting a color scheme that resonates with you. You might want to stick to your favorite colors, or create a theme, like a sunset with oranges and pinks, or a cool ocean vibe with blues and greens. It’s a good idea to limit your palette to about three to five colors to keep it cohesive.
Experiment with Patterns: You can create different effects by arranging your bands in specific patterns. Here are a few popular designs:
- Chevron Pattern: Alternate between two colors to create a zigzag effect.
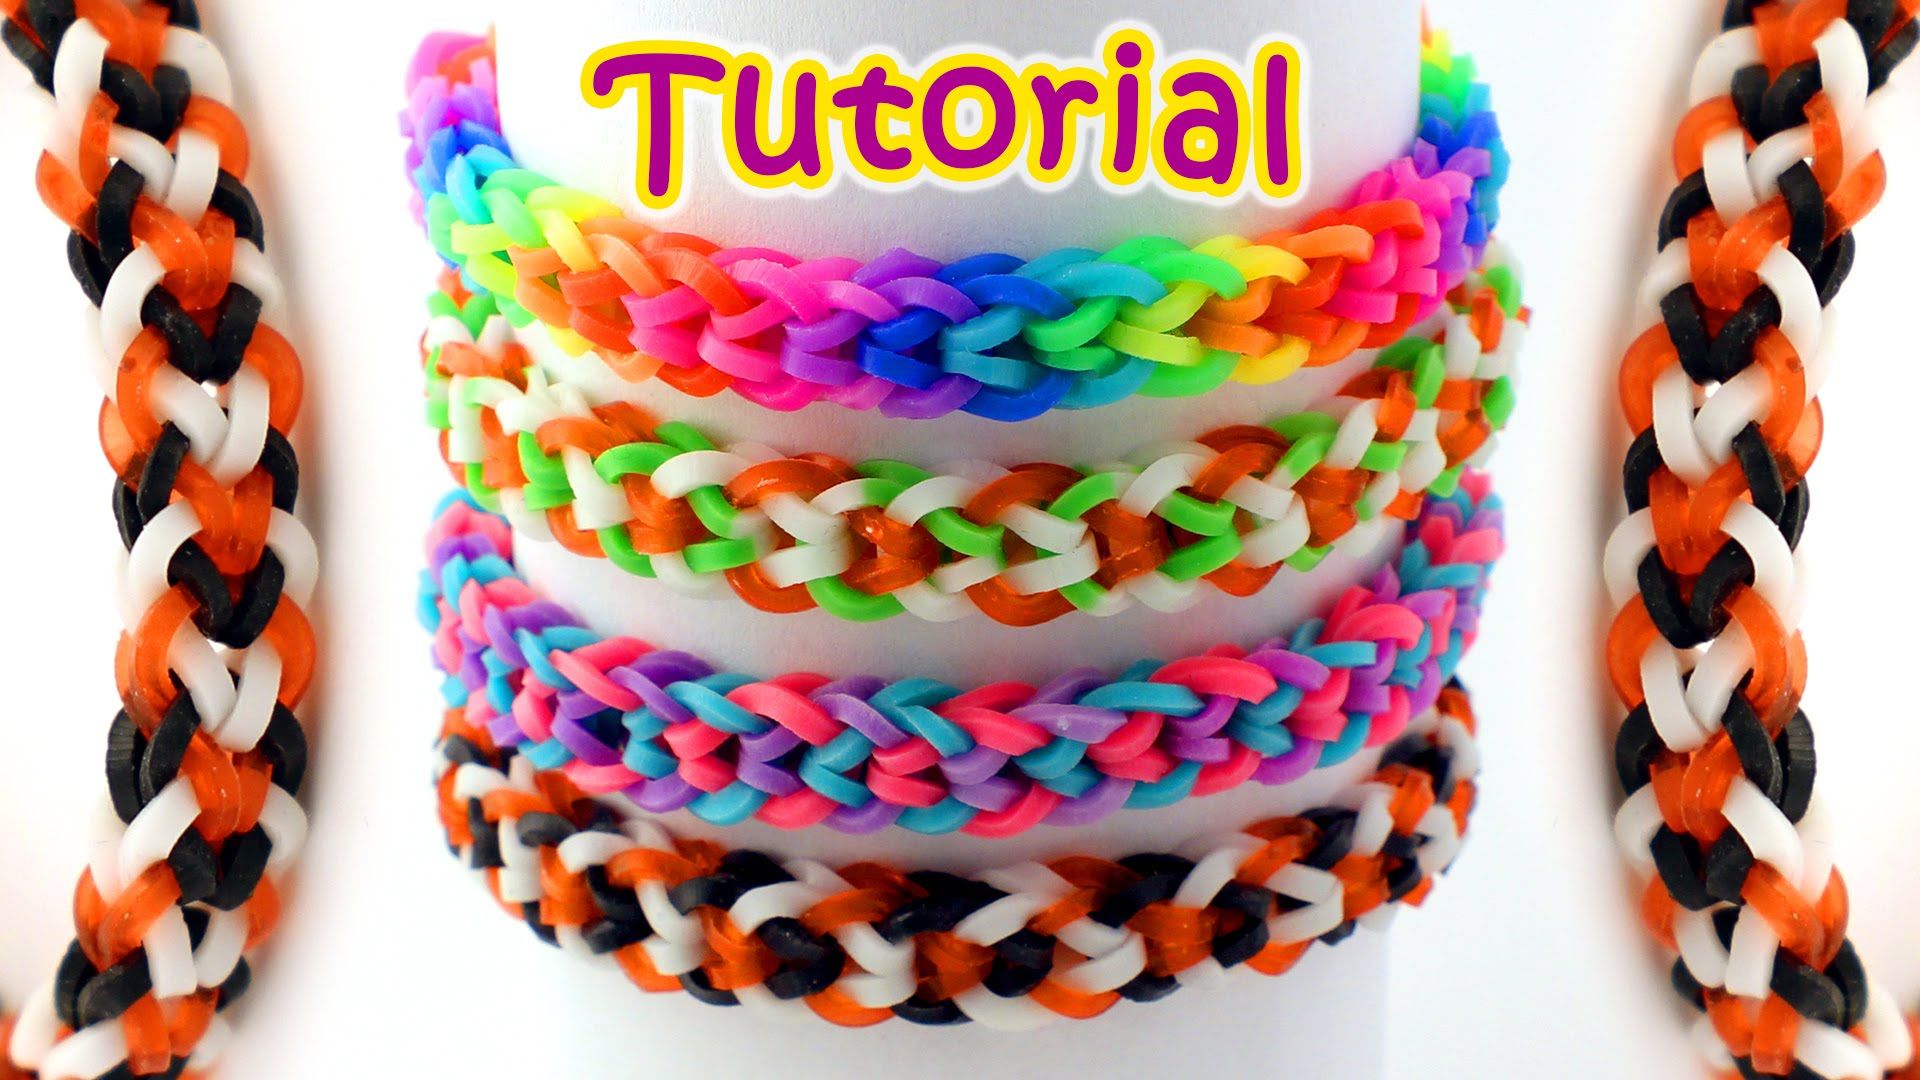
- Rainbow Style: Use a vibrant array of colors in a repeating sequence for a cheerful look.
- Stripes: Create sections of solid colors or alternating colors to form stripes across your bracelet.
- Heart or Flower Accents: Use special shaped bands or create small charms to weave in for a cute touch!
Don’t be afraid to mix and match until you find the design that feels right for you. Test out small sections first on your loom before committing to your entire bracelet for a preview of how it will look.
Layering Bands: Once you've settled on your colors, think about layering your bands. You can double up on bands for a thicker bracelet or use clear bands to help other colors pop. Just remember, the more bands you use, the tighter the bracelet may feel, so adjust your tension accordingly!
As you weave, periodically check your bracelet's progress. Hold it up against the light to see how the colors mesh. This moment is perfect for adjustments if a particular color isn't fitting just right. Trust your instincts and enjoy the creativity!
Also Read This: How to Apply Contact Lenses for the First Time: Tips for Beginners
6. How to Finish Your Bracelet
You've journeyed through the exciting steps of making your loom band bracelet — now it's time to finish it off! This is an important step because a securely closed bracelet ensures that all your hard work remains intact. Here’s how to do it:
Step 1: Remove from Loom: Once you’re happy with your design and the length of your bracelet, carefully remove it from the loom. Use your fingers to gently pull the bands off one side of the loom, then the other. Work slowly to prevent stretching or breaking the bands.
Step 2: Secure the Ends: To finish your bracelet, you need to connect the two ends. You can do this using a clip, a clasp, or by simply tying a knot!
- Using a Clip: If you have a clip, connect one end of the bracelet to the clip, and then the other end after adjusting to fit your wrist.
- Tying a Knot: If you prefer a more hands-on approach, take the two ends of your bracelet and tie them together using a strong knot. This works best with the stretchy loom bands.
Step 3: Final Adjustments: After securing the ends, give your bracelet a gentle tug to make sure everything is snug and secure. Trim any excess bands if you used a knot, and give it a little fluff to restore its shape if necessary.
Step 4: Show it Off! Now that your bracelet is complete, it's time to flaunt it! Whether you wear it yourself or gift it to a friend, your creation is a unique piece of art. Don’t forget to take some pictures to document your crafting journey — you might just inspire others to start making their own!
And there you have it! You’ve successfully created a beautiful loom band bracelet, filled with your personalized touches. Enjoy this creative hobby and keep experimenting with new patterns and colors!
Also Read This: How Dailymotion Brings Learning and Fun Together for All Ages
7. Tip for Personalizing Your Loom Band Bracelet
Making your loom band bracelet is not just about following the pattern; it’s also about adding your personal touch! Personalization can transform a simple bracelet into a unique expression of your style. Here are some fun tips to help you customize your creations:
- Colors That Reflect Your Style: Choose color combinations that resonate with you. Whether it’s your favorite sports team, a seasonal palette, or your go-to fashion colors, selecting the right hues can make a big difference.
- Add Charms: Charms can give your bracelet a distinctive flair. You can purchase charms or even create your own using beads, buttons, or anything else that sparks creativity!
- Mix and Match Techniques: Don’t limit yourself to one loom band technique! Consider combining different styles like fishtail, ladder, or box weave. This not only adds visual interest but also showcases your skills.
- Personal Inscription: If you're making the bracelet as a gift, consider including initials or small symbols representing the person receiving it. You can weave in letter beads or charms that hold significance.
- Layering: Create multiple bracelets and wear them together for a trendy layered look. Mixing various types and colors will give you an eye-catching result that stands out.
Personalizing your loom band bracelet is not just a fun way to showcase creativity; it can also make the piece more meaningful, especially if you give it as a gift. So let your imagination run wild, and don’t be afraid to experiment until you find the perfect look that screams "you!"
Also Read This: How to Create Teachers’ Day Cards: Fun DIY Ideas on Dailymotion
8. Troubleshooting Common Issues
When it comes to crafting with loom bands, it's not uncommon to run into some snags along the way. Whether you're a beginner or someone who has been making bracelets for a while, you might encounter a few common issues. Here’s a roundup of challenges and solutions to get you back on track:
| Issue | Solution |
|---|---|
| Bracelet is too loose or too tight: | Check your band tension while loom weaving. If it feels loose, try using more bands for a tighter fit. For a tighter bracelet, consider using fewer bands. |
| Bands snapping while working: | Use freshly opened bands, as older ones can become brittle. If you feel resistance while pulling a band, stop and adjust your technique. |
| Difficulties removing the bracelet from the loom: | Gently wiggle the bracelet free instead of pulling it hard. If it’s really stuck, carefully use a hook tool to help release it. |
| Bracelet falling apart: | Double-check your closure technique. Make sure it’s secure! Consider adding extra bands for reinforcement if it seems flimsy. |
If you encounter other issues, don’t despair. Every bracelet maker runs into hiccups from time to time, and the key is to learn from them! Experimenting and problem-solving are integral to improving your crafting skills. Remember, practice makes perfect!
So keep crafting, be patient with yourself, and enjoy the wonderful world of loom band bracelet making!
Conclusion and Next Steps
Congratulations on creating your very own bracelet with loom bands! This fun and creative activity not only enhances your crafting skills but also allows you to express your personal style. By now, you should have a basic understanding of the techniques involved and the joy of crafting with these versatile bands. To further enhance your loom band crafting experience, consider the following next steps:
- Explore New Patterns: Experiment with different designs such as the fishtail, single chain, or hexafish. There are numerous tutorials available online to guide you.
- Try Advanced Techniques: If you’re feeling adventurous, delve into more complicated projects like charms or multi-colored accessories.
- Join a Crafting Community: Engage with fellow loom band enthusiasts through social media or local workshops. Sharing experiences can spark new ideas.
- Gift Your Creations: Handmade bracelets make wonderful gifts for friends and family. Personalize them with their favorite colors for a special touch.
- Organize a Crafting Party: Gather friends for a fun crafting session, where everyone can create their own unique jewelry and share techniques.
Remember, practice makes perfect! The more you work with loom bands, the more skilled you will become. Dive into new projects, continuously innovate, and don’t hesitate to showcase your creativity. Happy crafting!
 admin
admin


