Creating a birthday cap is a delightful way to add a personal touch to any birthday celebration. This fun and simple craft not only allows you to express your creativity but also makes for a memorable party accessory. Whether you're preparing for a child's party or adding a festive flair to an adult celebration, making your own birthday cap is both enjoyable and fulfilling. In this guide, we’ll walk you through the easy steps to create a charming birthday cap that will surely be the highlight of the day!
Materials Needed
To craft your own birthday cap, you’ll need a few essential materials. Here’s a comprehensive list to get you started:
- Cardstock or Craft Paper: Choose colorful sheets to make your cap vibrant. You can use patterned paper for added flair.
- Scissors: A sharp pair is necessary for cutting out your shapes and designs.
- Glue or Tape: Use glue for a stronger hold, or tape for quick assembly.
- Ruler: For measuring and ensuring your cuts are straight.
- Pencil: To sketch your design before cutting.
- Decorative Items: Think stickers, glitter, ribbons, or pom-poms to embellish your cap.
- Elastic String or Ribbon: This will keep the cap secure on your head.
- Hole Puncher: To make holes for attaching the elastic or ribbon.
Feel free to get creative with your choices! The beauty of crafting lies in personal expression, so don’t hesitate to mix and match materials. Once you’ve gathered everything, you’ll be ready to dive into the fun of making your birthday cap!
Also Read This: How to Learn Backflip at Home a Beginners Guide
Step-by-Step Instructions
Making a birthday cap is not only simple but also a fun way to add a personal touch to your celebrations. Here’s a straightforward guide to help you craft your very own birthday cap!
- Gather Your Materials: You’ll need:
- Colored cardstock or construction paper
- Scissors
- Glue or tape
- String or elastic band
- Decorative items (stickers, glitter, markers)
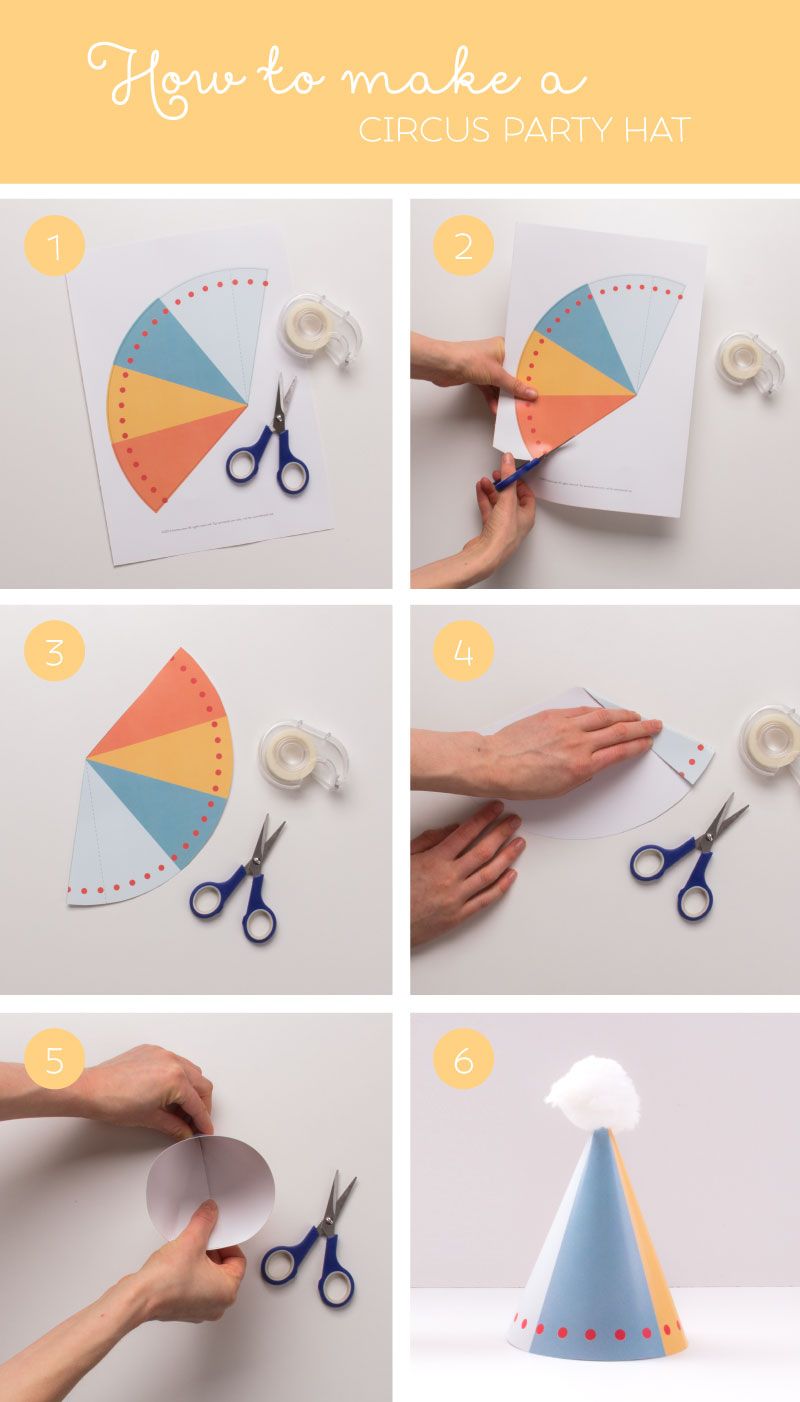
- Cut the Paper: Start by cutting a triangle from the cardstock. The base of this triangle should be about 8-10 inches wide and the height around 12 inches. Adjust the size based on how tall you want your cap.
- Shape the Cap: Roll the triangle into a cone shape and secure the edges using glue or tape. Make sure the point at the top is secure.
- Add the Brim: Cut a circle from your cardstock with a hole in the center (the hole should fit the cone snugly). This will serve as the brim of your cap. Attach it to the bottom of the cone.
- Attach the String: Cut a piece of string or elastic band and attach it to both sides of the brim. This will keep your cap on during the party!
- Decorate: Unleash your creativity! Use stickers, glitter, or drawings to personalize your cap. Don't hold back—make it as lively as you like!
And voila! Your handmade birthday cap is ready to wear!
Also Read This: Easy Guide to Opening Dailymotion Videos in a New Tab Using Video Tutorials
Creative Design Ideas

Now that you know how to make a basic birthday cap, let’s explore some imaginative design ideas to take your crafting to the next level!
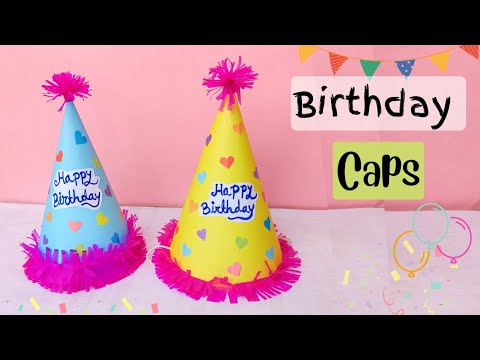
- Theme-Based Caps: Match your cap to your party theme! For a unicorn party, choose pastel colors and add a sparkling horn made of glitter paper.
- Personalized Caps: Write the birthday person’s name or age on the cap using bold markers or stickers. This simple addition will make it uniquely theirs!
- Animal Faces: Transform your cap into a cute animal face! Cut out ears and eyes from different colored paper and glue them on. Think elephants, cats, or even dinosaurs!
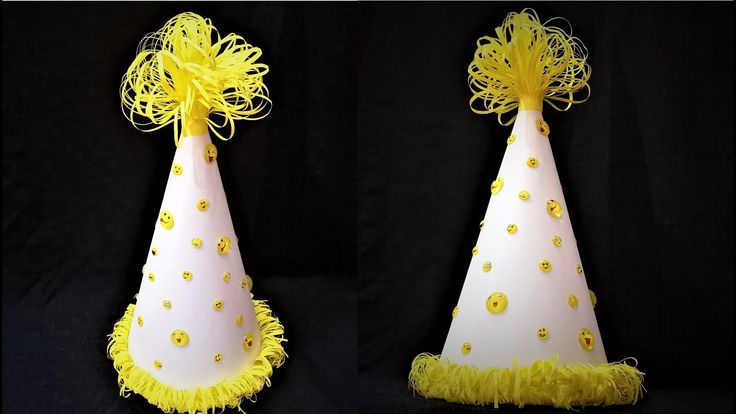
- 3D Elements: Add some dimension with pom-poms, feathers, or streamers. Gluing these items to the top of the cap can give it a fun, festive flair!
- Glow-in-the-Dark: Use glow-in-the-dark paint or stickers for a night-time party. Your cap will shine bright even after the sun goes down!
Don’t be afraid to mix and match these ideas to create a cap that truly stands out and reflects the personality of the birthday star!
Also Read This: Celebrating Festive Stories and Uplifting Content on Dailymotion
Tips for Success
Creating a birthday cap can be a delightful experience, especially when you have some handy tips up your sleeve! Here are some tried-and-true suggestions to help you craft the perfect party hat:
- Choose Quality Materials: Using sturdy paper or card stock will ensure your cap holds its shape. If you opt for fabric, make sure it’s not too thick to work with.
- Personalize Your Design: Don’t be afraid to let your creativity shine! Use stickers, glitter, or even markers to add your own unique flair to the cap.
- Measure Carefully: Before cutting, measure your head circumference to ensure a snug fit. You can use a piece of string or a measuring tape.
- Use Templates: If you’re new to crafting, consider using templates. You can easily find printable patterns online to guide your design.
- Secure Properly: Use strong adhesive or a hot glue gun for securing elements like pom-poms or ribbons. This ensures they stay in place during the festivities.
By keeping these tips in mind, you’ll not only expedite the crafting process but also enhance the overall quality of your birthday cap!
Conclusion
Making a birthday cap is more than just a craft; it’s an opportunity to express creativity and add a personal touch to any celebration. Whether you’re crafting for yourself or a loved one, the joy of wearing a handmade cap can elevate the festive spirit. Remember, the process can be just as enjoyable as the finished product!
So gather your materials, invite some friends, and turn your cap-making session into a fun-filled activity. With the right tools and a sprinkle of imagination, you can create birthday caps that are not only stylish but also memorable keepsakes.
Now, go ahead and unleash your inner designer! Happy crafting!
 admin
admin


