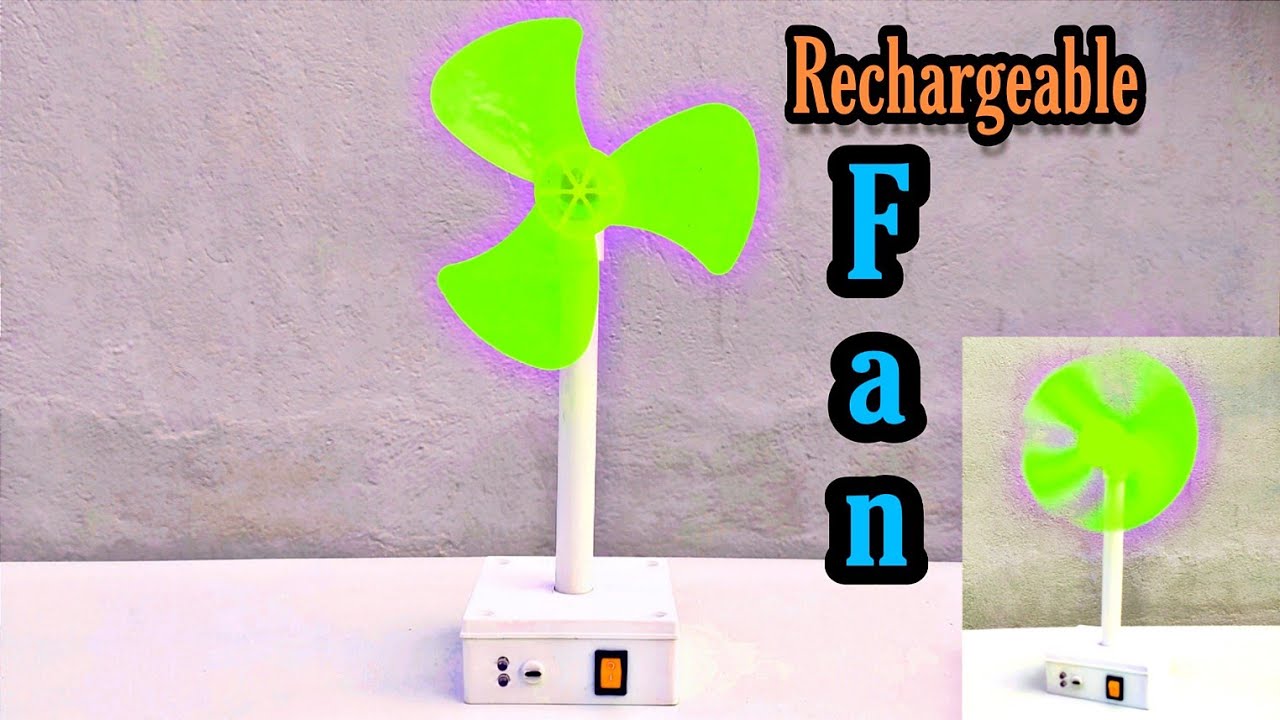
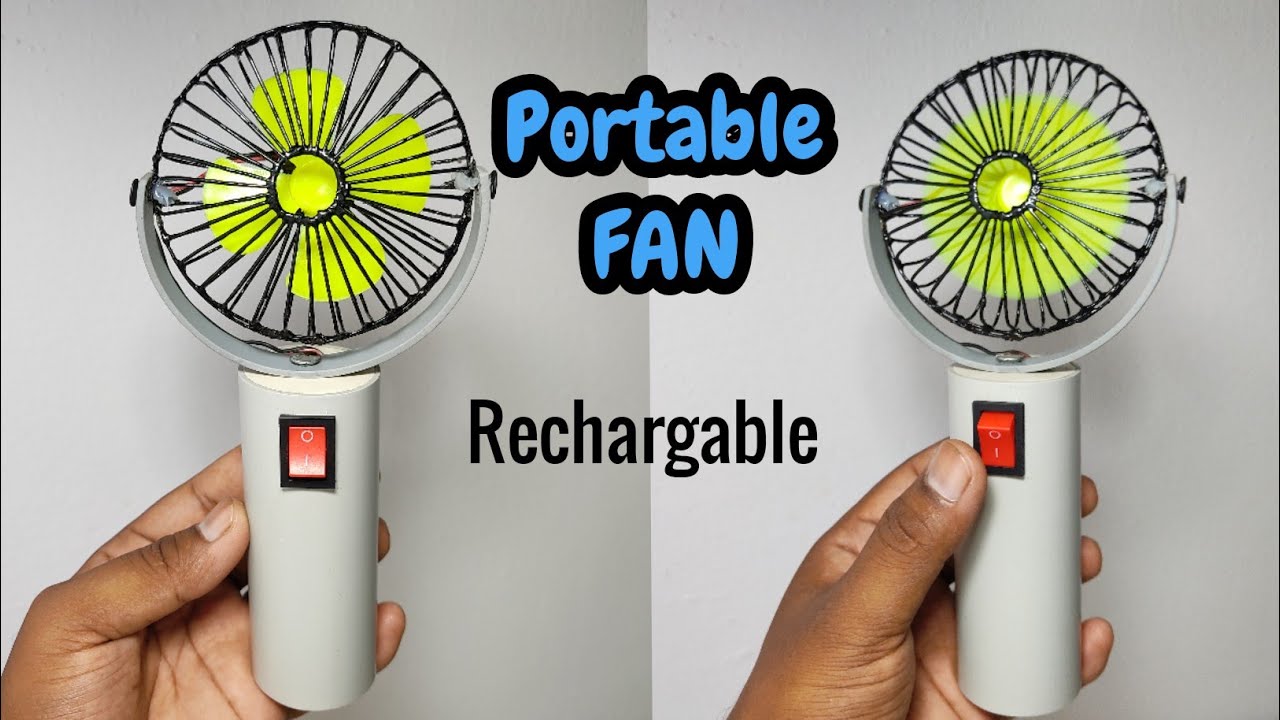
Have you ever felt the need for a little breeze during those sweltering summer months? Battery-powered fans can be a lifesaver! Not only are they portable and convenient, but they also provide much-needed relief without the hassle of cords and plugs. Whether you're camping, sitting on your porch, or simply enjoying a warm day at home, creating your own battery-powered fan can be a fun and rewarding project. In this guide, we'll walk you through the process, ensuring you stay cool and comfortable all season long!
Materials Needed for Your DIY Battery-Powered Fan
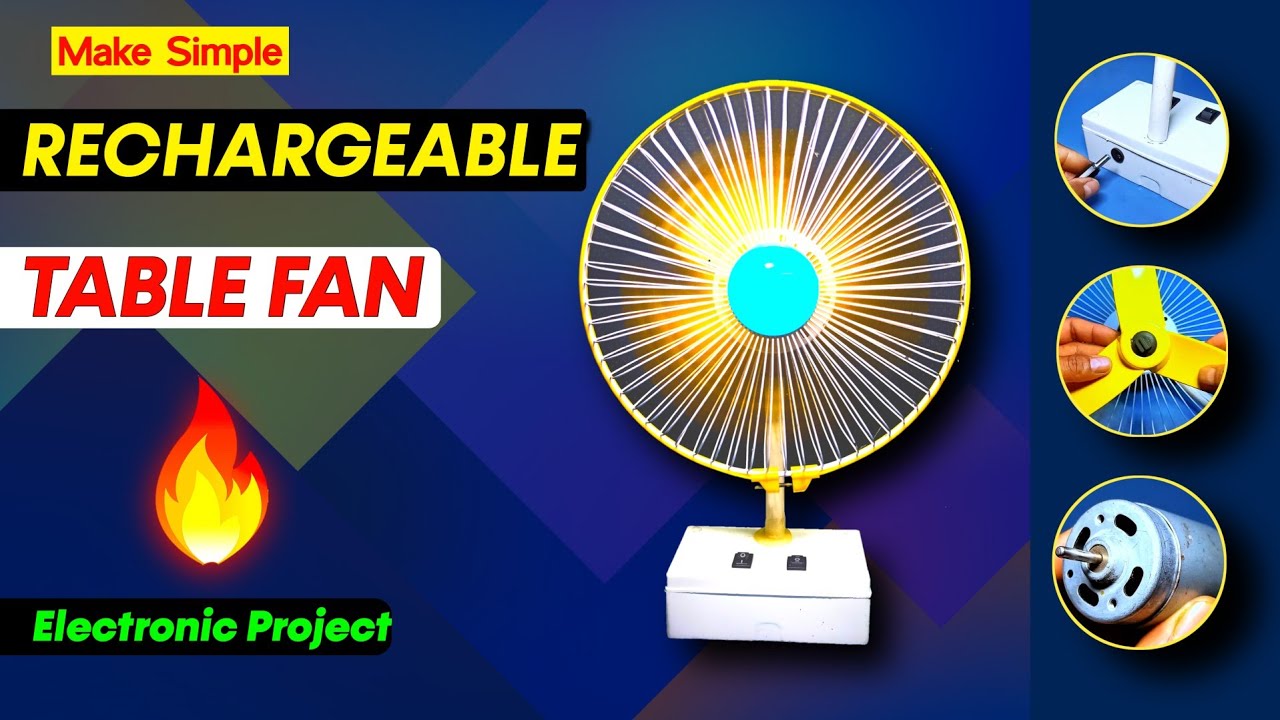
Before we dive into the exciting process of building your own battery-powered fan, let’s gather the essential materials you’ll need. Surprisingly, this project doesn’t require a long shopping list, and many of these items can even be found around your home!
Here’s what you’ll need:
- Small DC Motor: This will be the heart of your fan.
- Fan Blades: You can use store-bought blades or make your own from materials like plastic or cardboard.
- Batteries: Choose the right type (AA or 9V, depending on your motor) to power your fan.
- Battery Holder: This will help you securely hold the batteries in place and connect them to your motor.
- Wires: A few pieces of insulated wire to connect everything. You can use old electronic devices for this!
- Switch: Optional, but a switch will make turning your fan on and off easier.
- Base or Frame: Something to mount your fan on — this could be a simple piece of wood or plastic.
- Hot Glue Gun: Great for assembling parts, especially the rotor and base.
- Tools: Basic tools like scissors, wire strippers, and a screwdriver will come in handy.
Now that you have everything you need, let's take a closer look at each component:
| Material | Purpose |
|---|---|
| DC Motor | Powers the fan blades, creating airflow. |
| Fan Blades | Moves air, providing cooling relief. |
| Batteries | Supplies power to the motor for operation. |
| Battery Holder | Securely holds batteries and connects to the motor. |
| Wires | Connects all electrical components. |
| Switch | Allows easy on/off control of the fan. |
| Base or Frame | Supports the fan assembly. |
| Hot Glue Gun | Joins various parts securely together. |
| Tools | Helps with assembly and ensuring everything fits well. |
With these materials in hand, you're well on your way to creating a nifty battery-powered fan that will keep you cool wherever you go. In the next sections, we’ll guide you step-by-step through the assembly process. So, get ready to flex those DIY muscles!
Also Read This: Is Dailymotion Video Content Safe for Viewing
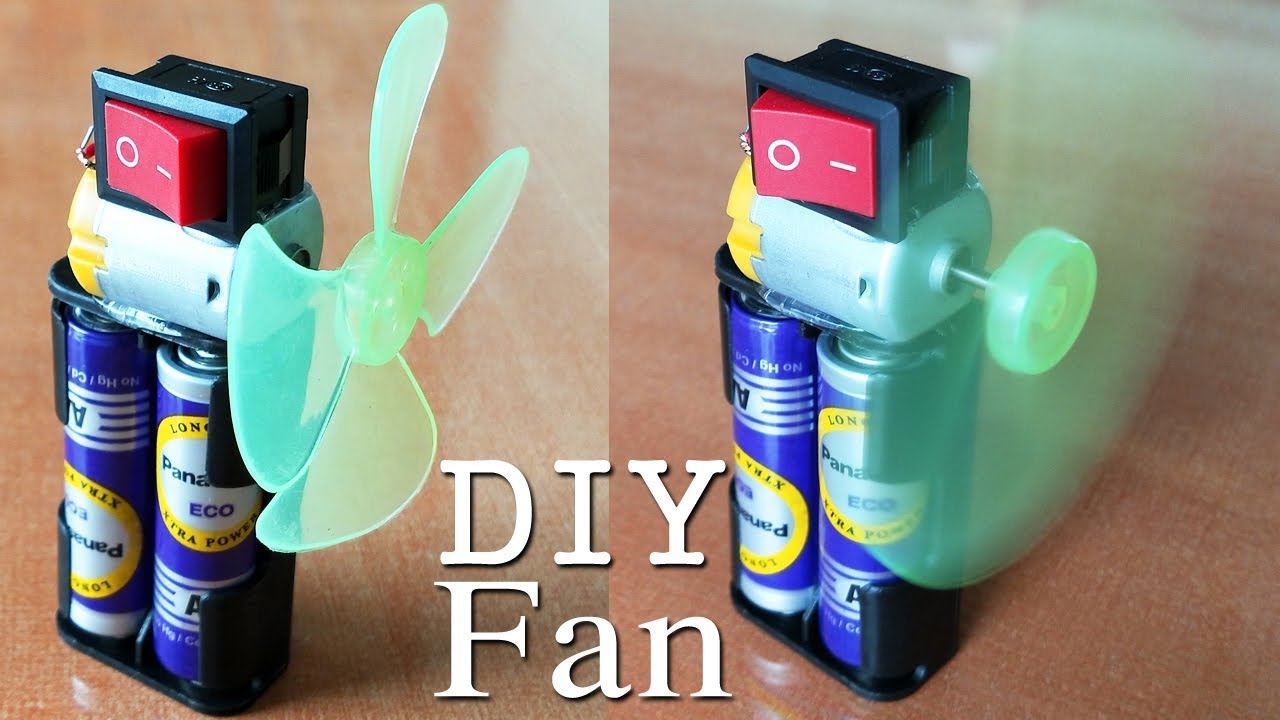
3. Step-by-Step Instructions for Building Your Fan
Alright, let’s dive into the exciting part—building your very own battery-powered fan! It might sound daunting at first, but trust me, with a bit of patience and attention to detail, you’ll have your fan up and running in no time. Ready? Let’s get started!
What You'll Need:
- 1 x small DC motor (like a hobby motor)
- 1 x fan blade (can be purchased or made from plastic)
- 1 x battery holder (for AA batteries)
- 2 x AA batteries
- 1 x switch (optional but recommended for convenience)
- Wires
- Glue or tape
- Tools: scissors, soldering iron (optional), and wire strippers
Step 1: Attach the Fan Blade to the Motor
First things first, let’s get that fan blade attached to your motor. If your fan blade has a mounting hole, simply slide it onto the shaft of the motor. If it doesn’t fit snugly, use some glue to ensure it sticks and won’t wobble when the fan is running. Give it time to dry!
Step 2: Connect the Wires to the Motor
Now it’s time to connect the wires to the motor. You should see two terminals on the motor. Using your wire strippers, strip about half an inch of insulation off the ends of the wires. Connect one wire to each terminal. If you can, solder them for a solid connection, but twisting them together will work, too.
Step 3: Set Up the Battery Holder
Take your battery holder and connect the wires from the holder to the terminals you just attached to the motor. Ensure you connect the positive (red) wire to one terminal and the negative (black) wire to the other terminal. This is critical for your fan to run correctly!
Step 4: Add a Switch
To make your fan more user-friendly, connecting a switch in the circuit is a good idea. Simply cut the positive wire from the battery holder, and connect one end to one terminal of the switch. Then connect the other terminal of the switch back to the motor. This way, flipping the switch will turn your fan on and off.
Step 5: Power It Up!
Place the batteries in the battery holder, ensuring they’re oriented correctly (check for the + and - signs). Once everything is connected, flip the switch (if you added one), and watch your fan come to life! You can adjust the pitch or angle of your fan blade for optimal airflow.
And just like that, you created your battery-powered fan! That wasn’t so hard, right? Now you can enjoy a nice breeze while basking in your DIY glory!
Also Read This: Master the Art of Building Your Own Guitar at Home with Dailymotion Tutorials
4. Understanding the Electrical Components of Your Fan
Now that you’ve successfully built your battery-powered fan, let’s take a moment to understand the key electrical components that make it work. This knowledge not only enhances your DIY skills but also helps troubleshoot issues in the future. Here’s a breakdown of the components involved:
1. DC Motor:
The heart of your fan is the DC motor. DC stands for direct current, which refers to the type of electrical flow powered by your batteries. The motor converts electrical energy into mechanical energy, causing the fan blades to rotate and produce airflow. Selecting a motor with a higher RPM (revolutions per minute) will generally result in a stronger breeze.
2. Fan Blade:
The fan blade is what actually moves the air. The design and size of the blade can impact how much air is moved. Larger blades may shift more air but can require a more powerful motor to operate efficiently. It’s all about finding the right balance!
3. Power Source:
In our fan, we used AA batteries as the power source. Each battery provides 1.5 volts, and you can connect them in series to increase the voltage. For example, two AA batteries will give you 3 volts. Make sure your motor is rated for the voltage of your power source to avoid damage!
4. Switch:
The switch allows you to control the power flow to your fan without having to disconnect the batteries each time. It’s a simple component, but so useful! Always ensure the switch can handle the current draw of your motor to avoid any issues.
5. Wires:
Finally, wires are the crucial pathway for electricity to flow between components. It’s important to use wires that are appropriately rated for your application. Thicker wires can handle more current without overheating, which is especially vital for more powerful setups.
Understanding these components will not only help you troubleshoot your fan in the future but will also prepare you for more advanced DIY projects. So don’t stop here—keep learning, keep experimenting, and who knows what other fun gadgets you’ll create next!
Also Read This: Master the Art of Pan Pizza with Step-by-Step Videos on Dailymotion
5. Tips for Choosing the Right Battery
Choosing the right battery for your DIY battery-powered fan is crucial to ensure it runs efficiently and lasts for a satisfying amount of time. Here are some tips to help you make the best choice:
- Voltage Compatibility: Make sure that the voltage of the battery matches the requirements of your fan motor. Most small DC motors work well with battery voltages ranging from 5V to 12V. Check your motor specifications to avoid any mishaps.
- Capacity Matters: Battery capacity is measured in milliamp hours (mAh). A higher capacity means your fan will run longer before needing a recharge or replacement. For example, a battery with a rating of 2000mAh can power your fan for a longer duration than one with 1000mAh, assuming the same power draw.
- Rechargeable vs. Non-Rechargeable: Decide whether you want to use rechargeable batteries or disposable ones. Rechargeable batteries, like NiMH or Li-ion, are eco-friendly and save you money in the long run. Non-rechargeable alkaline batteries might provide a convenient option for short-term use.
- Size and Weight: Consider the size and weight of the battery, especially if you plan to use the fan in portable situations. Larger batteries typically offer more power but can make your fan heavier. Look for a good balance between capacity and portability.
- Battery Type: There are various types of batteries to choose from, including Lithium-ion, Nickel-metal hydride (NiMH), and alkaline. Lithium-ion batteries are lightweight and have a high energy density but can be pricier. NiMH batteries are environmentally friendly and a solid option for rechargeable use. Alkaline batteries are readily available and easy to replace but may not be as efficient for long-term projects.
By considering these factors, you'll choose a battery that not only powers your fan efficiently but also aligns with your specific needs and usage patterns. A well-matched battery will have a significant impact on your fan's performance and overall user experience!
Also Read This: How to Make Firecrackers at Home on Dailymotion
6. Safety Precautions When Building Your Fan
Creating your own battery-powered fan can be a fun and rewarding project, but safety should always be your top priority. Here are some essential safety precautions to keep in mind while you're building your fan:
- Work in a Well-Ventilated Area: Ensure that your workspace is well-ventilated, especially if you are using any adhesives or soldering components. Stale air can lead to headaches or dizziness, so open a window or work outdoors when possible.
- Use Proper Tools: Make sure you have the right tools for the job. Using incorrect tools can lead to accidents. Common tools you might need include a soldering iron, wire cutters, and a screwdriver.
- Wear Protective Gear: It's always a good idea to wear safety glasses while working, especially when cutting wires or handling small components. If you're working with tools that create sparks or heat, consider wearing gloves to protect your hands.
- Check for Short Circuits: Always double-check your wiring before powering up your fan. Short circuits can lead to overheating and damage your battery or components. Use a multimeter to ensure everything is connected properly.
- Battery Safety: Handle batteries with care. Avoid shorting the terminals, and do not expose batteries to extreme temperatures or moisture. If you notice any swelling or leakage, dispose of the battery properly.
- Keep Away from Children and Pets: When working on your DIY project, ensure that children and pets are at a safe distance. Small parts pose choking hazards, and the tools you're using can cause injury if mishandled.
By following these safety precautions, you can ensure that your DIY battery-powered fan project goes smoothly and safely. Remember, safety comes first, and a little caution can go a long way in preventing accidents!
Also Read This: How to Make Showpieces at Home: Creative DIY Ideas on Dailymotion
7. Customizing Your Fan Design
Now that you’ve built your battery-powered fan, it’s time to add a personal touch! Customizing your fan design not only makes it uniquely yours but can also enhance its functionality or aesthetics. Let’s explore some exciting ways to customize your DIY fan.
1. Paint and Decorate
You can use acrylic paint to give your fan a fresh, colorful look. Choose colors that match your home decor or go for a vibrant, eye-catching design. To ensure your paint adheres well, lightly sand the surface of the fan housing before starting. Don’t forget to seal your artwork with a clear coat to protect it!
2. Add Accessories
Think about adding some accessories that suit your style! You could attach decorative ribbons, stickers, or even small fabric swatches to give your fan character. For instance, fabric wrap around the base can add a rustic touch, or you could layer different fabrics for a bohemian vibe.
3. Upgrade the Blades
Take a step further by customizing the fan blades. If your fan has removable blades, consider using lightweight materials like balsa wood or even colorful plastic. Just remember to keep the balance in mind; unbalanced blades can create noise and vibrations!
4. Create a Themed Fan
Do you love a particular movie, book, or fandom? Why not create a themed fan? You can print out images or quotes on sticker paper and apply them to your fan. This is a great way to showcase your personality and interests!
5. Incorporate LED Lighting
Adding LED lights to your fan can give it a modern look, especially if you plan on using it in the evenings. You can position the lights around the base or even behind the blades to create a glowing effect. Just ensure that your battery can handle the additional load.
Feel free to mix and match these ideas, and remember, the only limit is your creativity! Customizing your fan not only enhances its appeal but can also make it a fun project.
Also Read This: How to Watch Dailymotion Videos with Subtitles: Enable Captions for Better Viewing
8. Common Issues and Troubleshooting Your Fan
As with any DIY project, you might encounter some bumps in the road when using your homemade battery-powered fan. No worries! We’ve compiled a list of common issues and troubleshooting tips to help you get your fan running smoothly.
1. Fan Won't Turn On
If your fan isn’t turning on, first check the battery. Make sure it’s charged and properly connected—sometimes a loose wire can lead to a lack of power. If that checks out, inspect your connections and the switch for any faulty wiring.
2. Weak Airflow
If the airflow seems weak, the blades might be obstructed or dirty. Ensure nothing is blocking the fan. Also, double-check that the blades are properly installed and spinning freely. Sometimes, simply cleaning the blades can make a significant difference!
3. Noisy Operation
Is your fan making unexpected noises? This could be due to unbalanced blades or components rubbing against each other. Ensure that the blades are properly secured and consider removing and reinstalling them to check for balance.
4. Battery Drains Quickly
If you find that your battery doesn’t last as long as you'd expect, check the voltage requirements for your fan motor. If your fan draws too much power, it could be draining the battery quickly. Upgrading to a higher capacity battery may be necessary, or consider using a more energy-efficient motor.
5. Overheating
An overheating fan is a safety concern. Ensure your fan has adequate ventilation. If the motor is struggling to turn the blades due to excess resistance, it can generate heat. Take a moment to evaluate if the components are functioning correctly.
Don’t hesitate to troubleshoot; most issues can be resolved with a little patience and creativity. Remember, your DIY journey is all about learning and improving, so embrace the process and happy fanning!
Conclusion and Next Steps in DIY Projects
Congratulations on completing your battery-powered fan! Not only have you gained valuable skills through this project, but you’ve also created a functional device that can enhance your comfort during warm days.
As you reflect on your experience, consider the following next steps for your DIY journey:
- Expand Your Skills: Try your hand at other simple electronics projects, such as:
- DIY LED Lamps
- Solar-Powered Chargers
- Bluetooth Speakers
- Join a Maker Community: Engaging with others can provide inspiration and support. Look for local or online groups.
- Document Your Projects: Keep a journal or blog about your DIY experiences. It’s a great way to track your progress and share knowledge with others.
- Learn More About Electrical Components: Understanding the basics of circuits can take your projects to the next level. Consider resources like online courses or books.
Additionally, think about how you can improve the fan you just made. Could you add features like adjustable speed or integrate a timer? These enhancements will not only improve the functionality but also give you more hands-on practice.
In essence, every project is a stepping stone to the next. Embrace the learning process, and don’t hesitate to explore new ideas. Your creativity and resourcefulness will surely lead you to exciting DIY adventures ahead!
 admin
admin


