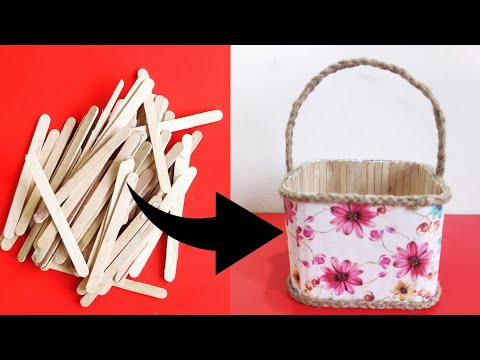
If you're looking for a fun and creative way to spend your time, ice cream stick crafts might just be the ticket! These simple, versatile materials can be turned into an array of fantastic projects, ranging from cute plant holders to intricate mini furniture. The best part? You don’t need to be an expert crafter to create something truly special. Whether you’re a parent searching for activities to entertain your kids or a hobbyist exploring new ideas, ice cream sticks are a fantastic medium to work with. So grab those leftover ice cream sticks from your last scoop, and let’s get started on this enjoyable crafting journey!
Benefits of DIY Crafts for All Ages
Engaging in DIY crafts offers a multitude of benefits, making it an excellent pastime for individuals of all ages. Here’s why you should consider diving into the world of crafts:
- Creativity Boost: Crafting stimulates the brain’s creative centers. When you create something with your hands, you tap into a reservoir of creativity that you may not even know you had!
- Stress Relief: Focusing on a craft can be meditative. The repetitive motions and engagement in a project can help you forget daily worries, leading to a sense of calm and relaxation.
- Skill Development: DIY crafts encourage the development of various skills, such as fine motor skills, problem-solving, and planning. These skills are invaluable for both children and adults.
- Quality Time: Crafting can be a delightful group activity. Whether it's a family project or a gathering with friends, working together on crafts fosters bonding and cooperation.
- Achievement and Confidence: Completing a project provides a sense of accomplishment. This feeling can boost self-esteem, making it beneficial for both young and old crafters alike.
Moreover, tackling DIY projects offers a fantastic opportunity to learn new techniques and explore various materials. For children, this can be crucial for their cognitive development. For adults, revisiting the joy of crafting can reignite passions and hobbies that have been put on the back burner.
In a world that often seems fast-paced and digital, diving into tactile, hands-on projects can be incredibly rewarding. So, whether you're knitting, painting, or in our case, crafting with ice cream sticks, embrace the journey and let your creativity flourish!
Also Read This: How to Watch Dailymotion on Samsung TV and Access Your Favorite Content Easily
3. Materials Needed for Your Ice Cream Stick Basket
Before diving into the fun of crafting your ice cream stick basket, let's gather all the supplies you’ll need. The good news is that most of these materials are easily accessible! Here’s what you need:
- Ice Cream Sticks: You can find these at craft stores or online. Look for the standard size, which is around 4.5 inches long.
- Glue: A hot glue gun works best for quick and secure adhesion, but if you prefer a more child-friendly option, white craft glue or tacky glue will do just fine!
- Scissors: Sharp scissors will help in cutting any necessary materials or trimming your basket ends.
- Ruler: To ensure all your sticks are evenly placed, a ruler is a must-have!
- Pencil: Use this for marking measurements before cutting or gluing.
- Optional Decorations: To personalize your basket, you might want some paint, markers, ribbons, or even beads. Get creative with your decorations!
- Fabric or Felt (Optional): If you desire a soft lining for your basket, consider using fabric or felt. This gives it a nice touch and can be adhered to the inside.
Gather these materials before starting, so you won't be running back and forth during the crafting process. It’s always more enjoyable to have everything at hand!
Also Read This: How to Clean Teeth at Home: A Complete Tutorial for a Bright Smile on Dailymotion
4. Step-by-Step Instructions for Creating Your Basket
Now that you have your materials, let’s jump right into the fun part—constructing your ice cream stick basket! Follow these simple steps, and you'll have a beautiful basket to show off in no time!
Step 1: Create the Base
Start by laying out your ice cream sticks in a row to form the base of your basket. You'll want to use about 6-8 sticks, depending on how wide you want your basket to be.
- Lay the sticks flat and make sure they are aligned. You can use a ruler to check their evenness.
- Once arranged, glue the sticks together at the ends. Add enough glue so they stick well but don’t overdo it, or it will seep out.
Step 2: Build the Sides
Next, it’s time to create the sides of your basket.
- Take one ice cream stick and glue it vertically at each end of the base, ensuring it's flush with the ends. You should have three vertical sticks in total, forming the corners of your basket.
- Now, take additional sticks and lay them horizontally across, attaching to each corner stick with glue as you go. Aim for about three or four horizontal layers. Make sure they all align evenly.
Step 3: Shape the Handle (Optional)
If you'd like to add a handle, grab two more ice cream sticks.
- Curvature can be achieved by soaking the sticks in warm water for about 10-15 minutes.
- Once pliable, gently bend them into a curved shape and glue them to the sides of the basket across from each other.
Step 4: Paint and Decorate
This is your chance to get creative! Use paint, markers, or any decoration you prefer. You can create patterns or simply color it in a solid color.
Step 5: Finish Up
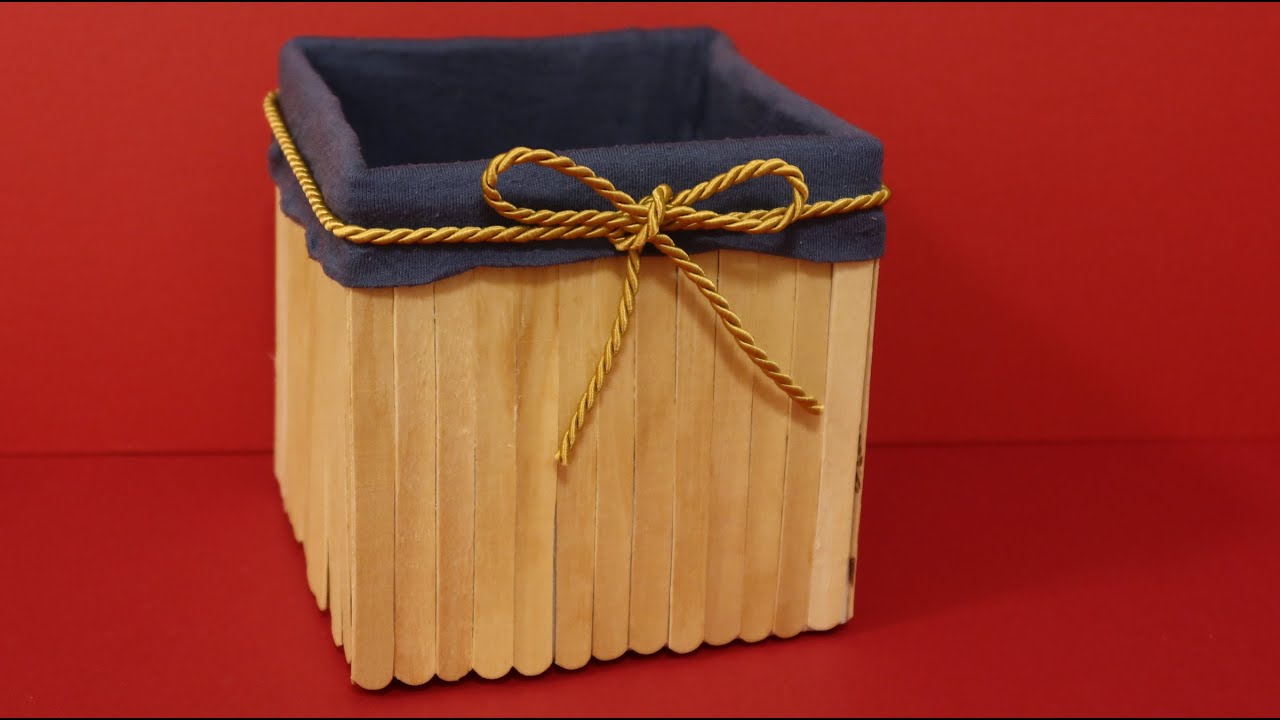
Once everything is dry and secure, if you’ve chosen to add a lining, cut your fabric or felt to size and glue it into the inside of your basket.
And there you have it! You've successfully crafted your very own ice cream stick basket. Use it for storage, as a decorative piece, or even as a gift! Happy crafting!
Also Read This: How Does Dailymotion Ad Revenue Compare to YouTube? A Detailed Analysis
5. Tips and Tricks for a Successful Craft
Making a basket with ice cream sticks is a fun and rewarding project! However, like any craft, having some handy tips can help ensure your creation turns out beautifully. Here are some valuable suggestions to enhance your crafting experience:
- Choose the Right Glue: Not all glues are made equal! For a project like this, a strong, fast-drying adhesive like hot glue works wonders. Just be careful of the heat!
- Plan Your Design: Before gluing anything together, sketch out your basket's design on paper. This will give you a clear vision and help you visualize the final product.
- Start Small: If you're new to crafting with ice cream sticks, consider starting with a small basket. This allows you to get comfortable with the materials and techniques without becoming overwhelmed.
- Be Patient: Allow glue to dry adequately between steps. Rushing this can lead to a structure that doesn’t hold up well. Trust us; a little patience goes a long way!
- Use a Straight Edge: To keep your basket corners neat and even, use a ruler or a straight edge. This will help you maintain symmetrical shapes and straight lines.
- Incorporate Fun Decorations: Don’t shy away from adding personal touches! Consider using ribbons, beads, or paint for flair. It’s all about making the basket uniquely yours!
- Practice Safety: If children are involved in the crafting process, make sure they handle gluing and cutting with care. Supervision is key to a safe crafting environment.
With these tips, you’ll be well on your way to creating a stunning ice cream stick basket that you can proudly display or gift to someone special!
Also Read This: Creating Your Own Bridal Makeup Tutorial on Dailymotion
6. Creative Variations for Your Ice Cream Stick Basket
Once you get the hang of making a basic basket, the fun really begins! There are countless ways to add your unique flair and customize your ice cream stick basket. Here are some creative variations that you might consider:
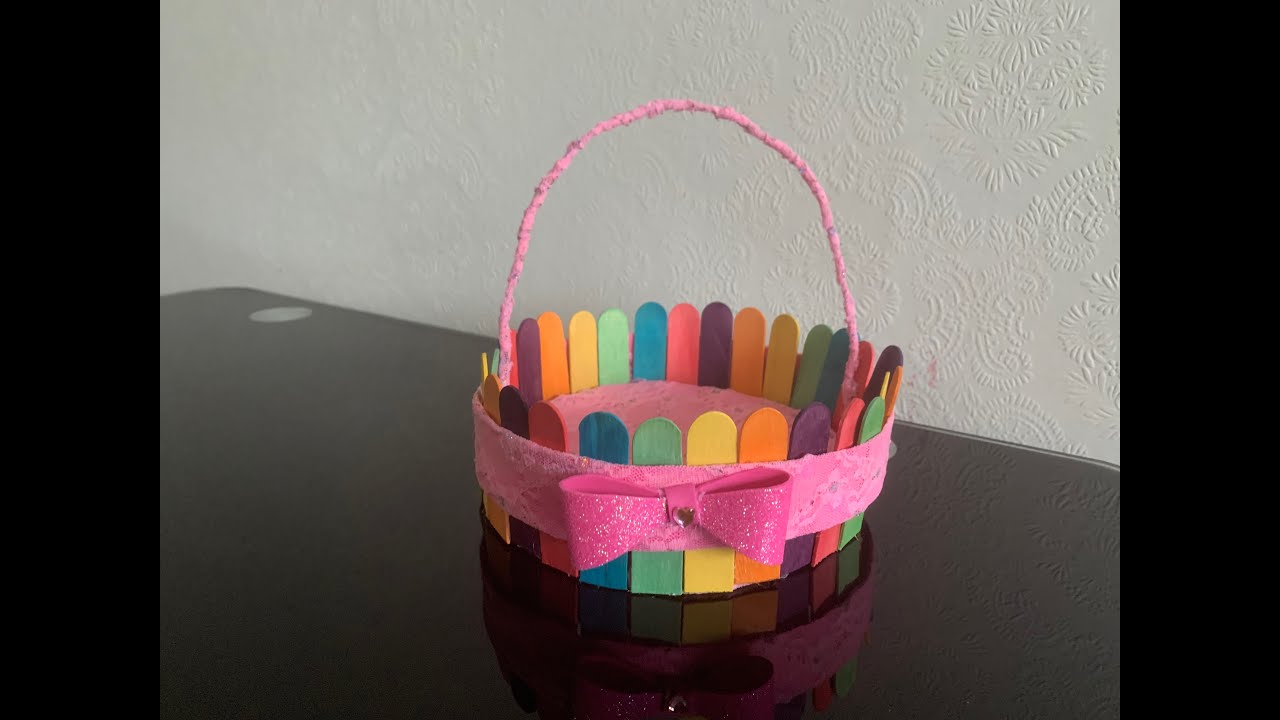
- Painted Designs: Before assembling your basket, paint the ice cream sticks in fun colors or patterns. This can transform your simple basket into a vibrant piece of art!
- Layered Baskets: Create smaller baskets and stack them to form a layered look. This not only adds dimension but also practicality for holding different items.
- Seasonal Themes: Craft baskets that reflect the seasons! Use pastel colors for spring, warm tones for autumn, or even festive decorations for the holidays.
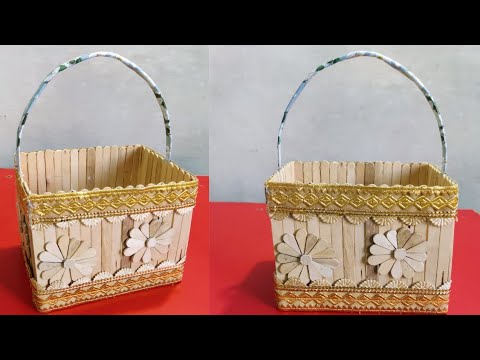
- Textured Accents: Incorporate naturally textured materials like twine or burlap. Wrapping these around your basket adds an earthy, rustic vibe.
- Different Shapes: Instead of the traditional round or square baskets, try making triangular or oval designs. This can give your basket a modern twist!
- Functional Add-ons: Attach handles using rope or more ice cream sticks to make your basket portable. You can also create dividers inside the basket for organization!
- Personalization: Add monograms or names using paint or stickers to make your basket even more special. This works great for gifts!
The key to making a creative variation is to let your imagination run wild. Use what inspires you, and don't be afraid to experiment. The possibilities are limitless when it comes to creating with ice cream sticks!
Also Read This: How to Use a Pregnancy Test Kit: A Step-by-Step Guide for Accurate Results
7. How to Use Your Basket After Completion
Congratulations on crafting your beautiful basket with ice cream sticks! Now that you've put in all that love and effort, it’s time to think about how to use your new masterpiece. Here are some fun and practical ways to incorporate your DIY basket into your home:
- Storage Solution: Use your basket to organize clutter. It’s perfect for storing magazines, remote controls, or even children’s toys. Place it on a shelf or in the living room for a tidy look.
- Home Décor: Your basket can be more than just functional; it can be a stunning décor piece. Add some colorful faux flowers or even a small potted plant for a natural touch. It will surely be a conversation starter!
- Gift Basket: Fill your basket with goodies, treats, or personalized gifts to present to friends or family members. It adds a thoughtful, handmade touch that’s sure to be appreciated.
- Kitchen Helper: Use your basket in the kitchen to hold fruits, spices, or condiments. It’s an attractive way to declutter your countertop while keeping everything easily accessible.
- Craft Organizer: If you’re a fellow DIY enthusiast, consider using your basket as a craft supplies holder. It can house yarn, paintbrushes, or any other materials you need close at hand.
Whichever way you choose to use your basket, remember to appreciate the effort you put into creating it. Feel free to customize its function as your needs change, and enjoy the compliments you’ll receive when friends and family notice your handiwork!
8. Conclusion and Encouragement to Explore More DIY Projects
Creating a basket with ice cream sticks is not just about making something useful; it’s about tapping into your creativity and enjoying the process! Each step of this project has the potential to spark your imagination, leading you to new ideas and projects. Whether you’ve crafted your basket for practical use or simply for fun, take a moment to celebrate your achievement!
As you finish this project, I want to encourage you to dive deeper into the wonderful world of DIY. There are so many exciting projects out there just waiting for you to explore them. Here are a few ideas to inspire your next crafting adventure:
- Photo Frames: Repurpose old materials like cardboard or wood to create unique frames that showcase your favorite memories.
- Wall Art: Try your hand at painting or using other mixed media to create custom art pieces for your home.
- Upcycled Decor: Look around your home for items that can be transformed. Old jars can become candle holders, or tin cans can become plant pots.
- Fabric Projects: If sewing is your passion, consider making tote bags, cushions, or even quilts.
Remember, the only limit to your creativity is your imagination! Don’t hesitate to customize projects to suit your style. Every crafted piece tells a story, and you'll find unparalleled satisfaction in doing it yourself. Happy crafting!
 admin
admin


