Making a baby dress can be an incredibly rewarding and fun project! Whether you’re preparing for a special occasion or just want to create something unique for your little one, this DIY guide will walk you through the simple steps to craft an adorable dress. With just a bit of creativity and some basic sewing skills, you can create a beautiful outfit that your baby will love. Plus, it’s a wonderful way to express your personal style and make a cherished keepsake. Let’s dive into the materials you’ll need to get started!
Materials Needed
Before you start your sewing adventure, gathering all the necessary materials is key. Here’s a list of what you’ll need to make a charming baby dress:
- Fabric: Choose a soft, breathable fabric like cotton or linen. You’ll need about 1 yard, depending on the size of the dress.
- Thread: Pick a thread that matches your fabric color. A spool of all-purpose thread usually works best.
- Sewing Machine: If you have one, great! If not, you can sew by hand, but it’ll take a bit longer.
- Scissors: Sharp fabric scissors will help you cut cleanly and accurately.
- Measuring Tape: To measure your fabric and ensure the right fit.
- Pins: These are essential for holding your fabric in place while you sew.
- Pattern Paper: If you want to create a template for the dress, pattern paper is your friend.
- Buttons or Snaps: For closures, you can use cute buttons or snaps that match the overall design.
With these materials in hand, you’re ready to start transforming your vision into a lovely baby dress! Grab your sewing kit, and let's get creative!
Also Read This: Discovering Dailymotion Features for Beginners and Enthusiasts
3. Step-by-Step Instructions
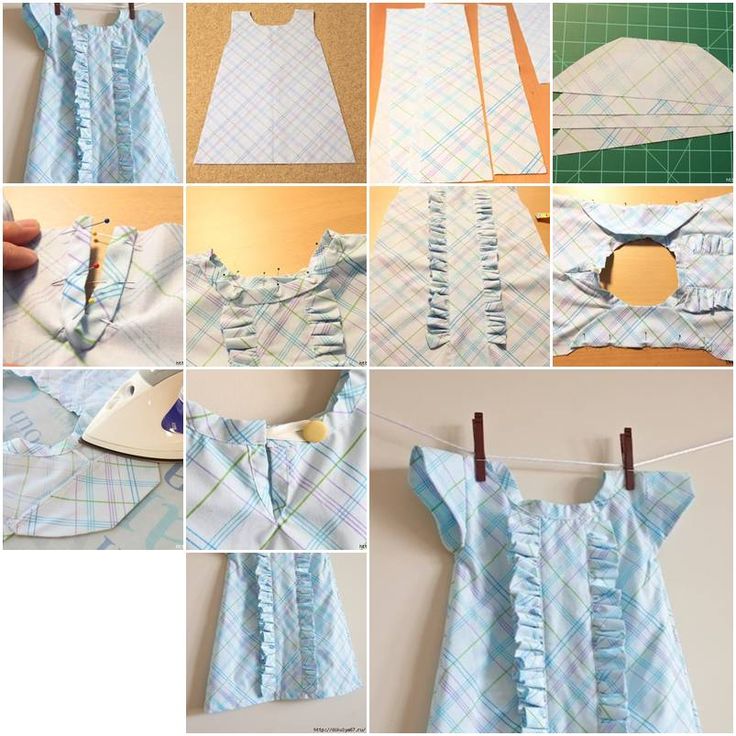
Creating a baby dress can seem daunting at first, but with this simple step-by-step guide, you’ll be on your way to crafting a beautiful outfit for your little one in no time!
- Gather Your Materials: You’ll need fabric (cotton works great!), a sewing machine, scissors, pins, a measuring tape, and thread that matches your fabric. Don’t forget a pattern or template!
- Measure and Cut: Measure your baby’s chest, waist, and desired length. For a basic dress, cut two rectangular pieces for the front and back, and two smaller rectangles for the sleeves. Make sure to add an extra inch for seams!
- Prepare the Bodice: Take the two larger pieces and place them right sides together. Pin along the sides and sew from the top to the bottom, leaving the armholes open.
- Add Sleeves: Take the sleeve pieces, fold them in half, and sew the open side. Then, attach them to the armholes of the bodice by pinning and sewing them in place.
- Construct the Skirt: For the skirt, gather the fabric by sewing a long stitch along the top edge and pulling the threads to create ruffles. Attach this to the bodice by pinning and sewing it securely.
- Finish the Edges: Hem the sleeves and bottom edge of the dress to prevent fraying. You can fold the edges over and sew a straight line to create a clean finish.
- Final Touches: Add buttons, bows, or any embellishments you like! Make sure everything is securely sewn, and your adorable baby dress is ready to wear.
Also Read This: Is Dailymotion Website Safe? An In-Depth Look at the Site’s Trustworthiness
4. Tips for Personalization
Making a baby dress is a wonderful opportunity to personalize it and make it truly unique to your little one. Here are some tips to add that special touch!
- Choose Fun Fabrics: Opt for colorful patterns or themed fabrics. Think florals for spring or cute animals for a playful vibe!
- Incorporate Appliqués: Sew or iron on cute shapes like hearts, stars, or characters to the dress. This adds a fun element and allows for creativity.
- Experiment with Embroidery: If you’re handy with a needle, consider adding embroidered initials or small designs. This makes the dress personal and adds a sentimental touch.
- Add Ribbons and Bows: Attach ribbons at the waist or create a bow at the back for an elegant finish. This adds charm and can be adjusted as the baby grows.
- Mix and Match: Use different fabrics for the bodice and skirt. A solid top with a patterned bottom can create a delightful contrast.
- Adjust the Length: Depending on the season, you can make a longer dress for colder weather or a cute, shorter version for summer outings.
Remember, the key is to have fun and let your creativity shine! Each dress you make can reflect your style and your baby's personality.
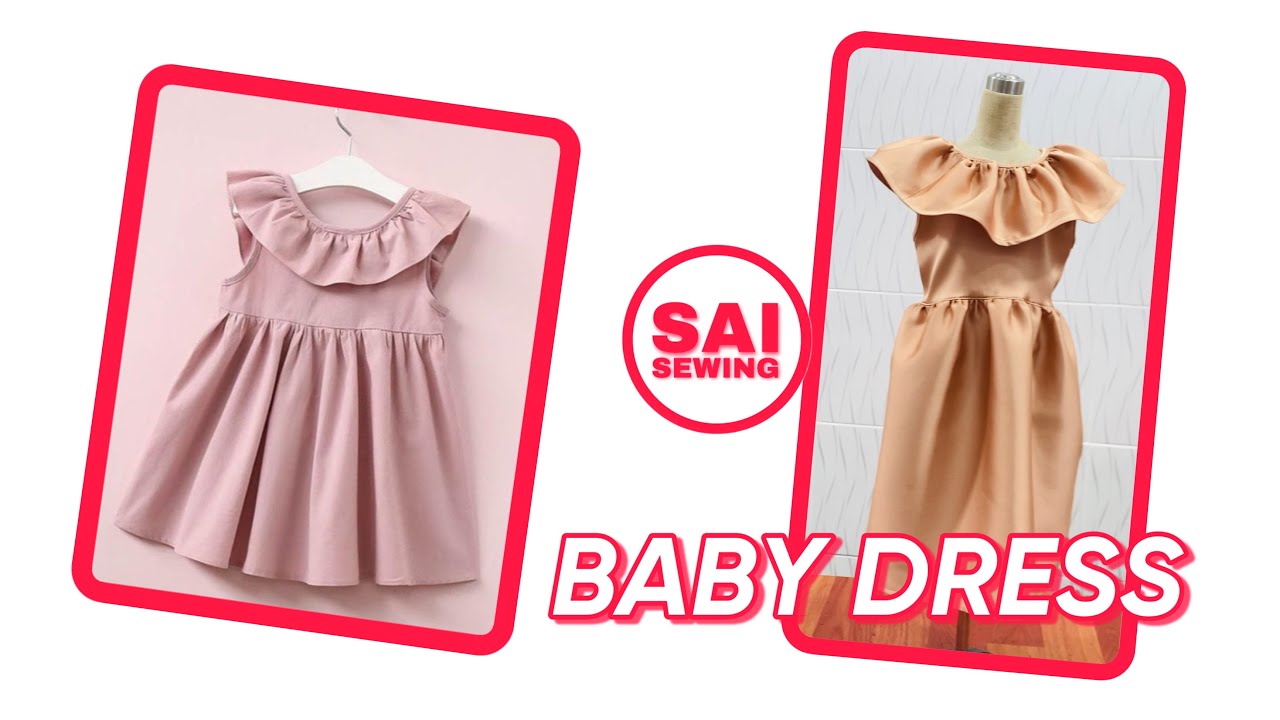
How to Make a Baby Dress with This Simple DIY Guide
Creating a baby dress can be a delightful project that allows you to express your creativity while crafting a unique piece of clothing. This DIY guide will walk you through the essential steps to make a beautiful baby dress, perfect for any occasion!
Here’s a quick overview of what you’ll need:
- Materials:
- Fabric (cotton or linen recommended)
- Thread (matching or contrasting)
- Scissors
- Sewing machine (or needle and thread for hand sewing)
- Measuring tape
- Pattern paper
- Buttons or snaps (optional)
Steps to Make the Dress:
- Measure: Measure the baby's chest, waist, and desired length of the dress.
- Cut the Fabric: Use the measurements to cut out the fabric pieces. You'll typically need two rectangles for the front and back and two smaller pieces for sleeves.
- Sew the Bodice: Place the front and back pieces right sides together and sew along the sides, leaving the top open for the neck.
- Add Sleeves: Attach the sleeves to the armholes by sewing them in place.
- Hem the Bottom: Fold the bottom edge of the dress and sew a hem to finish the edge.
- Finishing Touches: Add buttons or snaps as closures and embellish with ribbons or appliqués.
With these simple steps, you can create a lovely baby dress that not only looks adorable but also carries a personal touch. Enjoy the sewing process as a fun bonding activity or a rewarding solo project!
Conclusion: Making a baby dress is a fulfilling and creative endeavor that results in a cherished garment, perfect for gifting or keeping as a keepsake. With just a few materials and some basic sewing skills, you can create something truly special for the little one in your life.
 admin
admin


