Gel electrophoresis is a widely used technique in molecular biology, biochemistry, and genetics to separate macromolecules such as DNA, RNA, and proteins based on their size, charge, and other physical properties. It plays a key role in research by allowing scientists to analyze and compare these molecules in a controlled environment. Whether you're studying genes, proteins, or other molecules, gel electrophoresis provides critical insight into their structure and function. Accurate documentation of the results, particularly through labeled images, is crucial for maintaining the integrity and reproducibility of experiments.
Understanding the Process of Gel Electrophoresis

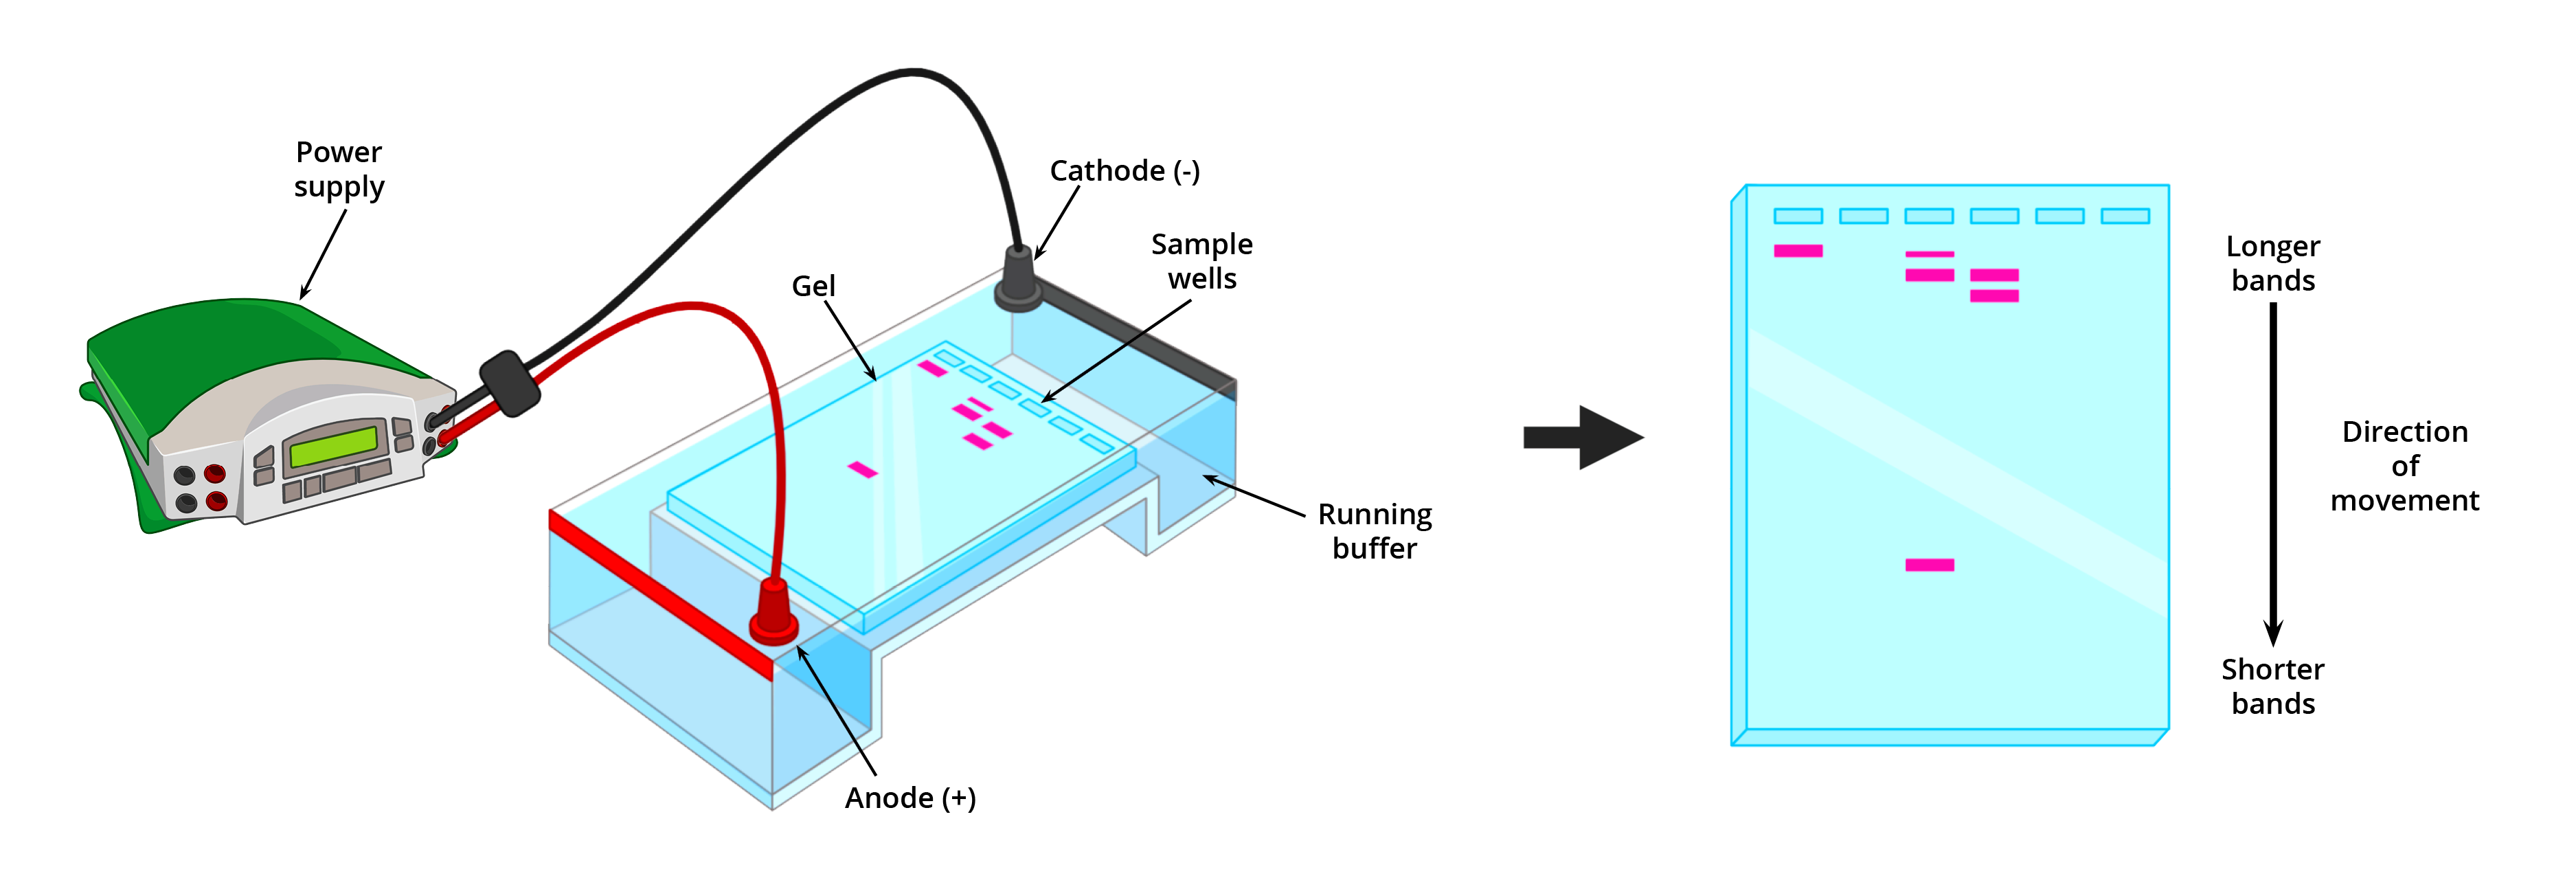
Gel electrophoresis works by applying an electric field to a gel matrix, which is usually made from agarose or polyacrylamide. Here's how it works:
- Sample Preparation: Samples containing DNA, RNA, or proteins are mixed with a loading dye and loaded into wells in the gel.
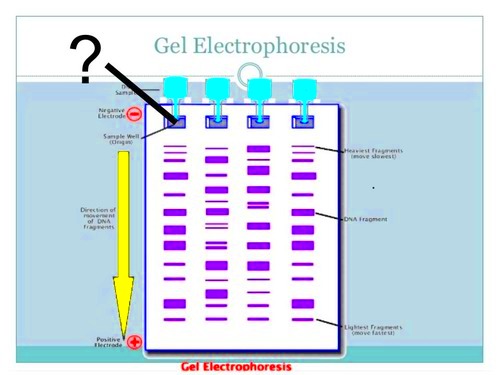
- Electrophoresis: An electric current is passed through the gel. Since nucleic acids and proteins are charged, they migrate through the gel toward the opposite charge (positive or negative) based on their size and charge.
- Separation: Smaller molecules move faster, while larger molecules move more slowly, creating distinct bands in the gel.
- Visualization: After the electrophoresis process is complete, the gel is stained with a dye (like ethidium bromide for DNA) to visualize the bands.
This process allows researchers to separate, identify, and analyze different molecules in complex samples. Gel electrophoresis is widely used in fields like genetics, forensic analysis, and protein research.
Why Labeling Gel Electrophoresis Images is Necessary

Labeling gel electrophoresis images is an essential part of the research documentation process. Here are some of the key reasons why:
- Clarity: Proper labeling ensures that the results are easy to interpret. By adding labels to the bands, researchers can identify which sample corresponds to which molecular weight or protein size.
- Reproducibility: Accurate labeling helps others understand your experimental conditions and replicate your work in their labs. Clear documentation supports the scientific community by enhancing the reproducibility of experiments.
- Organization: Labels help organize data, especially when you are working with multiple samples or experiments. It is important to be able to easily track which lanes correspond to which variables in your study.
- Data Integrity: Well-labeled images serve as concrete proof of your experiment’s methodology and results, which is crucial when publishing research or submitting findings to regulatory bodies.
In summary, labeling gel electrophoresis images isn’t just about adding text; it’s about making your research understandable, reproducible, and credible. It ensures that your findings can be shared and built upon by others in the scientific community.
Choosing the Right Software for Labeling Gel Electrophoresis Images

When it comes to labeling gel electrophoresis images, choosing the right software is crucial for ensuring accuracy and efficiency. There are several options available, ranging from simple image editors to specialized scientific software designed for research purposes. The right choice depends on your needs, budget, and the complexity of the images you're working with.
Here are some key factors to consider when choosing software:
- Ease of Use: Look for software that is user-friendly, especially if you are new to image labeling. A simple interface can save you time and frustration.
- Compatibility: Ensure that the software is compatible with the format of your gel images (e.g., JPEG, PNG, TIFF) and works on your operating system (Windows, Mac, Linux).
- Precision Tools: Choose software that offers precise annotation tools, such as the ability to add text, arrows, and labels to the gel image with great accuracy.
- Data Management: Some software tools offer features for organizing and storing labeled images, making it easier to keep track of your experiments over time.
- Cost: There are both free and paid options available. While free software can be sufficient for basic labeling, paid software often offers advanced features like automated labeling, batch processing, and support for more complex data analysis.
Some popular choices for labeling gel electrophoresis images include:
| Software | Features | Price |
|---|---|---|
| ImageJ | Free, open-source, precise annotation tools, advanced analysis features | Free |
| Photoshop | Comprehensive editing tools, precise text placement | Paid |
| Gel-Pro Analyzer | Specialized for gel image analysis, molecular weight calibration | Paid |
Choosing the right software ensures your labeling is efficient, accurate, and suited to your research needs.
Step-by-Step Guide to Labeling Gel Electrophoresis Images

Labeling gel electrophoresis images might seem like a simple task, but doing it properly requires attention to detail. Here’s a step-by-step guide to ensure your labeling process is efficient and accurate:
- Step 1: Open Your Gel Image in Software
Start by opening the gel electrophoresis image in the software you’ve chosen. Make sure the image is of high quality and clearly shows the bands. - Step 2: Adjust Image Settings (Optional)
If needed, adjust the brightness and contrast to enhance the visibility of the bands. This will help in more accurate labeling. - Step 3: Add Molecular Weight Markers
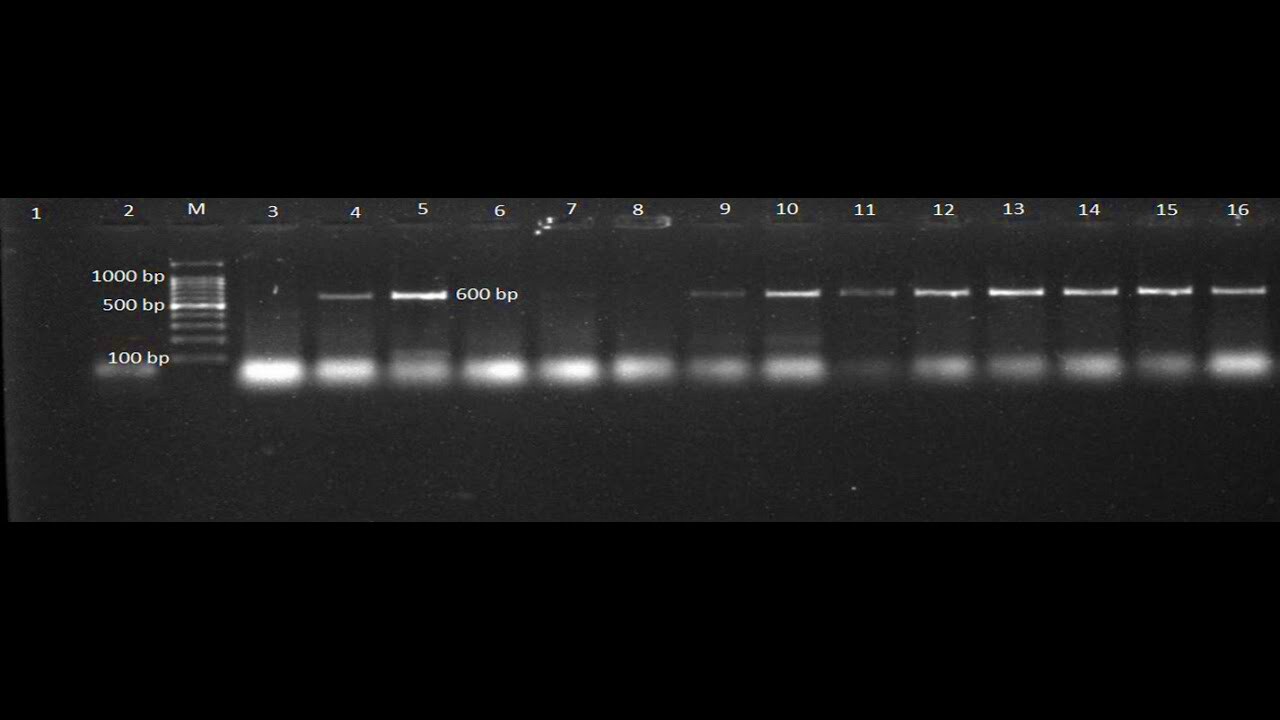
Label the molecular weight markers, if present, to help identify the size of the separated molecules. These markers often appear in the lane furthest from the sample. - Step 4: Label Each Sample Lane
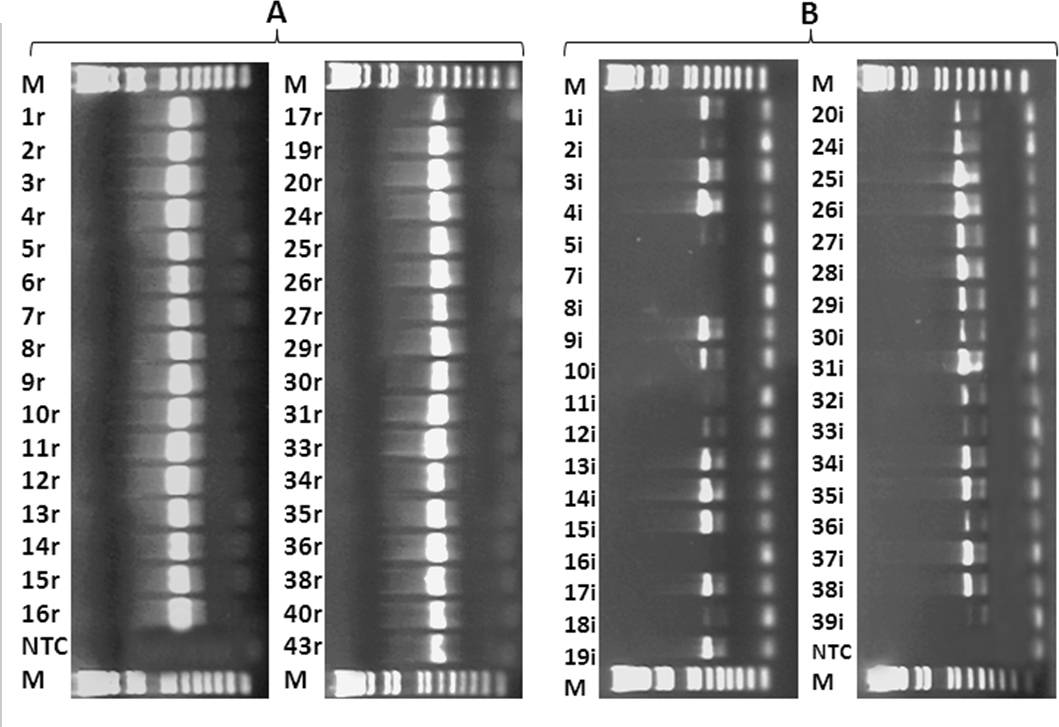
Next, label the lanes with the sample names or identifiers. If multiple samples were tested, it’s essential to distinguish each one. - Step 5: Annotate the Bands
Use arrows or lines to point to the bands of interest. Label the bands with the molecular weight or size of the molecule they represent. - Step 6: Add a Title and Description
Include a title for the image, along with any other relevant information (e.g., experiment conditions, date) to ensure full context for your documentation. - Step 7: Save and Export
Once you’ve finished labeling, save the image in your preferred format. Make sure to back up your labeled images for future reference.
By following these steps, you’ll create well-organized and clearly labeled gel electrophoresis images that will be useful for documentation and future analysis.
Best Practices for Accurate Labeling of Gel Electrophoresis Images
To ensure your gel electrophoresis images are labeled correctly and consistently, it’s important to follow some best practices. This will help maintain the quality and accuracy of your research documentation.
- Be Consistent: Use a consistent labeling format across all images. This includes font type, size, and color. Standardizing your labeling ensures that anyone viewing your images can easily understand them.
- Provide Sufficient Details: Label each lane and band clearly, including molecular weight markers and sample identifiers. Providing detailed information about each band is essential for future reference and reproducibility.
- Avoid Overcrowding: Don’t overcrowd the image with excessive annotations. Keep labels concise but informative, and place them clearly next to the relevant bands or areas.
- Check for Accuracy: Double-check that the labeled bands correspond correctly to the expected size and molecular weight. Incorrect labeling can lead to misinterpretation of results.
- Use Color Wisely: Use contrasting colors for labels and lines to ensure they stand out from the background. However, avoid using too many colors, as it can make the image look cluttered.
- Document Experimental Conditions: Always include a short description of the experimental conditions, such as the type of gel used, electrophoresis voltage, or the type of stain applied. This adds context to your images.
- Save Multiple Versions: Always save multiple versions of your labeled images—one with and one without labels. This can help in case you need to go back to the raw data for further analysis.
Following these best practices will ensure that your gel electrophoresis images are clear, accurate, and professional, making them easier to understand and share with other researchers.
Common Mistakes to Avoid When Labeling Gel Electrophoresis Images
Labeling gel electrophoresis images may seem straightforward, but there are common mistakes that researchers often make, which can lead to confusion and inaccuracies in the results. Being aware of these pitfalls can help you create clearer, more reliable images for your research documentation.
- Inconsistent Labeling: One of the most frequent mistakes is inconsistent labeling across multiple images. If you're working on several gels, make sure that the format, font size, and placement of the labels remain the same throughout. Consistency ensures that anyone viewing the images can easily interpret them.
- Overcrowding the Image: Adding too many labels or markers can make the image look cluttered and difficult to read. Be selective about what you label and leave enough space between labels for clarity.
- Incorrect Label Placement: Placing labels too far from the bands or on the wrong bands can lead to confusion. Labels should be close to the relevant bands but not obstructing the view of the bands themselves.
- Not Labeling Molecular Markers: Failing to label molecular weight markers, especially in the first lane, can result in missed opportunities for accurate molecular size determination. Always include the markers in your labeling process.
- Using Ambiguous or Incomplete Labels: Labels should be clear and specific. Avoid using vague terms like "Sample 1" or "Band A" without providing more context (e.g., molecular weight or experimental conditions). This will make the image more useful for others.
- Not Backing Up Labeled Images: Always save copies of your labeled images in multiple formats (e.g., TIFF, PNG). If something happens to the image file, you’ll want to ensure you have backups available.
By avoiding these common mistakes, you can make sure that your gel electrophoresis images are clear, accurate, and easy to understand, making your research more reliable and reproducible.
Conclusion and Importance of Proper Labeling for Research Success
Proper labeling of gel electrophoresis images is more than just a routine task—it's essential for maintaining the integrity, clarity, and reproducibility of your research. When gel images are labeled correctly, they provide valuable, accessible documentation of experimental results, making it easier to track progress, share findings, and replicate studies.
Here are the key takeaways for the importance of proper labeling:
- Enhanced Clarity: Clear labels make it easier to understand what each band represents, improving the overall quality of your documentation.
- Facilitating Reproducibility: Accurate labeling allows others to reproduce your experiment with confidence, which is a cornerstone of scientific integrity.
- Effective Communication: Well-labeled images help researchers communicate their findings effectively, whether in papers, presentations, or collaborations.
- Long-Term Documentation: As experiments accumulate, properly labeled images serve as long-term references that can be revisited and used for comparison in future studies.
By taking the time to label your gel electrophoresis images correctly, you are investing in the quality and credibility of your research. This investment will pay off by helping you achieve successful experiments, clearer publications, and more meaningful contributions to your field.
FAQ
What software is best for labeling gel electrophoresis images?
There are several great options, including ImageJ (free and open-source), Photoshop (paid, for comprehensive image editing), and Gel-Pro Analyzer (specialized for gel images). The best choice depends on your specific needs and budget.
How do I label molecular weight markers?
When labeling molecular weight markers, ensure they are clearly identified in the first lane or adjacent to the sample bands. Use text annotations or arrows to label them with the corresponding molecular weight or size range.
Can I use colored labels on gel electrophoresis images?
Yes, using colored labels can help improve visibility. However, make sure to use contrasting colors (e.g., white or black text on a colored background) to ensure readability. Avoid overusing colors, as it can make the image appear cluttered.
How do I save labeled gel images?
Save your labeled images in formats like PNG or TIFF for high-quality output. It's a good practice to save two versions: one with labels and one without for future reference.
What should I include in a labeled gel electrophoresis image?
Your labeled image should include sample identifiers, molecular weight markers, and any relevant experimental details such as the gel type or electrophoresis conditions. Be as specific as possible to provide clear context.


