Among the amazing tools available for digital artist, Krita is one of them and knowledge about how to insert different types of image files can help unleash one’s creativity. Essentially, inserting pictures into a canvas is an essential concept in Krita regardless of whether you wish to add reference pictures, textures or create any other mixed media project. With only a few simple steps, you will feel that your artwork has been transformed into something new and exciting.
This tutorial will outline the fundamental principles guiding image insertion into Krita, diverse techniques employed, as well as provide advice on how these images can perfectly fit into your current work. Now, let’s have a look at how simple it really is!
Why Use Krita for Digital Art
In the realm of digital artistry, Krita is applauded for its immense strength and user-friendliness, particularly among painters, illustrators, and graphic designers. Here is why Krita remains a much-loved application:
- Cost-effective: Krita is free to download and use, making it accessible for artists at any level.
- Artist-friendly tools: Krita comes with a range of brushes, blending options, and editing tools specifically designed for digital art.
- Open-source community: Krita’s active community regularly updates and improves the software, adding new features and troubleshooting issues.
Apart from so many positive things, Krita has powerful tools such as multiple layers that can be modified by the user, tailor made commands and full support for tablets or pen drives. If you want advance your digital art career in an incredible way then, Crita is the perfect place to start.
Also Read This: Adding Transparent Images in Google Slides
Getting Started with Importing Images in Krita
In order to import an image into your Krita, first open the canvas. There are various methods for importing images:
- Drag and Drop: Open your file explorer, select the image, and drag it directly onto your Krita canvas. Krita will automatically create a new layer with the imported image.
- File Import: Go to File > Import and choose the image you’d like to add. Krita will prompt you to select a location on the canvas for the image.
- Paste from Clipboard: If you’ve copied an image from another source, you can simply paste it into Krita by pressing Ctrl+V.
After importing, you can move, contract or expand depending on your need the image layer. Working with several images and layers easily becomes possible because of Krita’s user-friendly interface; hence it creates a seamless digital art experience.
Also Read This: How to Print a Big Image on Multiple Pages for Posters or Banners
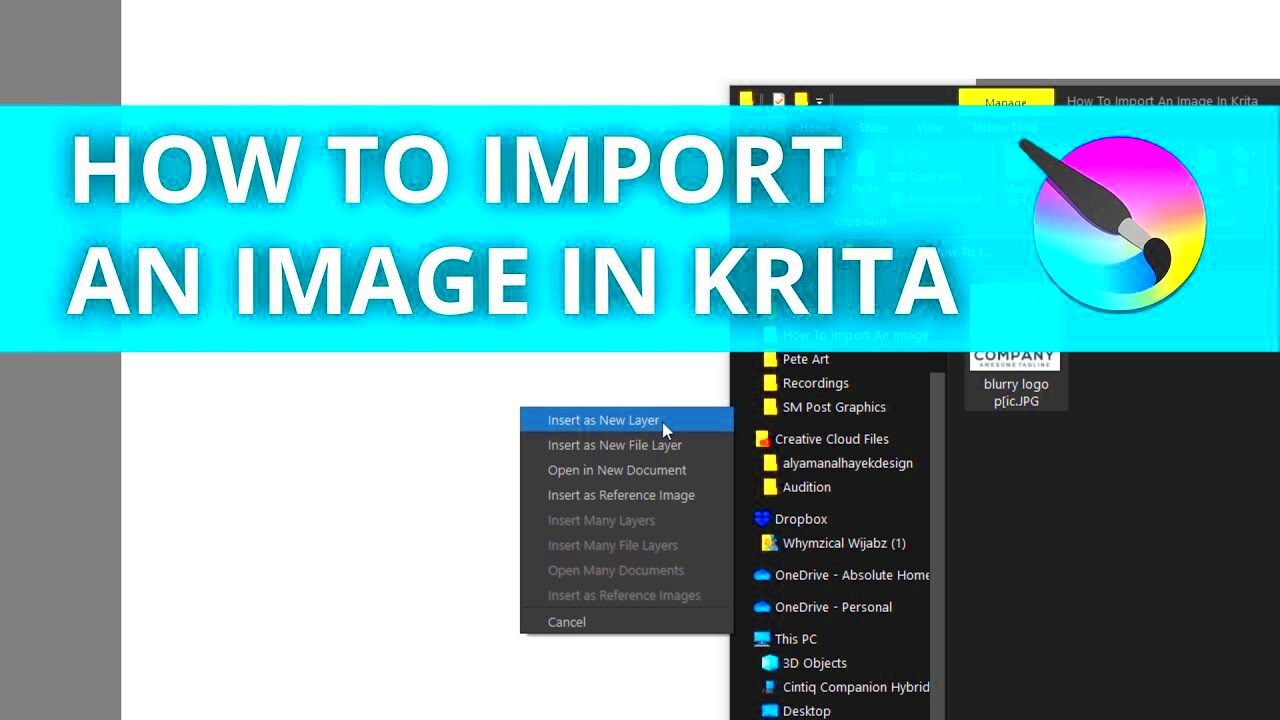
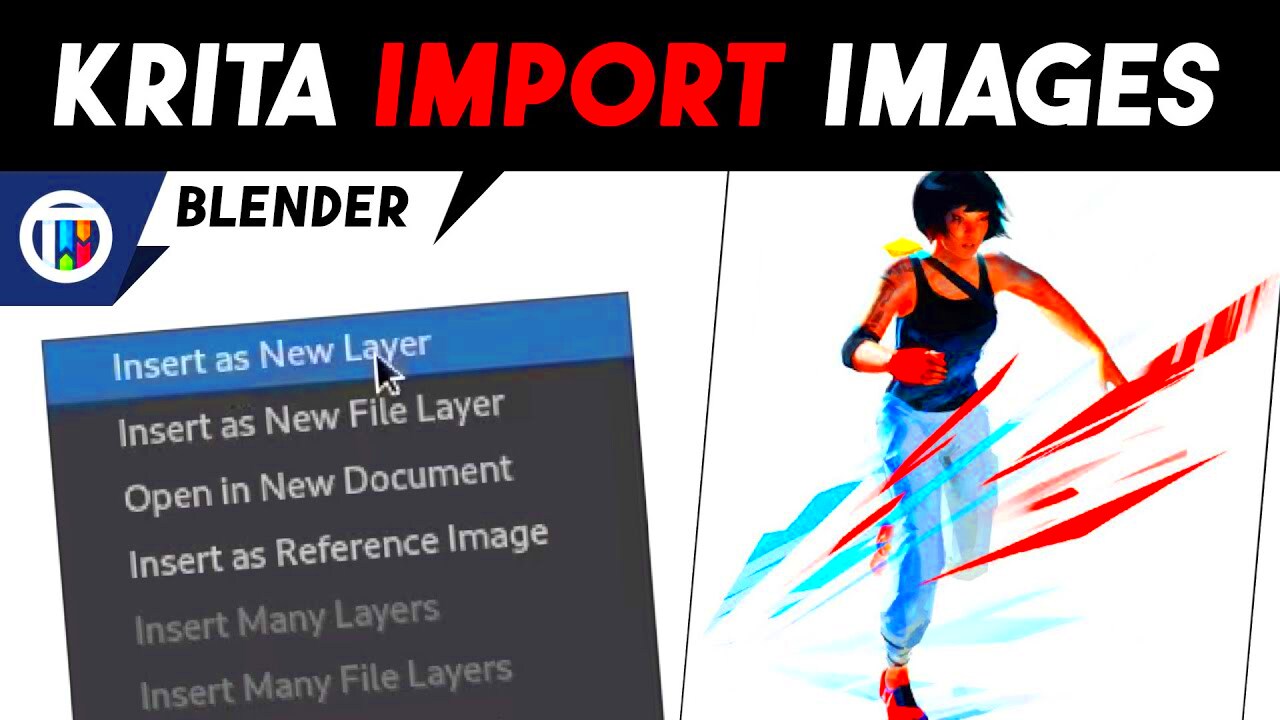
Different Ways to Insert Images in Krita
In Krita, there are several options to include images which will depend on the needs of your project as well as your workflow preferences. Each of these options has its own degree of flexibility and allows for inserting images in just a few simple clicks. Below are some frequently-used methods for inserting images into Krita:
- Drag and Drop: One of the quickest methods, simply drag an image file from your computer directly onto the canvas. Krita will place the image on a new layer, ready for editing.
- Insert as New Layer: Go to Layer > Import/Export > Import Layer, select your image, and Krita will insert it as a separate layer. This method is great for layering images as it automatically separates the image from other artwork.
- Copy and Paste: If you’re working between applications, you can copy an image and paste it onto your canvas using Ctrl+V. This option is helpful for quick additions without having to save the file on your computer.
- Open as Reference: If you need an image solely for reference without directly interacting with it on your canvas, Krita offers a “reference images” tool. Go to Settings > Dockers > Reference Images and load the image here for easy viewing as you work.
Find out which one works best for your workflow by trying these various ways. They all have their own advantages, such as how fast they are or how easy it is to change them, therefore you will be able to select the finest alternative for your assignment.
Also Read This: How to Add a Banner on Behance for a Customized Portfolio Visual Identity
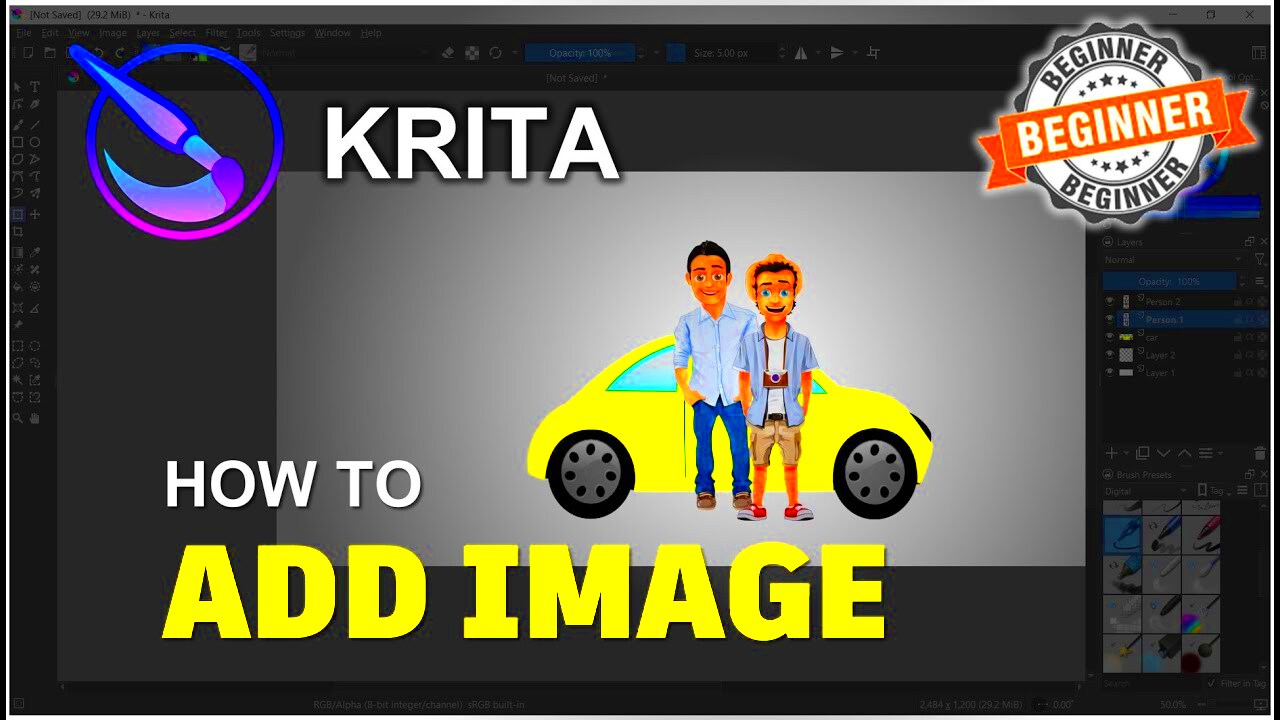
Using Layers to Work with Imported Images
Krita has numerous features that allow you to manipulate your creativity the way you want. For instance, you will be able to import images and apply a layer of effects on them such that they do not alter the main image. In this case, layers will serve as an example of how they can colour the different drawings perplexed.
- Organize Elements: Each imported image can be placed on its own layer, keeping your artwork organized and easy to edit.
- Layer Transparency: Adjust the opacity of layers to blend imported images smoothly. This feature is helpful when adding textures or working with backgrounds.
- Layer Blending Modes: Krita’s blending modes let you change how an image layer interacts with those below it. Experimenting with modes like Multiply, Overlay, and Screen can produce interesting effects.
- Non-Destructive Editing: Because each image is on a separate layer, you can edit, move, or delete images without impacting your other artwork.
Even though practicing layers may be needed in order to get it, they give you adaptability and management over all factors of your art. By learning layers in Krita, many opportunities will lie ahead enabling one to make intricate and impressive designs.
Also Read This: Imago Images Captures the Essence of Global Events with Unmatched Photography
Tips for Adjusting Imported Images in Krita
When you bring a picture into Krita, there may be adjustments to make before it can blend well into your art. Below are some practical adjustments that can be made on imported images in Krita.
- Resizing: Use the Transform Tool (press Ctrl+T) to resize the imported image. Adjusting the size allows you to integrate the image without overwhelming other elements on the canvas.
- Rotating and Skewing: Krita's Transform Tool also enables you to rotate and skew images. These options are useful for fitting reference images to different perspectives.
- Adjusting Colors: If the colors in the imported image clash with your artwork, go to Filter > Adjust and experiment with options like Hue/Saturation, Brightness, and Contrast.
- Masking: Use Layer Masks to selectively hide parts of the imported image without permanently erasing anything. This is particularly helpful when working with complex compositions.
- Blending and Opacity: Adjust the opacity of the image layer for smoother blending with the artwork. Layer opacity sliders are easily accessible in the Layers panel.
Through these alterations it’s possible to make imported pictures have full tailoring features thus making them fit with the project. Eventually, with a lot of practice achieving familiarity with these methods will translate into increased speed and efficiency at work.
Also Read This: Explore How to Optimize Pictures for Shutterstock
Working with References and Backgrounds in Krita
This can create quite an impact when working on digital art using Krita since drawing from the reference images is essential for getting everything right when it comes to proportions, lighting or even perspective. By doing so you also add some atmosphere to your painting by including within it background details. So let’s see what it takes to do well in both areas while still using Krita:
- Adding Reference Images: To add a reference image, open the Reference Images Docker by navigating to Settings > Dockers > Reference Images. From there, you can drag and drop your image, resize it, and position it anywhere on the canvas without it becoming part of your active artwork layer.
- Creating Background Layers: When working with backgrounds, start by creating a new layer at the bottom of your layer stack. This keeps your main artwork on top and makes it easier to blend your artwork with the background.
- Adjusting Opacity for Balance: Background layers can sometimes overpower your main art, especially if they’re detailed or colorful. Lowering the opacity can help create a subtle background that supports rather than distracts from the focal points of your piece.
- Layer Blending for Atmosphere: Experiment with blending modes (e.g., Overlay, Multiply) to create unique effects for your background, such as adding shadows or making the background colors interact with the foreground elements.
Creating your piece of art with references and backgrounds in mind will make it more interesting because it adds depth, context, and form. So there are many ways you can blend such elements into your work using Krita.
Also Read This: How to Open Licensed Adobe Stock in Illustrator
FAQ on Inserting Images in Krita
In Krita, the following is a selection of commonly asked questions regarding image insertion and manipulation:
| Question | Answer |
|---|---|
| Can I insert multiple images at once? | Yes, you can drag and drop multiple images onto the canvas, and each image will appear on its own layer for easy organization. |
| How do I resize an image without distorting it? | Use the Transform Tool (Ctrl+T) and hold Shift while resizing to maintain the image’s original proportions. |
| What’s the best way to remove parts of an imported image? | Layer masks are ideal for non-destructively hiding parts of an image. Simply add a mask to the image layer and paint over the areas you want hidden. |
| Can I edit the colors of an imported image? | Yes, go to Filter > Adjust and use options like Hue/Saturation or Brightness/Contrast to modify the image colors. |
| Is there a way to reset the size of an image? | Yes, after using the Transform Tool, you can hit Reset in the tool options to return the image to its original size. |
Final Thoughts on Adding Images in Krita for Your Artwork
Krita is an excellent program for artists because it enables them to easily insert images into their artworks. Krita’s tools are flexible and allow for seamless integration whether you use photos as references, import textures or add complex backgrounds.
It is fully natural for you to play around with layers, blending modes and masks on Krita as you grow familiar with it. With time, these tactics will become an innate portion of your working processes, thus allowing you to make more detailed and complex pieces of art.
The flexibility of Krita in terms of image imports is one of its many assets, allowing digital artists to actualize their imaginations. Enjoy creating!
 admin
admin


