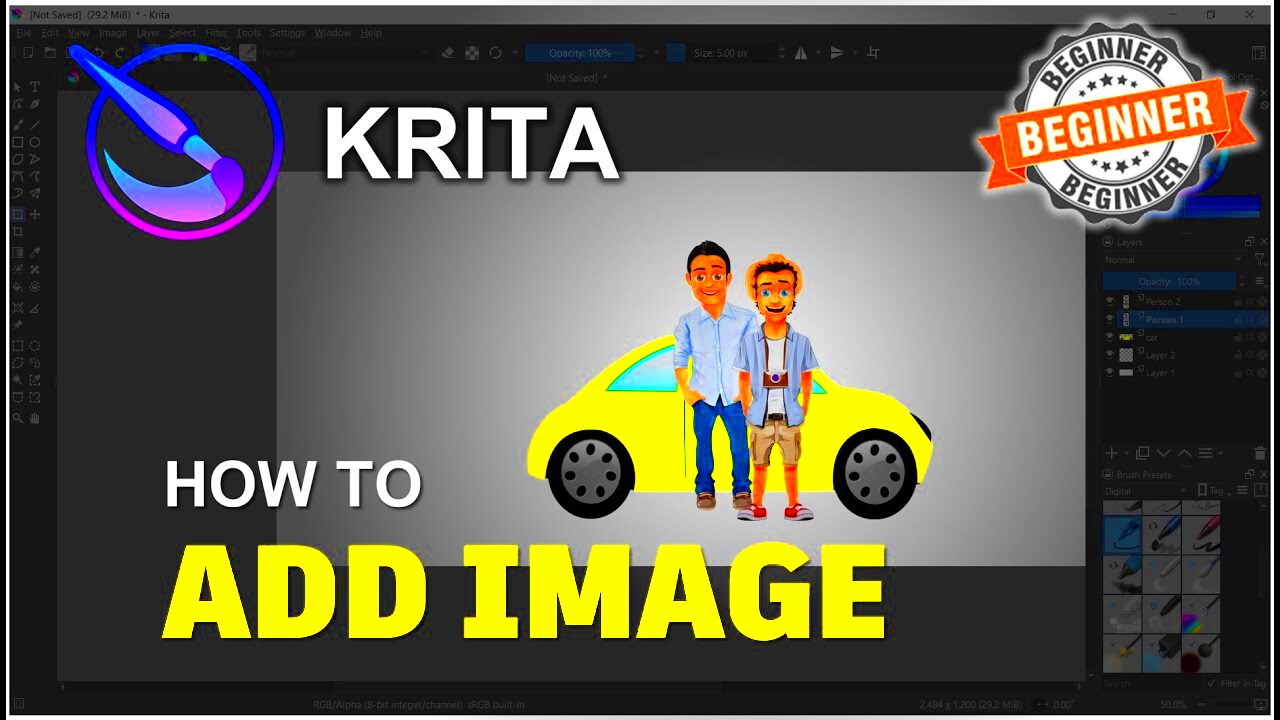
For this reason, it’s recommended you insert images into your artwork in a proper manner so as to enhance them well enough as needed. Just follow these steps below and see how easy the whole process is of getting images into a canvas and creating one:
- Open Krita: Launch Krita and open the project you want to work on.
- Select the Canvas: Click on the area where you want to insert your image. Make sure your canvas is ready for the new layer.
- Go to File Menu: Click on the File menu in the top-left corner.
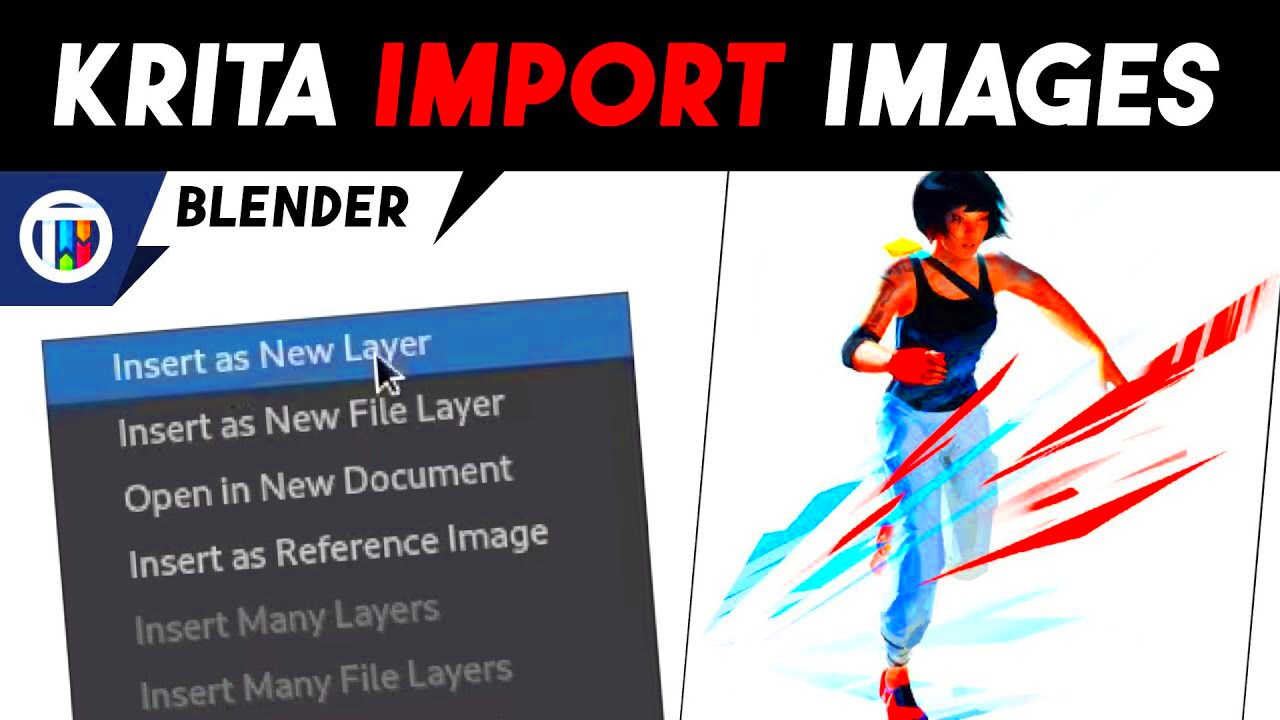
- Choose Import: Select Import and then click on Import Image.... This will open a file browser.
- Select Your Image: Find the image file you wish to insert and click Open. The image will be added to your canvas.
- Adjust Position: Use the move tool to position your image where you want it on the canvas.
Done! You have inserted an image into Krita with great success. It would be best to explore different pictures and find out ways of improving your artwork with them!
Adjusting Image Settings After Insertion

After placing the picture into Krita, it may be important for you to adjust parameters so as to achieve harmony. The following are some alterations that could be performed:
- Transform Tool: Use the Transform Tool (Ctrl + T) to resize, rotate, or flip your image. This tool allows for precise adjustments to match your vision.
- Opacity Settings: Adjust the layer opacity to blend the image into the background or other layers. Lowering the opacity can create a more subtle effect.
- Blending Modes: Experiment with different blending modes to change how your image interacts with layers beneath it. This can create interesting effects and textures.
- Filters and Effects: Apply filters or effects from the menu to enhance the image or give it a unique look. Try options like blur, sharpen, or color adjustments.
Making these adjustments may enable you to perfectly blend your pictures into your digital artwork, thus creating a more uniform and attractive visual design.
Also Read This: How to Add Pinterest Icons to Behance Integrating Social Media Links into Your Portfolio
Using Layers to Organize Your Images
Krita is known for its powerful layers, which help you organize and manipulate your art. Below are some effective ways to manage your images using layers:
- Create Separate Layers: Always insert new images on separate layers. This keeps them independent, making it easier to edit or remove them without affecting other parts of your artwork.
- Layer Naming: Name your layers according to their content (e.g., “Background,” “Foreground,” “Character”). This will help you find and manage layers quickly.
- Layer Groups: Use layer groups to bundle related layers together. This is helpful for complex projects where you have many elements to keep track of.
- Order of Layers: Remember that layers stack on top of each other. The top layer will be the most visible, while the bottom layers will be hidden behind. Adjust their order to control visibility.
Using layers effectively allows a lot of flexibility for your creative process. It is always easy to change things around, make adjustments and retain control over your work of art.
Also Read This: How to Resize an Image Proportionally in Inkscape for Perfect Scaling
Common Issues and Troubleshooting
Since it may be that every artist no matter how experienced in particular faces some [common] problems in working out images using Krita let me show you a few ordinary problems one encounters in this field of making paint work and solutions for them.
- Image Not Appearing: If your inserted image doesn’t show up, check if the layer is hidden. Make sure the layer is visible in the Layers panel by clicking the eye icon next to it.
- Image Quality Issues: If the image looks pixelated or blurry, it might be due to low resolution. Always ensure you’re using high-resolution images, especially if you plan to scale them up.
- Layer Overlap Problems: If your images aren’t stacking correctly, double-check the order of your layers. Drag layers up or down in the Layers panel to adjust their positioning.
- Performance Slowdowns: Working with large images can slow down Krita. Consider resizing images before inserting them or using lower resolution versions while sketching.
- File Format Issues: Make sure you’re using compatible file formats like PNG or JPEG. Some formats might not work as expected in Krita.
In case of problems do not shy away from checking out forums and serrate help offered by those in the community. A sea of Krita users is just waiting for you to reach out for help!
Also Read This: Exploring Getty Images’ Extended License: Expanding Usage Opportunities for Buyers
FAQs about Inserting Images in Krita
Do you have any queries regarding image insertion within Krita? Below are some commonly asked questions that could be of assistance:
- Can I insert multiple images at once? Yes, you can insert multiple images, but you will need to repeat the import process for each image. Organizing them in separate layers is recommended.
- What file formats does Krita support for images? Krita supports various formats, including PNG, JPEG, BMP, and TIFF. Choose the format that best suits your needs.
- How can I edit an inserted image? You can use the transform tool to resize, rotate, or flip the image. You can also apply filters and adjustments to modify the image's appearance.
- What if my image is too large? If the image is too large and causing performance issues, consider resizing it before importing. You can also adjust the canvas size to better fit your images.
- Can I change the layer order after inserting images? Absolutely! You can easily change the order of layers in the Layers panel by dragging them up or down.
These frequently asked questions (FAQs) may help to clarify usual doubts thereby making your time with Krita more enjoyable and easier!
Conclusion on Using Images in Your Digital Art
Including visuals in your digital illustrations created via Krita significantly elevates imagination and quality of artistic works overall. The ability to insert images, modify their details, and manage layers appropriately helps produce attractive designs that appeal to many onlookers. Image adequacy should also come into play as well as troubleshooting any shortcomings arising during the process. Later as you engage in trial-errors there are numerous avenues that may unfold among them being image inclusion within your creations. Therefore go forth breath life into whatever comes to mind while working with Krita!
 admin
admin


