In Krita, adding images to your project is a simple but essential part of creating digital artwork. Whether you're working on a new design, adding reference material, or incorporating photo elements into your painting, knowing how to insert images properly can save you time and effort. Krita offers several ways to insert images into your project, and each method is suited for different needs. In this guide, we’ll go over some of the most common ways to add images into Krita and how to use them effectively within your projects.
Steps for Inserting Images into a New Project
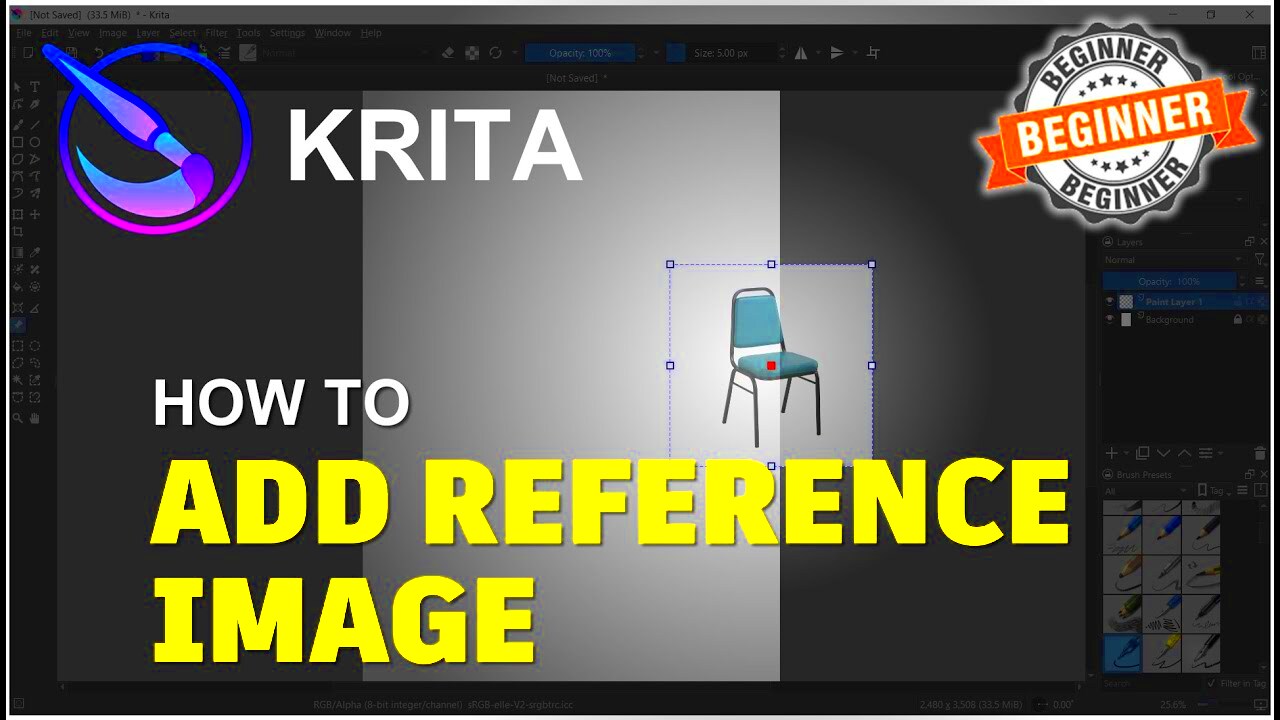
Starting with a fresh canvas in Krita? Inserting images into a new project is straightforward, and you can do it in just a few steps. Here’s how you can add an image into your new Krita file:
- Open Krita and create a new project by selecting “New File” from the main menu.
- Once your new canvas is open, you can proceed to insert your image. There are multiple ways to do this, which we'll explore below.
- Decide if you want the image as a background, as part of your artwork, or as a reference layer.
- Once you’ve added your image, you can resize or move it to fit your canvas.
These simple steps will get you started, but keep reading to learn more about the different ways to insert images depending on your project needs.
Also Read This: How to Print Multiple Images on One Page
Using the File Menu to Insert Images
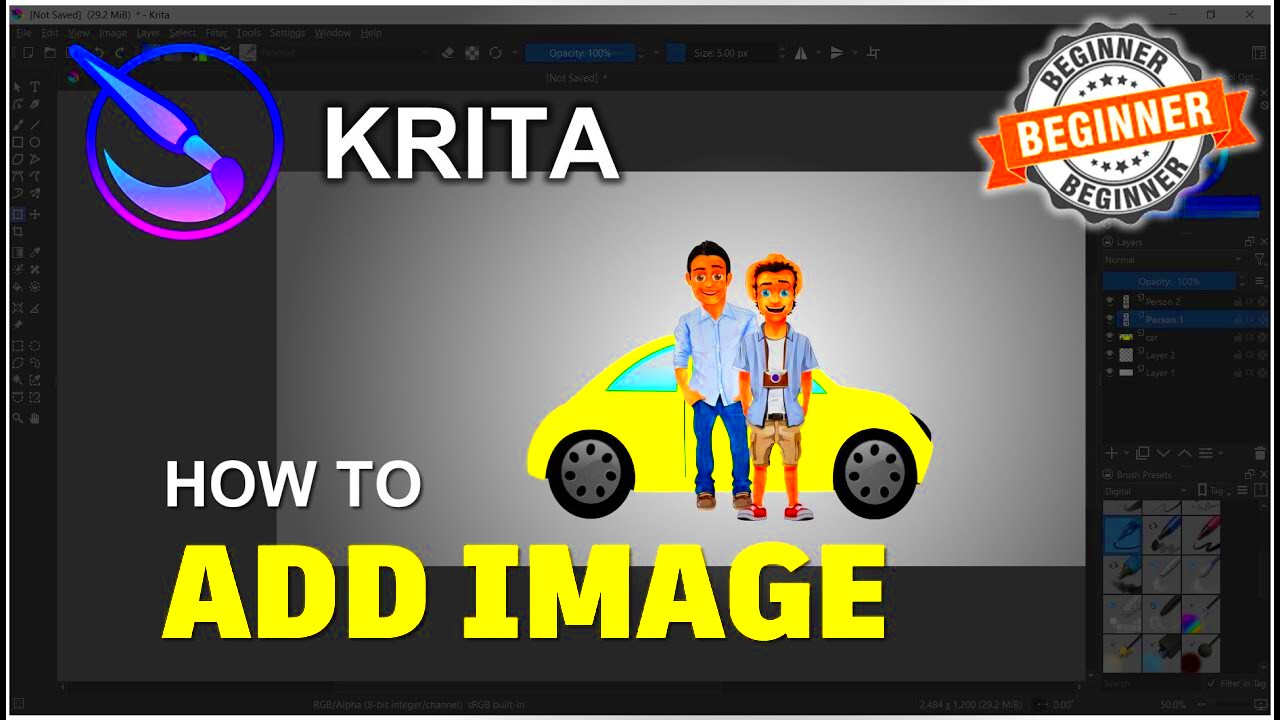
The File menu is one of the most common ways to insert images into your Krita project. It’s a simple method and works for most types of image files. Here’s how you can use the File menu:
- Go to the “File” menu at the top of your screen.
- Select the “Open” option if you want to add an image from your computer into your Krita project.
- Browse your folders and select the image you want to insert.
- Click "Open," and the image will appear as a new layer in your canvas.
Using this method is great if you want to insert a single image and start working with it right away. You can move it, resize it, or add effects as needed. If you need to insert multiple images, you can repeat the process for each one, or try using the drag-and-drop method, which we’ll discuss later. The File menu option is perfect for adding images that are stored locally and gives you control over what you want to add to your workspace.
Also Read This: What Interests People About Working with Platforms Like Dailymotion
Dragging and Dropping Images into Krita
One of the quickest and easiest ways to insert images into your Krita project is by dragging and dropping them directly onto your canvas. This method is especially handy if you already have your image files open in a folder or on your desktop. It allows you to bring in images without having to navigate through menus, which can speed up your workflow. Here’s how you can drag and drop images into Krita:
- Open the folder where your image is stored, and make sure Krita is also open and ready to work.
- Simply click on the image you want to add and drag it over to the Krita window.
- Drop the image onto your canvas, and it will automatically be placed as a new layer.
Once the image is dropped into your canvas, you can move it around, adjust its size, or change its position. The image will appear as a new layer, which allows you to edit it separately from your other elements. This method is great for quickly adding reference images, textures, or other visual elements that will assist with your project.
Also Read This: How to Make Your Ads Stand Out with 123RF Photos
Adding Images as Layers in Krita
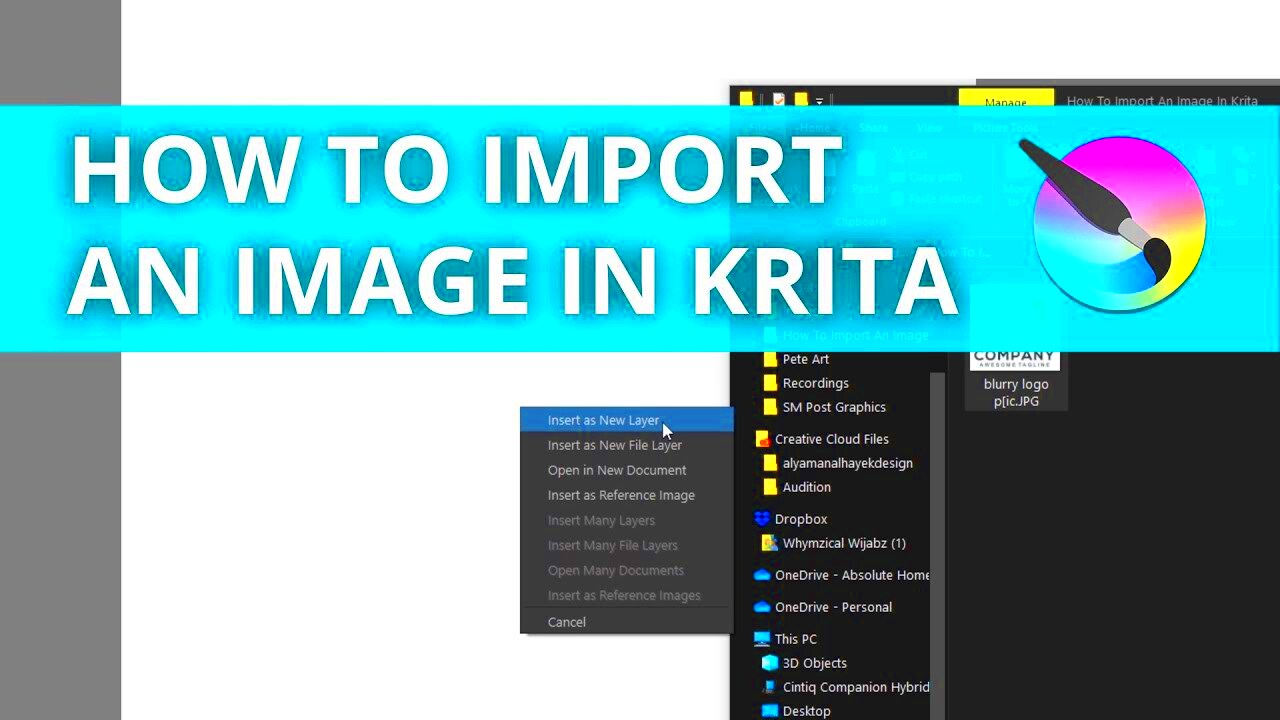
When working on a project in Krita, adding images as layers is crucial for keeping your elements organized and flexible. By adding an image as a layer, you can make non-destructive edits, move the image independently, and apply effects without affecting your other artwork. Here’s how to add an image as a layer in Krita:
- Go to the “Layer” menu at the top of the window.
- Select “Import” and then “Import as Layer” to bring in your image from your computer.
- Browse to your image file, select it, and click “Open.”
Your image will be inserted as a new layer on your canvas. Now, you can:
- Move the layer around using the Move Tool
- Resize it without affecting your original artwork
- Apply filters or blend modes to the layer for special effects
By using layers, you gain more control over the composition and style of your project. You can easily hide, delete, or reorder layers without disrupting your other elements, making it a powerful way to work in Krita.
Also Read This: How to Download from 123RF for Free Without Violating Terms
Resizing and Adjusting Inserted Images
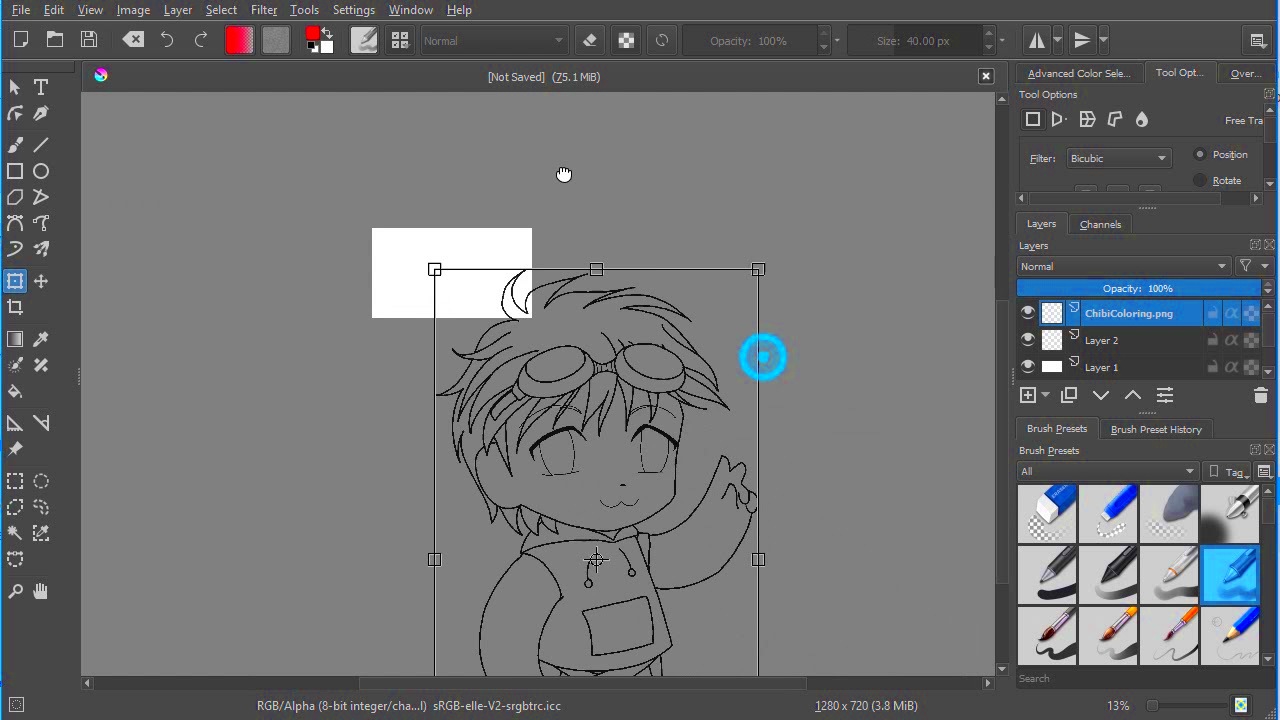
After inserting an image into Krita, you may need to resize or adjust it to fit your project perfectly. Whether it's too large or small, adjusting the image size and positioning is simple. Krita offers multiple ways to resize and manipulate inserted images to suit your needs. Here’s how you can do it:
- Select the image layer you want to resize from the Layers panel.
- Activate the "Transform Tool" by pressing Ctrl + T, or by selecting it from the tool menu.
- Once the Transform Tool is active, you’ll see handles appear around the image. Drag these handles to resize the image.
In addition to resizing, you can also:
- Rotate the image by clicking and dragging outside the handles.
- Move the image to a new position on the canvas by dragging it to your desired location.
- Hold down the Shift key while resizing to maintain the image’s aspect ratio.
If you want to fine-tune your adjustments, you can use the "Tool Options" bar to input specific measurements for width, height, or rotation. This gives you even more precision when resizing your image. Once you're satisfied with the adjustments, simply press Enter to apply the changes.
Resizing and adjusting your images ensures they fit seamlessly into your artwork, helping you achieve the perfect look and composition for your project.
Also Read This: How to Create a YouTube Channel on Your iPad
Using Image Layers with Different Modes
One of the most powerful features in Krita is the ability to work with image layers in different modes. These modes allow you to blend your image layers with the layers beneath them, creating stunning effects and enhancing your artwork. Krita offers a variety of layer modes, also known as blending modes, each of which affects how the layer interacts with the layers below it. Here’s how you can use image layers with different modes:
- Select the layer you want to change in the Layers panel.
- In the Layers panel, you’ll see a dropdown menu that says "Normal" by default. This is the layer mode option.
- Click on the dropdown menu to explore the different blending modes available. Some common options include:
- Multiply: Darkens the image, perfect for shadows or darkening parts of the image without affecting other layers.
- Screen: Lightens the image, useful for highlights or brightening images.
- Overlay: Combines both Multiply and Screen effects, making the image more vibrant.
- Soft Light: Softens the contrast, creating a subtle, glowing effect.
- Hard Light: Creates a high-contrast, intense effect.
These blending modes can be great for creating unique visual styles, such as adding texture, adjusting lighting, or creating dramatic effects. Experimenting with different modes can open up many creative possibilities and enhance your project. Remember, each mode works differently depending on the underlying image and its layers, so don't hesitate to try out various combinations to see what works best for your project.
Also Read This: What Should I Shoot for Shutterstock? Tips for Capturing Marketable Images
FAQ
Here are answers to some common questions about inserting and working with images in Krita:
- Can I add multiple images to the same project?
Yes, Krita allows you to add multiple images by inserting each as a new layer. You can move and adjust each image independently. - How do I resize an image without distorting it?
To maintain the image’s aspect ratio, hold down the Shift key while resizing the image with the Transform Tool. - Why isn't my image appearing after I drag it into Krita?
Make sure your image is in a supported format and that it's not too large. You may also want to check if the image was placed on a hidden or locked layer. - How can I adjust the opacity of an image layer?
In the Layers panel, you can adjust the opacity of any image layer by clicking on the opacity slider next to the layer name.
If you have any other questions or run into issues, there are plenty of resources and tutorials available within Krita's help menu to guide you.
Conclusion
Inserting and working with images in Krita is an essential skill for anyone looking to create digital art, whether you’re creating from scratch or combining multiple elements into a single composition. Whether you’re using the File menu, drag-and-drop, or image layers, Krita gives you plenty of flexibility to work efficiently. By understanding how to insert images, manipulate them with layers, and experiment with different blending modes, you can take full advantage of Krita’s powerful tools to enhance your projects. Keep practicing, and don't hesitate to explore new ways to incorporate images into your artwork for even more creative results.
 admin
admin


