Blender is a powerful 3D creation suite, allowing you to create models, animations, simulations, and more. One of the essential elements of any 3D project is the use of images. These images can be textures, references, or background images that help you enhance your scene and make your designs more realistic. Inserting an image into Blender might seem tricky at first, but once you understand the process, it becomes an easy and essential part of your workflow. This guide will show you how to insert images in different ways and use them effectively for your 3D projects.
Preparing the Image for Blender

Before you can insert an image into Blender, you need to ensure that the image is in the right format and quality. Properly preparing your
- Image Format: Blender supports several image formats like PNG, JPEG, TIFF, and more. Make sure your image is in a compatible format. PNG is often recommended due to its transparency support.
- Resolution: High-resolution images are great, but they can also slow down your project if not optimized. Aim for a resolution that balances quality and performance, especially when dealing with large textures.
- Color Mode: Check that the image color mode is suitable for your needs. RGB is standard for most projects, but if you're working with textures that need to include an alpha channel, RGBA is the best choice.
- File Size: Large image files can be a strain on Blender’s performance. If the file size is too large, consider resizing the image or using file compression tools to reduce its size without compromising too much on quality.
Once your image is properly prepared, you're ready to insert it into Blender for your 3D project!
Also Read This: How to Unflatten an Image in Photoshop
Different Methods to Insert an Image into Blender

Blender offers several methods to insert images, depending on what you need them for. Whether you’re using an image as a reference, texture, or background, there’s a simple way to insert and adjust it. Here are the most common methods:
- Background Images: These images are used for reference, especially when you want to model an object based on a real-world image. To add a background image in Blender, go to the View panel in the 3D viewport and select Add Background Image. You can adjust the image’s placement, size, and opacity from the sidebar.
- Image as a Plane: This is a useful method when you want the image to appear as a flat object in your scene. You can add an image as a plane by going to Shift + A and selecting Image > Images as Planes. This method is particularly useful for reference or when you want to texture a plane with a photo.
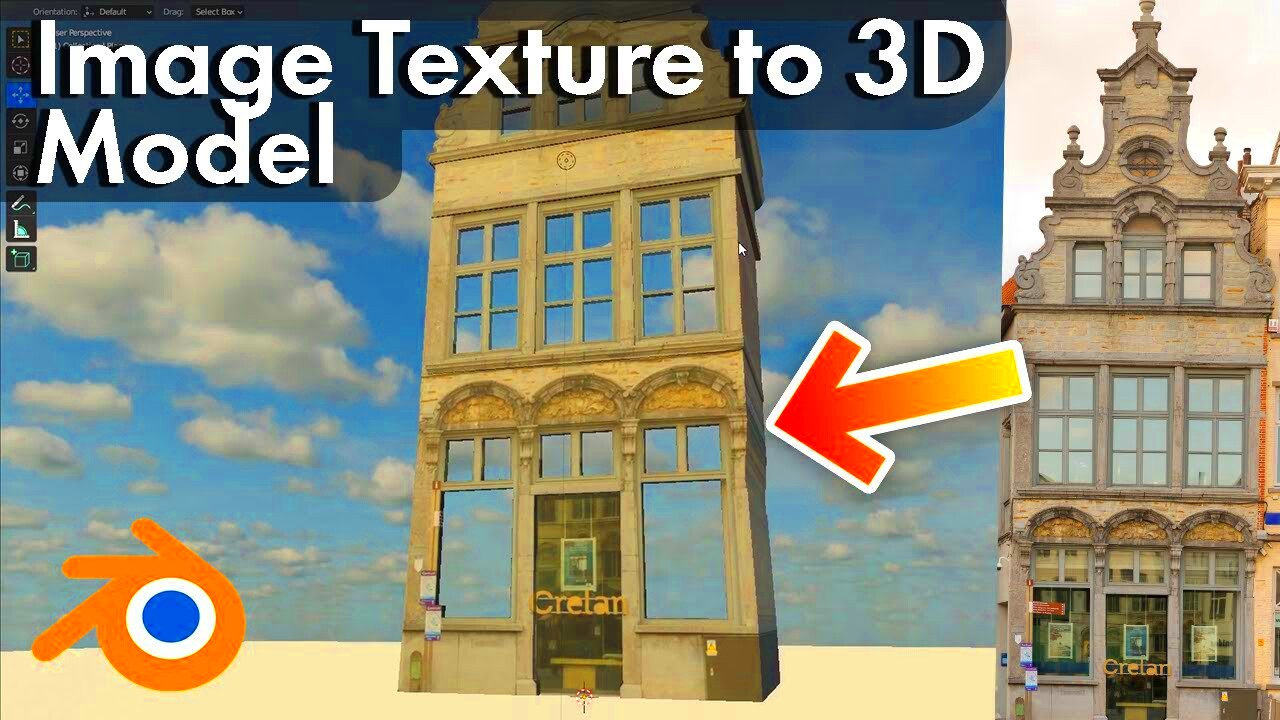
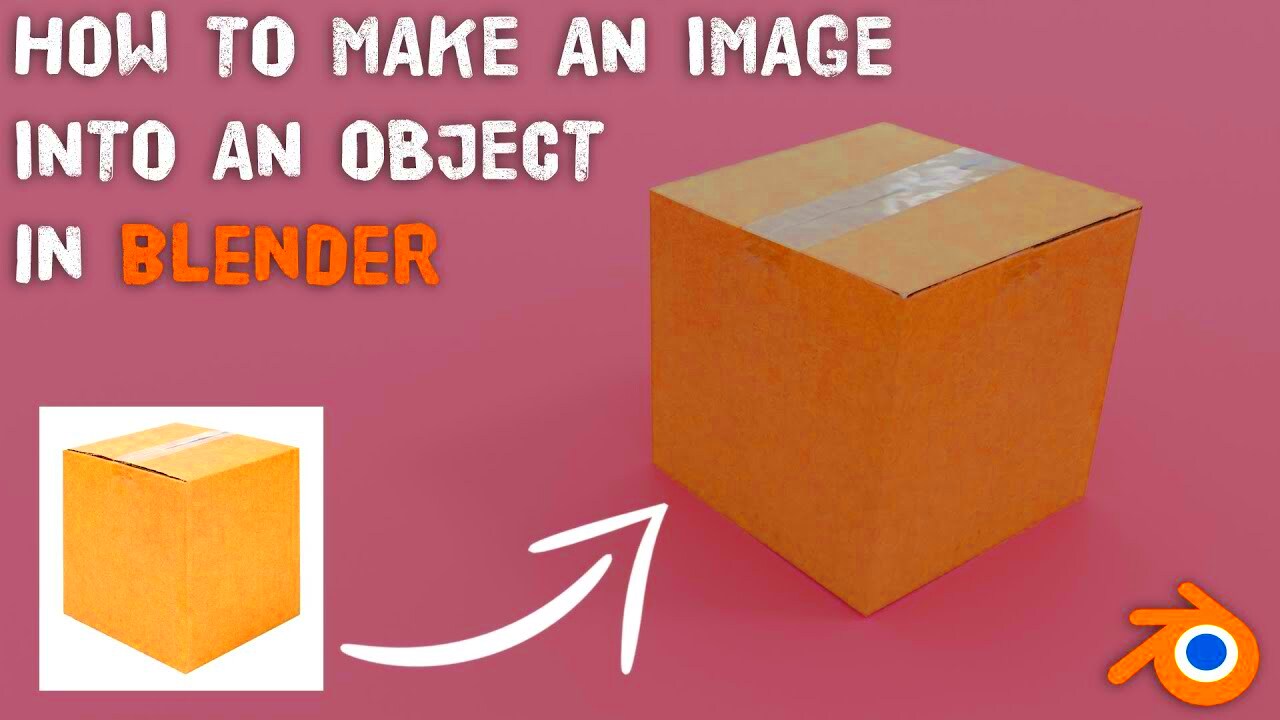
- Texture Mapping: Images can be applied as textures to 3D objects. To do this, go to the Materials tab, create a new material, and add an image texture. Once applied, you can adjust the mapping of the image to fit the model, making it perfect for creating realistic 3D renders.
- Image Editor: For detailed image manipulation, you can use Blender’s Image Editor. This allows you to edit and adjust your images within Blender itself. It’s ideal for working with textures or preparing an image for specific use within your scene.
Each of these methods has its specific use case depending on your project’s needs. Understanding these options will allow you to choose the best method for incorporating images into your work and help you achieve better results in your 3D projects.
Also Read This: How to Save Notes as an Image on iPhone
Using Images as Textures in Blender
One of the most common ways to use images in Blender is by applying them as textures to 3D objects. Textures are crucial in giving your models a realistic appearance, whether you're working on a character, environment, or product design. In Blender, applying an image as a texture can be done in just a few steps, and once you get the hang of it, it’s a powerful tool for enhancing your projects. Here’s how you can use images as textures:
- Setting Up a Material: To begin, select the 3D object you want to texture. In the Properties panel, go to the Materials tab and click New to create a material for the object.
- Adding an Image Texture: Under the Surface section, choose Base Color and click the yellow dot next to it. From the options, select Image Texture. This will allow you to load the image file you want to use as a texture.
- UV Mapping: After the image is applied, you need to ensure it maps correctly to the object. Use Blender’s UV Editing workspace to adjust the mapping and ensure the image fits the geometry of the object perfectly.
- Adjusting Texture Coordinates: If the texture doesn’t align as expected, you can tweak its coordinates by adjusting the UV Map settings or use modifiers like Texture Coordinate for better precision.
Using images as textures in Blender can make your 3D models look much more detailed and lifelike. Whether it's for creating realistic skin textures, intricate patterns, or environment maps, mastering this process is essential for anyone working on advanced 3D projects.
Also Read This: Incorporating Adobe Stock Images in Photoshop
Creating a Plane for Image Display in Blender
In many 3D projects, you may want to display an image in the scene, but not necessarily apply it as a texture to an object. One of the easiest ways to do this is by creating a plane for the image to be displayed on. A plane is essentially a flat surface where you can map your image. This is commonly used for reference images or creating background scenes. Here’s how you can create and use a plane for image display in Blender:
- Adding a Plane: Start by pressing Shift + A to open the Add menu, then select Mesh > Plane. This creates a flat surface where your image will be displayed.
- Applying the Image: To add an image to the plane, go to the Materials tab in the Properties panel, and click New to create a material. Under the Base Color option, choose Image Texture and load the image file you want to use.
- Adjusting the Plane’s Scale: If the plane is too small or large for your image, you can adjust its scale by pressing S to scale the plane or manually entering values in the Transform panel.
- Positioning the Plane: Position the plane in your 3D space by using the G key to move it, or use the R key to rotate it. This gives you control over where and how the image appears within the scene.
Using planes for image display is an efficient way to incorporate reference images, concept art, or even backgrounds without adding complexity to the scene. It’s a simple technique that’s great for advanced projects where you need to keep your workflow clean and organized.
Also Read This: Here’s How to Change Your Age on Telegram
Adjusting the Image Settings for 3D Projects
Once you’ve inserted an image into Blender, it’s important to adjust its settings to ensure it fits perfectly within your 3D project. This includes scaling, rotating, and fine-tuning various properties to get the image to look just right in your scene. Let’s take a look at the key image settings you can adjust to enhance your 3D work:
- Scaling the Image: If your image doesn’t fit properly within the 3D space, you can scale it by selecting the image and pressing S. You can scale the image in all directions or adjust specific axes for a more controlled effect.
- Rotating the Image: To change the orientation of your image, select the image and press R to rotate it. You can rotate it along any of the three axes (X, Y, Z) depending on the needs of your project.
- Changing Image Transparency: For some projects, you might need your image to be partially transparent. You can adjust the image’s alpha transparency by going to the Material settings and enabling Alpha Blend. This is great for creating overlays, watermarks, or ghosted effects in your scene.
- Adjusting Image Color and Brightness: Sometimes, images may need color adjustments to fit the lighting of your scene. You can modify the image’s brightness, contrast, and saturation using the Color Management settings or by applying an Image Texture modifier to change the image’s appearance without affecting the original file.
Fine-tuning these settings allows you to get the best possible result from your images, ensuring that they integrate seamlessly into your 3D projects. Whether you need to adjust the size, rotation, transparency, or appearance of your image, these simple adjustments can have a big impact on the final look of your scene.
Also Read This: How to Resize an Image for Email Attachments
Using Image References for Modeling in Blender
Image references are essential for accurate and detailed 3D modeling. They allow you to base your models on real-world objects, helping you achieve proportions, details, and features that are true to life. Blender makes it easy to use image references in your projects, which can significantly improve the quality and realism of your models. Here’s how to effectively use image references in Blender:
- Importing the Image: Start by importing the reference image into your scene. To do this, press Shift + A, then select Image > Reference. This creates a reference image in your scene that you can move and adjust as needed.
- Positioning the Image: Once the image is in your scene, move it into place using G for grab (move) and R for rotate. You can also scale the image with S to ensure it matches the dimensions you want for modeling.
- Multiple Views: For more detailed modeling, you can import reference images for different views (front, side, top). This is particularly useful when you need to model complex shapes with correct proportions from all angles.
- Transparency Adjustments: Sometimes, you may want to make the reference image semi-transparent so you can see your model clearly behind it. To adjust transparency, go to the Material properties, and enable the Alpha setting for a more transparent effect.
Using reference images in Blender makes modeling much easier, especially when you need to match specific real-world objects or follow a particular design. It’s a technique that improves accuracy and efficiency in your workflow, allowing you to focus on the creative aspects of your 3D project.
Also Read This: IMDb Awards Galore: Adding IMDb Accolades – Showcasing Your Accomplishments
Common Issues When Inserting Images and How to Fix Them
While inserting images into Blender is a straightforward process, there are a few common issues that may arise. Understanding these problems and knowing how to solve them can save you time and frustration. Here are some common image insertion issues in Blender and their solutions:
- Image Not Showing Up in Viewport: If your image doesn’t appear in the 3D viewport, it may be because it’s not placed correctly. Check the image’s position and scale, and ensure that the image is enabled to be visible in the viewport. You can adjust these settings in the Properties panel under the Object Properties tab.
- Incorrect Image Resolution: Sometimes, images can appear pixelated or blurry when inserted into Blender. Ensure that your image has an appropriate resolution for your project. If necessary, consider resizing or editing the image in an external program before importing it into Blender.
- Texture Mapping Issues: When using images as textures, they might not map properly to your object. This often happens due to incorrect UV mapping. To fix this, go to the UV Editing workspace and adjust the UV layout to match the image’s features properly.
- Transparency Problems: If your image has transparency (e.g., a PNG with an alpha channel) but doesn’t display correctly, ensure you’ve enabled transparency settings in the Material properties. Set the Blend Mode to Alpha Blend to make the transparent areas visible.
By being aware of these issues and solutions, you can troubleshoot problems quickly and keep your workflow moving smoothly. Understanding the technical side of image insertion in Blender ensures that your 3D projects are both efficient and accurate.
Also Read This: How to Submit Photos to Getty Images for Beginners
FAQ: Frequently Asked Questions
In this section, we address some common questions that Blender users have when it comes to inserting and using images. Whether you’re a beginner or more advanced, these answers will help clear up any confusion:
- Can I use any type of image in Blender? Blender supports a variety of image formats including PNG, JPEG, TIFF, and BMP. For the best results, use PNG images if you need transparency, or JPEG for standard textures.
- How do I change the size of an image in Blender? To adjust the size of an image, select the image in the 3D viewport, press S to scale, and adjust it to your desired size. You can also scale the image in the Image Properties panel for more precise control.
- Can I use multiple reference images in Blender? Yes, Blender allows you to add multiple reference images for different views, such as front, side, and top views. Simply import each image as a reference and position it appropriately in your scene.
- Why is my image not appearing in the final render? If your image is visible in the viewport but not in the final render, check that it is assigned to a material and that it’s included in the render layers. You can also adjust the image’s settings in the Render Layers tab.
- How can I apply a background image in Blender? To apply a background image, go to the View panel in the 3D viewport, select Add Background Image, and choose the image you want to use. Adjust its position and opacity as needed.
These FAQs cover the most commonly asked questions, but if you have more specific issues or need further clarification, Blender’s community forums and documentation are always great resources to explore!
Conclusion
Incorporating images into your Blender workflow is an essential skill for creating realistic and detailed 3D models, animations, and environments. Whether you’re using images as textures, reference guides, or backgrounds, understanding the various methods for inserting and adjusting them can significantly enhance your projects. By following the techniques outlined in this guide, you can ensure that your images are prepared, positioned, and fine-tuned to seamlessly integrate into your 3D scenes. Troubleshooting common issues like texture mapping or image resolution will also help streamline your workflow, allowing you to focus on the creative aspects of your projects. Mastering image insertion in Blender not only saves time but also improves the quality of your 3D work, making your models more realistic and professional. Keep practicing these methods, and you'll see how powerful image usage can be in elevating your 3D projects.


