Importing images into Krita is an essential skill for digital artists, whether you’re working on illustrations, paintings, or graphic design. It allows you to bring in external assets, such as photos or textures, and use them as part of your project. Whether you need to add reference images or integrate textures into your work, Krita makes this process simple and intuitive. Understanding how to import images into Krita can save you time and help you create better artwork, so let’s dive into the basics.
Understanding Krita's Importing Features

Krita offers several tools and features that make importing images easy and efficient. Familiarizing yourself with these features will help streamline your workflow. Here’s a quick overview of what you can expect:
- Multiple Import Methods: Krita supports several ways to bring images into your project, from dragging and dropping files to using the “Open” option.
- Layer Management: Imported images are automatically added as new layers, which you can edit independently of your original artwork.
- File Compatibility: Krita supports a wide range of image formats, including PNG, JPEG, TIFF, BMP, and even PSD files, so you can easily bring in assets from other programs.
- Transparency Support: Krita handles transparent backgrounds in images well, making it a great choice for working with PNGs or other transparent formats.
- Drag-and-Drop Feature: You can simply drag an image file from your file explorer and drop it directly onto your canvas, saving time.
Knowing these features will make it easier to import images and use them effectively in your creative process.
Also Read This: How to Recover Lost Images from an SD Card
Different Ways to Import Images into Krita

Krita provides multiple ways to import images into your project. Depending on your preference or workflow, you can choose the method that works best for you. Below are the most common ways to import images into Krita:
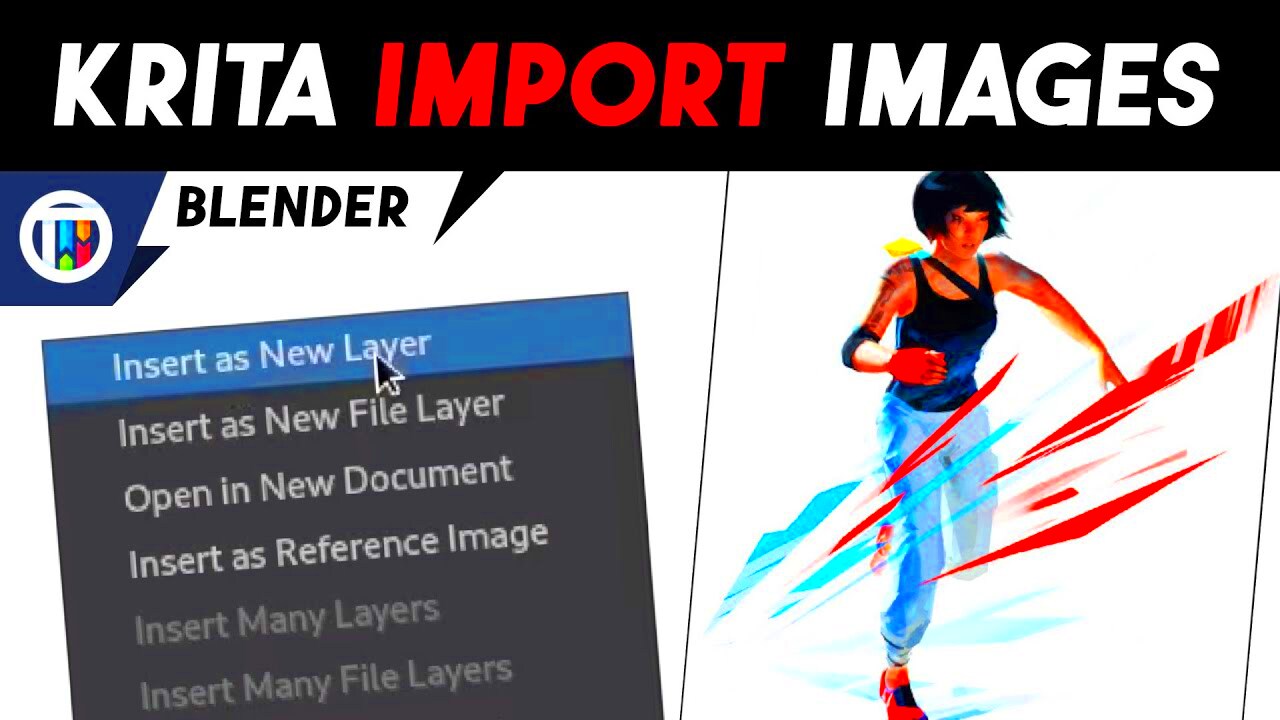
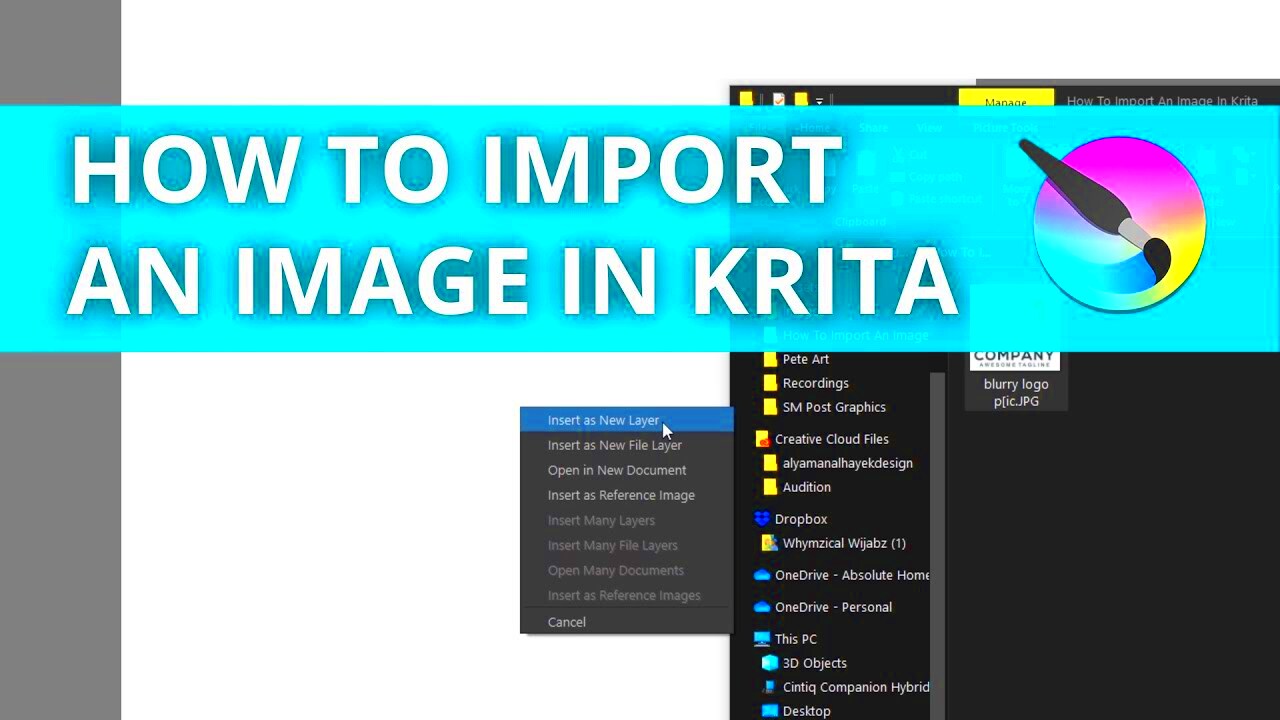
- Drag and Drop: The quickest method! Simply drag your image file from your file explorer and drop it onto the canvas or the layers panel in Krita. The image will appear as a new layer.
- File Menu: Go to the File menu and select Open. Then, choose the image file from your computer. The image will open in a new tab or as a layer in your current project.
- Open as Layer: If you want to add the image directly into your current project, use File > Open as Layer. This method places the image on a new layer while keeping your existing layers intact.
- Import from External Devices: You can also import images from external sources like USB drives or cloud storage services. Simply use the File > Import option to navigate to the location of your external storage.
These methods make importing images into Krita simple, whether you’re working with assets stored on your computer or external devices. Choose the method that fits your needs and get started with your artwork!
Also Read This: DIY Vase Making with Plastic Bottles
How to Import PNG Files into Krita
PNG files are one of the most commonly used formats for digital artists because they support transparency. Importing PNG files into Krita is straightforward, and it allows you to bring in assets like textures, backgrounds, and even other artwork with a transparent background. Here’s how you can import PNG files into Krita:
- Method 1 - Using the File Menu:
- Open Krita and go to the File menu in the top-left corner.
- Select Open from the dropdown menu.
- Browse to the location where your PNG file is stored.
- Click Open, and the PNG file will appear as a new image or as a new layer in your project.
- Method 2 - Drag and Drop:
- Open the folder where your PNG file is saved.
- Simply drag the PNG file from the folder and drop it onto your Krita canvas.
- The image will automatically become a new layer in your current project.
Once your PNG file is imported, you can edit it just like any other layer. If the PNG has transparency, Krita will retain it, which is great for compositing your artwork without visible backgrounds. Importing PNGs is a fast and effective way to work with external image assets.
Also Read This: How to Save Images from TikTok
Importing Images from External Sources into Krita
If you’re working with images stored outside of your computer, such as on external drives, cloud storage, or even from websites, you can easily import them into Krita. Here’s how to bring images from external sources into your project:
- Import from USB or External Drive:
- Connect your USB or external storage device to your computer.
- In Krita, go to File > Open or File > Open as Layer to browse through your external device.
- Choose the image you want to import and click Open.
- Import from Cloud Storage:
- Open your cloud storage service (Google Drive, Dropbox, etc.) in your file manager.
- Download the image to your local storage or open it directly if your cloud service supports it.
- Then use the same File > Open or Open as Layer to bring the image into Krita.
- Importing Images from Websites:
- Right-click on the image you want to use from a website.
- Select Save Image As and save it to your local storage.
- Once saved, open it in Krita using the File > Open option.
Importing from external sources is as easy as importing files from your local storage. You just need to ensure that the files are properly downloaded or saved onto your device, and Krita will handle the rest. This is useful when you’re working with assets or images from a variety of sources.
Also Read This: Creative Visual Tips for Adding Notebook Images to Your LinkedIn Posts
Managing Layers While Importing Images
When you import images into Krita, they are placed as new layers in your project. Managing these layers effectively is crucial for keeping your workspace organized and your artwork flexible. Here are some important tips for managing layers while importing images:
- Understanding Layer Types: Imported images are typically added as raster layers, which means you can move, scale, or adjust them like any other image layer. If you use the Open as Layer option, the image will automatically appear on a new layer, leaving your current layers intact.
- Renaming Layers: After importing, it’s a good idea to rename the layer for better organization. Right-click on the layer in the Layers panel, select Rename Layer, and give it a descriptive name.
- Layer Positioning: Krita allows you to reorder layers by dragging them up or down in the Layers panel. This helps you position the imported image correctly in relation to other layers.
- Layer Opacity and Blending: You can adjust the opacity or blending mode of your imported image layer. This is particularly helpful when you want to merge the imported image with the existing artwork, like applying a texture overlay.
- Layer Masking: If you only need to use part of the imported image, you can apply a layer mask to hide parts of it. Right-click the layer and select Add > Add Layer Mask.
Efficient layer management is key to a smooth workflow in Krita. With these tips, you can control how imported images interact with your artwork, making it easier to edit and refine your projects. Layer management not only keeps your workspace organized but also ensures that you can make changes without disrupting your original artwork.
Also Read This: Transferring Printed Images onto Metal
Fixing Common Import Issues in Krita
When importing images into Krita, you might occasionally run into issues that can affect your workflow. These problems are usually easy to fix once you understand the causes. Here are some of the most common import issues you might encounter and how to resolve them:
- Image Not Showing on Canvas:
If the image doesn’t appear on your canvas after importing, check the Layers panel. It’s possible that the layer is hidden or placed off-canvas. To fix this, simply make sure the layer is visible by clicking the eye icon next to it in the Layers panel. You can also try zooming out to ensure the image isn’t placed outside the visible area.
- Transparency Not Showing Correctly:
If you import a PNG file and the transparency isn’t displayed correctly, make sure you’re using a file format that supports transparency. Sometimes, re-saving the file with a different program like GIMP or Photoshop can fix transparency issues. Also, check if the image has an alpha channel by going to the Channels panel in Krita.
- Wrong Image Resolution:
If the imported image appears pixelated or blurry, it might be an issue with the resolution. Ensure that the image you’re importing has a high enough resolution for your project. If not, try using a different Transform Tool (Ctrl + T) to scale it properly without losing too much quality.
- File Format Not Supported:
If Krita doesn’t support the file format you’re trying to import, convert the file to a format that Krita can handle, like PNG, JPEG, or TIFF. You can use free tools like GIMP or online converters to change the format before importing.
- Image Importing as a Group Layer:
If your imported image appears as a group layer, it could be because Krita recognizes the file as a multi-layered image, like a PSD. You can break this group apart by right-clicking the layer and selecting Ungroup Layers or manually managing the individual layers.
By following these troubleshooting steps, you should be able to resolve most import issues quickly and get back to creating your artwork without delay.
Also Read This: Exploring Getty Images’ Extended License: Expanding Usage Opportunities for Buyers
FAQ
Here are some of the most frequently asked questions about importing images into Krita. These answers should clear up any remaining doubts you might have.
- Q: Can I import multiple images into Krita at once?
A: Yes! You can import multiple images by selecting all of them in the file explorer and dragging them into the Krita canvas or opening them through the File > Open menu. Each image will be added as a separate layer.
- Q: Why is my image coming in as a white box or shape?
A: This usually happens when the image has a corrupted or incompatible file format. Make sure the file is a valid format like PNG, JPG, or TIFF. If it’s a PSD or other complex format, Krita may not recognize certain layers or effects.
- Q: Can I import vector images into Krita?
A: Krita primarily supports raster graphics, but you can import vector images by converting them to a raster format like PNG. If you need to work with vectors, consider using other programs like Inkscape before importing into Krita.
- Q: How do I resize an imported image without distorting it?
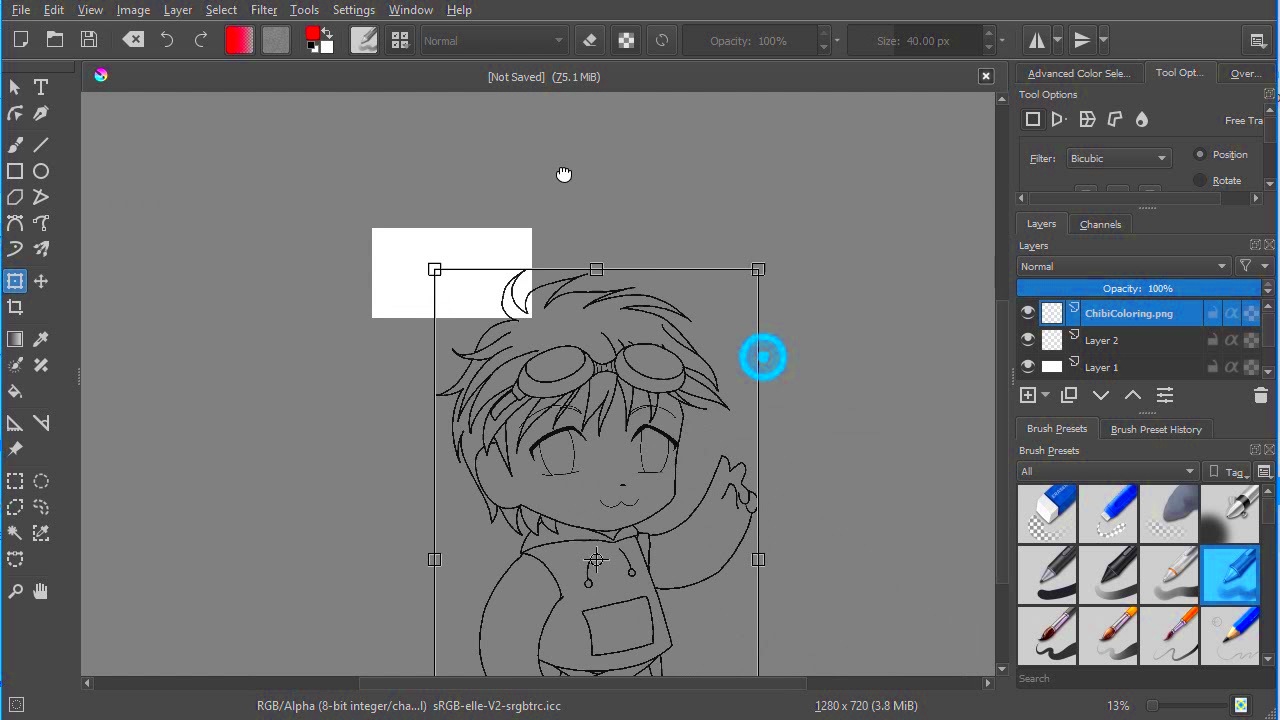
A: Use the Transform Tool (Ctrl + T) in Krita to resize your image while maintaining its aspect ratio. Hold down the Shift key while resizing to keep the proportions intact.
- Q: Can I work with images that have a transparent background?
A: Yes, Krita handles images with transparent backgrounds (such as PNG files) very well. These images will keep their transparency when imported, making it easy to integrate them into your project without background interference.
Conclusion
Importing images into Krita is a powerful feature that can enhance your digital artwork. Whether you’re bringing in textures, reference images, or photos, Krita makes it easy to incorporate these assets into your creative projects. By understanding the different importing methods, managing your layers effectively, and troubleshooting any issues, you can ensure a smooth workflow and get the best results from your images.
Whether you’re a beginner or an experienced artist, mastering image imports will allow you to work faster and more efficiently. So go ahead, experiment with importing images, and let your creativity flow in Krita!


