Importing images into Blender can enhance your projects by providing visual references and textures. Whether you want to use an image as a background, texture, or even as part of a 3D model, Blender makes the process straightforward. In this guide, we will explore the various ways to import images into Blender and how to effectively use them in your designs.
Understanding Image Formats for Blender
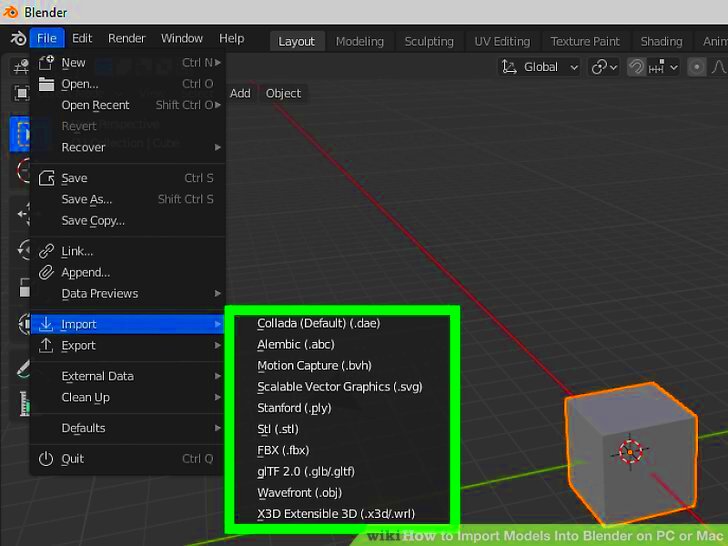
Blender supports several image formats, each with its strengths and weaknesses. Knowing these formats can help you choose the right one for your project. Here are some common image formats you can use:
- JPEG: Great for photographs but may lose quality due to compression.
- PNG: Supports transparency and is lossless, making it ideal for textures.
- TGA: Often used for game textures, supports alpha channels.
- BMP: Simple format with large file sizes, not commonly used for web.
- TIFF: High-quality images but may not be compatible with all software.
Choosing the right format is crucial depending on your project’s requirements. For example, use PNG for textures that need transparency and JPEG for full-color images without transparency.
Also Read This: How to Check Image Resolution
Preparing Your Images for Import
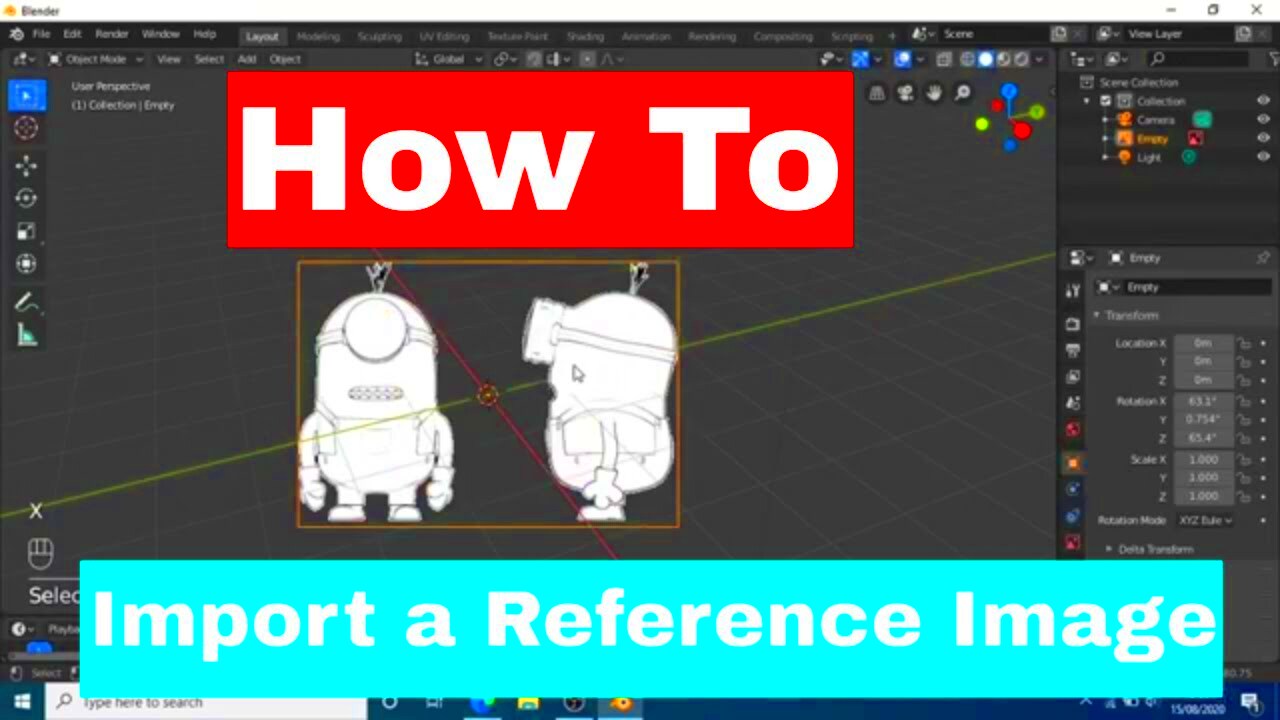
Before importing images into Blender, preparation is key. Here are some tips to ensure your images are ready:
- Resolution: Make sure your images are high enough resolution for your needs. A resolution of at least 1920x1080 is good for most projects.
- File Organization: Keep your images organized in folders. This makes it easier to find them when importing.
- Image Editing: Edit your images as necessary. Crop, resize, or adjust colors in an image editor before importing.
- Backup: Always keep a backup of your original images, just in case you need to revert any changes.
By preparing your images well, you’ll streamline the importing process and avoid potential issues down the line.
Also Read This: Generate Character Art with AI: A Complete Guide
Steps to Import Images in Blender
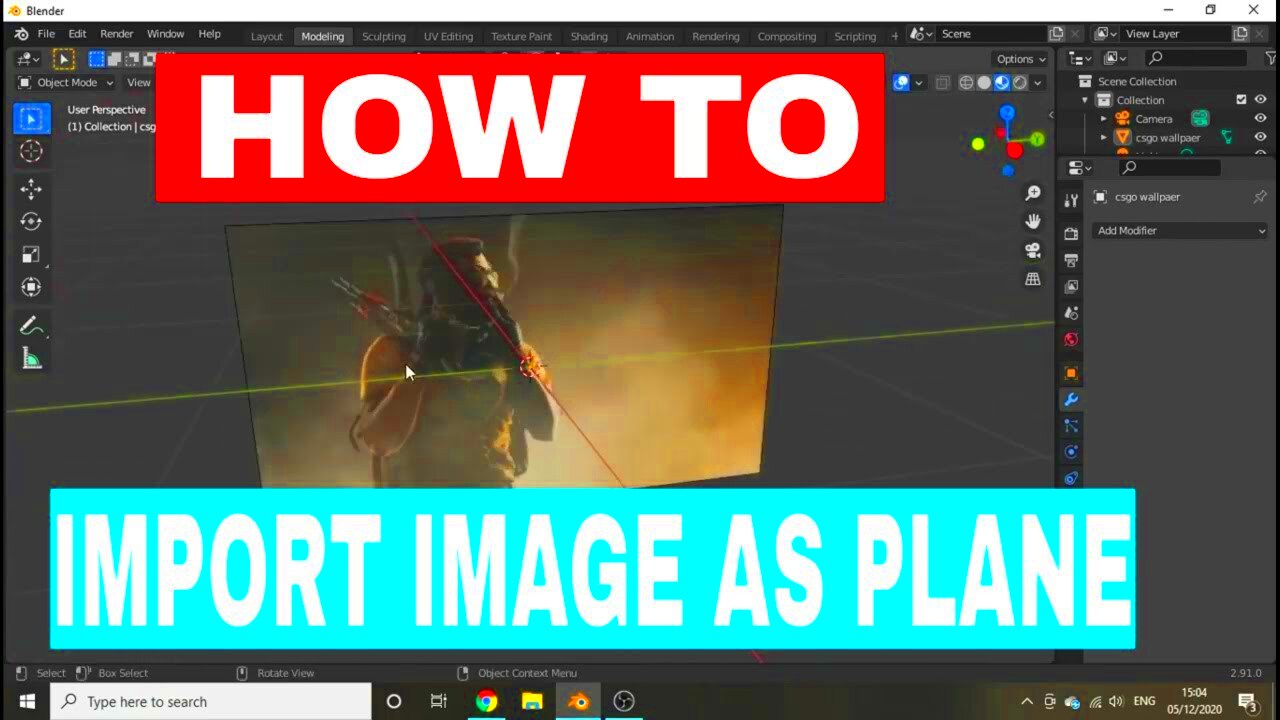
Importing images into Blender is a simple process that can be done in just a few steps. Whether you’re using an image as a reference or a texture, here’s how you can do it:
- Open Blender: Start by launching Blender and opening the project you’re working on.
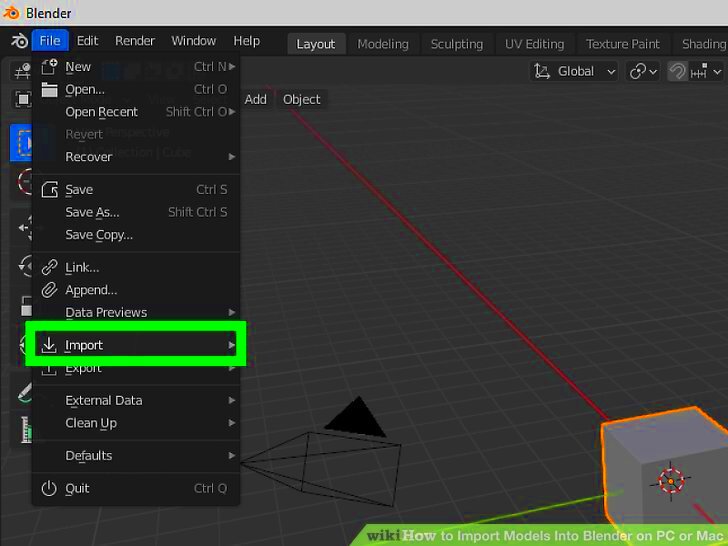
- Access the Image Import Menu: Go to the top menu and click on File, then select Import. Choose the appropriate image format from the list.
- Select Your Image: A file browser will open. Navigate to the folder where your image is saved. Click on the image you want to import and then click Import.
- Position the Image: Once imported, you can move, scale, or rotate the image within your scene. Use the Transform tools to position it correctly.
- Save Your Project: Don’t forget to save your Blender project to keep your imported images secure!
Following these steps will help you quickly and effectively import images into your Blender projects, setting the stage for your creative work.
Also Read This: how to change image name on iphone
Using Images as Textures
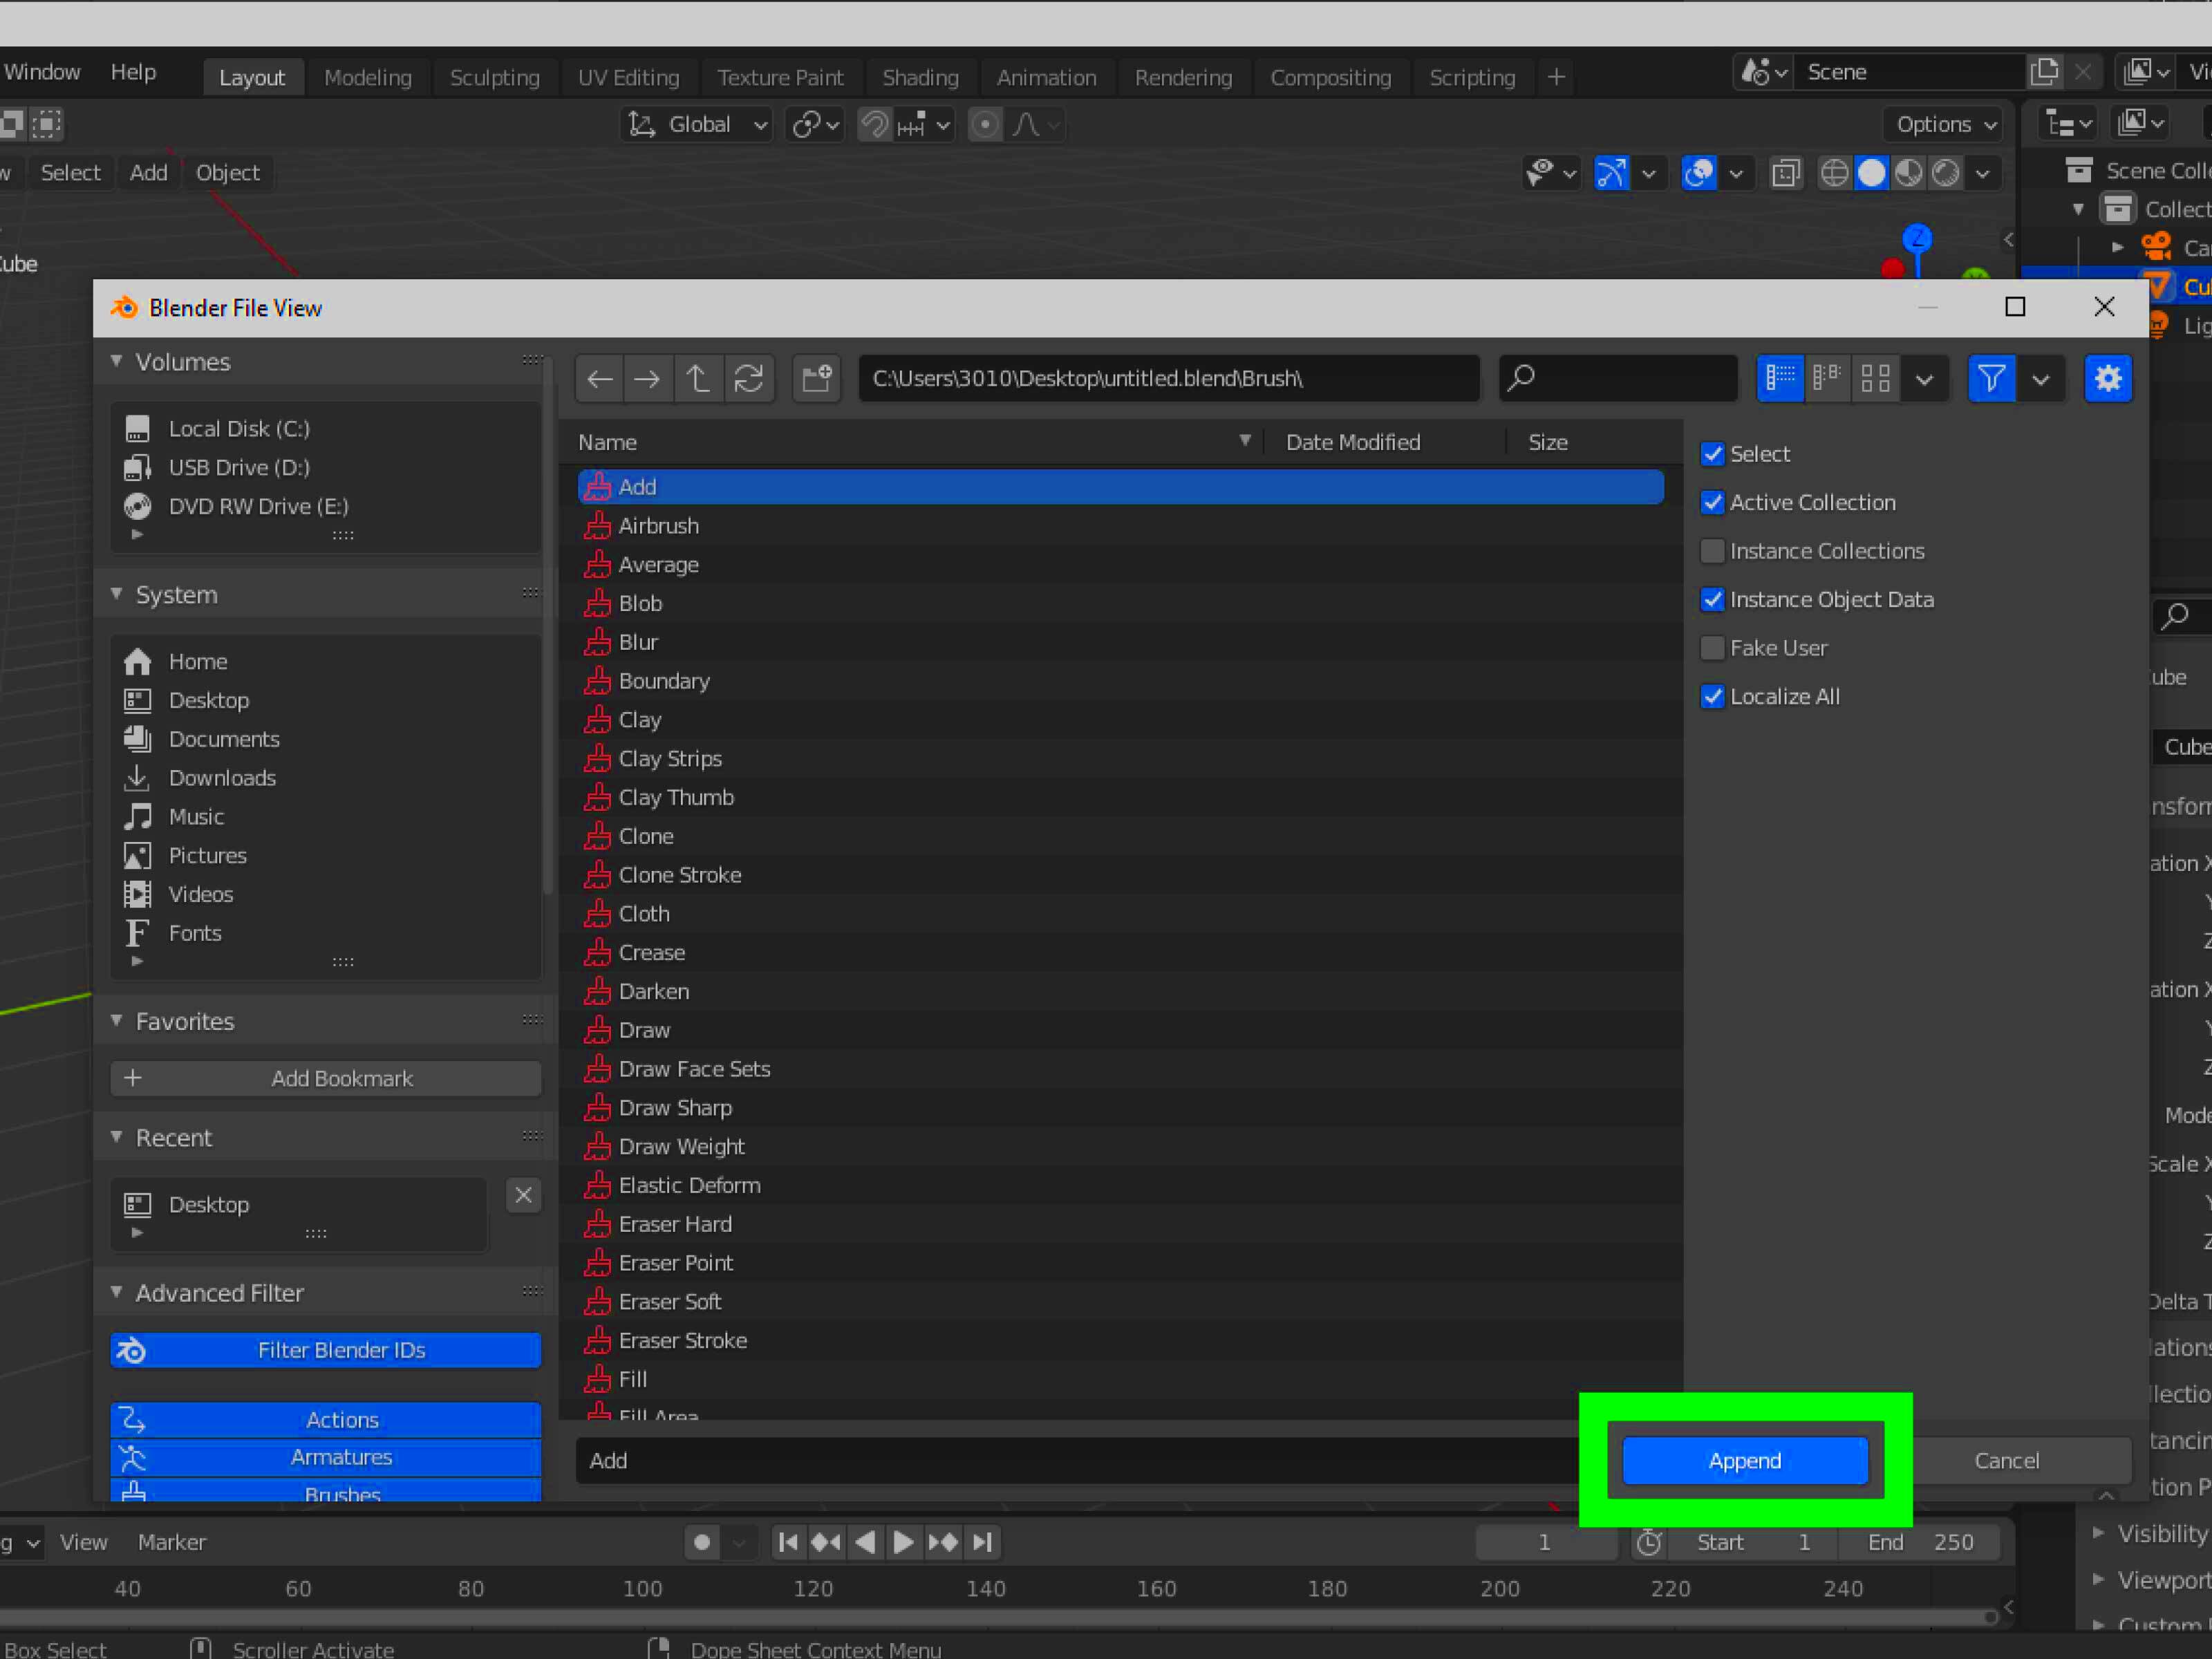
Images can significantly enhance your 3D models when used as textures. Here’s how to apply images as textures in Blender:
- Open the Shader Editor: Switch to the Shader Editor from the workspace tabs.
- Select Your Object: Click on the object you want to apply the texture to.
- Add a Material: In the Shader Editor, add a new material if your object doesn't have one yet.
- Use an Image Texture Node: Click Add, then Texture, and select Image Texture. Connect the image texture node to the Base Color of your material.
- Select Your Image: Click on the open button in the image texture node, navigate to your image, and select it.
Now your object will display the imported image as a texture. You can further adjust settings like mapping and UV coordinates for better results.
Also Read This: How to Sell Photos Taken on Android Using Alamy as a Contributor
Adjusting Image Settings in Blender
Once you’ve imported your images, it’s essential to adjust their settings to fit your project’s needs. Here are some settings you might consider:
- Image Resolution: Check the resolution of your image. Higher resolutions can improve quality but may slow down performance.
- Color Space: Ensure the color space is set correctly, especially if you’re working with textures. Use sRGB for standard images.
- Alpha Settings: If your image has transparency, adjust the alpha settings in the image texture node to ensure it displays correctly.
- Mapping Options: Experiment with different mapping options to get the best fit for your image on the 3D model.
- Texture Coordinate Node: Use a Texture Coordinate node to control how the texture is applied to your model. This can help in achieving better results.
Adjusting these settings will help you optimize your images and improve their integration into your Blender projects.
Also Read This: Yes, You Can Save a Video from Reddit – Here is How to Do It
Common Issues When Importing Images
Even though importing images into Blender is usually straightforward, you might encounter a few common issues along the way. Understanding these problems can help you troubleshoot effectively. Here are some frequent issues you might face:
- Unsupported File Formats: If you try to import an image in a format that Blender doesn’t support, you’ll receive an error. Always check that your file is in a compatible format like PNG or JPEG.
- Missing Images: If you move or delete an image file after importing it, Blender will not be able to find it the next time you open your project. Keep your files organized and avoid moving them around.
- Low Resolution: Importing low-resolution images can result in pixelation when applied as textures. Always use high-quality images for the best results.
- Transparency Issues: Sometimes, transparency in PNG files does not appear as expected. Make sure you have the alpha channel set correctly in the material settings.
- Wrong Aspect Ratio: If your image doesn’t fit well on your model, you may need to adjust the aspect ratio. Use the mapping options in Blender to fix this.
If you encounter any of these issues, don’t worry! With some adjustments and proper file management, you can resolve them quickly and get back to your creative work.
Also Read This: A Must Try Tool for Video Enthusiasts to Save from Likee
FAQ
Here are some frequently asked questions about importing images in Blender:
- What file formats does Blender support? Blender supports various formats, including JPEG, PNG, TGA, BMP, and TIFF.
- Can I use images from the web? Yes, but make sure to download them and save them locally before importing.
- How do I fix a missing image link? Go to the Shader Editor, select the image texture node, and click on the folder icon to re-link the image file.
- What should I do if my image looks pixelated? Ensure you are using a high-resolution image and check your UV mapping settings.
- How can I adjust image transparency? Make sure to enable the alpha channel in the material settings and correctly connect the image texture node.
If you have other questions, don’t hesitate to look for tutorials or seek help from the Blender community!
Conclusion
Importing images into Blender is a vital skill that can greatly enhance your projects. By understanding the different image formats, preparing your images, and knowing how to troubleshoot common issues, you can streamline your workflow. Remember to adjust image settings to ensure they fit perfectly into your designs. Whether you’re using images as textures or references, having this knowledge will empower your creativity in Blender. So go ahead, start importing images, and let your imagination run wild!
 admin
admin


