Popularly, data is handled in different ways and this is true in digital generation today. Samples include graphs from presentations, screenshots of documents or images of handwritten notes. Such images have much useful content. By importing data from images into Google Sheets for instance, numerous opportunities of managing that information are available.
Below are several reasons as to why image data importation is advantageous:
- Efficiency: Quickly convert images with data into a format you can work with in Google Sheets.
- Accessibility: Access your data from anywhere since Google Sheets is cloud-based.
- Collaboration: Easily share and edit the data with others, enhancing teamwork.
To conclude, it is imperative to know how to manipulate picture information in order to not only save time but also enhance the quality of your work. It offers more effective data administration, thus making this ability necessary in the present era of big data.
Steps to Prepare Your Image for Data Extraction
Making sure that you have the right representation of your image before extracting data will help in making sure this happens with exactitude and it will also be easy to utilize. Below are a few of the straightforward procedures to adopt:
- Choose a Clear Image: Ensure the image is high-quality and the text is legible. Blurry or dark images can lead to poor data extraction.
- Crop Unnecessary Parts: Use an image editor to cut out any sections that do not contain useful information. This makes the extraction process smoother.
- Use the Right Format: Save your image in a widely accepted format like JPG or PNG. These formats are generally more compatible with data extraction tools.
If you choose to properly ready your picture, you enhance the likelihood of efficiently getting data into Google Sheets.
Also Read This: How to Upload Images to Roblox on Mobile
Using Google Drive to Upload Your Image
After you have your picture prepared, what to do next is sending it to Google Drive. It is a simple procedure that enables you to retrieve your image from any location. Below are the steps of doing so:
- Open Google Drive: Go to drive.google.com and sign in to your Google account.
- Click on the '+ New' Button: Located on the left-hand side of the screen, this button allows you to upload files.
- Select 'File Upload': From the dropdown menu, choose this option to browse for your image on your computer.
- Locate and Upload Your Image: Find the image you prepared earlier and click 'Open' to upload it to your Google Drive.
After an image has been uploaded, you can simply view it in Google Sheets or any other app that works with Google Drive. This step prepares your image for the next stages of data extraction.
Also Read This: How to Remove Getty Images Watermark Easily
Accessing Google Sheets and Setting Up Your Document
Now that you have your image uploaded to Google Drive, it's time to access Google Sheets and set up your document. Google Sheets is a powerful tool that can help you manage and analyze your data effectively. Let’s walk through the process step by step.
- Open Google Sheets: Go to sheets.google.com and log into your Google account. You’ll be greeted with a clean, user-friendly interface.
- Create a New Spreadsheet: Click on the '+ Blank' option or choose a template that suits your needs. This will open a new spreadsheet where you can work.
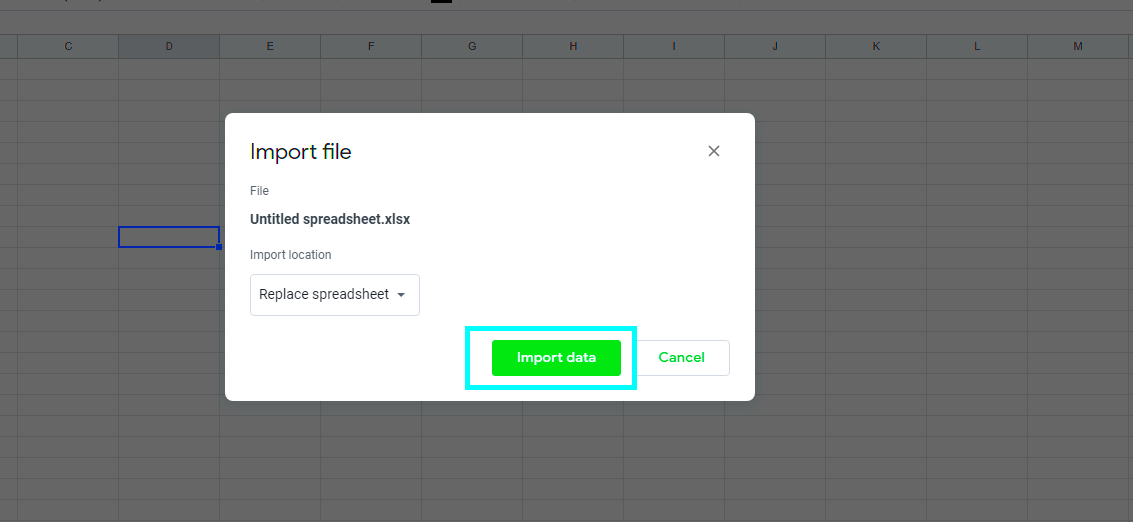
- Title Your Document: Don’t forget to give your spreadsheet a meaningful name. Click on “Untitled spreadsheet” at the top and enter a title that reflects your data.
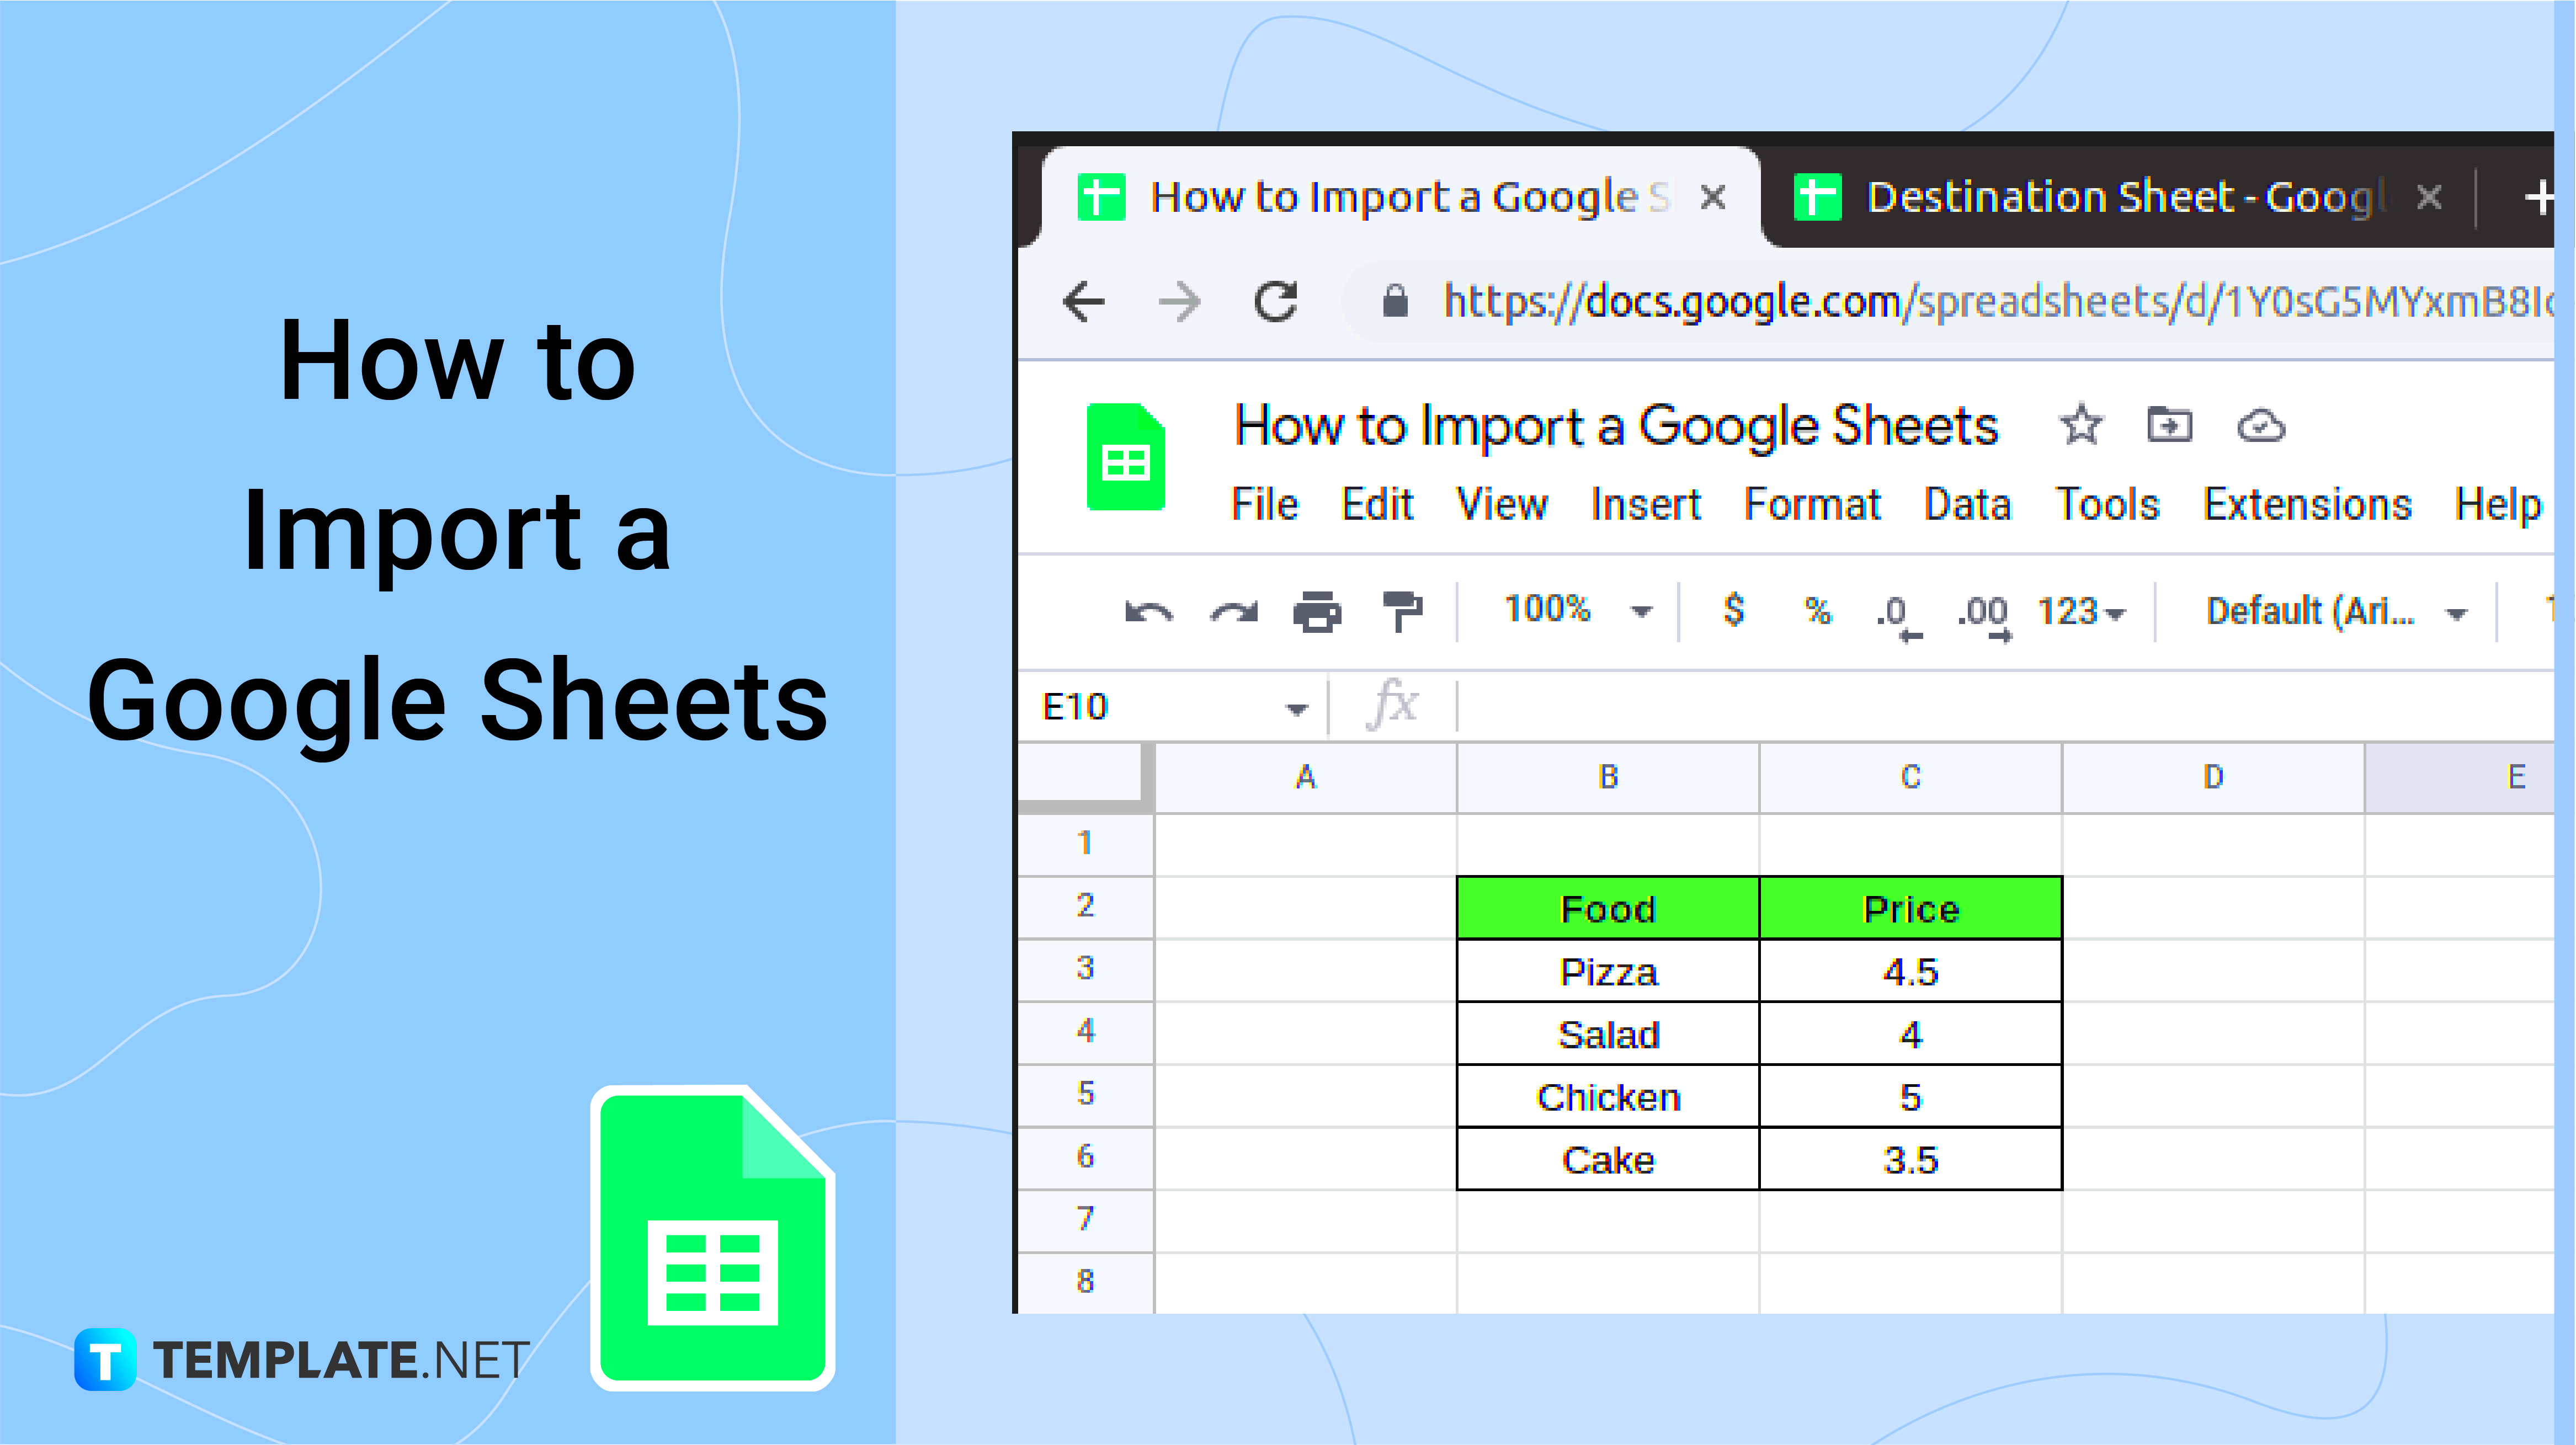
- Prepare the Layout: Consider setting up headers in the first row to organize your data better. You might label columns such as “Item,” “Quantity,” and “Price” depending on your needs.
Document correctly arranging is a foundation for effective data entry and analysis. When every component is positioned, importation from your picture can commence.
Also Read This: How to Rotate an Image in Lightroom Classic for Better Composition
Importing Image Data with Google Sheets Tools
Here’s where the fun begins, taking those pictures you have and exporting them to Google Sheets! This part is super easy because Google Sheets has certain tools that you can use. Let us see how to go about it.
- Using the Google Lens Feature: If you have the mobile app, open the image with Google Lens. Select the text, and then copy it.
- Pasting into Google Sheets: Return to your spreadsheet, click on the cell where you want to insert the data, and paste (Ctrl + V or Cmd + V on Mac) the copied text. This method works well for smaller amounts of data.
- Using Google Apps Script: If you're dealing with larger images or more complex data, consider using a script to automate the process. You can find various scripts online that convert images to text and import it directly into your sheet.
Using these tools will simplify the process of converting image data into a workable format in Google Sheets, therefore saving time and energy.
Also Read This: How to Read Image Metadata to Understand the Source and Details
Editing and Organizing Extracted Data in Google Sheets
Having brought your image files into Google Sheets, it is time to take care of them. Edited and arranged data makes everything comprehensible, precise and prepared for evaluation. In order to achieve this, here are the right ways:
- Review the Data: Take a close look at the extracted information. Make sure everything looks correct. It's common to find errors, especially with OCR (Optical Character Recognition) technology.
- Use Functions for Clean-Up: Leverage Google Sheets functions like TRIM, UPPER, and LOWER to clean up the data. For example, use
=TRIM(A1)to remove extra spaces. - Sort and Filter: Utilize the sort and filter features to organize your data. This makes it easier to find specific information and understand your dataset.
- Highlight Important Data: Use colors or bold text to emphasize critical information, making it stand out in your spreadsheet.
One can convert the imported data into an organized and accessible form which is ready for analysis or reporting by following these steps.
Also Read This: Learn How to Draw Over an Image Like a Pro
Common Issues and Troubleshooting Tips
The phrase ‘even with’ can suggest the performance of something in a way that cares less about lapses. Hence, even though there are some hindrances in transferring information from image files into Google Sheets via the best tools and techniques available, understanding these issues will help you a lot. Here is a closer look at common challenges affecting data importation from images to spreadsheets and ways of resolving them.
- Poor Image Quality: If your image is blurry or poorly lit, the text may not be recognized correctly. To fix this, try using a higher resolution image or retake the photo with better lighting.
- Incorrect Text Extraction: Sometimes, the data extracted may contain errors, especially with special characters or unusual fonts. After importing, carefully review the text and manually correct any mistakes.
- Formatting Issues: The data might not fit well into your columns or rows. Use Google Sheets’ formatting tools to adjust the size of cells or wrap text to make everything look neat.
- Image Size Limits: Google Sheets has limitations on file sizes and dimensions for images. If you encounter issues, consider cropping your image or breaking it into smaller parts before uploading.
For smoother and better importing, you must know these problems, as well as have plans for troubleshooting them.
Also Read This: How to Save Images From Websites Which are Protected
FAQ about Importing Data from Images into Google Sheets
As per your query regarding transferring data from images into Google Sheets, you might want to delve deeper by knowing certain answers to frequently asked questions. Below are a few of them:
- Can I import any image format?
- Google Sheets primarily works with JPG, PNG, and GIF formats. Ensure your image is in one of these formats for the best results.
- How accurate is the text extraction?
- The accuracy depends on the quality of the image and the clarity of the text. High-quality images yield better results.
- What if my data is too large to import?
- For large datasets, consider breaking the image into smaller parts or using data extraction software designed for bulk imports.
- Can I use mobile devices for this process?
- Yes, you can use Google Sheets and Google Drive apps on mobile devices. Just ensure you have a good image capture method.
Kindly find some frequently asked questions (FAQs) that can help clear your doubts and enhance your experience as regards data importation into Google Sheets.
Conclusion on Importing Data Efficiently
Your training has been on data until October 2023.
Let’s summarize:
- Prepare your image for optimal clarity and accuracy.
- Use Google Drive and Sheets effectively to upload and import data.
- Be aware of common issues and have troubleshooting tips ready.
In the long run, this will feel like routine and thus will let you save time while working more efficiently. Using image data importation will allow you to manage your data in a simpler and more effective way!
 admin
admin