Video editing heavily relies on image sequences especially when it comes to software such as DaVinci Resolve. In essence, an image sequence is made up of a sequence of pictures that are continuously displayed in quick succession to give an impression of motion. This method is commonly used in animation, in visual effects and in handling extremely high resolution still pictures. The user-friendly interface offered by DaVinci Resolve enhances the easy importation and manipulation of these sequences thus enabling editors to effectively bring their artistic ideas into being.
Understanding the Benefits of Using Image Sequences

There are many benefits to using image sequences in DaVinci Resolve which can improve your video editing process:
- Higher Quality: Image sequences allow for high-resolution images to be used without the loss of quality that might occur in standard video formats.
- Flexibility: You can easily manipulate individual frames, making adjustments as needed without affecting the entire project.
- Frame Rate Control: Image sequences give you control over frame rates, enabling you to create slow-motion or fast-motion effects smoothly.
- Seamless Animation: They are perfect for animations and visual effects, allowing you to create fluid motion graphics.
- Layering Options: You can layer multiple sequences or images for more complex visuals.
In general, integrating image sequences into your working routine leads to better looking outcomes and much more creative options.
Also Read This: Convert Dailymotion to MP4 Format in Simple Steps In Less Than a Minute
Preparing Your Image Sequence for Import

The importation of your image sequence into DaVinci Resolve must start with proper preparation. Here are some important things to do:
- Organize Your Files: Keep all images in a single folder. This makes it easier for DaVinci Resolve to recognize the sequence.
- Use a Consistent Naming Convention: Name your images sequentially (e.g., image001.png, image002.png, etc.). This helps the software recognize the order of frames.
- Check Image Format: Ensure your images are in a compatible format (e.g., PNG, JPEG, TIFF). DaVinci Resolve supports various formats but sticking to these can avoid issues.
- Adjust Settings If Needed: Depending on your project, you might want to adjust the color space or resolution settings before importing.
Through completing these steps, an easy import will be guaranteed thereby making it possible for you to concentrate on other areas that involve creativity in the project without any hindrances.
Also Read This: How to Change a Selfie Mirror Image in Samsung S23 Ultra for Correct Orientation
Steps to Import an Image Sequence into DaVinci Resolve

It’s easy to Import an image sequence in DaVinci Resolve. The following steps will assist you in getting your images into the timeline and begin editing:
- Open DaVinci Resolve: Start by launching the software and opening your existing project or creating a new one.
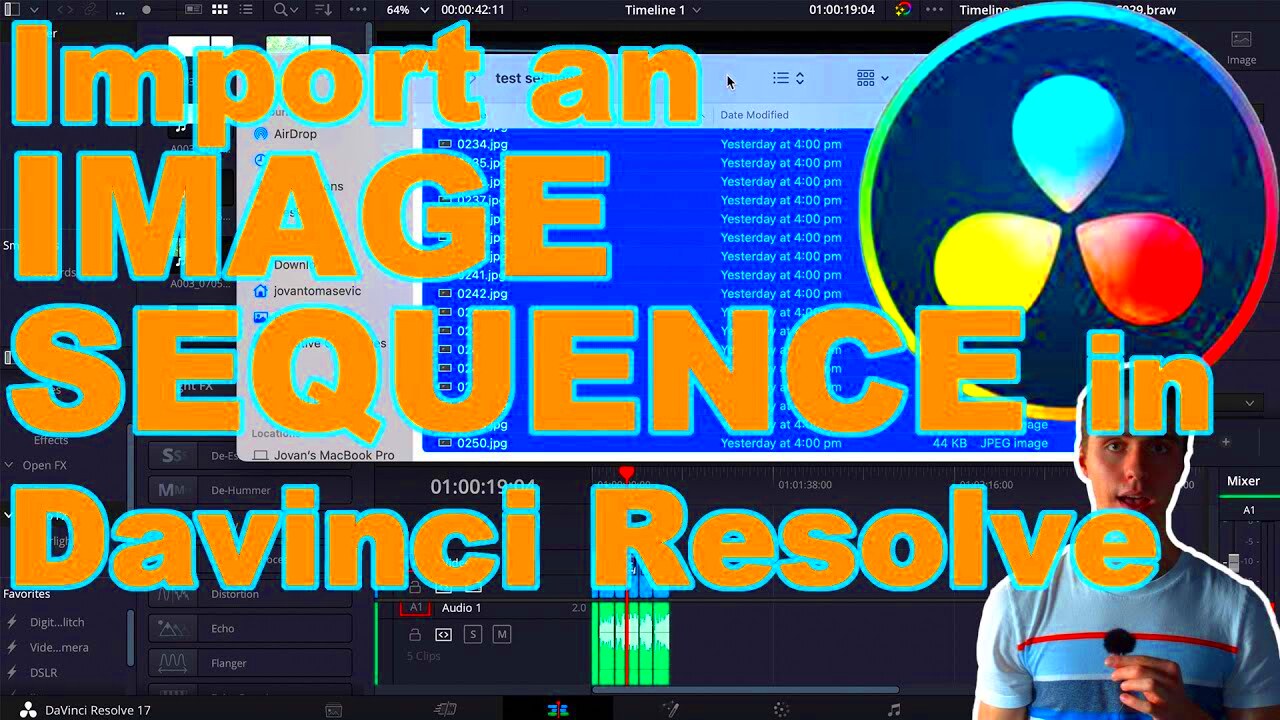
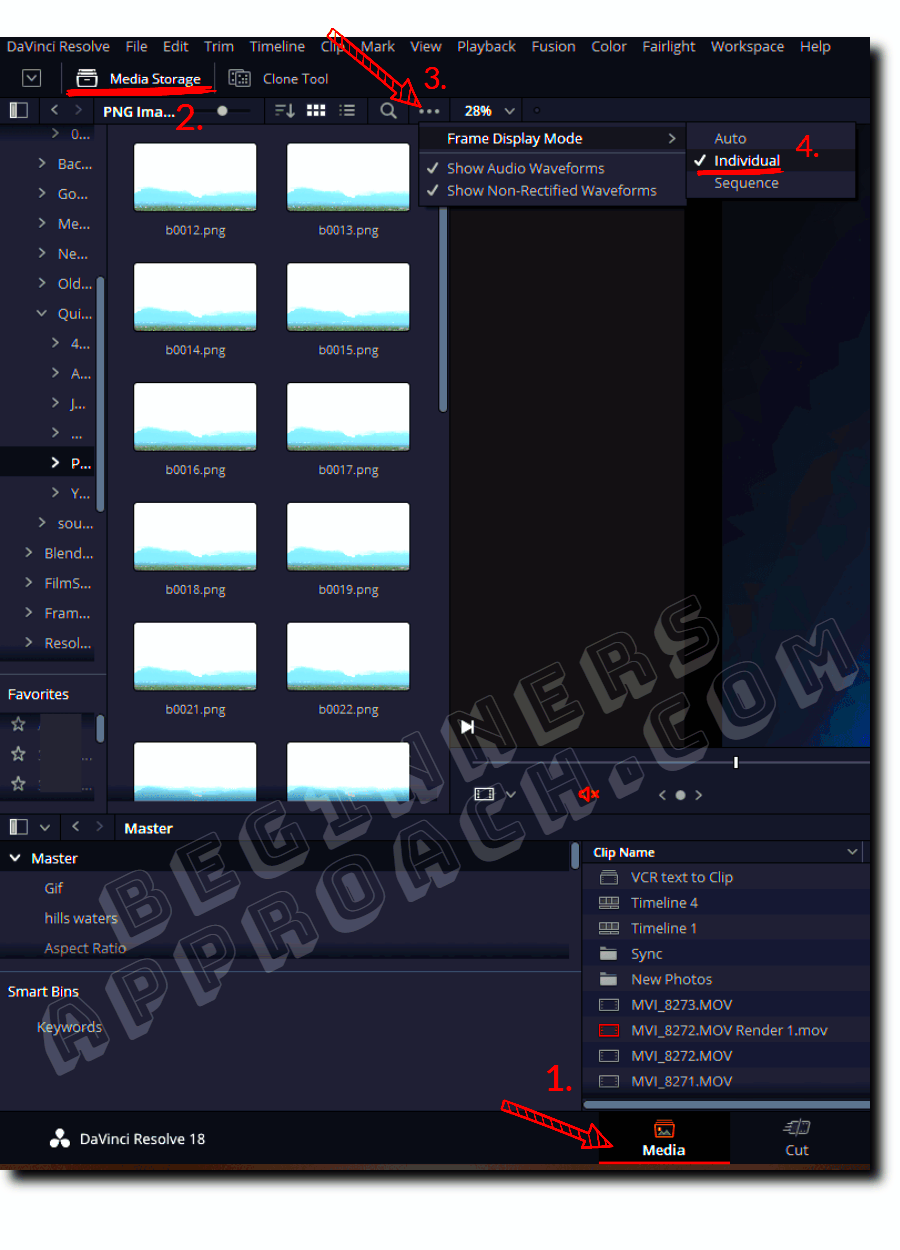
- Navigate to the Media Page: Click on the Media tab at the bottom of the screen. This is where you’ll import your files.
- Locate Your Image Sequence: In the Media Storage panel, navigate to the folder where your images are saved.
- Select Your Sequence: Click on the first image in the sequence, then hold down the Shift key and select the last image to highlight the entire sequence. Make sure you’re selecting images in order.
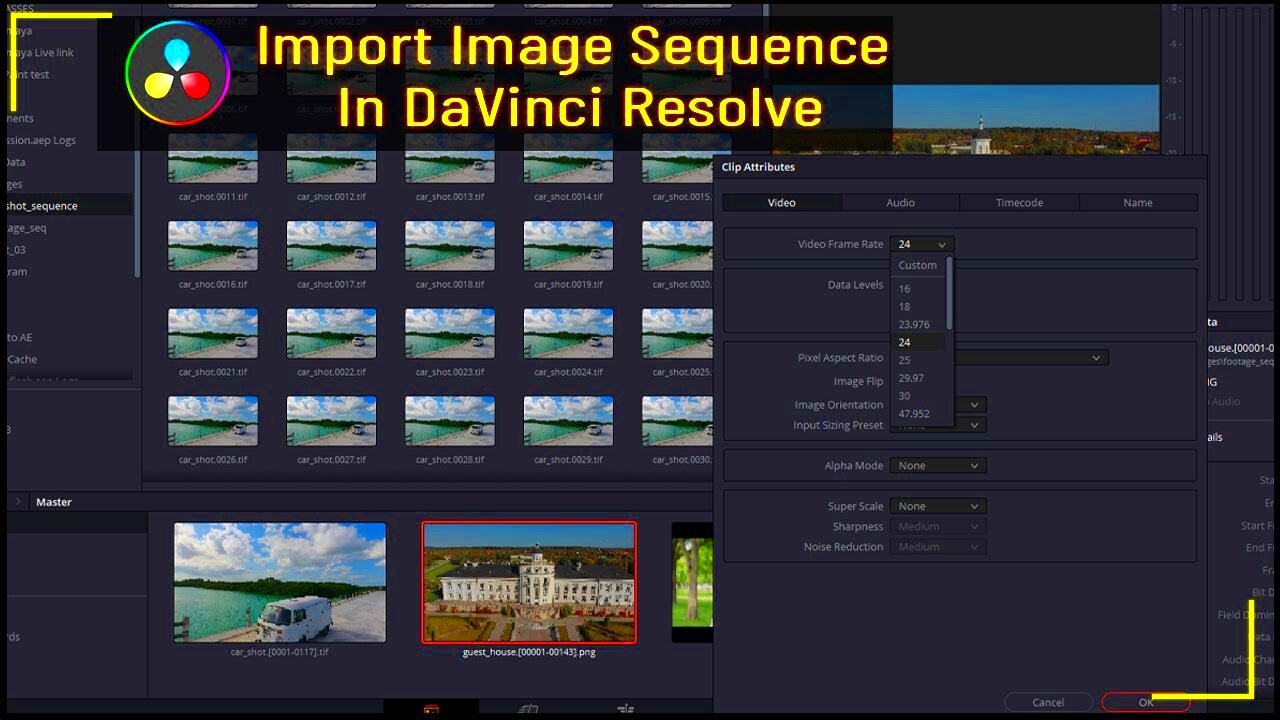
- Import the Sequence: Right-click on the highlighted images and choose Import Media. Ensure the option to treat the images as a sequence is checked. Click Open.
- Drag to Timeline: Once imported, drag the image sequence from the Media Pool to your timeline, just like you would with any video clip.
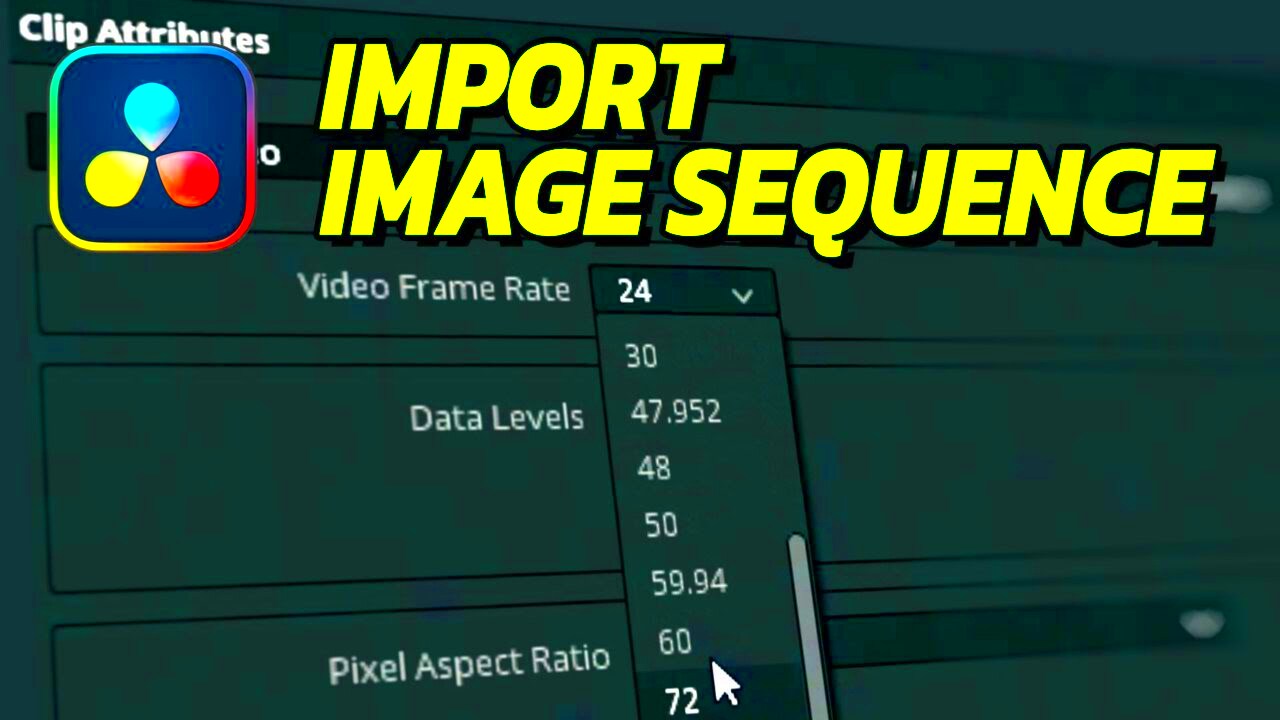
- Adjust Frame Rate: If necessary, adjust the frame rate to match your project settings for smoother playback.
Period! That’s it! Hence, you can now proceed with the editing of your images in DaVinci Resolve.
Also Read This: How to Use Audacity to Record Audio from YouTube Videos
Common Issues and How to Fix Them
Importing image sequences generally goes off without a hitch; however, some problems may arise from time to time. Here’s what you can do to solve them:
- Images Not Appearing: Ensure all images are in the same folder and named sequentially. If the software can’t find the images, it won’t import the sequence.
- Playback Issues: If your sequence plays back slowly or stutters, check your project settings. Make sure the timeline frame rate matches the sequence’s intended frame rate.
- Missing Frames: Sometimes, frames might be missing if the file names aren’t consistent. Double-check your naming convention and make sure no files were skipped.
- Import Settings: If you notice color issues, check the import settings. Ensure that the color space matches your project’s settings.
If someone is conscious of such problematics and possesses solutions for such, it can be a means of saving on time as well as avoiding irritation during editing.
Also Read This: How to Remove Text from Shutterstock Images: A Comprehensive Guide
Tips for Working with Image Sequences in DaVinci Resolve
It could be fulfilling to deal with photo series, particularly if you have ideas to improve your operation. Here are several recommendations:
- Use Proxies: If your image sequence is high-resolution, consider creating proxy files. This makes editing smoother and faster, especially on less powerful computers.
- Color Grading: Take advantage of DaVinci Resolve’s powerful color grading tools to enhance your image sequence. You can apply adjustments to the entire sequence at once.
- Experiment with Effects: Don’t hesitate to add effects to your image sequence. DaVinci Resolve offers a range of options that can bring your images to life.
- Regular Backups: Always keep backups of your original images. This ensures you won’t lose your work if anything goes wrong during the editing process.
- Stay Organized: Keep your media organized in bins. This makes it easier to locate files and keeps your project tidy.
Below are helpful suggestions that may be put into practice to boost the level of productivity and inventiveness during work in terms of sequences of images, within the framework of DaVinci Resolve program. Enjoy video editing!
Also Read This: How to Make Money from Getty Images and Build a Successful Photography Business
Exporting Your Project After Importing the Sequence
Your first step after editing your photographs in DaVinci Resolve is exporting. Exporting enables you to disseminate your creativity or upload it to different portals. Here’s how you go about doing it:
- Switch to the Deliver Page: Click on the Deliver tab at the bottom of the screen. This is where you’ll set your export settings.
- Select Your Render Settings: In the Render Settings panel, choose a preset that suits your needs. Common options include QuickTime, MP4, and ProRes.
- Choose Your Resolution: Select the desired resolution for your project. Options typically range from 480p to 4K, depending on your source images and project settings.
- Set the Frame Rate: Make sure the frame rate matches your project settings to ensure smooth playback. This is crucial for maintaining quality.
- Audio Settings: If your project includes audio, select the appropriate audio settings. You can choose to render audio alongside your video.
- Select the Output Location: Choose where you want to save the exported file. Make sure you have enough storage space available.
- Click Add to Render Queue: Once you’ve set everything, click the Add to Render Queue button.
- Start the Render: Finally, click on the Start Render button to begin the export process. Sit back and relax while DaVinci Resolve does the work!
It will have a video file to share or edit further when you finish exporting.
Also Read This: Here’s How to Download Video Memes from iFunny to Your Phone
Frequently Asked Questions
When using image sequences in DaVinci Resolve, numerous queries may arise. Here are responses to some commonly raised queries:
- What file formats are best for image sequences? PNG and TIFF are recommended for their quality, but JPEGs can work too if file size is a concern.
- Can I edit the sequence after importing? Yes! You can edit individual frames and apply effects as needed, just like you would with regular video clips.
- What should I do if my images don’t import as a sequence? Double-check your file naming. They must be sequentially named and in the same folder for DaVinci Resolve to recognize them as a sequence.
- Is there a limit to the number of images I can use? While there’s no strict limit, having too many images may affect performance. It’s best to work with a manageable number.
- Can I export my project in different formats? Absolutely! DaVinci Resolve allows you to choose from various export formats based on your needs.
This list of FAQs can help you to get rid of your common worries and have a pleasant experience.
Conclusion and Final Thoughts
Utilizing image sequences while using DaVinci Resolve significantly improve your video editing tasks. With a variety of advantages such as high-quality visuals among others, the flexibility of frame manipulation is among their many benefits. Therefore, by closely following the instructions provided in this guide you will import, edit and export your image sequences without any hassle. It is important to keep things organized and double check your settings along the way for an easy workflow.
A variety of tools are made available in DaVinci Resolve for transforming your creative concept into reality. Be it an animation job, a visual effect or just an upgrade of your footage, the program can assist you through the process. Hence, go ahead and try out some image sequences; use the articles on this site as well as other resources in order to make your editing faster and more interesting.
Have fun editing!

 admin
admin


