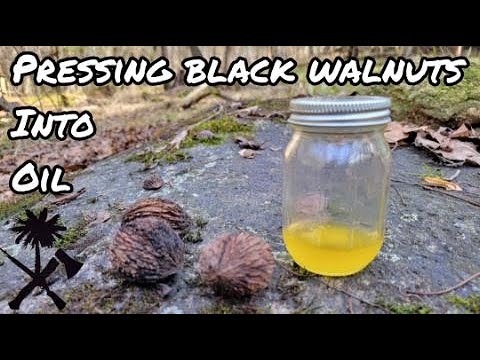
Have you ever thought about harvesting black walnuts? It’s an exciting and rewarding venture, bringing you closer to nature while supplying a delicious, nutritious nut! Whether you’re interested in culinary uses, crafts, or simply want to document your journey, black walnut harvesting is ripe for exploration. Plus, sharing your experience on YouTube could inspire others to dive into this unique hobby. So grab your gloves and let’s dig into the world of black walnuts!
Understanding the Black Walnut Tree
The black walnut tree, known scientifically as Juglans nigra, is an impressive tree that can reach heights of up to 100 feet. Its majestic stature and attractive foliage make it a favorite in landscapes and forests alike. Understanding this tree is the key to a successful harvesting experience. Here’s what you need to know:
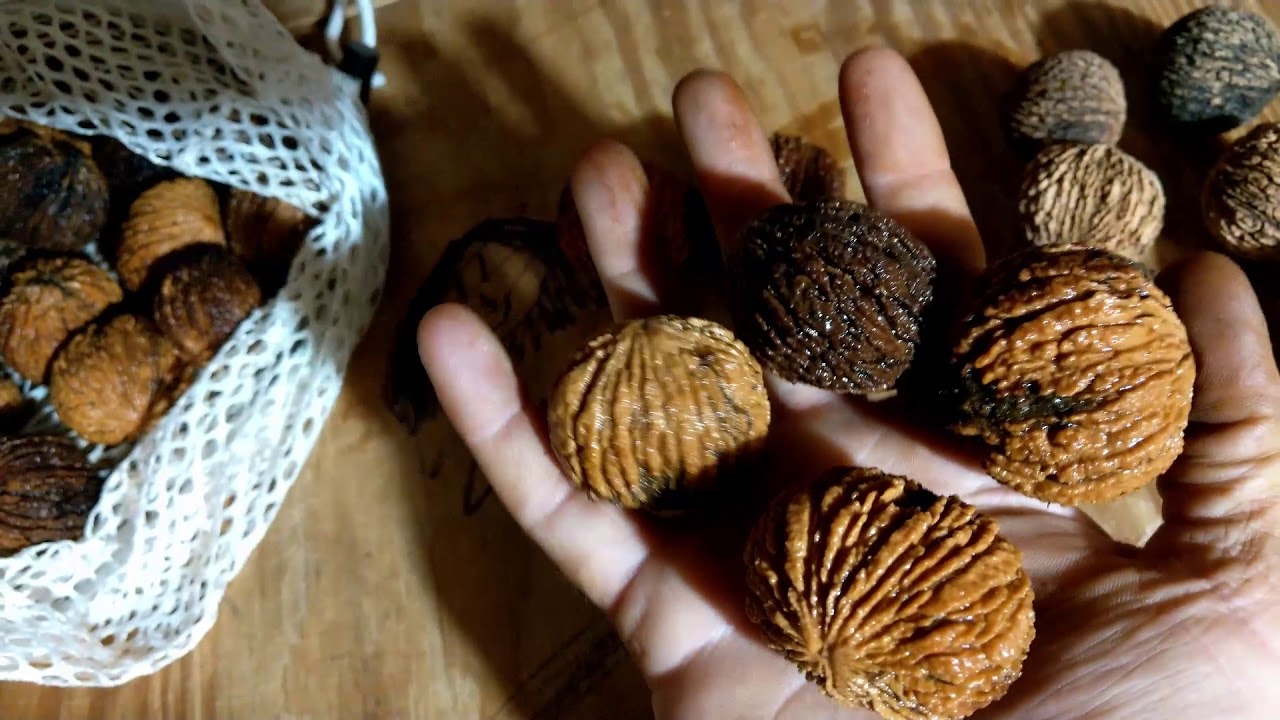
- Identification: Black walnuts are recognizable by their rough, dark brown husks and delightful aroma. The leaves are pinnate with 15 to 23 leaflets, giving the tree a lush appearance.
- Habitat: These trees thrive in rich, well-drained soil, often found along riverbanks and in areas with minimal competition. They prefer full sun, but can tolerate partial shade.
- Growth Rate: Black walnut trees are slow to mature, taking around 20 years to produce a significant crop of nuts. Yet, they can live for over 200 years!
As with any natural resource, harvesting responsibly is crucial. Black walnuts contain a strong natural chemical called juglone, which can inhibit the growth of some plants around them. Learning how to manage their growth and harvest can lead to a fruitful relationship with your black walnuts.
So, why are black walnuts sought after? Their rich, bold flavor sets them apart from regular English walnuts. They boast a distinctive taste that complements both savory and sweet dishes, from pesto to cookies. These nuts are not only delicious; they are also packed with nutrients like omega-3 fatty acids, antioxidants, and vitamins.
Many enthusiasts begin their journey with black walnut harvesting for the thrill of foraging and the chance to create something unique. Documenting this process on YouTube can transform your experience into a community adventure. You’ll discover tips and tricks, share your findings, and connect with fellow nut harvesters!
In the next sections of your journey, consider exploring the tools and techniques needed for successful harvesting, as well as the myriad of uses for your black walnuts. It’s not just about the nuts; it’s about the adventure and the stories you’ll share along the way!
Also Read This: Can You Fast Forward on YouTube TV? How to Skip Ahead While Watching on YouTube TV
3. When is the Best Time to Harvest Black Walnuts?
Timing is everything when it comes to harvesting black walnuts. If you want to ensure the best flavor and quality, it’s essential to know when to pick them. Generally, black walnuts are ready for harvest in late summer to early fall, usually between September and October. This is when the green outer hulls of the walnuts start to crack open, revealing the hard, brown shells inside.
Here are some tips to help you determine the right time:
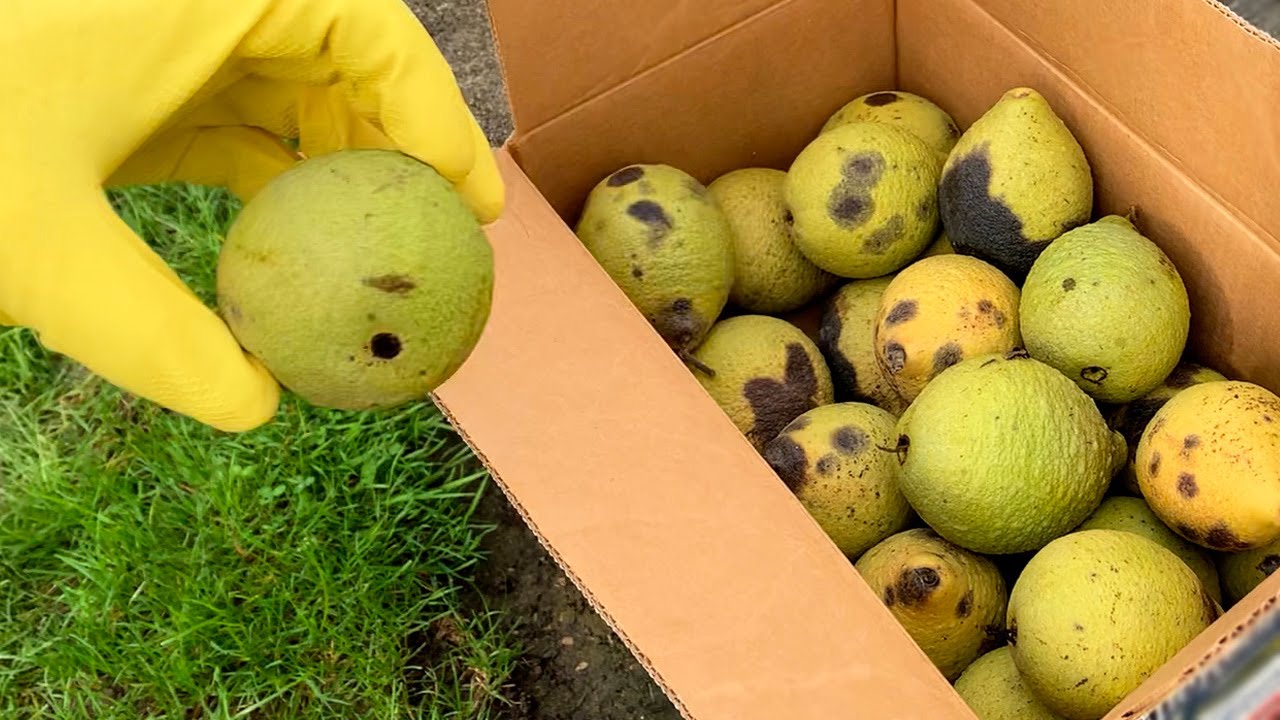
- Color Changes: The outer hull of the walnut will turn from bright green to a yellowish or brown hue as it ripens. This color change is a sign that it’s nearing time for harvest.
- Hull Integrity: A good indicator is when the hulls begin to split or crack. If you see some walnuts on the ground, that’s a sure sign that they’re ready to be picked up!
- Falling Nuts: If you've noticed black walnuts falling to the ground, it's a clear hint that they are ripe. However, don’t just wait for them to fall—getting out there to harvest can help you collect them before they get damaged or eaten by wildlife.
- Taste Test: If you're eager to know how they taste, crack open a few samples and see if they’re sweet and flavorful. If they’re too astringent or overly bitter, they may need more time.
When filming your harvesting journey for YouTube, capturing these seasonal changes can add depth to your narrative. Consider doing a short segment explaining to your viewers how to tell when the nuts are ripe. This will not only make your content more informative but also relatable to fellow gardeners and food enthusiasts!
Also Read This: Exploring A.J. Croce’s Music Videos on YouTube
4. Tools and Preparation for Harvesting Black Walnuts
Before heading out to harvest black walnuts, it’s crucial to gather the right tools and prepare effectively. Trust me, being well-organized will make the process smoother and much more enjoyable!
Here’s a handy checklist of what you might need:
- Gloves: Black walnuts can be quite messy, especially because of the husk that contains a stain-producing compound called juglone. A good pair of disposable or old gloves will protect your hands.
- Buckets or Bags: You’ll need sturdy containers to collect your walnuts. Buckets are great for gathering while bags (preferably canvas or heavy-duty) allow for easy carrying.
- Shovel or Rake: If the nuts have fallen to the ground, a shovel or rake can help you gather them more efficiently—especially if they're buried in leaves or grass.
- Saw or Pruning Shears: If you plan on getting walnuts from higher branches, these tools will come in handy to safely remove the nuts from trees.
- Hoses or Water Source: After harvesting, you’ll want to wash off the nuts to remove the residue from their hulls. Having a water source nearby saves a lot of cleanup effort later.
Now, once you've collected your tools, preparation is key:
Pick a Clear Day: Try to choose a dry day for harvesting because wet walnuts are harder to process and can lead to spoilage. Plus, working in damp conditions might not be as fun!
Scout Your Area: Before diving into the activity, take a stroll around the area where your black walnut trees are. This way, you can familiarize yourself with the layout and scope out any potential obstacles, as well as make sweet notes for documenting your experience on YouTube!
As you set out with your tools in hand, planning can greatly enhance not just your productivity but the overall experience. Filming your preparation can also give your audience a behind-the-scenes glimpse at the process, making your YouTube journey even more engaging! Happy harvesting!
Also Read This: Adding YouTube Videos Longer Than 15 Minutes to Your Channel
5. Step-by-Step Guide to Harvesting Black Walnuts
Harvesting black walnuts is both an art and a science. The thrill of collecting these wild, flavorful nuts is a rewarding experience, especially when you know you’re doing it right. Here’s a simple step-by-step guide to help you navigate the process effectively:
Step 1: Timing is Everything
The best time to harvest black walnuts is in the fall, typically from late September to early November. You’ll want to look for nuts that have fallen from the tree; they’ll have a green, fleshy husk that’s starting to crack open. Undoubtedly, timing can make all the difference between a bountiful harvest and an empty basket!
Step 2: Gear Up
Before heading out, make sure you’re prepared. You’ll need:
- A sturdy pair of gloves (the husks can stain your hands)
- Seedling carriers or buckets
- A sturdy rake for gathering nuts
- A wheelbarrow for transporting your haul
Step 3: Collecting the Nuts
Once you’re geared up, start walking around your walnut tree. Here’s how to collect the nuts:
- Use your hands to scoop up the nuts, or if they are far apart, use your rake to gather them into a pile.
- Be wary of the husks; they can stain your clothes. Pro tip: Wear old clothes!
- Check the area under the tree and beyond: sometimes nuts can roll away from the base.
Step 4: Inspect Your Collection
After collecting a good amount, it’s a good idea to inspect your haul. Look for:
- Healthy nuts with no cracks or holes.
- Nuts that are firm to the touch—soft nuts indicate spoilage.
Step 5: Clean Up
Once you have your nuts, it’s important to clean them up. Gently wash off any dirt but avoid soaking them as excess water can promote mold. Don’t forget: the husks will turn from green to brown as they dry, and they can be quite messy!
Congratulations! You’re now well on your way to a fabulous harvest.
Also Read This: What YouTube Video Has the Most Comments? A Look at YouTube’s Popular Content
6. Processing and Storing Your Harvest
So you've gathered your black walnuts—now what? Processing and storing your harvest correctly is essential to enjoy the fruits of your labor long into the winter months. Here’s a guide to help you through that next step:
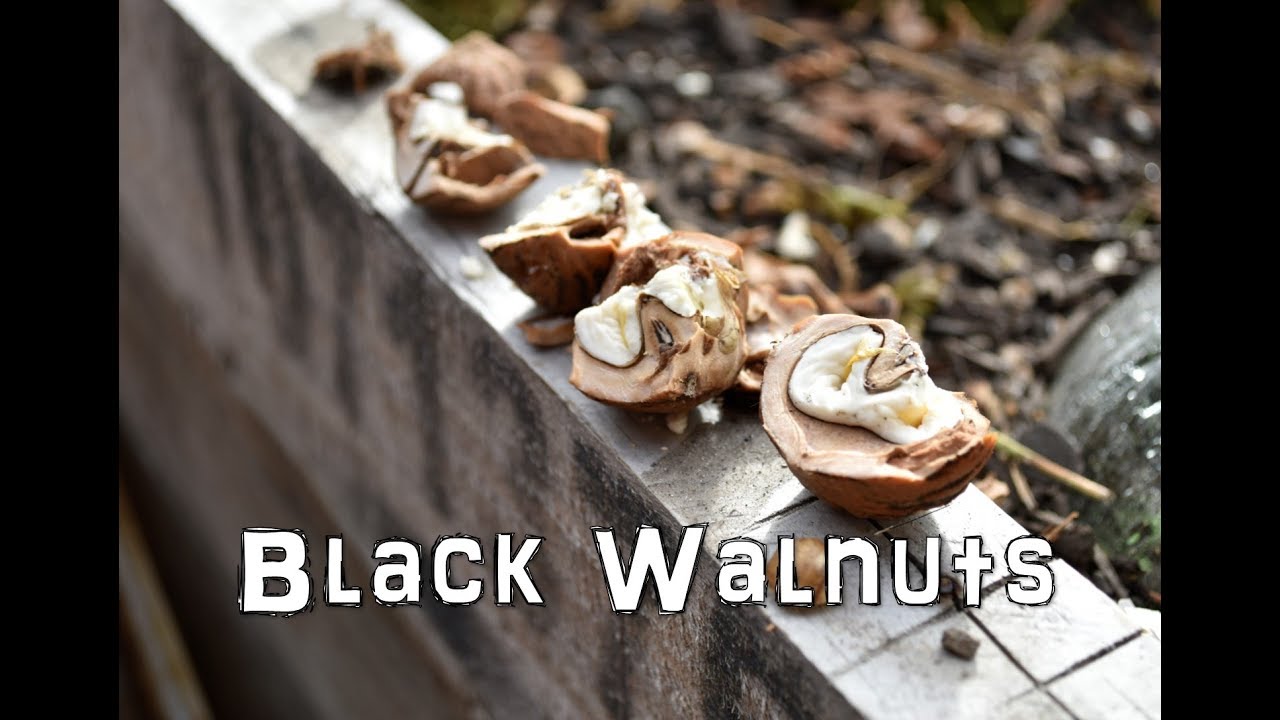
Step 1: Removing the Husks
The first step in processing your black walnuts is to remove their outer green husks. You can use a hammer or even a sturdy shoe if you're in a pinch. Just be careful! Once the husks split open, drop them in a bucket—
this process can get messy!
Step 2: Cleaning the Nuts
Once the husks are off, rinse the nuts under running water to eliminate any residual debris. You might want to use a scrub brush to scrub off stubborn bits. However, do ensure they are dry afterward; moisture can lead to mold formation.
Step 3: Drying
Next, you need to dry the nuts completely. Spread the cleaned nuts out on a towel or newspaper in a single layer in a cool, dry place for a few weeks. This helps prevent spoilage and enhances flavor.
Step 4: Storing Your Black Walnuts
Once dried, it’s time to store your black walnuts properly. Consider the following storage methods:
- Cool and Dark Place: Store them in a paper bag or mesh bag in a cool, dark place. They can last for a year this way.
- Freezing: For long-term storage, consider freezing the nuts. Place them in an airtight container or freezer bag. Just ensure you label them with the date!
Step 5: Enjoying Your Harvest
Now that your black walnuts are processed and stored, they’re ready to be used in a variety of recipes. From delicious cakes to savory dishes, the possibilities are endless! Just don’t forget to document your journey on YouTube—the world is eager to learn about your black walnut adventures!
Happy harvesting and processing! 🍂
Also Read This: Is YouTube-dl Safe to Use? Exploring the Risks and Benefits
7. Setting Up Your YouTube Channel for Documenting Your Journey
Now that you’re excited about documenting your walnut harvesting journey, the next step is to set up your YouTube channel. This is where you’ll share all your efforts, trials, and successes. Don't worry if you're not a tech wizard; we’ll break it down together.
Step 1: Create a Google Account
If you don't already have one, sign up for a Google account. This is essential, as it will serve as your portal to YouTube. Head over to the Google sign-up page and fill out the necessary information.
Step 2: Set Up Your YouTube Channel
Once you have your Google account, go to YouTube. Click on the profile icon in the top right corner and select “Your Channel.” From there, you’ll see an option to create a new channel. Choose a name that reflects your walnut harvesting journey—something catchy like "Walnuts & Wonders" or "Harvesting Happiness."
Step 3: Create a Stellar Channel Art
First impressions matter! Use platforms like Canva to design a channel banner that showcases your theme. You might include images of walnut trees, harvest tools, or even a welcoming photo of yourself. Don’t forget to add a brief description or tagline that sums up your channel’s mission.
Step 4: Fill Out Your "About" Section
In the “About” section, share a bit about yourself and what viewers can expect from your videos. This is where you can express your passion for black walnuts and any other related topics like sustainability, DIY projects, or local ecosystems.
Step 5: Customize Your Channel
Use YouTube's customization options to organize your videos into playlists. For instance, you could have playlists for “Harvesting Methods,” “Recipe Ideas,” and “Q&A Sessions.” This will help viewers find the content they’re most interested in.
Step 6: Connect with Your Audience
Engagement is key! Promote your video content on social media platforms like Instagram, Facebook, or even TikTok. Consider using these platforms to tease upcoming videos or share behind-the-scenes content, drawing viewers into your walnut adventure!
There’s so much potential for creativity in how you present your journey. Building a well-structured and visually appealing YouTube channel sets the stage for a fun and rewarding experience. So grab that camera and get ready to share your passion with the world!
Also Read This: Watching YouTube Videos in the Background on Android: A How-To Guide
8. Tips for Filming and Editing Your Walnut Harvesting Videos
Ready to hit the ground running with your video creation? Filming and editing your walnut harvesting journey can be as much fun as the harvesting itself! Here are some helpful tips to get you started:
1. Plan Your Shots
Before you start filming, think about the story you want to tell. Will you cover the entire process from tree to table? Or perhaps focus on a specific technique? Sketch out a quick storyboard to visualize how your video will flow. This will save time and ensure you capture all the essential moments!
2. Use Good Lighting
Natural light is your best friend. Shoot your videos during the day when the sun is out to avoid grainy footage. If you’re filming indoors, position yourself near windows or use soft box lights to create a warm, inviting atmosphere.
3. Keep Your Camera Steady
Nothing disrupts a good video more than shaky footage. Invest in a tripod or use stabilizing equipment if you’re moving around a lot. This will make your final product much more professional and enjoyable to watch.
4. Capture Different Angles
Mix it up! Shoot from various angles to keep your audience engaged. Capture close-ups of the walnuts, wide shots of the landscape, or even a time-lapse of the whole harvesting process. This variety adds a dynamic feel to your videos.
5. Editing Software
Once filming is complete, use user-friendly editing software like iMovie, Adobe Premiere Rush, or even mobile apps like InShot. Start with basic edits to trim footage and arrange clips. Add transitions, music, or voiceovers to enhance the storytelling.
6. Add Engaging Thumbnails
A great thumbnail can be the difference between someone clicking on your video or scrolling past it. Create a captivating thumbnail using bold colors and clear text that conveys what your video is about.
7. Don’t Forget the Call to Action
While sharing your journey, don’t forget to encourage viewers to like, comment, and subscribe. Engaging with your audience is vital for building a community around your channel.
Filming and editing can seem like a daunting task, but with a little planning and creativity, you’ll find your unique style and storytelling technique. Grab your tools, hit record, and let the world see the beauty of black walnuts through your eyes!
Also Read This: How to Accept Gifted Memberships on YouTube
9. Engaging with Your Audience on YouTube
Connecting with your audience is key to building a successful YouTube channel, especially when documenting something as unique as harvesting black walnuts. Here are some effective ways to engage with your viewers and foster a community around your content:
- Encourage Comments: At the end of your videos, invite viewers to share their thoughts and experiences with black walnuts, or ask questions about your process. Engaging with comments is crucial; respond to them promptly to create a dialogue and show you value their input.
- Create Polls and Surveys: Utilize YouTube's community tab to create polls or surveys related to your content. For example, ask your audience what they’d like to see next—different walnut recipes, preservation methods, or even updates about your harvest. This not only involves them in decision-making but also gives you valuable insights into their interests.
- Host Live Q&A Sessions: Consider doing live streams where you can interact with your audience in real-time. This is a fantastic opportunity to answer burning questions, share tips, or even show the harvesting process live. Plus, the real-time interaction can be highly rewarding for both you and your viewers.
- Feature Viewer Content: If some of your viewers harvest their own black walnuts or try your recipes, ask them to share their experiences with you. Highlight their stories or feature their content in your videos. This not only shows community spirit but effectively encourages others to engage and share as well.
- Share Behind-the-Scenes Content: Let your audience in on the process that goes into creating your videos. Sharing bloopers, special moments, or the challenges you face can make your channel feel more personal and relatable.
By focusing on these strategies, you’ll not only enhance viewer engagement but also build a community of black walnut enthusiasts who support and inspire one another. Your enthusiasm for harvesting and documenting will naturally spark interest and participation!
10. Conclusion: Sharing Your Black Walnut Journey with the World
Your journey of harvesting black walnuts doesn’t have to be a solitary one. By sharing it on YouTube, you are not just documenting a personal hobby; you’re inviting viewers to join you on an adventure full of learning, discovery, and community connection. Here are a few wrap-up thoughts on why this is worth your time:
- Passion Project: Whether you’re passionate about sustainable living, foraging, or simply creating engaging content, sharing your black walnut journey allows you to express yourself creatively and connect with others who share your interests.
- Educational Impact: Your videos can serve as an educational resource for those interested in foraging or utilizing natural resources responsibly. Showing step-by-step processes or sharing your tips can inspire others to get involved.
- Building Connections: As you share your journey, you’ll meet others who have similar passions. Networking with fellow YouTubers, local foraging groups, or DIY enthusiasts can lead to collaborations that enhance content and broaden your audience reach.
- Documenting Memories: Finally, think of your YouTube channel as a digital scrapbook. Years down the line, you’ll have these videos to look back on, capturing the evolution of your skills and experiences in harvesting black walnuts.
So grab your camera, your passion, and the tales of your black walnut adventures. Every video is a step toward sharing your journey with the world. Can’t wait to see what you create!
 admin
admin


