Grouping images in Google Slides is a smart way to keep your presentations organized and visually appealing. When you have multiple images, aligning them can be a challenge. Grouping makes it easier to move, resize, and manage them as a single unit. This is especially useful when you want to create a cohesive look or highlight a specific message. In this guide, we will explore the benefits of grouping images and provide step-by-step instructions on how to do it effectively.
Benefits of Grouping Images in Presentations

Grouping images in your presentations offers several advantages:
- Improved Organization: It helps you keep your slides tidy by allowing you to manage several images as one.
- Enhanced Visual Appeal: Grouped images can create a more cohesive and professional look.
- Easy Manipulation: You can move, resize, or rotate all images in a group simultaneously, saving time and effort.
- Consistent Positioning: Maintaining the same alignment and spacing becomes much easier when images are grouped.
- Better Focus: Grouping images that tell a story or support a point helps guide your audience's attention.
Overall, grouping images can elevate the effectiveness of your presentation, making your message clearer and more engaging.
Steps to Group Images on Google Slides
Grouping images on Google Slides is a straightforward process. Follow these steps to get started:
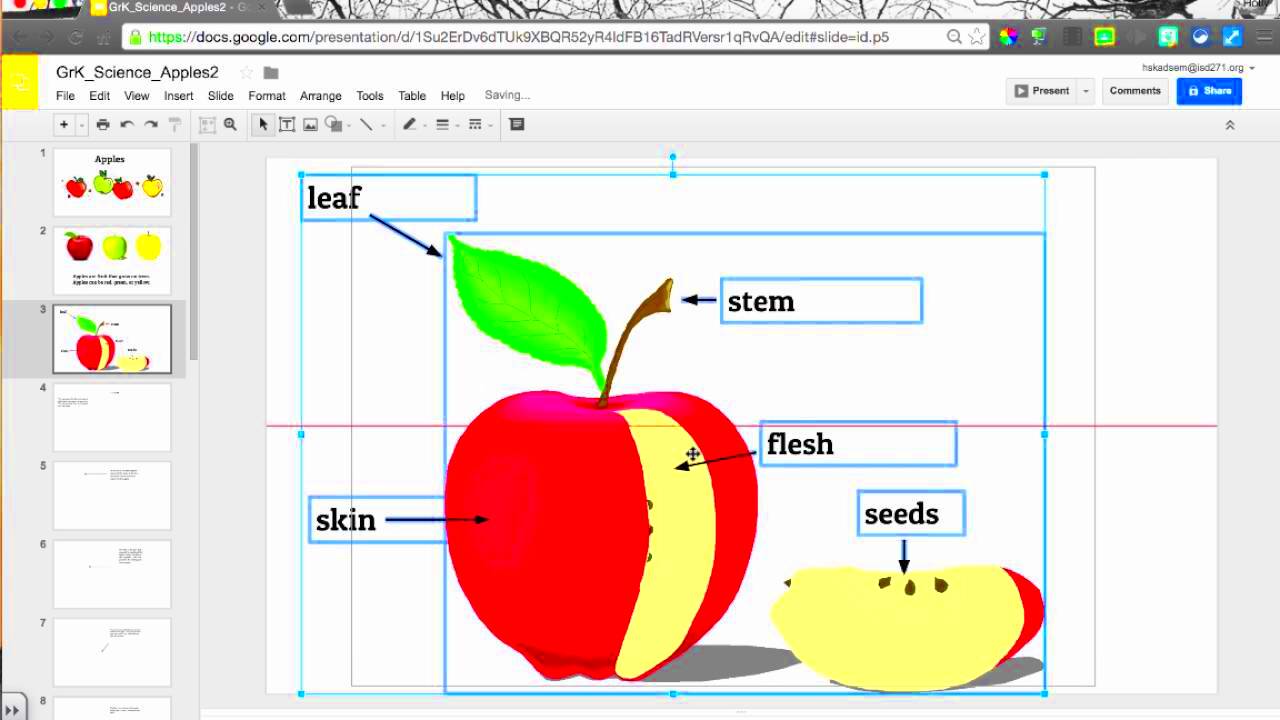
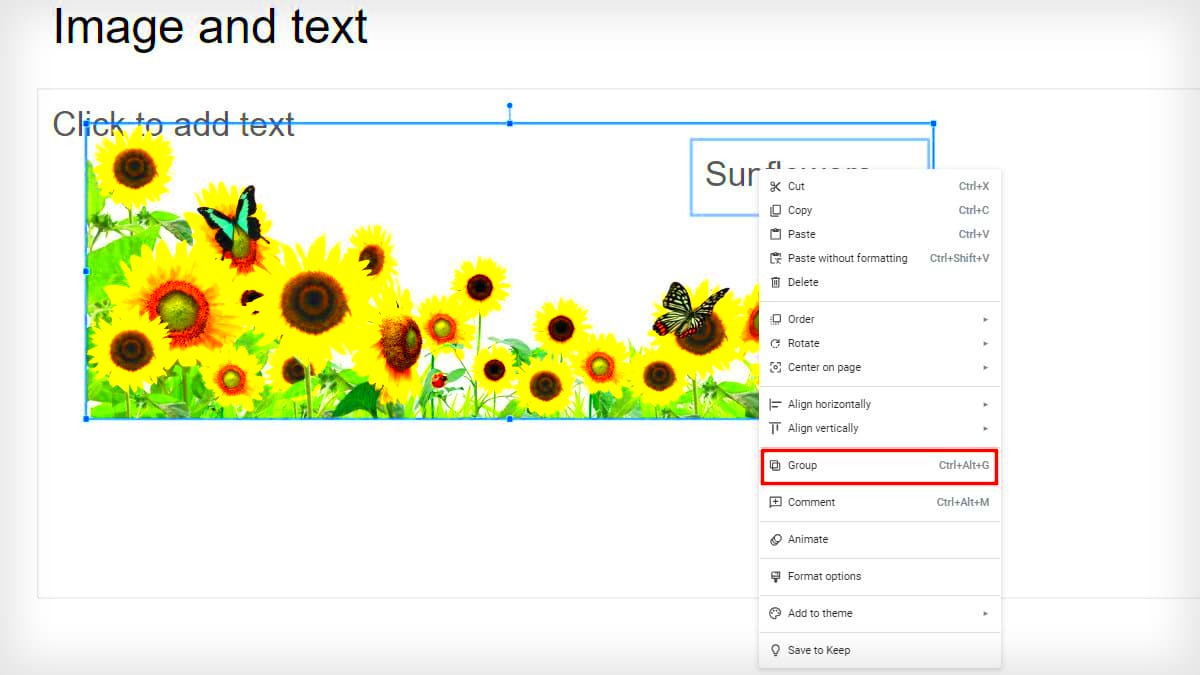
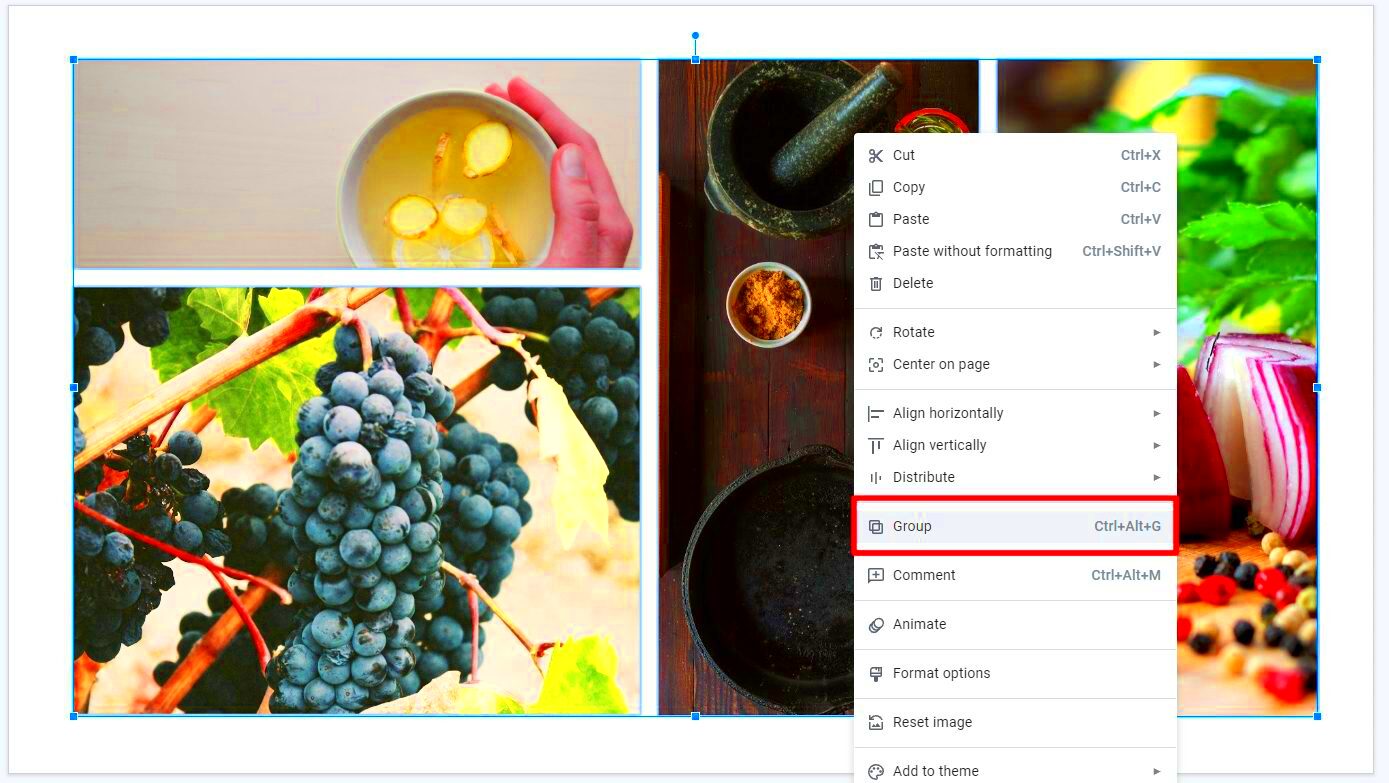
- Select the Images: Click on the first image, then hold down the Shift key and click on each additional image you want to group.
- Group the Images: Once all images are selected, right-click on one of the images. From the menu, choose Group and then select Group again.
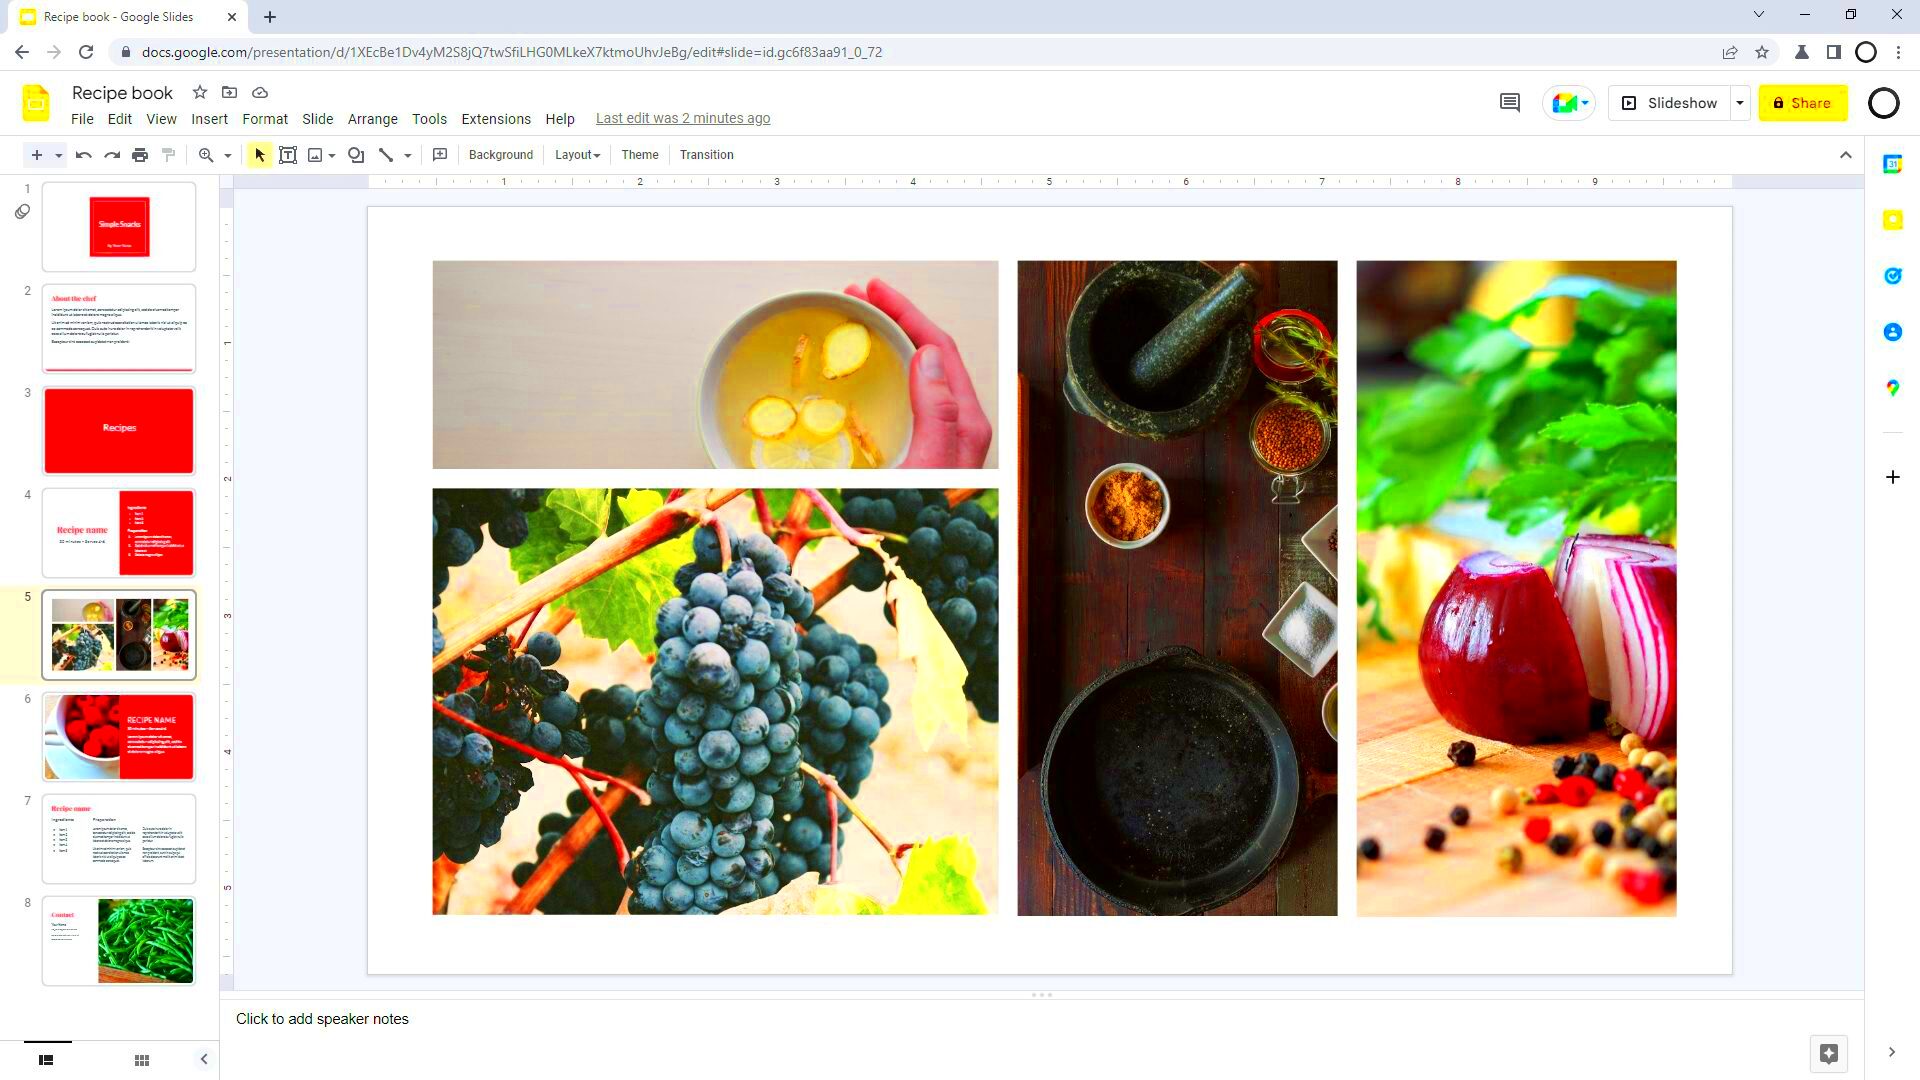
- Adjust the Group: You can now move, resize, or rotate the entire group just like a single image.
- Ungroup if Needed: If you want to make changes to individual images, simply right-click the grouped images and select Ungroup.
By following these steps, you can easily manage multiple images in your Google Slides presentations, making your slides more effective and visually appealing.
Tips for Effective Image Grouping
To make the most out of grouping images in Google Slides, it’s essential to follow some best practices. Here are a few tips that can help you create well-organized and visually appealing presentations:
- Plan Your Layout: Before grouping, think about how you want your images to appear on the slide. Sketch a rough layout to guide your arrangement.
- Use Consistent Styles: When grouping images, ensure they share a common style (like color or filter). This will create a unified look.
- Align Images Carefully: Use the alignment tools in Google Slides to ensure your images are evenly spaced and aligned. This helps maintain a professional appearance.
- Label Groups: If you’re using multiple image groups in a single slide, consider labeling them with text boxes. This makes it clear what each group represents.
- Test Visibility: Make sure your grouped images are clearly visible. Check if any parts are cut off when you present, and adjust as needed.
- Keep It Simple: Avoid overcrowding your slides. Sometimes, less is more. Focus on a few key images to convey your message effectively.
By applying these tips, you can create more impactful presentations that engage your audience and clearly communicate your ideas.
Common Issues When Grouping Images
While grouping images can simplify your presentation process, you may run into a few common challenges. Here are some issues and how to address them:
- Images Not Aligning: Sometimes, images may not align perfectly. Use the alignment tools to ensure they are positioned correctly.
- Difficulty Selecting Images: If images are too close together, it can be tricky to select them all. Zoom in to make selection easier.
- Accidental Ungrouping: It’s easy to accidentally ungroup images. To avoid this, be cautious when clicking on grouped images and use the right-click menu for options.
- Visibility Issues: Ensure that grouped images do not overlap other important slide elements, which can lead to confusion.
- Resizing Problems: When resizing, some images may distort. Try to maintain the aspect ratio by holding the Shift key while dragging.
By being aware of these potential issues and knowing how to handle them, you can make the image grouping process smoother and more efficient.
How to Ungroup Images When Needed
Sometimes, you may need to edit individual images within a group. Ungrouping them is simple. Here’s how you can do it:
- Select the Grouped Images: Click on the group of images that you want to ungroup.
- Access the Menu: Right-click on the grouped images to bring up the menu.
- Choose Ungroup: From the menu options, select Group and then choose Ungroup. This will separate the images back to their original state.
- Edit Individual Images: Once ungrouped, you can now select and edit each image independently as needed.
Remember, if you change your mind, you can always regroup the images using the same steps you followed earlier. This flexibility allows you to fine-tune your presentation without any hassle!
Using Image Groups for Better Presentation Design
Image groups can significantly enhance the design of your presentations. When you use them thoughtfully, they help create a more professional and engaging visual experience. Here are some ways to use image groups effectively:
- Create Visual Hierarchy: Group images to emphasize key points or themes. This can guide your audience's attention and make your message clearer.
- Tell a Story: Group images that relate to a particular narrative or idea. This storytelling approach can keep your audience engaged and help them connect with your content.
- Maintain Consistency: Use groups to ensure that similar images are styled and aligned consistently across your presentation. This creates a polished look.
- Experiment with Layouts: Play around with different arrangements of grouped images. Use grids, overlaps, or creative layouts to make your slides visually interesting.
- Use Color and Effects: Consider adding background colors or effects to your image groups to make them stand out. Just ensure these enhancements match your overall theme.
By leveraging image groups thoughtfully, you can take your presentation design to the next level, making it not only more appealing but also more effective in communicating your ideas.
Frequently Asked Questions about Grouping Images on Google Slides
If you're new to grouping images in Google Slides, you might have some questions. Here are a few common ones:
- Can I group different types of objects? Yes! You can group images, shapes, and text boxes together.
- What happens if I group images from different slides? Grouping works only within the same slide. You can’t group images across different slides.
- Can I edit individual images after grouping? Absolutely! Just ungroup the images, make your edits, and regroup them when you’re done.
- Is there a limit to how many images I can group? No specific limit exists, but it’s best to group a manageable number to maintain clarity.
- How do I know if my images are grouped? If you can move or resize all selected images simultaneously, they are grouped together.
These FAQs should help clarify some common concerns and encourage you to use image grouping confidently in your presentations.
Conclusion on Grouping Images in Google Slides
In conclusion, grouping images in Google Slides is a simple yet powerful tool that can enhance your presentations. By organizing your visuals effectively, you not only improve the aesthetic quality but also help your audience understand your message more clearly. Whether you’re a student preparing for a class project or a professional delivering a pitch, mastering image grouping can elevate your presentation skills.
Remember the tips shared throughout this guide, and don’t hesitate to experiment with different layouts and designs. The more you practice, the more natural it will become. So, dive in, start grouping your images, and watch your presentations come to life!
 admin
admin


