Glass cabochons are beautiful, smooth stones often used in various craft projects. They come in various shapes and sizes, making them versatile for creative endeavors. Whether you’re making jewelry, decorations, or personalized gifts, glass cabochons can enhance your designs. They work well in projects where you want to showcase images or patterns, as their clear surface magnifies and adds depth to the images behind them.
People commonly use glass cabochons in:
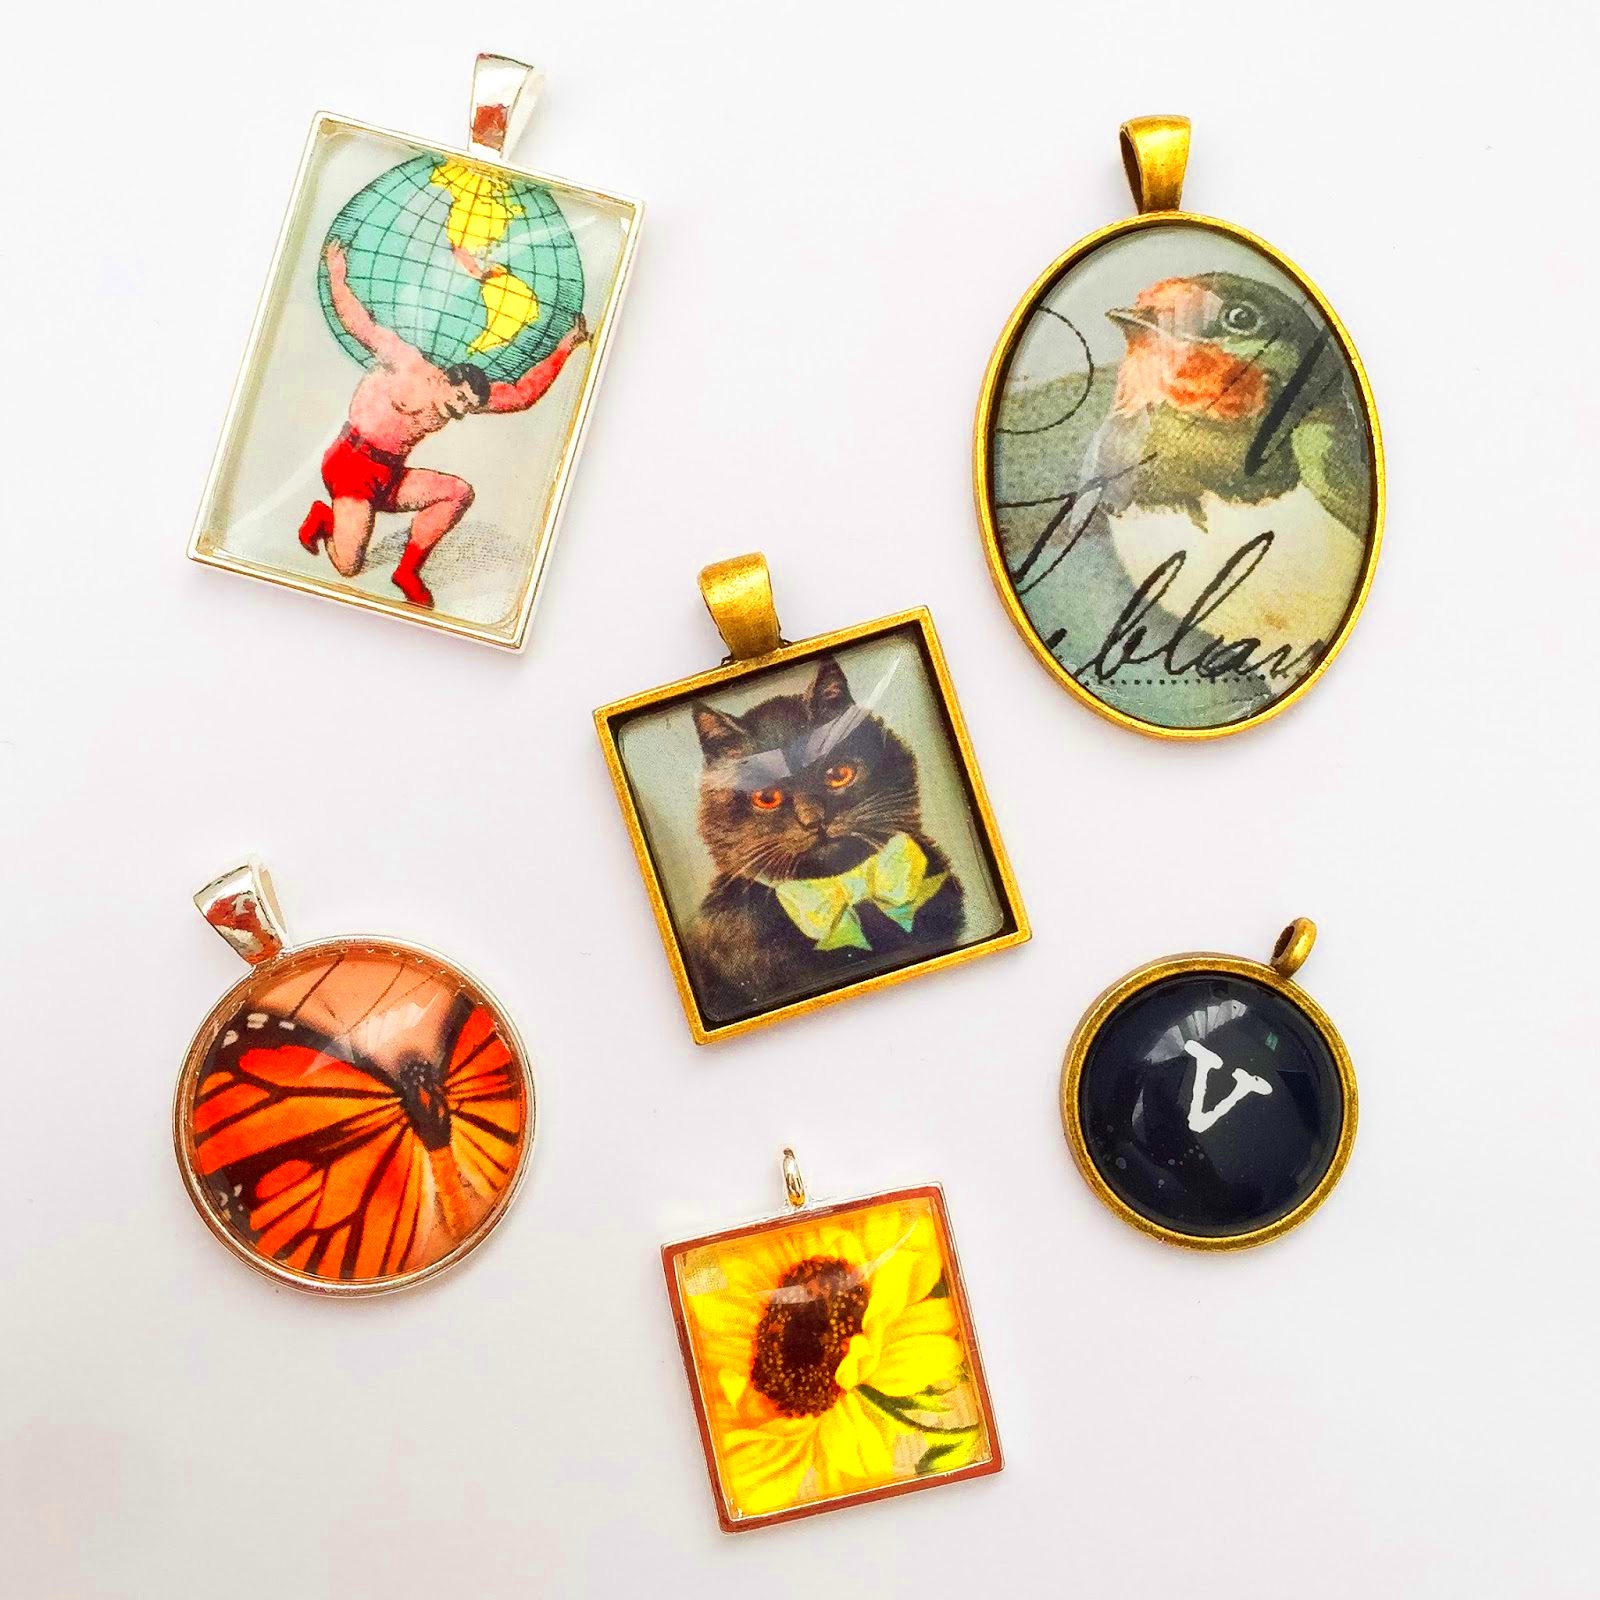
- Jewelry Making: Create stunning pendants, earrings, or rings.
- Home Decor: Use them in photo frames, coasters, or wall art.
- Personalized Gifts: Make custom gifts for friends and family by incorporating their favorite images.
Overall, glass cabochons are an excellent choice for both beginners and experienced crafters looking to add a unique touch to their projects.
Choosing the Right Images for Your Project
Selecting the right images is crucial to making your glass cabochon project successful. Here are some tips to guide you in choosing images:
- High Resolution: Ensure your images are high resolution to avoid pixelation when printed.
- Color and Contrast: Bright and contrasting images stand out better under the glass.
- Theme: Think about the theme of your project. Are you making something whimsical, elegant, or personal?
- Personal Touch: Consider using family photos or meaningful symbols to add sentiment.
Experiment with different images to see what looks best once the cabochon is placed over them. Don't hesitate to print a few samples to test out different options before settling on the final choice.
Gathering the Necessary Materials for Gluing
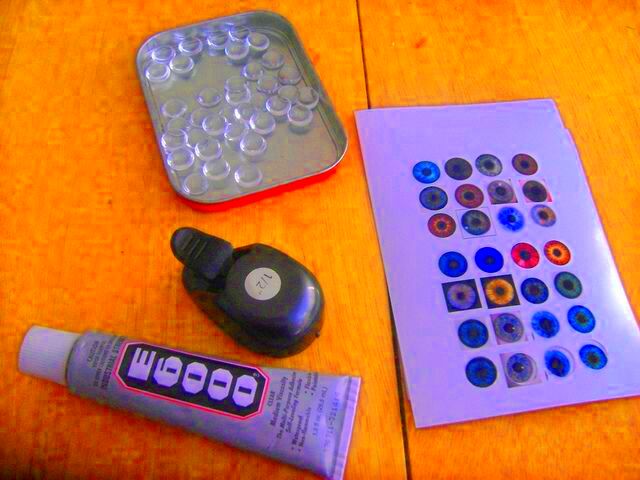
Before you start gluing, it's essential to gather all the materials you'll need. Here’s a list of items you should have on hand:
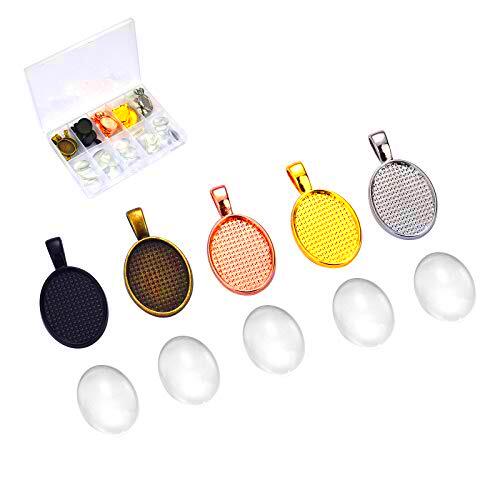
- Glass Cabochons: Choose the size and shape you want for your project.
- Images: Printed on good-quality paper, preferably with a matte finish.
- Adhesive: Look for a clear-drying glue, such as Mod Podge or E6000.
- Scissors: For cutting your images to the correct size.
- Brush: A small brush can help spread glue evenly.
- Sealer (optional): To protect your project from moisture and wear.
Having everything ready will make the crafting process smoother and more enjoyable. Take your time to prepare your workspace as well, ensuring it's clean and organized.
Preparing the Glass Cabochons for Adhesion
Before you start gluing, it's important to prepare your glass cabochons properly. This step can make a big difference in how well the images adhere to the glass. Here's how to do it:
- Clean the Surface: Begin by cleaning your cabochons with a soft cloth and some rubbing alcohol. This removes any dust, fingerprints, or oils that could prevent the glue from sticking.
- Check for Imperfections: Inspect each cabochon for any scratches or chips. If you find any, consider using a different piece, as imperfections can affect the overall look.
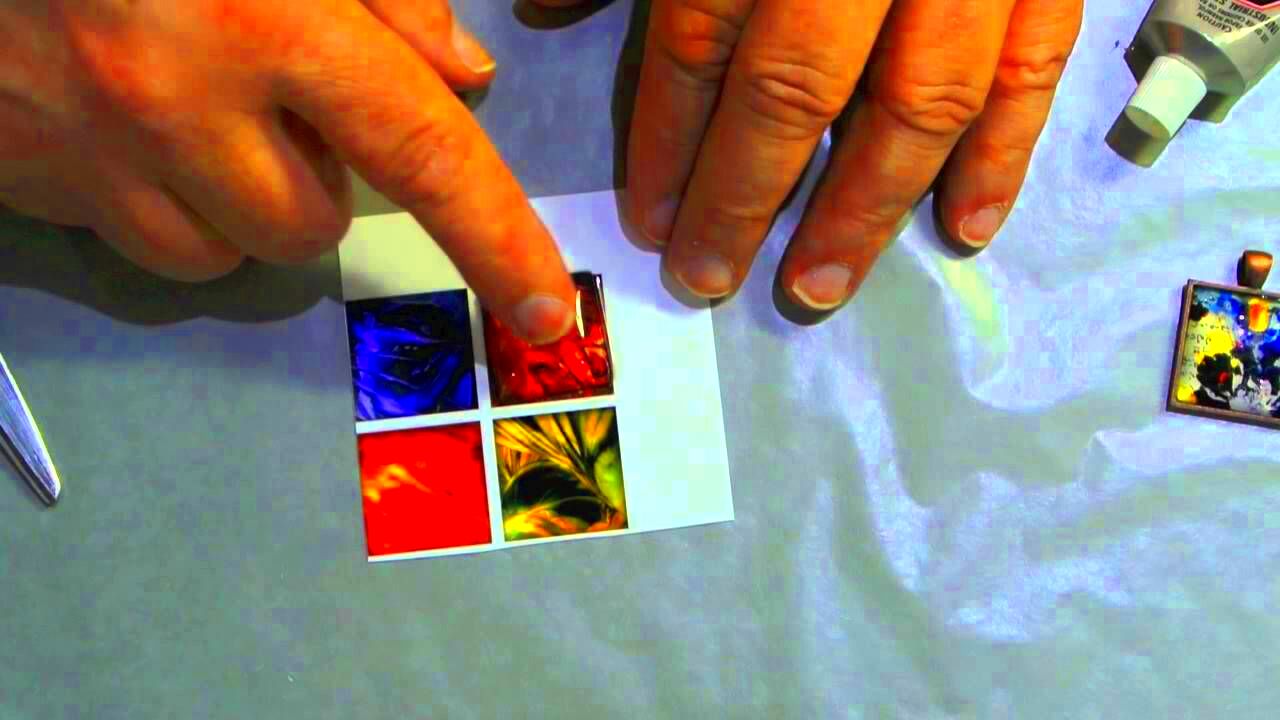
- Size the Images: Ensure that your images are cut to fit perfectly under the cabochons. It's a good idea to lay the cabochon on the image to see how it aligns before gluing.
- Practice Placement: Position the cabochon over the image without glue to visualize the final look. This helps you decide on the best angle and positioning.
By taking the time to prepare your cabochons, you'll set the stage for a successful crafting experience. Remember, a clean and well-prepped surface is key to achieving a professional finish!
Applying the Glue and Positioning the Images
Now that you have your glass cabochons and images ready, it’s time to apply the glue and position everything perfectly. This is where the fun really begins!
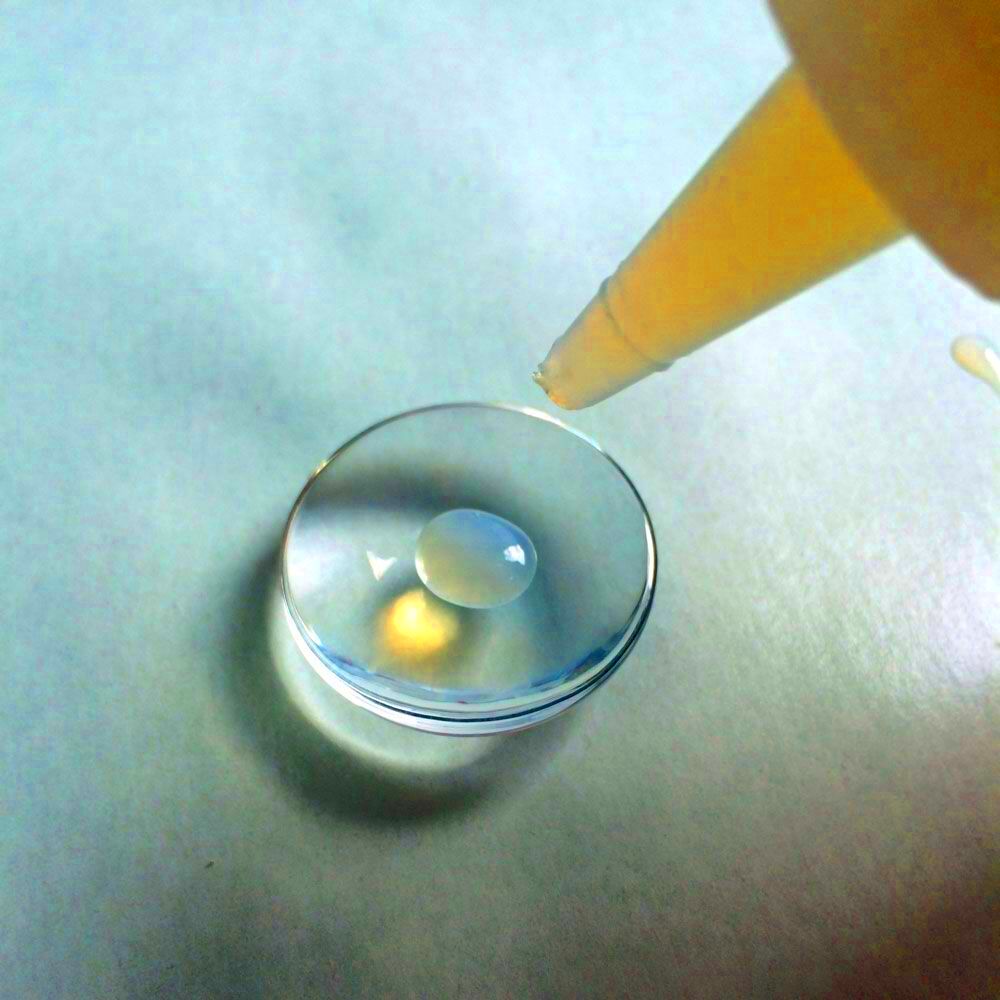
- Apply the Glue: Use a small brush or the tip of the glue bottle to apply a thin, even layer of glue on the back of the cabochon. Be careful not to use too much, as excess glue can ooze out when you press the image down.
- Place the Image: Carefully position your image under the cabochon. Start from one side and gently lower the cabochon to avoid trapping air bubbles.
- Press Down Gently: Once the cabochon is in place, press down lightly to ensure a good seal. You can use a clean cloth to wipe away any excess glue that might squeeze out around the edges.
- Double Check Alignment: Take a moment to ensure that the image is aligned correctly. If adjustments are needed, do it quickly before the glue begins to set.
By following these steps, you’ll achieve a clean and beautiful look. Just remember to take your time; rushing can lead to mistakes!
Allowing the Glue to Dry and Set Properly
After you’ve glued your images to the cabochons, patience is key! Allowing the glue to dry properly is crucial for a successful project. Here’s what to keep in mind:
- Follow Manufacturer's Instructions: Different adhesives have varying drying times. Always refer to the instructions on your glue for guidance.
- Choose a Suitable Environment: Place your cabochons in a dust-free area at room temperature. Avoid areas with high humidity, as this can affect the drying process.
- Avoid Movement: Try to keep your cabochons undisturbed during the drying period. Any movement can lead to misalignment or bubbling.
- Check for Dryness: Once the recommended time has passed, gently check if the glue is completely dry by lightly pressing the edges. If it’s still tacky, give it more time.
Once everything is dry, you’ll be ready to showcase your beautifully crafted pieces. The waiting game might be tough, but the results will be worth it!
Finishing Touches for Your Craft Projects
Now that you've glued your images to the glass cabochons, it’s time to add those finishing touches that make your project truly shine. These final steps can enhance the overall look and ensure durability. Here’s how to polish off your creations:
- Apply a Sealant: If your project will be exposed to moisture or wear, consider applying a clear sealant. This can help protect your images and glue from damage. Choose a sealant that’s compatible with your adhesive.
- Trim Excess Paper: Once the glue is dry, carefully trim away any excess paper around the cabochons. This gives your pieces a clean, professional look.
- Add Bails or Attachments: If you’re making jewelry, attach bails for pendants or hooks for earrings. Make sure they’re securely fastened to avoid any accidents later on.
- Check for Flaws: Inspect each piece for any imperfections, like glue smudges or uneven edges. If you spot any, gently clean them up with a damp cloth or a craft knife.
Taking the time to add these finishing touches will elevate your project and leave you with stunning results. It’s all about that attention to detail!
Frequently Asked Questions
If you're new to gluing images to glass cabochons, you might have some questions. Here are answers to common queries that can help guide you:
- Can I use any type of glue? While you can use various adhesives, it’s best to choose one that dries clear and is designed for glass and paper.
- How do I prevent air bubbles when gluing? To minimize air bubbles, press down slowly when placing the cabochon on the image and avoid moving it once it’s in place.
- What if the image looks blurry? Ensure you’re using high-resolution images. If they still look blurry after gluing, consider reprinting them at a higher quality.
- How should I store my finished cabochons? Store them in a cool, dry place, away from direct sunlight to prevent fading.
These tips can help you navigate any challenges you might face during your crafting journey.
Conclusion on Gluing Images to Glass Cabochons
Gluing images to glass cabochons can be a fun and rewarding craft project. By following the steps outlined above, you can create beautiful, personalized pieces that showcase your creativity. Whether you’re making jewelry, home decor, or gifts, these glass cabochons allow you to express your style in unique ways.
Remember to choose quality materials, take your time with each step, and don’t be afraid to experiment with different images and designs. With a little practice, you’ll be creating stunning cabochon projects in no time!
Happy crafting, and enjoy the process of turning your creative ideas into reality!
 admin
admin


