Sharing your creative work with the world has never been easier, especially with platforms like Behance. If you're a Photoshop user, you might be wondering how to seamlessly showcase your projects online. In this guide, we’ll walk you through quick steps to get your artwork from Photoshop to your Behance profile. Ready to take the plunge? Let’s get started!
Setting Up Your Behance Account
If you want to share your work on Behance, the first step is to set up your account. It’s a straightforward process, and in no time, you’ll be showcasing your creativity to a global audience. Here’s how to do it:
- Visit the Behance Website: Go to behance.net and click on the “Sign Up” button.
- Choose Your Method: You can sign up using your Adobe ID, Facebook, Google account, or even with your email. Select the option that works best for you.
- Fill Out Your Profile: Once registered, it’s time to personalize your profile. Add a profile picture, a cover image, and write a bio that reflects your style and expertise. Make it engaging!
- Link Your Adobe Creative Cloud: If you have an Adobe Creative Cloud account, link it to Behance. This integration allows for easier file sharing and access to your Adobe projects.
- Explore Behance: Familiarize yourself with the platform. Browse projects, follow creatives, and engage with the community. This interaction can inspire you and provide insights into best practices for showcasing your work.
By following these simple steps, you’ll have your Behance account set up and ready to go. Now you’re just a few clicks away from sharing your Photoshop masterpieces!
Also Read This: How to Reorganize Projects and Images on Behance to Reflect Your Creativity
3. Preparing Your Photoshop Project

Before you can share your stunning creations on Behance, it's essential to prepare your Photoshop project meticulously. This step ensures your artwork not only looks great but also fits seamlessly with the Behance platform's requirements.
Start by organizing your layers. You want to make sure everything is named clearly and grouped logically. This makes it easier to make adjustments and ensures a clean presentation later. Here’s a quick checklist:
- Name Layers: Give each layer a descriptive name to avoid confusion.
- Group Similar Layers: Use folders to group related elements, like text or images.
- Check Resolution: Ensure your project is set to a minimum of 72 DPI for web sharing.
- Document Size: Consider resizing your canvas based on how you want to display your work.
Also, don’t forget to add some finishing touches. Adjust colors, add effects, and double-check your composition. The cleaner and more polished your project looks, the more likely it is to attract attention on Behance!
Also Read This: How to Create an Interior Design Portfolio on Behance: Showcasing Your Design Projects in Style
4. Exporting Your Work from Photoshop
Once your project is ready, it’s time to export it for sharing on Behance. Photoshop offers various formats, and choosing the right one is crucial to showcase your work effectively.
Here’s a straightforward guide on how to export:
- Select Your Layers: If you only want to export specific layers, select them now.
- Go to File Menu: Click on File in the top menu.
- Choose Export: From the dropdown, select Export As....
- Choose Format: For most purposes, JPEG or PNG works best.
Here’s a quick comparison of the two formats:
| Format | Use Case | Quality |
|---|---|---|
| JPEG | Photography & detailed images | Good, but can lose details |
| PNG | Graphics with transparency | Excellent, retains quality |
After selecting your format, adjust the settings and hit Export. Now, your artwork is ready to shine on Behance!
Also Read This: Understanding How Behance Works and Its Features
Uploading to Behance
One of the most exciting parts of your creative journey is sharing your work with a wider audience. Uploading your designs to Behance from Photoshop is a straightforward process that can make your work shine. Here’s how you can do it:
- Prepare Your Project: Make sure your design is ready for upload. You might want to export your artwork in high resolution to ensure it looks stunning on the platform. Use formats like JPEG or PNG for images, or PDF for multi-page projects.
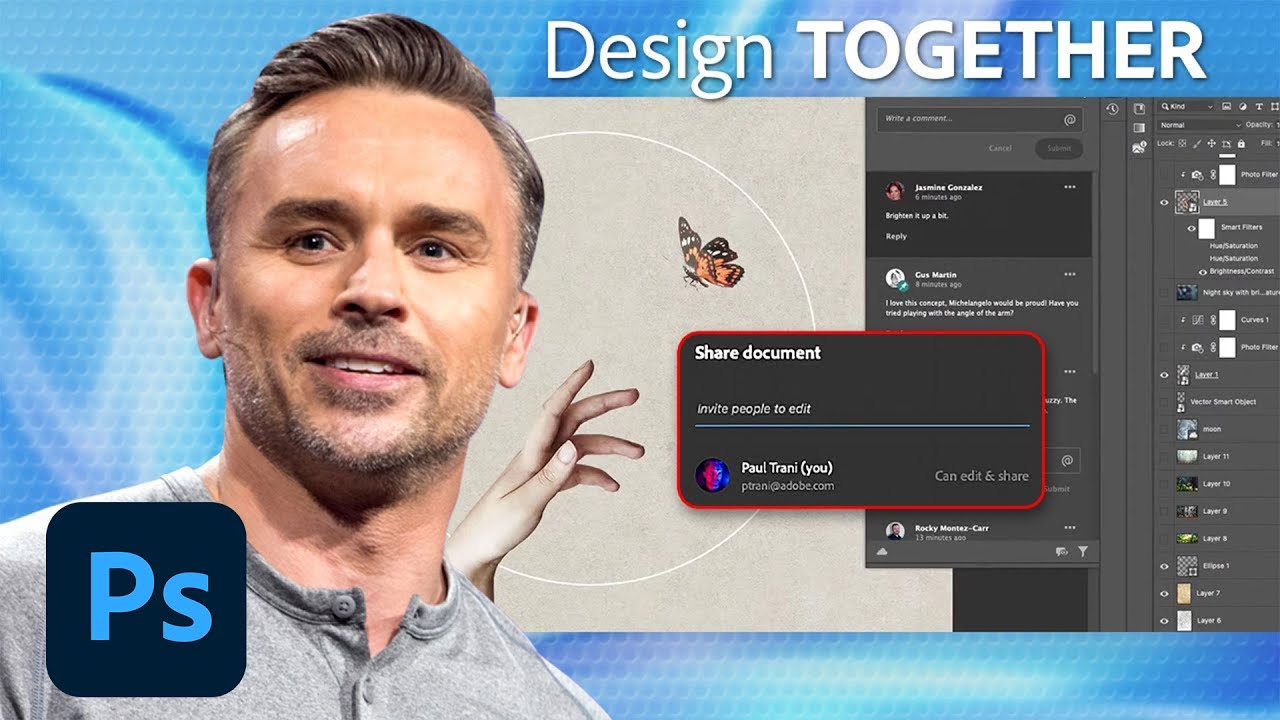
- Access Behance from Photoshop: In Photoshop, navigate to the top menu bar and click on File. From the dropdown, select Share and then choose Behance. If prompted, log into your Behance account.
- Create a New Project: Once logged in, you’ll see an option to create a new project. Click on this and start uploading your files. You can drag and drop your images directly into the upload window.
- Add Project Details: Fill in essential project information such as title, description, and tags. This is your chance to tell a story about your work. Be descriptive and engaging—this can attract more viewers!
- Organize Your Content: You can rearrange the order of your images and provide captions for each one. This helps viewers understand your thought process and the development of your project.
Don’t forget to save your progress frequently to avoid losing any of your precious work!
Also Read This: How to Download Images from Behance Quick and Easy Solutions
Final Touches and Publishing
Once you’ve uploaded your project, it’s time to add those final touches before hitting that publish button. Here’s a quick checklist to ensure your project is ready:
- Proofread Your Description: Spelling and grammar matter! Go through your text to ensure it’s polished and professional.
- Select the Right Cover Image: Your cover image is the first thing people will see. Choose an eye-catching image that represents your project well.
- Adjust Visibility Settings: Decide whether you want your project to be public or private. If you’re still working on it, keep it private until you’re ready to share.
- Add Creative Fields: Specify the categories that best match your project, such as Graphic Design, Photography, or Illustration. This will help your work reach the right audience.
- Invite Feedback: Consider inviting friends or colleagues to review your project before publishing. Fresh eyes can provide invaluable feedback.
After you’ve made all your adjustments, it’s time for the most thrilling part—publishing your project! Hit the Publish button and watch your creative work take flight. Congratulations on sharing your talent with the world!
How to Get to Behance from Photoshop: Quick Steps for Sharing Your Work
Sharing your creative work on Behance directly from Photoshop is a seamless process that enhances your visibility in the artistic community. Below are the quick steps to ensure your projects reach a wider audience efficiently.
1. Prepare Your Work - Before sharing, make sure your project is fully edited and finalized in Photoshop. Check for any unwanted layers or elements that need to be adjusted.
2. Export Your Project - To share your design, go to File > Export > Export As.... Choose the appropriate format (JPEG, PNG, etc.) for your artwork.
3. Save to Cloud Documents - If you are using Adobe Creative Cloud, save your work to your cloud documents for easy access. You can do this by selecting File > Save As > Cloud Documents.
4. Use the Behance Plugin - Install the Behance plugin from the Adobe Exchange. Once installed, go to the Window > Extensions menu and select Behance. Sign in to your Behance account.
5. Upload Your Work - In the Behance panel, click Share and select your exported artwork. Add a project title, description, and tags to enhance discoverability.
6. Publish Your Project - Review your project settings and publish it by clicking the Publish button. You can also choose to save it as a draft for later editing.
By following these steps, you can seamlessly share your work on Behance directly from Photoshop, showcasing your talent to a global audience.
Conclusion: Sharing your artwork on Behance from Photoshop is an efficient way to connect with other creatives, promote your work, and gain recognition within the design community while maximally utilizing Adobe's tools.
 admin
admin


