If you’ve ever found joy in watching a paper airplane glide gracefully through the air, you’re not alone! Folding paper planes is not just a childhood pastime; it’s a fascinating blend of art and science. With the perfect technique, you can create a plane that soars for remarkable distances. In this blog post, we’ll explore how to fold a paper plane that maximizes flight distance, ensuring it stays in the air longer and travels further. So grab some paper, and let’s dive into the world of aerodynamic folds!
Materials Needed
Before we get into the folding techniques, it’s important to gather the right materials. Luckily, you won’t need much; just a few basic items will do! Here’s a quick rundown of everything you’ll need:
- Paper: A standard A4 or letter-sized sheet of paper works best. You can use printer paper for durability or lightweight paper for enhanced flight.
- Ruler: This will help you measure and make neat, precise folds—crucial for a well-balanced plane.
- Pencil: Optional, but it’s great for marking where to fold, especially if you’re a beginner.
- Scissors: These are also optional and can be used for those who want to create unique designs or eliminate excess paper for a lighter plane.
- Marker or stickers: Pretty up your plane! This isn’t necessary for flight but adds a fun personal touch.
And that’s it! With just these few items, you can start your journey into the art of aviation (well, paper aviation, that is)! Ensure you have a flat surface and a bit of space to experiment with your designs. Once you’ve got your materials ready, you’ll be equipped to create a paper plane that’s not only fun to fly but also impressive in its distance.
Also Read This: Make Your Dailymotion Videos Full Screen with Ease
3. Step-by-Step Instructions for Folding a Paper Plane
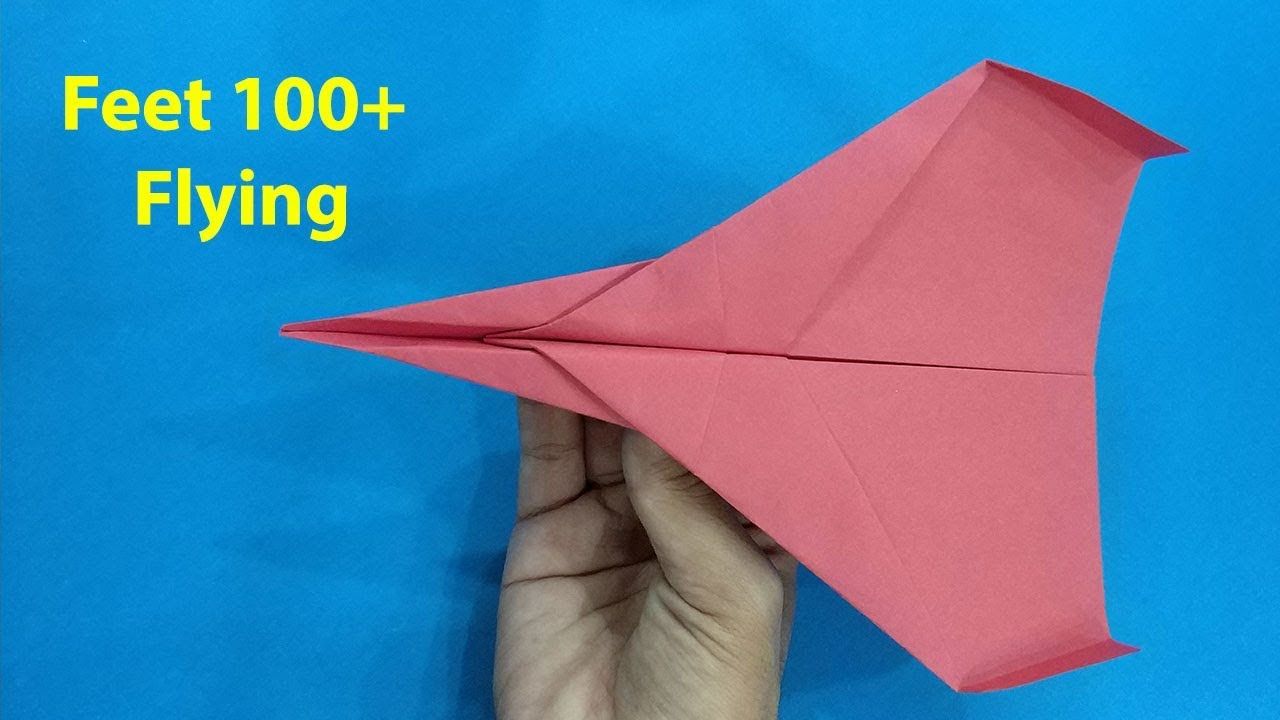
Alright, let’s dive into the fun part—folding your paper plane! Follow these simple steps, and you’ll have a sleek glider ready for takeoff in no time. Grab a standard sheet of A4 or Letter-sized paper, and let's get started!
- Start with a Simple Fold: Begin with your paper laid flat on a surface in portrait orientation. Fold it in half lengthwise, aligning the edges carefully, and then unfold it. This fold will create a crease down the middle.
- Create the Nose: Fold the top two corners down towards the center crease. This should create a triangle shape at the top of your paper. Make sure the edges line up nicely with the center crease—you want that point to be sharp!
- Make the Second Fold: Once you’ve got your triangle, it’s time to create a smaller triangle. Take the new corners you just made (the edges of the triangle) and fold them towards the center crease again. This will make the nose of the plane even sharper. Press down to make sure your creases are nice and firm.
- Form the Wings: Now, fold the paper in half along the original crease so that the triangle is on the outside. Next, take the top edge on one side and fold it down to meet the bottom edge of the plane. This is one of your wings. Flip your plane over and repeat this step for the other side, making sure both wings are symmetrical.
- Add Winglets (Optional): For some extra stability, you can create winglets by folding the tips of each wing up a little. Just fold a small section (around one inch) at the end of each wing upwards. This can help with aerodynamics!
- Finishing Touches: Finally, give your plane a little shake to ensure it’s all together, check that everything is folded neatly, and you’re set! Stand back and admire your handiwork.
Now that you have your paper plane ready, it's time for the real fun: flying it! But first, make sure you're aware of some common pitfalls when folding—let’s move on.
Also Read This: How to Download Bluestacks for Windows 7 from Dailymotion: Simple Steps for Easy Installation
4. Common Mistakes to Avoid When Folding Paper Planes

Folding a paper plane seems simple, but there are a few common mistakes that can seriously affect its flight performance. Here’s what to watch out for, and how to avoid them:
- Irregular Folds: One of the most important parts of making a great paper plane is ensuring clean and consistent folds. If your folds are uneven, your plane will fly off in unexpected directions. Take your time to make each fold precise.
- Ignoring the Creases: Folds aren’t just lines on paper; they’re crucial for the plane’s structure! Unfold your paper after each fold to check the crease, then refold for better structure. A strong crease helps maintain shape during flight.
- Wrong Paper Choice: Not all paper is created equal! Using heavy-duty or textured paper may affect how far your plane flies. Thin, standard printer paper is often best because it’s lightweight and easy to fold.
- Uneven Wings: Make sure your wings are perfectly symmetrical. If one wing is lower than the other, your plane will yaw (tilt sideways) mid-flight. Use a ruler or check by eye to ensure both wings match—and don't forget to measure twice if needed!
- Too Many Folds: Some novice folders think that more folds mean a better design. However, simplicity is key! Stick to the basic design, as fewer folds help maintain aerodynamics.
- Lack of Testing: Once you’ve made your plane, don’t just launch it without testing—give it a gentle throw a few times to see how it performs. Adjust the wings and nose configuration as needed for better results.
By keeping these common mistakes in mind, you’ll be on your way to crafting the ultimate paper plane that soars through the skies! Happy flying!
Also Read This: Creating GIFs from Dailymotion Videos
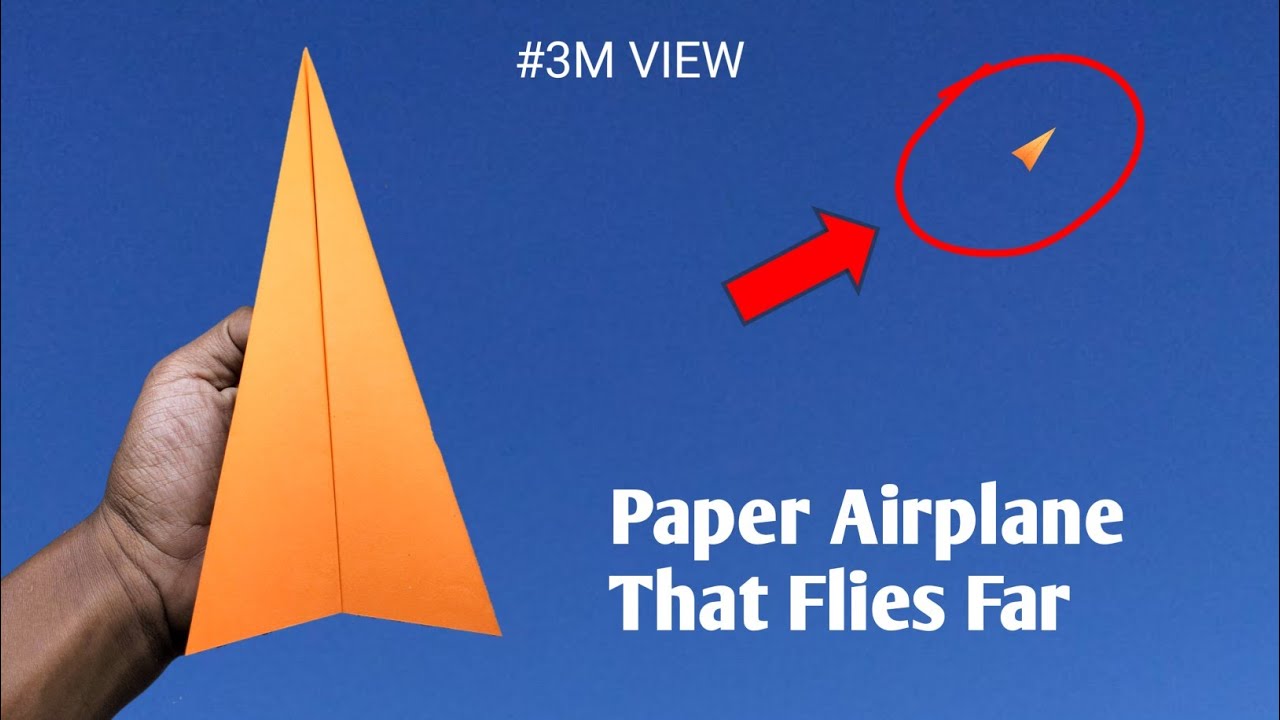
5. How to Test Your Paper Plane’s Flight Distance
Testing your paper plane’s flight distance is one of the most exciting parts of the whole process! Once you’ve crafted your plane, you’ll want to see just how far it can soar. Here’s a simple way to conduct your flight tests:
- Choose a Launch Area: Find an open space where you can toss your plane without obstacles, like trees, buildings, or people. A long hallway, an open park, or a wide backyard works perfectly!
- Use a Measuring Tape: Grab a measuring tape or a ruler to track the flight distance accurately. Make sure to measure from the launch point (where you throw the plane) to the point where the plane lands.
- Take Turns: If you’re testing with friends or family, take turns launching your paper planes. This makes it a fun competition! Don’t forget to cheer each other on!
- Record the Distances: Keep track of each flight’s distance by writing it down. You can use a notebook or a simple app on your phone. This will help you compare results.
- Conduct Multiple Runs: To get a good idea of your plane’s average flight distance, test it several times—at least five launches. This helps account for any variations in throwing style or technique.
- Experiment with Launch Angles: Try launching your plane at different angles. Sometimes a slight tilt can significantly impact flight distance. Document these angles along with the distances!
Once you’ve completed your tests, analyze your results. Did the same design perform consistently? Were there any outstanding distances that you'd like to replicate? Understanding your plane’s performance can help you make informed adjustments in the next section.
Also Read This: Simple Ways to Upload and Share Your Videos on Dailymotion
6. Tips for Improving Flight Performance
Now that you’ve tested your paper plane and recorded its flight distance, it’s time to refine your design! Optimizing your plane’s performance can lead to that perfect flight. Here are some tips to help you get the best results:
- Adjust the Wings: Make sure the wings are even and properly aligned. If one wing is higher or lower than the other, it can cause your plane to veer off course. Clip or fold the wings slightly to achieve symmetry.
- Experiment with Weight Distribution: Adding a little weight can sometimes help a plane fly farther. You can experiment by adding small paper clips to the nose of your plane or other areas to see how it affects stability and distance.
- Modify the Wing Shape: Wing design impacts lift and drag. Consider trying different shapes or styles. Wings with a slight upward curve (dihedral wings) can enhance stability and help maintain flight.
- Ensure Sharp Folds: Crisp, clean folds create a more aerodynamic shape. Use a flat surface to make your folds and apply pressure to ensure they remain sharp. A well-folded plane flies better!
- Adjust Launch Technique: Sometimes, it’s not just the plane but how you throw it! A smooth, gentle throw is often better than a strong heave. Aim for a launch angle of around 10 to 15 degrees for the best results.
- Practice, Practice, Practice: The more you throw, the more you learn. With each launch, you’ll gain better control over your technique, which can improve your overall outcomes!
With these tips, you’re well on your way to creating a paper plane that can fly further than you ever imagined. Enjoy the process, learn from each test flight, and don’t hesitate to get creative with your designs!
Also Read This: How to Make Chocolate Cake Video: Easy Baking Tutorial on Dailymotion
7. Video Demonstrations on Dailymotion
If you're a visual learner or just need a bit of extra guidance, there are fantastic resources available online. One of the best platforms for paper plane enthusiasts is Dailymotion. Here, you'll find a plethora of video demonstrations that can help you refine your folding techniques and improve your flying skills.
There are numerous channels dedicated to origami and paper crafts that feature various styles of paper planes—each with their own method for folding. Watching these videos not only gives you a clear picture of each step but can also inspire you to experiment with different designs. Here are a few tips to make the most of these video demonstrations:
- Search Effectively: Use keywords like "paper plane folding" or "best paper airplane designs" to find the most relevant videos.
- Follow Along: Pause the video at key moments to ensure you're replicating each fold accurately before moving on.
- Practice Different Designs: Don't just stick to one type of plane. Experiment with various designs shown in these videos to find what works best for you.
- Take Notes: Jot down any important tips or specific folding techniques that stand out during the videos, so you can refer back to them when needed.
Dailymotion is a great place to explore varying techniques and styles, from the classic dart to more complex creations. Remember, the more you practice, the better your paper plane will fly. Each video allows you to observe the nuances that can make a big difference in performance.
8. Conclusion and Final Thoughts
So, there you have it! Learning how to fold a paper plane for maximum flight distance is both an art and a science. With the right techniques and a bit of practice, you can master the folding process, create a fantastic flying machine, and maybe even impress your friends with your newfound skills.
To recap, here are the main takeaways:
- Choose Quality Paper: Thicker paper can enhance durability, while lighter paper can improve distance.
- Focus on Symmetry: Ensuring your folds are precise and even is key to a well-performing plane.
- Test and Tweak: Don’t hesitate to make adjustments based on the performance of your planes. Small modifications can lead to significant improvements.
- Utilize Online Resources: Platforms like Dailymotion offer great visual tutorials that can help you master the art of paper plane folding.
In conclusion, folding a paper plane is a delightful activity suitable for all ages. It’s a great way to spark creativity, engage with physics, and even introduce some light-hearted competition among friends and family. The sky is truly the limit when it comes to your designs and capabilities. So, gather your materials, fold away, and enjoy the thrill of watching your creation soar! Happy flying!
 admin
admin


