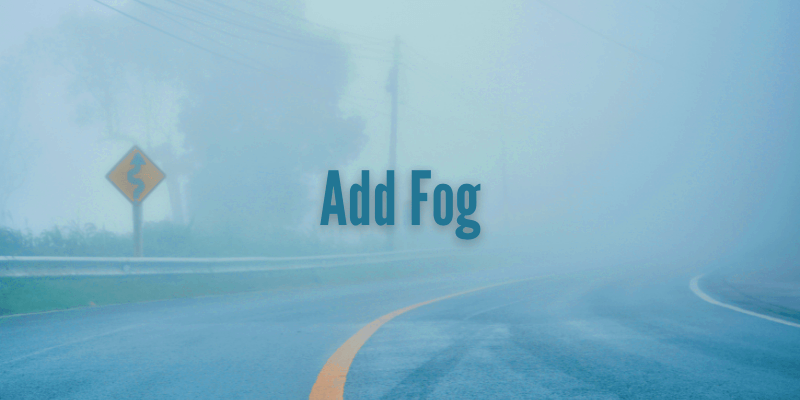
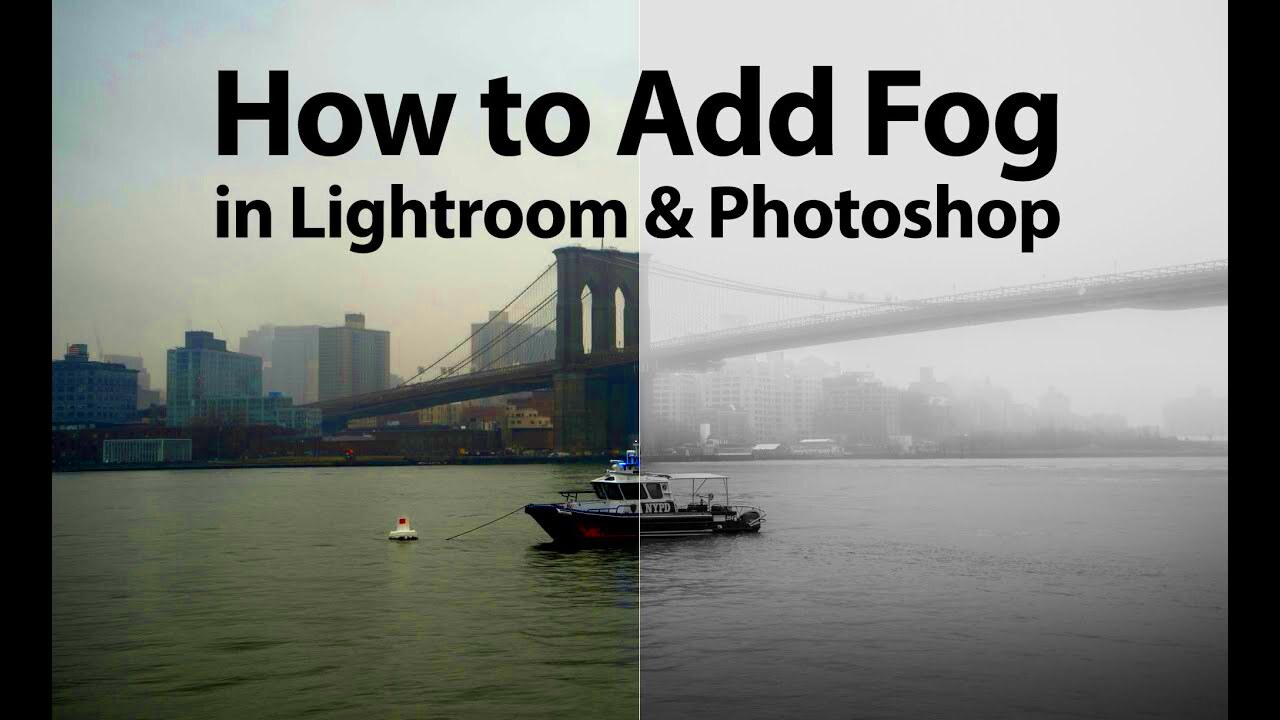
Adding fog effects in your images brings a distinct and enigmatic dimension that enhances mood and atmosphere. When done rightly, it takes a dull photo to a spellbinding one. It blurs the edges so as to create depth hence provoking feelings among viewers which they can associate with. This part of the site is going to give you an insight on how fog can influence any photograph and why you should think about having it there.
Fogging an image entails superimposing a thin, misty veil that can imitate conditions under which fog or haze often occurs. This method is particularly common in landscape photography, where evoking feelings of peace or solitude is often the aim. Therefore knowing how to effectively implement this effect will enable you to make amazing images with amazing looks that are irresistible.
Choosing the Right Image for Fogging

Not every image is appropriate to apply fog effects. Therefore, by following some instructions below, you can select the best picture:
- Nature Scenes: Photos of mountains, forests, or lakes work well with fog effects, enhancing their natural beauty.
- Urban Landscapes: Cityscapes can take on a dramatic flair when fog is applied, adding an element of mystery.
- Portraits: Fog can soften the background, directing focus towards the subject.
While selecting a picture, take into account the subsequent factors:
| Criteria | What to Look For |
|---|---|
| Contrast | Images with strong contrasts will benefit more from fog effects. |
| Lighting | Look for images with soft lighting for a more natural fog appearance. |
| Composition | Consider how fog will interact with the main elements in your image. |
Also Read This: Enlarging Images Without Losing Quality
Using Canva for Image Editing

Canva is an easy-to-use graphic design tool that allows you to add fog effects to your images quickly and confidently. Regardless of whether you're a skilled designer or just beginning; in case you have everything, the right instrument will be at hand. Following are steps on how to go about it:
- Create an Account: If you don’t have a Canva account yet, sign up for free.
- Select a Template: Choose a template that suits your project or start with a blank canvas.
- Upload Your Image: Click on the “Uploads” tab to bring in the image you want to fog.
Canva provides different sorts of tools and attributes for improving your pictures:
- Drag-and-Drop Functionality: Easily move elements around your canvas.
- Photo Filters: Apply filters to enhance the overall look of your image before adding fog.
- Text Options: Add captions or quotes to your fogged images for a personalized touch.
Canva is very simple to use and enables everyone to play around using various styles thus making it a perfect option in case one is interested in creating wonderful fog imagery.
Also Read This: how do you report an image on google
Steps to Apply Fog Effects in Canva

The procedure for incorporating fog effects in Canva is simple even if you are just beginning with graphic design. To make stunning fog visuals that command attention and stir feelings, adhere to these easy steps.
- Open Canva: Log in to your Canva account or create a new one. You’ll find a wide range of templates and tools at your disposal.
- Select Your Image: Upload the image you want to edit by clicking on the “Uploads” tab. Drag your image onto the canvas.
- Add a Fog Overlay: Go to the “Elements” tab and search for “fog” or “mist.” You’ll see various fog overlays available. Choose one that suits your style and drag it onto your image.
- Resize and Position: Adjust the size and position of the fog overlay to fit your image perfectly. You can rotate it to match the perspective of your photo.
- Change Layering: Make sure your fog layer is positioned correctly. Right-click on the fog overlay and select “Send Backward” if you want to position it behind other elements.
- Finalize Your Design: Once you're happy with the fog effect, take a moment to review the overall image. Make any final adjustments as needed.
And oh my God, that’s it! You can do this by applying fog effects in a very simple way using Canva, and you will make your pictures look like they were taken by a professional.
Also Read This: How to Download Behance Videos
Adjusting Opacity and Blur Settings
In order to produce an authentic appearance, it is crucial that once you have added a fog overlay onto your image, you modify the opacity and blur settings accordingly. Such modifications will enable your haze to merge into the picture effortlessly.
Following is the way in which one can make alterations to these arrangements:
- Select the Fog Layer: Click on the fog overlay on your canvas to select it.
- Adjust Opacity: In the top-right corner, you’ll see an “Opacity” slider. Lowering the opacity will make the fog more transparent, allowing your original image to show through. A range of 10% to 50% usually works well for a soft fog effect.
- Apply Blur: Click on “Effects” in the top toolbar, and you’ll find the “Blur” option. Increasing the blur will make the fog appear softer and more diffused, giving a more natural look. Start with a blur of 5 to 10 pixels and adjust according to your preference.
- Preview Your Changes: Regularly preview your image to see how the adjustments affect the overall look. This helps in making real-time decisions.
Adjusting these parameters will let you generate a fog-like effect that goes so well with your picture producing an incredibly deep dimension to that image.
Also Read This: how to remove colors from an image
Enhancing the Fog Effect with Additional Elements
In order to raise the bar of your fogged images, it is advisable that you incorporate various components which would go hand in hand with the fog effect. This will lead to an elevated surrounding for better mood and impression in your arrangement.
To enhance the foggy effect, here are some suggestions:
- Layering Textures: Try adding textures like clouds or mist for more depth. You can find these in the “Elements” tab. Just remember to adjust their opacity so they blend well.
- Adding Light Effects: Consider including light rays or sunbeams peeking through the fog. This can create a more dynamic and ethereal look.
- Incorporating Icons or Shapes: If you're creating a poster or social media post, add icons or shapes that fit your theme. For example, a silhouette of a tree can work well in a foggy landscape.
- Using Color Filters: Adjust the color of your fog layer by applying a color filter. This can change the mood of your image. For instance, a blue tint can create a cooler, more mysterious atmosphere.
Always bear in mind the need to be clear and concise. Instead, aim at improving the foggy appearance without flooding your layout with unnecessary additions. You can thus form visually enticing pictures that rivet your viewers’ attention just by adding some features to them very strategically.
Also Read This: Account Resurgence: Recovering Your Photobucket Account
Saving and Downloading Your Fogged Image
When you’re done making an ideal fogged picture in Canva, next thing worthy of doing is to save and download it. It doesn’t matter whether you want to use on social media, a site or print, right choice of format and resolution remain pivotal. Below is a brief guide to take you through this process in a simplified manner.
- Preview Your Design: Before downloading, take a moment to review your design. Make sure everything looks as you intended, from the fog effects to any added text or elements.
- Click on the Download Button: In the top right corner of your Canva screen, you’ll find the “Download” button. Click on it to open the download options.
- Select Your File Type: Canva allows you to download your design in various formats. Here are some common options:
- PNG: Great for images with transparent backgrounds.
- JPEG: A good choice for photos, balancing quality and file size.
- PDF: Ideal for printing your designs in high quality.
- Adjust Your Settings: Depending on the file type you choose, you may have options to adjust the quality or include a transparent background.
- Download Your Image: Once you’ve selected your preferences, click the “Download” button again. Your image will be saved to your device!
These uncomplicated actions allow you to effortlessly preserve and retrieve your blurred photos for any objective that you may require.
Also Read This: How Long Are YouTube Shorts in 2024
Tips for Creating Stunning Fog Images
Making amazing fog images involves more than just putting effects; it is about comprehending how to improve your holistic composition. Here are some helpful hints to help you create distinguishable fog images:
- Use High-Quality Images: Starting with a high-resolution image will yield better results. Crisp details will shine through the fog effect.
- Experiment with Different Opacities: Don’t be afraid to play around with the opacity settings. Sometimes, less is more when it comes to fog.
- Balance Elements: Ensure your main subject is well-balanced with the fog. This helps maintain focus while creating an atmospheric look.
- Consider Color Contrast: Choose images with contrasting colors. Fog often works best with darker backgrounds, creating a dramatic effect.
- Get Feedback: Share your work with friends or fellow designers. Getting a fresh pair of eyes can provide new insights and suggestions.
When you embrace these suggestions, you shall be in a good position of coming up with beautiful fog images that will mesmerize your audience and leave them with unforgettable memories.
Also Read This: Removing Watermark on Adobe Stock: Guidelines and Processes
Frequently Asked Questions
To start with canva, or if you are applying fog effects for the first time, these are some of the common inquiries:
- Can I use Canva for free? Yes, Canva offers a free version that includes many features. However, some premium elements may require a subscription.
- What file format is best for social media? For social media, JPEG or PNG formats work well. PNG is preferred if you need a transparent background.
- How do I add multiple fog layers? You can add multiple fog overlays by repeating the process of uploading and adjusting additional fog elements.
- Can I edit my image after downloading it? No, once downloaded, the image becomes a static file. However, you can always go back to your Canva project and make adjustments before downloading again.
- Is there a limit to the number of images I can create in Canva? There is no set limit, but storage may vary based on your account type and device.
If anything is unclear or you require aid, you may want to take a look at Canva’s assistance hub or societal websites for further materials.
Conclusion on Fogging Images
A picture without fog is essentially pointless; therefore, you should use fogging images and create that enchanting effect. It is through this technique that one can manipulate the weather and create good quality photos. The kind of image you select is significant as well as some practices such as manipulating transparency and including other items to bring about a three-dimensional effect. You may simply make an amazing foggy picture for your audience by following these steps carefully. Remember that practice makes perfect! Be free to try new things and make adjustments often! As you work with fog effects more often, your pictures will improve!

 admin
admin


