Flattening an image in Photoshop is an essential process when you're working with multiple layers in your project. It simplifies your image by merging all visible layers into one, which can make the file easier to manage. In this guide, we’ll explore why and how you should flatten your images. Whether you're preparing for print or exporting an
Why Flattening an Image Is Important in Photoshop

Flattening an image combines all layers into a single layer, making it easier to handle in certain situations. This is especially important when working with complex designs or preparing files for printing or sharing. Here’s why flattening is often necessary:
- Smaller File Size: Layers take up more space, so flattening reduces the overall file size, making it easier to share and store.
- Faster Performance: When you flatten your image, Photoshop no longer has to manage individual layers, speeding up performance, especially with large files.
- Better Compatibility: Some programs or printers don’t handle layered files well. Flattening ensures your image looks as intended when viewed elsewhere.
- Permanent Edits: Flattening applies all edits permanently, so you don't have to worry about adjusting individual layers later.
It’s a good practice to save your original file with layers intact in case you need to make changes later, but when you’re ready to finalize your image, flattening makes it easier to handle.
Step by Step Guide to Flattening Images in Photoshop

Flattening an image in Photoshop is straightforward, but it’s important to follow the correct steps to avoid any accidental loss of information. Here’s a simple guide to flatten your image:
- Open Your Document: Make sure your Photoshop file is open and you’ve finished all necessary edits to your layers.
- Check Layers Panel: Before flattening, review the Layers panel. Ensure all important layers are visible and in the desired position.
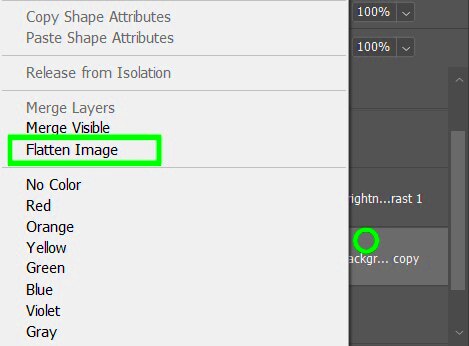
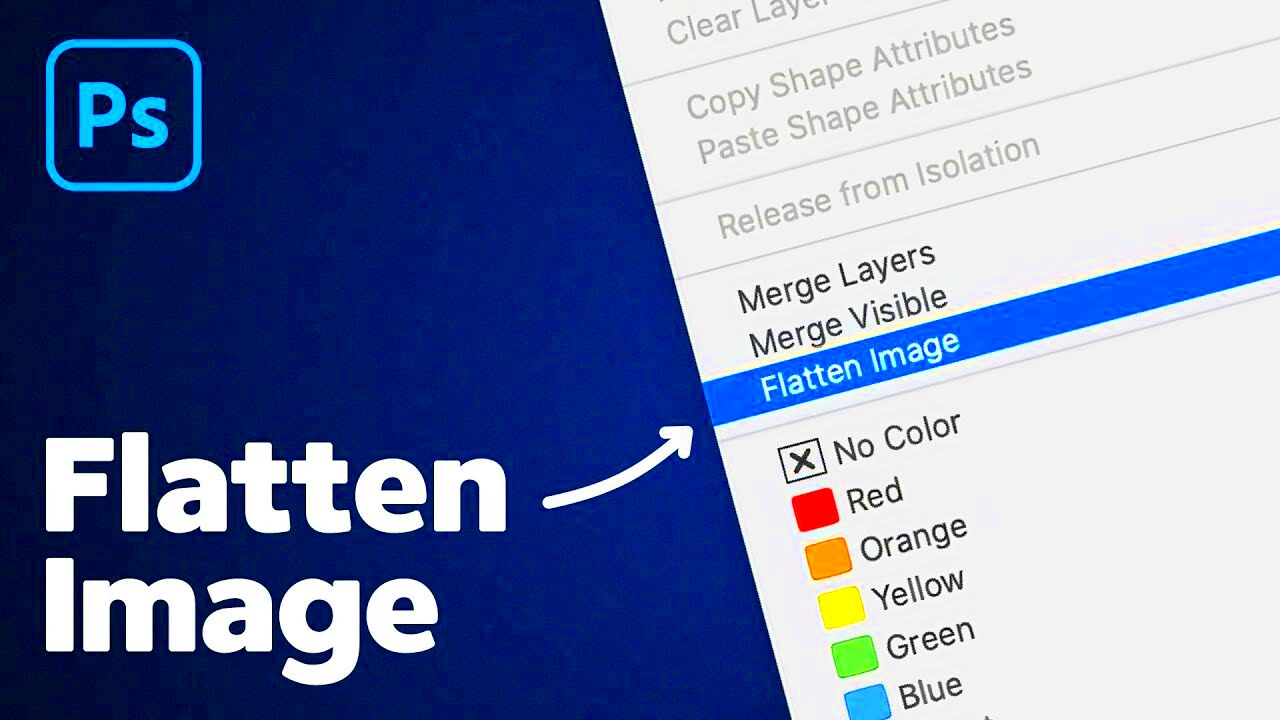
- Merge Visible Layers: You can flatten the image by selecting “Flatten Image” from the Layers menu at the top of the screen. This will merge all visible layers into one.
- Save Your Work: Once flattened, save your image as a JPEG or PNG, depending on your needs. Always save a copy of the layered version for future editing.
Remember that flattening will combine all layers, so if you need to adjust something later, it’s important to keep a layered version saved separately. Also, be cautious when flattening because any hidden layers will be discarded in the process.
How to Use a Shortcut for Flattening an Image in Photoshop
Flattening an image in Photoshop can be done easily using the software’s built-in shortcut. This simple shortcut helps speed up your workflow, especially when you're in a rush and want to finalize your image quickly. Instead of navigating through the Layers menu, you can flatten your
- Step 1: Ensure that your image is open and all necessary layers are visible.
- Step 2: Press Ctrl + Shift + E (Windows) or Cmd + Shift + E (Mac).
- Step 3: Your image will immediately flatten, merging all visible layers into one.
This shortcut works because Photoshop automatically merges all visible layers when you use the Merge Visible command, which is exactly what happens when you flatten an image. Remember, this shortcut doesn’t give you a chance to select specific layers to flatten – it only flattens all visible layers at once. If you need more control, you’ll want to go through the Layers menu manually.
Using the shortcut regularly helps save time, especially when you’re working with large files that need to be finalized quickly. It’s one of the many ways to make your Photoshop workflow more efficient and streamlined.
What Happens When You Flatten an Image?
Flattening an image means merging all of its visible layers into a single background layer. But what does this actually mean for your file? Let’s break it down:
- Merging Layers: All the layers in your document, including text, images, and effects, are combined into one single layer.
- Loss of Layered Information: Once flattened, you can no longer edit individual layers. For example, you won't be able to move a text layer or adjust a color effect separately.
- Compression of Effects: Any effects, such as drop shadows or gradients, are permanently applied to the image. You won’t be able to change these effects without starting over from the original, layered version.
- File Size Reduction: Flattening your image removes hidden layers, reducing the file size significantly. This is ideal for web use or sharing images.
Flattening is beneficial when you no longer need to work with the individual elements of your design, but it's important to save a separate layered version if you plan to make future changes.
Common Issues While Flattening Images in Photoshop
Flattening images in Photoshop is a simple process, but there are a few common issues you might encounter. Let’s take a look at these challenges and how to resolve them:
- Accidentally Flattening a File You Didn’t Mean To: This is a common problem, especially if you don’t save a copy of the layered version. Always make sure to keep an original version of your file with layers intact before flattening.
- Loss of Editable Elements: Once the image is flattened, you can no longer edit text layers or individual adjustments. Make sure all your edits are finalized before flattening to avoid losing any work.
- Unwanted Layers Being Flattened: If you have hidden layers, they won’t be included when flattening the image, but if those layers contain crucial content, it might be problematic. Always double-check that all layers you need are visible before flattening.
- Flattening Large Files: For very large files, flattening can sometimes cause Photoshop to slow down or even crash. In these cases, it’s helpful to work in smaller batches or save frequently.
These issues are preventable with a bit of planning. Always save backups of your original files and double-check your layers before flattening. This will ensure you don't run into any problems during the process.
Alternative Methods to Flatten Images in Photoshop
While the standard method of flattening an image in Photoshop is by using the "Flatten Image" option in the Layers menu, there are alternative ways to achieve the same result. These methods can provide more control or suit different types of workflows. Let's explore some alternative approaches:
- Merge Visible Layers: Instead of flattening the entire image, you can use the "Merge Visible" command. This will merge only the visible layers (ignoring hidden ones). To do this, go to the Layers panel and click on Layer > Merge Visible.
- Using the "Ctrl+Shift+E" (Windows) or "Cmd+Shift+E" (Mac) Shortcut: This shortcut merges all visible layers, just like the "Flatten Image" command, but without changing the background layer. It’s a faster method if you're working with visible elements only.
- Manual Merging: If you prefer a more hands-on approach, you can select individual layers and merge them manually. Simply click on the layers you want to merge (hold Shift to select multiple layers) and right-click to choose Merge Layers.
- Merge to New Layer: If you want to keep your original layers intact but still flatten the image for certain purposes (like for printing or sharing), you can merge the layers into a new layer. This can be done by selecting Layer > Merge Layers and then creating a new layer to keep the original ones unchanged.
These alternative methods give you flexibility depending on your project needs. If you only need to merge visible layers, for example, using the "Merge Visible" command can help you avoid flattening hidden ones. Remember that whichever method you use, it’s important to save your work in a format that suits your final output.
FAQ
Here are answers to some of the most frequently asked questions about flattening images in Photoshop:
- Q: Can I undo the flattening of an image?
A: Once an image is flattened and saved, you cannot directly undo it. However, if you saved a layered version, you can open that to make further changes. - Q: Should I always flatten my images?
A: Flattening is useful when you’re ready to finalize an image, especially for web or print. However, keep an original file with layers in case you need to make changes later. - Q: How can I preserve my layers while flattening?
A: You can save a copy of the image as a layered PSD file before flattening. This way, you always have the original layers to return to. - Q: Does flattening affect the quality of the image?
A: Flattening does not affect the quality of the image itself, but it can affect the file’s ability to be edited or adjusted. Once flattened, you lose the ability to edit individual layers.
Conclusion
Flattening images in Photoshop is a critical step in finalizing your work, whether you're preparing for print, web use, or sharing the file with others. While flattening can streamline your workflow by reducing file size and simplifying the design, it’s important to be mindful of when and how to do it. Always save a copy of your layered file to ensure you have the flexibility to make changes in the future.
Whether you choose to use the "Flatten Image" option or an alternative method like "Merge Visible," it’s essential to understand the benefits and limitations of each approach. Flattening may not be necessary for every project, but when the time comes to simplify your design, it can save you time and hassle in the long run.


