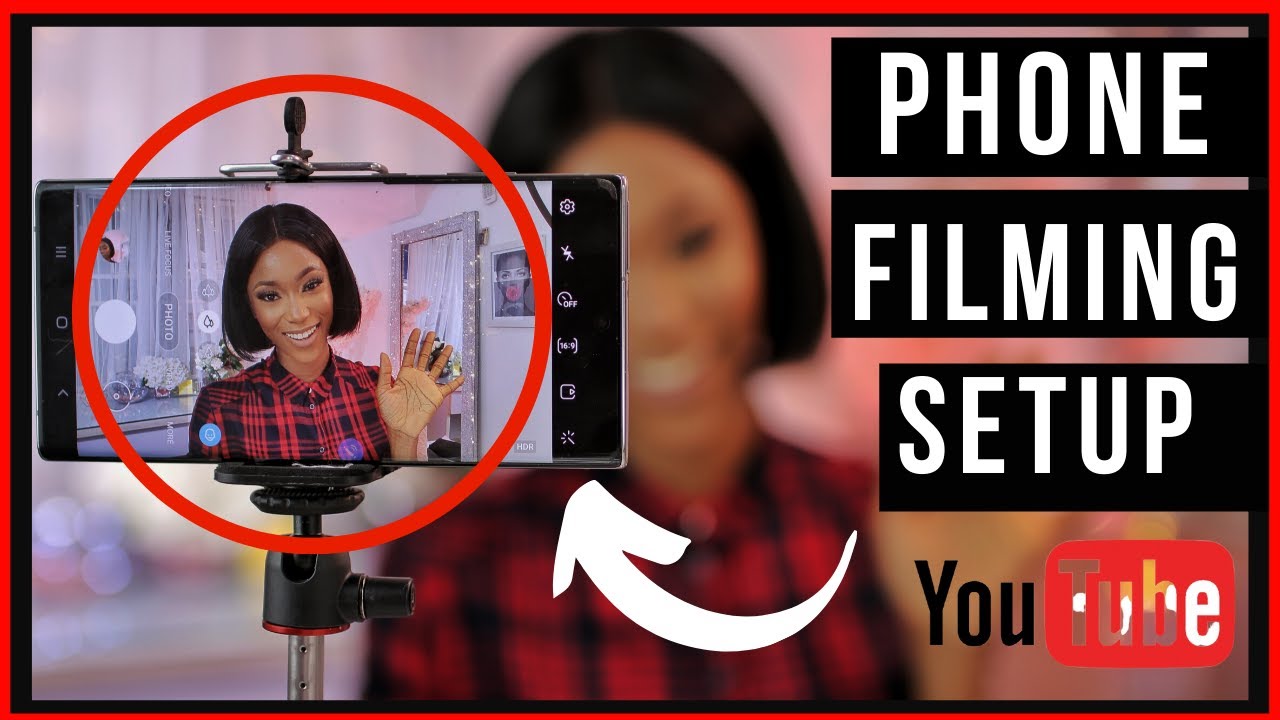
Filming YouTube videos with your iPhone can seem daunting, but it doesn't have to be! With the advancements in smartphone technology, your iPhone is equipped to shoot high-quality videos that can captivate your audience. Whether you're a complete beginner or looking to refine your skills, this guide will help you navigate the world of mobile filmmaking. Let’s dive into how you can leverage your iPhone to create engaging content for your YouTube channel!
Choosing the Right iPhone Model

When it comes to filming YouTube videos, not all iPhones are created equal. Depending on the model you have, the quality of your video can vary dramatically. Here’s what you need to consider:
- Camera Quality: Newer iPhone models come with advanced camera systems. The iPhone 11 and later models feature multiple lenses, including ultra-wide and night mode, making them perfect for capturing stunning visuals.
- Resolution: Aim for an iPhone that shoots in at least 1080p resolution. If you're looking for high-quality production, the latest models can even shoot in 4K, which is a fantastic feature for in-depth tutorials or cinematic vlogs.
- Stabilization: The built-in optical image stabilization available in models like the iPhone 12 and above can help you avoid shaky footage, making your videos look more professional.
- Battery Life: Filming can drain your battery quickly, so a newer model ensures you can shoot longer without constantly having to recharge.
- Storage Capacity: Videos can take up a lot of space, especially in high resolutions. Opt for a model with ample storage—at least 128GB—to store your footage without having to offload it frequently.
Ultimately, any recent iPhone model will suffice for filmmaking, but investing in the latest version will give you the best tools to elevate your content. Consider what you need most—a stellar camera, advanced features, or expanded storage—and choose accordingly!
Also Read This: 5 Smart Ways to Use Stock Photos to Enhance Social Media Visuals and Engagement
3. Essential Equipment and Accessories

Filming YouTube videos with your iPhone can be a fun and rewarding experience, but to truly elevate your content, it’s important to invest in some essential equipment and accessories. Here’s a list of the must-have gear that can significantly enhance your video quality:
- Tripod: Stabilizing your iPhone is crucial for producing smooth footage. A tripod allows you to secure your phone in place, avoiding shaky videos.
- External Microphone: Built-in iPhone microphones are decent, but to ensure crystal clear audio, consider investing in an external microphone. Lavalier mics are great for interviews, while shotgun mics can reduce background noise.
- Lighting Equipment: Good lighting can make all the difference. Softbox lights or ring lights can create a flattering glow, making your videos look professional.
- Lens Attachments: Wide-angle or macro lens attachments can supercharge your iPhone’s camera capabilities, allowing for creative shots you couldn’t achieve with the standard lens alone.
- Battery Packs: Don’t let a dead battery interrupt your filming. Carry extra battery packs (or a power bank) to ensure your iPhone lasts through long shooting sessions.
- Gimbal Stabilizer: If you're filming on the move, a gimbal stabilizer can smooth out your shots, giving your footage a cinematic flair.
- Editing Apps: Finally, don’t forget about software. Apps like iMovie or Adobe Premiere Rush can help you shoot and edit right from your iPhone, saving time while producing high-quality content.
Having the right equipment can greatly increase the quality of your videos, so choose what fits your style and budget best!
Also Read This: Troubleshooting Guide for YouTube Video Upload Issues
4. Setting Up Your Filming Environment

The environment in which you film your YouTube videos plays an enormous role in the overall viewer experience. Let's talk about how to create the perfect setup for your iPhone filming. Here are some crucial elements to consider:
- Location: Choose a location that aligns with your video’s theme. Whether it’s a cozy corner of your home, an outdoor park, or a dedicated studio space, make sure it's conducive to your content.
- Backdrop: A clean and uncluttered background helps maintain viewer focus. You can use a simple wall, a fabric backdrop, or even a bookshelf filled with interesting items related to your content.
- Lighting: Natural light is your best friend! Aim to film during the day near windows. If that's not possible, use the lighting equipment you've gathered to mimic daylight—soft, even lighting is key.
- Noise Control: Pick a quiet time in your home or studio to minimize background noise. Consider using soundproofing techniques like curtains or cushions to absorb sound and reduce echo.
- Personal Touches: Don't be afraid to add personal touches to your environment that reflect your personality or theme. A few well-placed decor items can enhance your viewer's connection to you.
By carefully setting up your filming environment, you're not just enhancing video quality; you're crafting an immersive experience for your audience that keeps them coming back for more!
Also Read This: How to Fix Common Image Issues in GIMP: A Troubleshooting Guide
5. Tips for Filming High-Quality Video
Filming high-quality videos using your iPhone doesn’t have to be daunting! With a few simple tips, you can elevate your content and captivate your audience.
1. Lighting is Key
Natural light is your best friend! Try to film during the day near a window or outside to take advantage of soft, flattering light. If you need to shoot indoors at night, consider investing in affordable softbox lights or ring lights to help illuminate your scene without harsh shadows.
2. Stabilize Your Shots
Shaky footage can be a real turn-off for viewers. Use a tripod to keep your iPhone steady, or if you’re filming on the go, consider a gimbal stabilizer. If you’re in a pinch, simply holding the phone with both hands and bracing your elbows against your body can help reduce shake.
3. Mind Your Composition
The way you frame your shots matters! Use the Rule of Thirds—enable the grid feature in your camera settings to help guide you. Place important elements along the lines and at the intersections of the grid for a more visually appealing frame.
4. Use the Right Resolution and Frame Rate
For crisp videos, select 1080p at 30fps or 60fps in your camera settings. Higher resolutions like 4K can also be an option if your iPhone supports it, but be mindful of storage space. Higher frame rates can be beneficial for action shots.
5. Record in Landscape Mode
Always film in landscape mode unless you’re creating specific vertical content. This way, your video will look great on YouTube and on most other platforms. No one likes the black bars on the sides, right?
Also Read This: How to Mirror an Image on Mac
6. Editing Your Video on the iPhone
Once you’ve captured your footage, it’s time to bring your vision to life through editing. Thankfully, your iPhone has a range of powerful apps that make editing both fun and straightforward!
1. Use iMovie
iMovie comes pre-installed on most iPhones and is user-friendly. You can trim clips, add transitions, and incorporate music effortlessly. Just open the app, import your footage, and explore the various editing tools available.
2. Explore Third-Party Apps
If you’re looking for more advanced features, consider downloading apps like:
- Adobe Premiere Rush: Offers multi-track editing and supports various formats.
- InShot: Great for adding music, text overlays, and effects.
- Kinemaster: Features layer support, voiceovers, and color grading.
3. Keep It Concise
Remember that attention spans can be short! Try to keep your final video under 10 minutes unless your content warrants a longer format. Use jump cuts to remove dead space, and always get to the point quickly.
4. Add Captivating Music
Music sets the mood! You can find royalty-free music from platforms like YouTube Audio Library or Epidemic Sound. Make sure to balance the audio levels so that your dialogue is easily heard over the music.
5. Don’t Forget to Review
After editing, watch your video several times. Check for any missed mistakes, audio issues, or unnecessary sections that can be removed. Showing viewers your best work will enhance your reputation and keep them coming back for more!
Editing can be a delightful part of the process, so get creative, and don’t be afraid to experiment!
Also Read This: How to Place Adobe Stock Photos in Illustrator
Optimizing Your Video for YouTube
Creating a fantastic video is just the first step; the next crucial part is optimizing it for YouTube. How can you make sure your content gets the attention it deserves? Let’s break it down!
1. Title and Description: Your title should be catchy and include relevant keywords that your target audience might be searching for. For example, instead of just saying "My iPhone Video," consider "How to Shoot Stunning Videos with Your iPhone." The description is like your video’s business card; include a detailed description with keywords and consider adding links to your social media accounts or any relevant websites.
2. Tags: YouTube allows you to add tags to your videos. Use a mix of broad and specific tags related to your topic. Tags help YouTube’s algorithm understand what your video is about and can increase your visibility in search results.
3. Thumbnail: A striking thumbnail can significantly boost your click-through rate. Make sure it’s colorful, clear, and relevant to the content of your video. Tools like Canva can assist you in creating eye-catching thumbnails.
4. Captions and Subtitles: Adding captions can improve accessibility and engagement. It can also help your video rank better, as YouTube indexes these captions for searchability.
5. End Screens and Cards: Use end screens and cards to promote other videos or your channel. This keeps viewers engaged with your content and encourages them to subscribe.
With these steps in place, your videos will be primed for success on YouTube!
Also Read This: Ways to Profit from Adobe Stock
Best Practices for YouTube Success
Having a great video is only part of the equation for YouTube success. You'll want to adopt best practices that can enhance your channel’s growth and engagement. Here are some nifty tips to keep in mind:
1. Consistency is Key: Regularly scheduling and uploading your videos helps build an audience. Whether it’s weekly or bi-weekly, let your audience know when to expect new content. This creates anticipation and a loyal viewer base.
2. Engage with Your Audience: Responding to comments and fostering a community is crucial. Ask your viewers questions, encourage them to leave comments, and create content based on their feedback. This encourages more interaction with your videos.
3. Collaborate: Working with other YouTubers can introduce your channel to a whole new audience. Collaborations can take many forms – joint videos, shout-outs, or even guest appearances. Choose creators with whom you share a similar audience for the best results.
4. Monitor Analytics: YouTube provides a wealth of data regarding your videos’ performance. Keep an eye on metrics like watch time, views, and audience retention to understand what works best and tailor your future content accordingly.
5. Promote on Social Media: Once your video is up, don’t leave it hanging! Share it across your social media profiles. Use relevant hashtags and consider creating teaser clips to pique interest.
By adhering to these best practices, you’ll be well on your way to growing your channel and finding sustained success on YouTube!
How to Film YouTube Videos with Your iPhone
Creating high-quality YouTube videos with your iPhone is not only possible but also incredibly convenient. With the right techniques and tools, you can produce professional-looking content right from your pocket. Here’s a detailed guide on how to achieve this:
1. Planning Your Video
Before filming, it’s essential to plan your video content. Consider the following:
- Choose a Topic: Focus on what you are passionate about.
- Script Your Video: Outline key points to keep your video structured.
- Set Your Goals: Define what you want your audience to learn or do.
2. Setting Up for Filming
Proper setup can significantly improve your video quality. Keep these tips in mind:
- Lighting: Use natural light or invest in softbox lights.
- Background: Choose a clutter-free background; consider a plain wall or a simple set.
- Stabilization: Use a tripod or a gimbal for steady shots.
3. Filming Techniques
Use these filming techniques to enhance the quality of your video:
| Technique | Description |
|---|---|
| Resolution | Set your iPhone to shoot in 4K for the highest quality. |
| Framing | Use the Rule of Thirds for a balanced composition. |
| Audio | Consider using an external microphone for better sound quality. |
4. Editing Your Video
Editing is where you can enhance your video further. Popular editing apps include:
- iMovie: Free and user-friendly for beginners.
- Adobe Premiere Rush: Offers advanced features for more experienced users.
- InShot: Great for social media formats and quick edits.
5. Uploading and Optimizing
Finally, when it's time to upload your video, ensure you optimize it for better reach:
- Title: Use engaging and keyword-rich titles.
- Description: Include a thorough description with relevant tags.
- Thumbnails: Create custom thumbnails to attract viewers.
By following these steps, you can successfully create and publish engaging YouTube videos using your iPhone. With a little practice and creativity, you'll be able to grow your channel and reach a wider audience.
Conclusion: Filming YouTube videos with your iPhone can unlock the potential for creativity and authenticity in your content. By planning effectively, ensuring proper setup, utilizing valuable filming techniques, and optimizing your uploads, you can create compelling videos that resonate with audiences and elevate your channel.
 admin
admin


