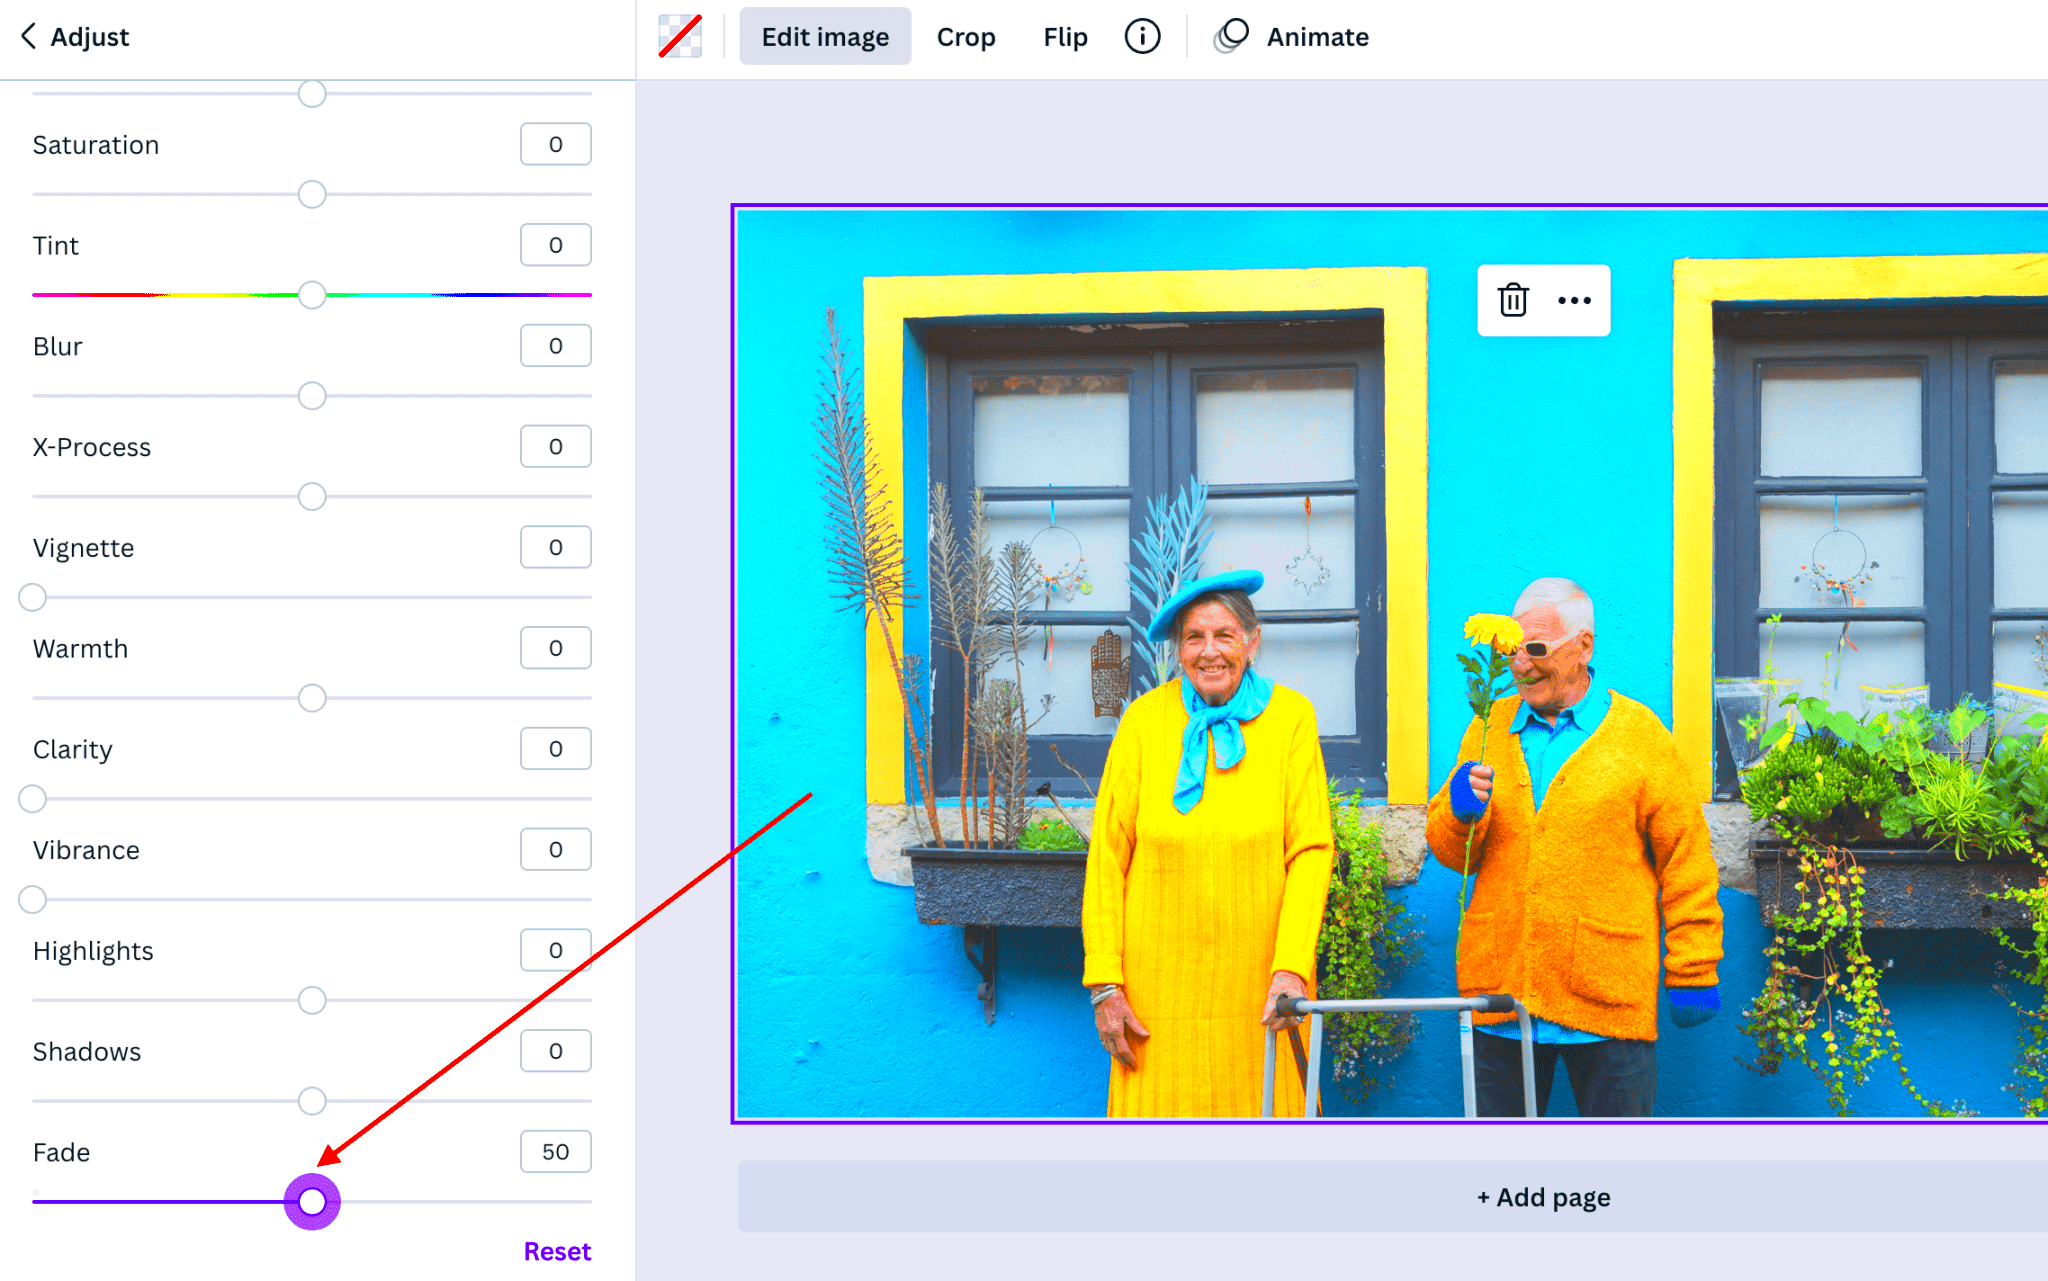
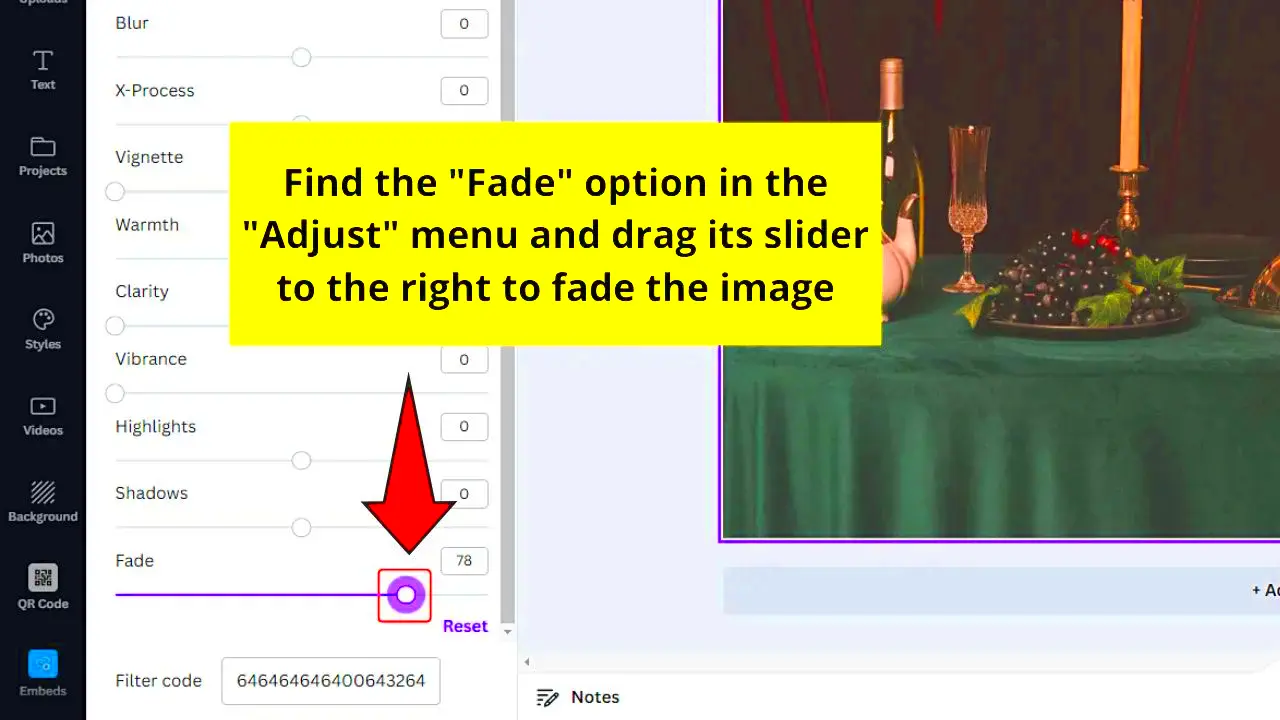
Fading images can add a beautiful touch to your designs in Canva. This technique helps create a soft, professional look that can enhance any project. Whether you’re making social media posts, presentations, or marketing materials, knowing how to fade images is a handy skill. In this post, we'll guide you through the process, helping you achieve stunning visuals with ease.
Why Use Fading Effects

Fading effects serve multiple purposes in design. Here are a few reasons why you might want to use them:
- Soft Aesthetics: Fading images create a gentle look that is visually pleasing.
- Focus on Content: By fading an image, you can draw attention to text or other important elements.
- Brand Consistency: Using fading effects can help maintain a consistent style across your designs.
- Layering Techniques: Fading allows for interesting layering of images and graphics, adding depth to your designs.
Overall, fading effects can elevate your design by making it more dynamic and engaging. This technique is particularly useful in creating backgrounds or overlays that complement your main content.
Also Read This: How to Crop Images in Figma: A Quick Guide for Beginners
Getting Started with Canva

Before you start fading images, you need to set up your Canva account. Follow these simple steps to get started:
- Visit Canva's Website: Go to www.canva.com and create an account if you don’t have one.
- Choose a Design Type: Select a template that suits your project, such as Instagram posts, flyers, or presentations.
- Familiarize Yourself with the Interface: Take some time to explore the various tools and features available in Canva.
Canva is user-friendly, making it easy for anyone to create stunning designs. Once you're comfortable with the interface, you’re ready to start fading images to achieve that soft effect!
Also Read This: An Easy to Use Solution for AI Album Cover Generation
Steps to Fade Images
Fading images in Canva is a straightforward process. Here’s a simple step-by-step guide to help you get started:
- Select Your Image: First, choose the image you want to fade. You can upload your own or select from Canva’s extensive library.
- Add the Image to Your Design: Drag and drop the image onto your canvas. Resize it as needed to fit your design.
- Access the Transparency Tool: Click on the image to select it. Then, look for the transparency icon (a checkerboard) in the top right menu. Click on it.
- Adjust the Transparency: A slider will appear. Drag it left to reduce the opacity and fade the image. You can see the changes in real-time, which helps you find the perfect balance.
- Preview Your Design: Once you’re satisfied with the fading effect, take a step back and look at your design as a whole. Make any final adjustments as needed.
Following these steps will allow you to effortlessly fade images in your designs, giving them that soft and professional touch you’re aiming for.
Also Read This: How to Use the Nikon D5200 for Beginner Photographers
Adjusting Opacity for Desired Effect
Opacity plays a crucial role in how your faded images look. Here are some tips on adjusting it effectively:
- Understanding Opacity: Opacity is the level of transparency in an image, ranging from 0% (completely transparent) to 100% (fully opaque).
- Finding the Right Balance: Aim for a subtle fade that enhances your design without overpowering other elements. Usually, an opacity between 20% and 70% works well.
- Testing Different Levels: Don’t be afraid to experiment with different opacity levels. Sometimes, a slight change can make a big difference in the overall feel of your design.
Adjusting opacity allows you to create depth and layering effects. This not only improves the aesthetic but also helps in focusing the viewer's attention on important details.
Also Read This: Tracing Images in Canva: A Step-by-Step Tutorial
Using Gradients for a Soft Look
Gradients can add a unique touch to your faded images, creating a smooth transition of colors. Here’s how to use them effectively:
- Choose Your Gradient: Canva offers several gradient options. Select one that complements your design and enhances the fading effect.
- Layering the Gradient: Place the gradient layer above your image. Adjust the transparency of the gradient to blend it well with the image beneath.
- Experimenting with Colors: You can customize the gradient colors. Mixing complementary colors can create a beautiful, soft look.
- Using Gradient Shapes: Consider using gradient shapes instead of solid colors to create interesting effects. This adds texture and visual interest.
Gradients not only enhance the fading effect but also allow for creative expression in your designs. They can make your images stand out while keeping the overall feel soft and inviting.
Also Read This: How to Change the Perspective of an Image in PowerPoint
Applying Fading to Backgrounds
Using fading effects on backgrounds is a great way to create a visually appealing backdrop for your content. It helps to ensure that your text and main images stand out without overwhelming your audience. Here’s how to effectively apply fading to backgrounds:
- Choose the Right Background Image: Start with an image that complements your main content. Make sure it’s high-quality and relevant to your message.
- Add the Image to Your Canvas: Position your background image at the back of your design. You can do this by right-clicking on the image and selecting "Send to Back."
- Apply the Fading Effect: Use the transparency tool to fade your background image. Adjust the opacity to ensure that your main text or elements are easily readable.
- Use a Color Overlay: If you want more control, consider adding a colored shape on top of your background. Set its transparency to create a soft color overlay, enhancing the faded look.
Fading backgrounds is a fantastic way to maintain focus on your main content while keeping your design stylish and modern. Experiment with different images and opacity levels to find what works best for you!
Also Read This: How to Install an App Image on Various Operating Systems
Tips for Effective Image Fading
To make the most out of image fading, consider these handy tips:
- Keep It Subtle: The key to effective fading is subtlety. Avoid making images too transparent; a slight fade often creates a more professional look.
- Consider Color Harmony: Make sure the colors in your faded images harmonize with your overall design palette. This helps maintain a cohesive feel.
- Use Contrast: Ensure there’s enough contrast between your faded image and the text or other elements placed on top. This keeps your content legible.
- Layer Wisely: Use layers to your advantage. Faded images can serve as a base, allowing you to build up other elements on top without losing clarity.
- Preview Frequently: Always take a step back and preview your design from a distance. This gives you a better perspective on how effective the fading looks.
By following these tips, you can create beautiful, professional designs that effectively use fading techniques to enhance your visuals.
Also Read This: How to Find Image Distance
FAQ
Here are some common questions people have about fading images in Canva:
- Can I fade multiple images at once? No, you need to adjust each image individually, but you can copy the settings from one image to another for consistency.
- Is there a limit to how much I can fade an image? There’s no hard limit, but fading too much may make the image unrecognizable. Aim for a balanced look.
- Can I undo changes if I don’t like the fade effect? Absolutely! Canva has an undo feature that allows you to revert changes at any time.
- What types of images work best for fading? Images with less detail and softer colors generally work better for fading, as they create a smoother look.
- Are there templates that already have fading effects? Yes, Canva offers many templates with built-in fading effects. You can customize these to fit your needs.
These FAQs cover some of the most common queries. If you have more questions, feel free to explore Canva’s resources or ask the community for tips!
Conclusion
Fading images in Canva is a powerful technique that can enhance your designs and create a polished look. By applying fading effects thoughtfully, you can draw attention to your key content while maintaining an aesthetically pleasing background. Remember to keep your fades subtle, experiment with different opacity levels, and consider using gradients to add depth. Whether you're designing for social media, presentations, or marketing materials, mastering the art of fading images will elevate your work and make it more engaging for your audience. Start practicing today, and you'll soon discover how this simple technique can transform your designs!

 admin
admin


