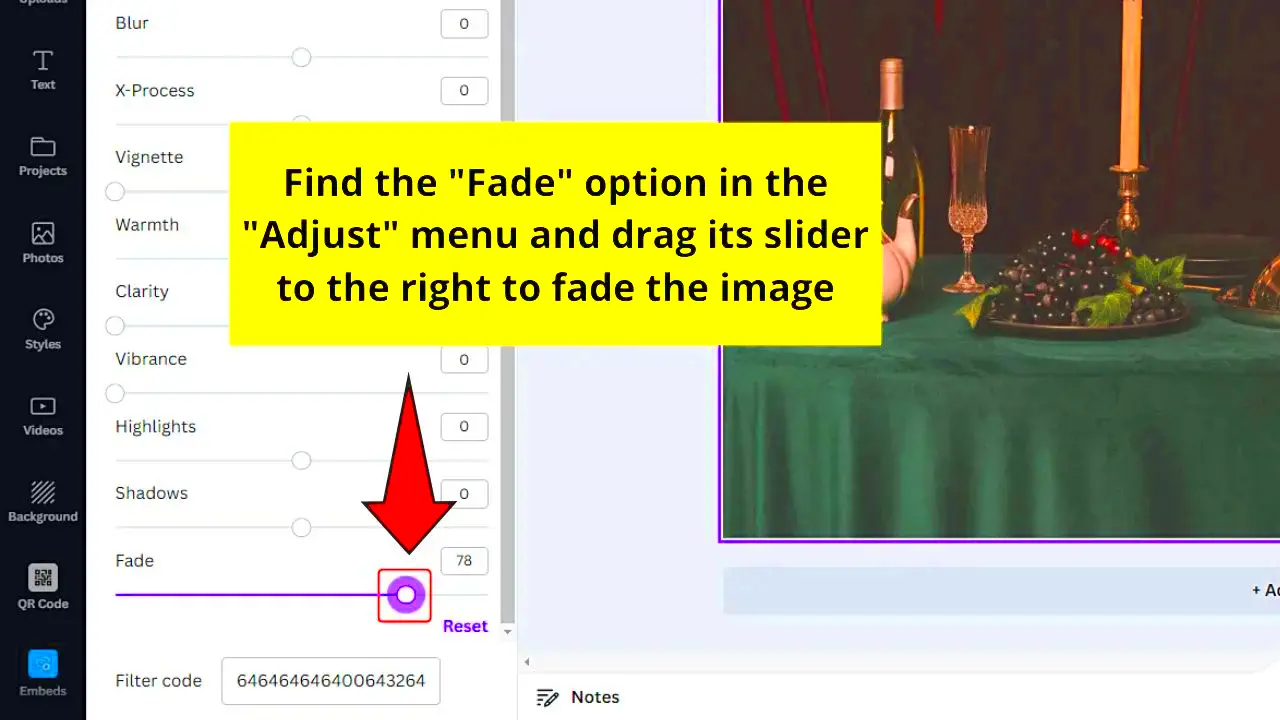
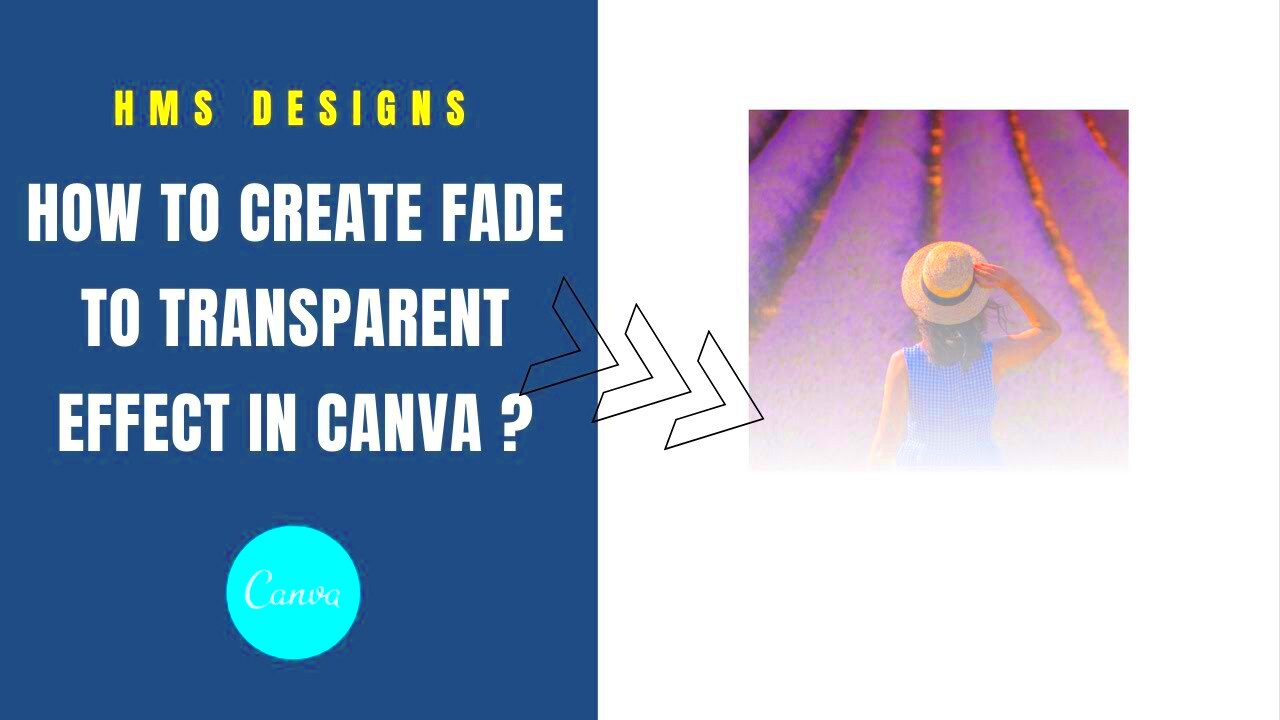
Fading an image in Canva is a simple yet effective way to create subtle and professional-looking backgrounds. By fading an image, you reduce its opacity so that it doesn’t overpower the other elements in your design. This technique is often used to enhance text readability, create depth, or bring attention to specific parts of your design. Whether you're designing social media posts, presentations, or website banners, fading your images can make a huge difference in the overall aesthetic of your work.
In this guide, we’ll walk you through the easy steps to fade images using Canva's built-in tools, helping you achieve the perfect balance for your designs.
Steps to Fade an Image in Canva

Fading an image in Canva is a straightforward process that you can complete in just a few simple steps. Here’s how you can do it:
- Open your design: Start by opening a new design or an existing project in Canva.
- Upload or select an image: Choose the image you want to fade from the 'Uploads' section or use one of Canva’s stock images.
- Position the image: Drag the image into your design and adjust its size and position as needed.
- Adjust the transparency: Click on the image, then use the transparency slider in the top-right corner to fade the image to your desired level.
- Refine the effect: If you want a softer or more dramatic fade, continue adjusting the transparency until you’re satisfied with the result.
That's it! With these simple steps, your image will seamlessly blend into your design, creating a soft background effect.
Also Read This: How to Mirror Print Images in PDF Format
Using Canva’s Transparency Tool to Fade Images
Canva’s transparency tool is one of the easiest and most efficient ways to fade images in your design. It allows you to control the opacity of an image, making it more or less visible without altering the image itself. Here’s how you can use this tool:
- Select your image: After uploading or choosing your image, click on it to select it.
- Access the transparency slider: In the top-right corner, you’ll find a button labeled 'Transparency' (it looks like a checkerboard). Click on it.
- Adjust the slider: Move the slider left to decrease the opacity, which will fade the image. You can go all the way down to 0% for a fully transparent image, or find the ideal opacity that suits your design.
- Fine-tune the effect: Play around with the slider until the image reaches the perfect level of fade. You may need to experiment to get it just right, especially if you're working with text over the image.
This tool is perfect for those looking for a quick and easy way to create a faded background or subtle effect in their Canva designs. It's ideal for creating depth, focusing attention on other design elements, or just softening an image to make it blend in with the overall theme of your project.
Also Read This: How to Embroider Images on Fabric
Adjusting Image Blur for a Softer Fade Effect
If you’re looking to add an even more subtle fade to your image, adjusting the blur can be a great option. The blur effect works hand in hand with the transparency tool, giving your image a soft, dreamy look that blends perfectly with any design. By blurring the image, you can reduce sharpness and make it feel more like a background element, creating a sense of depth without drawing too much attention. Here’s how you can use Canva’s blur tool for a smoother fade:
- Click on your image: First, select the image you want to blur by clicking on it.
- Open the filter menu: Once the image is selected, click on the “Edit Image” button in the top toolbar.
- Select the blur effect: In the filters section, scroll down to find the 'Blur' option. Click on it to apply the effect.
- Adjust the blur level: Use the slider to control the intensity of the blur. Move it to the right for a stronger blur, or left for a subtler effect.
By using the blur in combination with reduced transparency, you can create an even softer, more refined fade. This works particularly well when you want your image to act as a background but still retain some texture and visual interest without overpowering your design elements.
Also Read This: How to Upload Videos to Behance for Maximum Exposure and Engagement
Overlaying Colors to Enhance the Fading Effect
Another effective way to enhance the fading effect of your image in Canva is by overlaying colors. Color overlays can make a faded image look more dynamic and help integrate the image with your design’s overall color scheme. Whether you want a tinted effect or just a light color wash, adding a transparent color overlay can improve the visual appeal of your background while maintaining a soft, faded look. Here's how to apply a color overlay:
- Upload and position your image: Place your image in your design first.
- Add a shape layer: Go to the “Elements” tab and select a square or rectangle shape. Resize it to cover your entire image.
- Apply color to the shape: Once the shape is in place, change its color by selecting the color box in the toolbar. Pick a color that complements your design.
- Adjust the opacity of the shape: Select the color shape, then reduce its opacity by clicking on the transparency slider in the top toolbar. This allows the image underneath to show through.
- Fine-tune the color and transparency: Experiment with different colors and opacity levels until you get the perfect faded look that enhances your image.
Overlaying colors can also help with branding or making sure your text stands out against a faded background. It’s a simple trick that can take your design to the next level with minimal effort.
Also Read This: How to Add Images to Text Messages Like a Pro
Using Canva Pro Features for Advanced Fading Effects
If you have a Canva Pro account, you have access to some advanced features that can take your image fading to the next level. These Pro tools allow for more flexibility, giving you enhanced control over how your images appear in your design. Whether you're looking to add more sophisticated blur effects, use custom filters, or fine-tune your opacity, Canva Pro has the tools you need. Let’s explore a few of these features:
- Advanced Blur Effects: Canva Pro users have access to more intense and customizable blur effects. You can use the “Advanced Blur” option to create a smoother and more professional-looking fade.
- Custom Filters: Canva Pro allows you to create custom filters for your images. By adjusting settings like brightness, contrast, and saturation, you can achieve a unique faded effect that perfectly matches your design style.
- Gradient Transparency: With Pro, you can apply gradient transparency to your images, which means you can have one part of the image completely faded and another part still visible, creating a dynamic, layered effect.
- More Image Effects: Pro users can access additional image effects that allow for better integration of the faded image into the overall design, such as “Duotone,” which combines a color overlay with a fading effect.
These advanced features are perfect for creating more customized and intricate fading effects that go beyond the basic transparency and blur options. With Canva Pro, your designs will stand out with smooth, professional results that are easy to apply and adjust.
Also Read This: How Much Are Premium Access Photos on Getty Pricing and Options Explained
Common Issues and Troubleshooting Tips
While fading images in Canva is usually a smooth process, sometimes you may encounter a few common issues. Don’t worry—these problems are easy to fix! Below, we’ll walk through some of the most frequent challenges users face when fading images and offer solutions to get you back on track.
Issue 1: Image Not Fading Properly
If your image isn’t fading the way you expect, it might be because the transparency slider isn’t set correctly. Ensure the slider is adjusted to the right level (move it to the left to reduce opacity). If you're using the blur tool, make sure the blur intensity is strong enough to create the effect you're aiming for.
Issue 2: Image Losing Quality After Fading
Sometimes, when you fade an image too much, it can appear pixelated or blurry. To prevent this, avoid reducing the opacity too drastically. If the image quality is still an issue, try uploading a higher-resolution image before applying the fade effect.
Issue 3: Faded Image Doesn’t Blend with Design
If your faded image doesn’t seem to blend well with the rest of the design, check if the image’s colors or contrast clash with your design elements. Using an overlay or adjusting the image’s saturation can help create a more cohesive look.
Issue 4: Fading Effect Doesn’t Show on Downloaded Image
When downloading a design, ensure that the file format you choose supports transparency, such as PNG. JPEG files do not support transparent backgrounds, so the fading effect may not appear as intended.
By keeping these troubleshooting tips in mind, you’ll be able to create seamless, beautiful fading effects with ease.
Also Read This: How to Create a QR Code for Your YouTube Video
Frequently Asked Questions (FAQ)
Here are some commonly asked questions about fading images in Canva. These answers will help clarify any doubts you may have and provide additional insights on using Canva’s tools for a perfect fade effect.
Q: Can I fade text in Canva?
A: Yes, you can fade text in Canva! Just select the text box, go to the transparency slider, and adjust the opacity to achieve the fade effect. You can also apply a blur effect to text, but this is more commonly used for images.
Q: Can I fade an image to create a transparent background?
A: Fading an image reduces its opacity, but it doesn’t make the background transparent. To make an image’s background transparent, you can use Canva's background remover tool (available with Canva Pro) to remove the background entirely and then apply a fade to the image itself.
Q: Why isn’t my image fading on mobile?
A: The Canva mobile app may have slightly different interface options compared to the desktop version. If you're having trouble, make sure you're using the correct tools in the app, and check that you’ve selected the image and transparency tool properly.
Q: Can I undo the fading effect if I don’t like it?
A: Absolutely! If you’re not happy with the fading effect, you can easily undo it by clicking on the "Undo" button or adjusting the transparency and blur sliders back to your preferred settings.
Hopefully, these FAQs have helped clarify some of the most common concerns. If you encounter any other issues, Canva’s support team is always available to assist!
Conclusion
Fading images in Canva is an easy yet powerful technique for creating subtle backgrounds and enhancing your designs. Whether you use the transparency tool, adjust the blur effect, or overlay colors, there are plenty of ways to create the perfect faded image for your project.
Remember, experimentation is key! Don’t be afraid to play with the different tools Canva offers to find the ideal fade effect for your design. And if you encounter any issues along the way, the troubleshooting tips and FAQs above should help you resolve them quickly.
With Canva’s user-friendly features and a bit of creativity, you’ll be able to master the art of fading images and make your designs stand out in the most professional way possible.

 admin
admin


