In multiple areas, high-res pictures are very important. They beautify the visuals of your endeavors plus make sure that your audience gets lucid and well-defined information. The promptness with which your users will respond to you as a result of their more intense connection to the materials posted depends on whether they see any high resolution images for example in e-commerce websites or not. This can be illustrated best by an advertisement campaign for such products as mobile phones that go hand in hand with their new models; these conveys with them relevant messages that then catch the attention of potential customers who visit the web from different parts of world over wireless connections provided by such firms.
High-resolution images play a huge role in different industries, from graphic design to web development. They help improve the visual appeal of your projects and ensure that your audience receives clear and detailed content. The use of high-resolution photos can greatly affect user engagement and retention levels. For instance, in creating marketing materials, social media posts or website graphics; the quality of images you choose determines if you leave an impact on them or not.
There are several reasons as to why high-quality images are essential:
- Enhanced Clarity: High-resolution images provide more detail, making them suitable for print and digital use.
- Professional Appearance: Quality images give your work a polished and professional look, establishing credibility.
- Better User Experience: High-resolution visuals improve the overall experience, especially on mobile devices where clarity is essential.
Steps to Export High-Resolution Images

To export high-quality images is simple if you follow these steps. You can follow similar procedures in any software such as Adobe Photoshop, GIMP or even on web-based applications. The procedure is outlined below:
- Open Your Image: Start by opening the image you want to export in your chosen software.
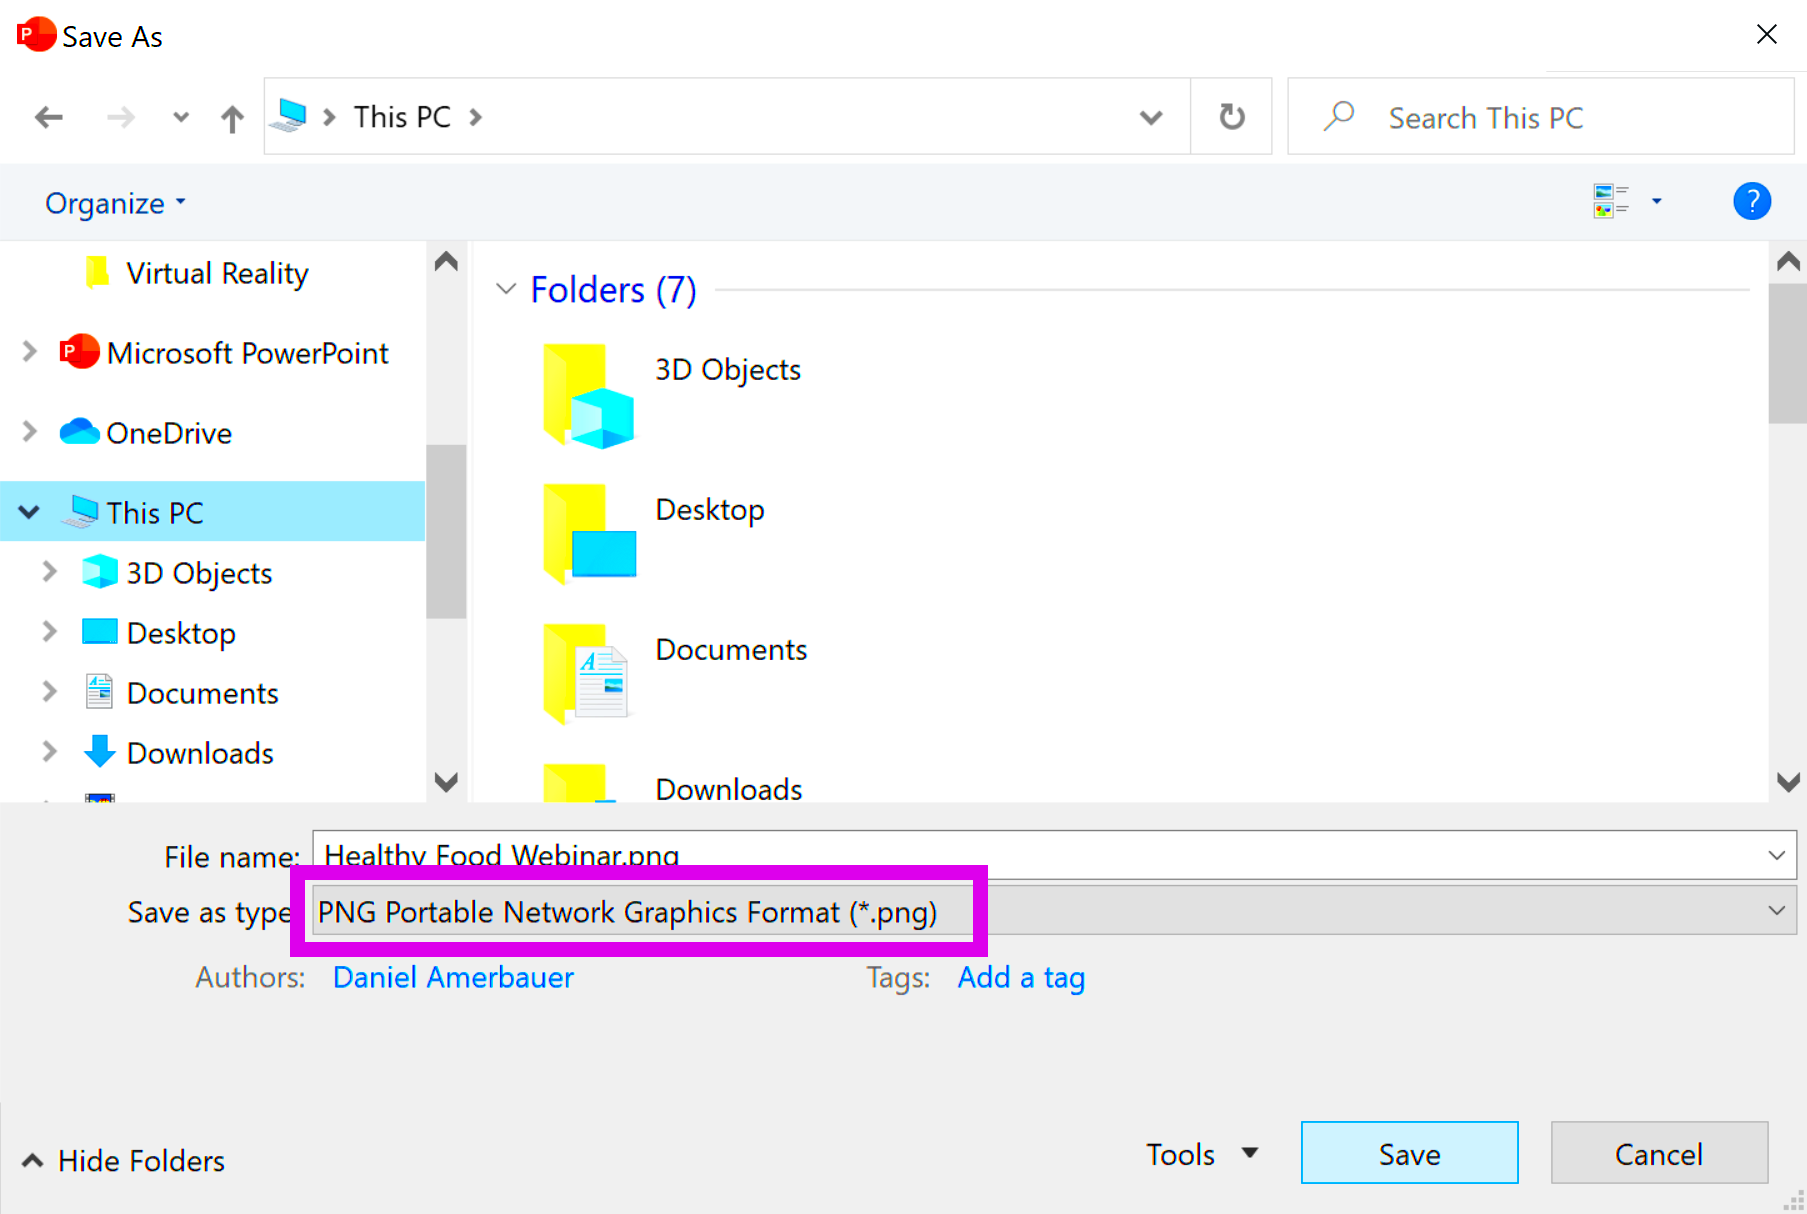
- Select Export Settings: Go to the 'File' menu and choose 'Export' or 'Save As.' This will open the export settings.
- Choose Resolution: Set the resolution to at least 300 DPI (dots per inch) for print quality or 72 DPI for web use.
- Select Image Size: Adjust the dimensions of your image if needed, but ensure you maintain the aspect ratio.
- Pick the Right Format: Choose a file format that suits your needs (e.g., JPEG, PNG, TIFF).
- Save Your Image: Click 'Save' and check your settings one last time before finalizing.
Also Read This: Step-by-Step Guide to Uploading PDFs on Behance for Your Portfolio
Choosing the Right File Format for Your Images
For high-resolution pictures, selecting the appropriate file format is paramount because it can affect the quality and usability of the pictures. Different formats serve different purposes in this scenario, hence it’s important to know them. The following is an overview of some common formats:
| Format | Best For | Pros | Cons |
|---|---|---|---|
| JPEG | Photographs, online images | Smaller file size, good quality | Lossy compression, may lose detail |
| PNG | Web graphics, images with transparency | Supports transparency, lossless compression | Larger file size compared to JPEG |
| TIFF | Print quality images | High quality, retains detail | Very large file size |
| GIF | Simple graphics and animations | Supports animation, small file size | Limited color palette |
In selectin a format, the end use of the image must be put into consideration. JPEG for example, is ideal for photos that will be disposed on websites; on the other hand, graphics that require transparency prefer PNG. Quality and file size necessitate an equilibrium state in order to make it function and look best.
Also Read This: Easy Ways to Subtract Images in PowerPoint
Using Free Range Stock Image Downloader Effectively
Free Range Stock Image Downloader is a great tool for getting access to some high-resolution pictures without going through the rigmarole of licensing charges. This downloader has made it quite simple to gather pictures that are not owned by any one person making it easier for advertisers, internet developers as well as bloggers to get appropriate visuals for their jobs. Whether you need images for a site, presentation or even social media content; knowing how to use this tool well will save you lots of time and energy.
If you want to get the best out of the Free Range Stock Image Downloader, here’s a guide:
- Search Smart: Use specific keywords to narrow down your search results. Think about what exactly you need.
- Utilize Filters: Take advantage of filters for orientation, color, and category to find images that fit your needs.
- Check Image Quality: Always look at the image's resolution and quality before downloading to ensure it meets your standards.
- Organize Your Downloads: Create a dedicated folder on your computer for easy access to your downloaded images.
- Stay Updated: Follow the website for new image releases and updates to ensure you always have fresh content at your fingertips.
Also Read This: Saving Images from Word Documents Made Simple
Optimizing Images for Different Platforms
It is very important to optimize images for them to look nice on different sites like websites and social media. Each of the platforms has its own specifications on image size, type and resolutions respectively among other things. When you customize your images according to them you are able to improve their load times, visual attraction and also increase customer interaction level.
To increase better presentation of pictures on various platforms, here are some helpful guidelines:
- Know the Required Dimensions: Each platform has specific size recommendations. For example:
- Facebook: 1200 x 630 pixels for shared images
- Instagram: 1080 x 1080 pixels for square posts
- Twitter: 1200 x 675 pixels for in-stream photos
- Use the Right Format: Select a format that aligns with the platform’s needs. JPEG is often used for photographs, while PNG is better for graphics with text.
- Compress Images: Use compression tools to reduce file sizes without losing quality. This helps speed up loading times, which is essential for user experience.
- Test for Responsiveness: Ensure images look good on both desktop and mobile devices by testing how they render on different screen sizes.
Also Read This: How to Submit Pictures to Getty Images From Upload to Licensing
Common Issues When Exporting Images and Their Solutions
Exporting images may appear to be an easy task; however, there are numerous obstacles that could come up during the entire process. Understanding such common problems as well as working out their solutions will save you lot of frustrations and help you get the best results. Below are some of the key challenges you might face:
| Issue | Description | Solution |
|---|---|---|
| Image Quality Loss | Exporting can sometimes reduce the image quality, especially with certain formats. | Choose lossless formats like PNG or TIFF when possible, and avoid excessive compression. |
| Incorrect Resolution | Images might export with the wrong DPI, affecting print quality. | Always check and set the resolution to 300 DPI for print and 72 DPI for web use. |
| File Size Too Large | Large file sizes can slow down web pages. | Use image compression tools to reduce file size without compromising quality. |
| Color Distortion | Colors may appear differently when exported, especially if you’re using different color profiles. | Make sure to use the RGB color mode for web images and CMYK for print. |
Awareness of the issues and knowing how to resolve those, as well are related to data streamlining of image exporting process which eventually leads into high quality visuals for projects.
Also Read This: Does Acquiring iStock Automatically Grant You a Getty Account?
Tips for Maintaining Image Quality
To ensure high image quality throughout the editing and exporting process, consider the following strategies:
Use Lossless Formats: Whenever possible, opt for lossless formats like PNG or TIFF to prevent any loss of detail during export.
Avoid Excessive Compression: Be cautious with compression settings; excessive compression can degrade image quality. Aim for a balance between file size and visual fidelity.
Check Resolution Settings: Always verify the resolution (DPI) before exporting—set it to 300 DPI for print quality and 72 DPI for web use to ensure clarity.
Maintain the Correct Color Profile: Use the appropriate color mode for your images; RGB is ideal for web images, while CMYK is preferred for print to prevent color distortion.
Test and Adjust: After exporting, review your images to ensure they meet quality standards and adjust settings as necessary to achieve the desired outcome.
By following these tips, you can effectively maintain the quality of your images throughout the entire process.

 admin
admin


