Are you ready to showcase your stunning designs to the world? Exporting your artwork from Photoshop to Behance can be a game-changer for your creative journey. Behance provides a vibrant community where you can share your portfolio, gain feedback, and connect with other artists. In this guide, we'll walk you through the process of exporting your designs from Photoshop, ensuring your work shines on this popular platform. Let’s dive into the step-by-step guide!
Step-by-Step Guide to Exporting Your Design from Photoshop

Whether you're a seasoned designer or just starting, exporting your artwork for Behance doesn’t have to be daunting. Follow these easy steps to get your designs ready for the world to see:
- Prepare Your Design: Make sure your artwork is finalized. Check for any imperfections and ensure all layers are appropriately named and organized.
- Flatten Layers (Optional): If your design is complete and doesn’t need further edits, consider flattening your image layers for an easier export process. To do this, select Layer > Flatten Image.
- Set Your Document Size: Go to Image > Image Size to adjust the dimensions. A good practice is to keep it at 72 DPI for web display, but if you want high-quality images, consider 300 DPI.
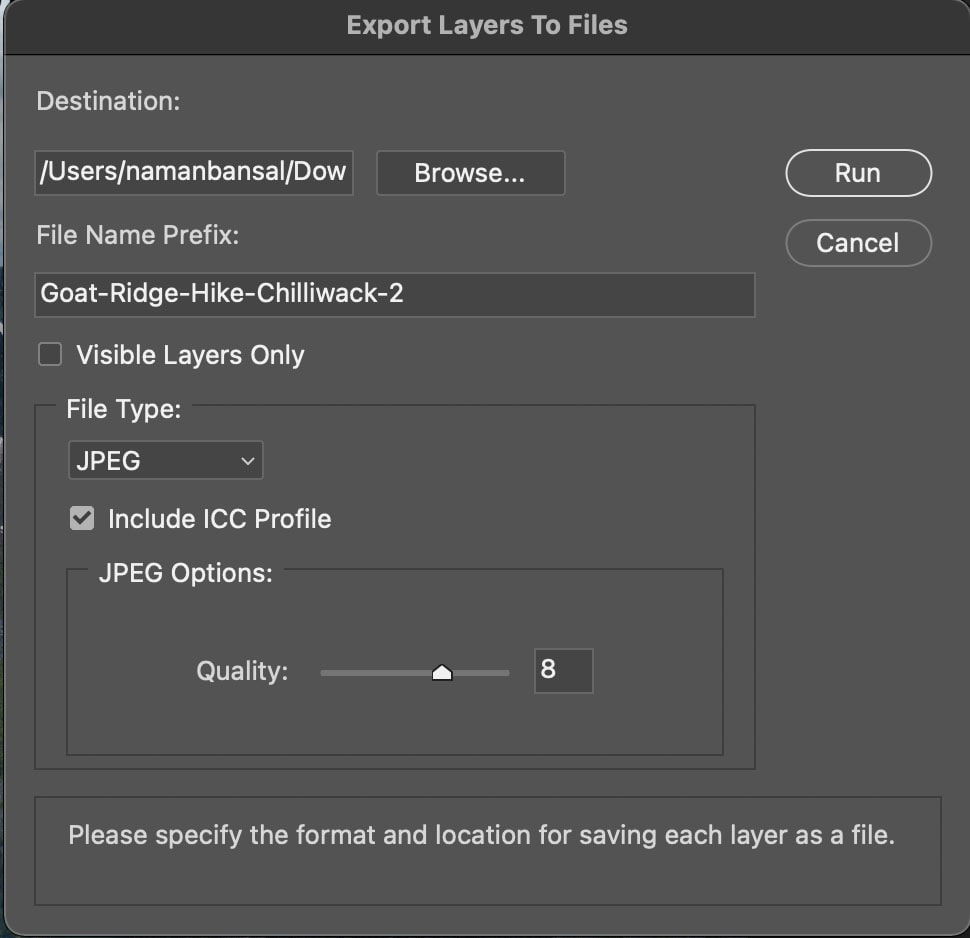
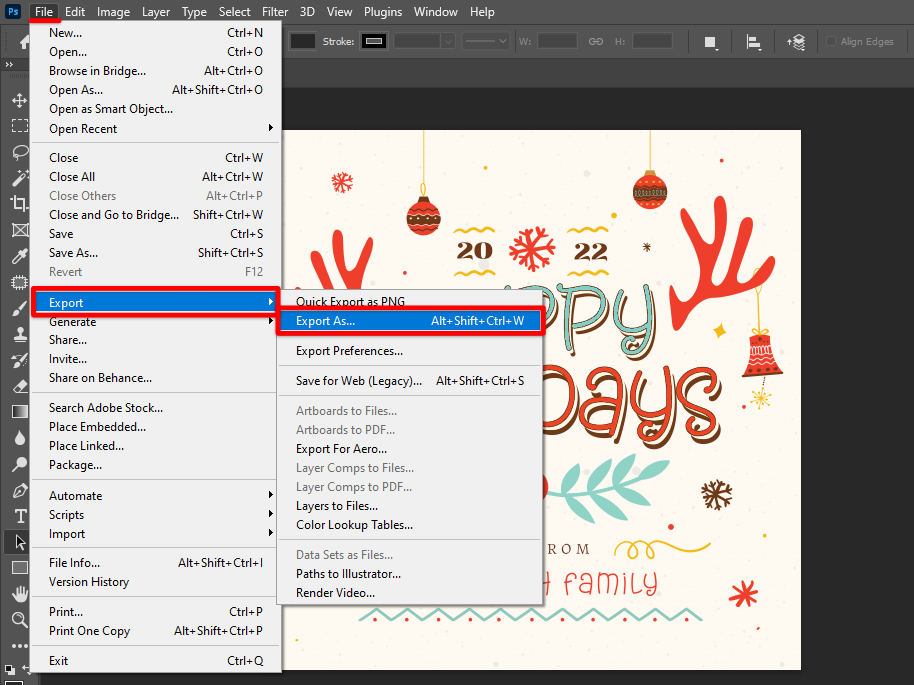
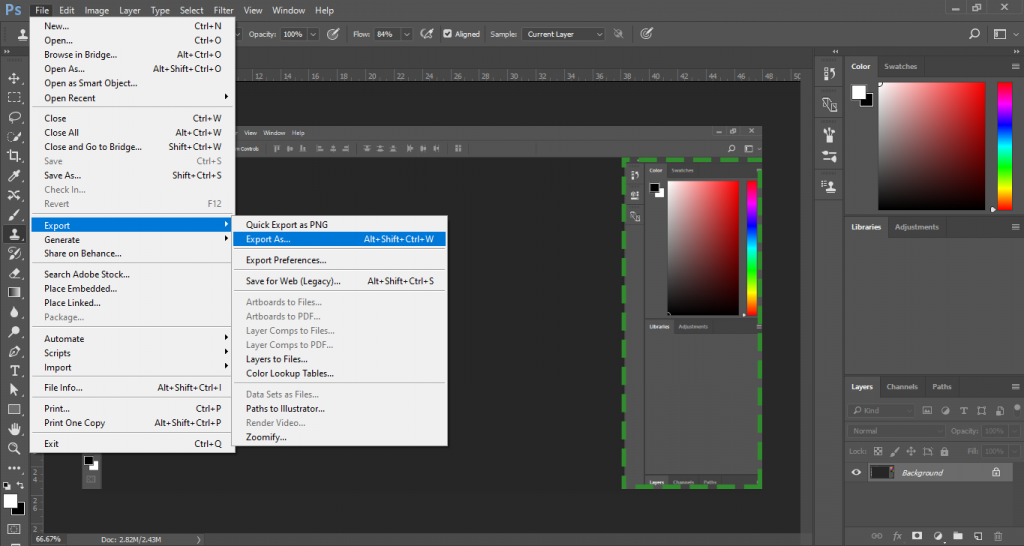
- Export Your File: Navigate to File > Export > Export As.... Here, you can choose the file type – JPEG is often the best choice for images, while PNG is great for designs with transparent backgrounds.
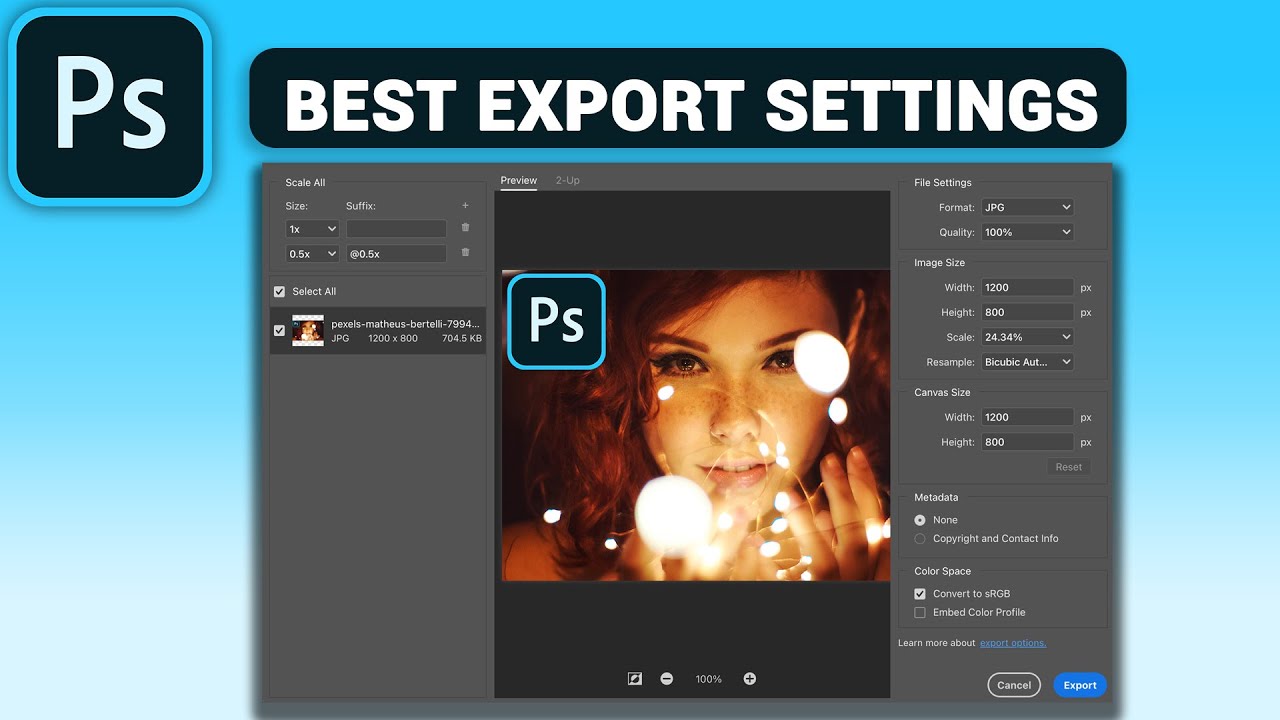
- Adjust Export Settings: In the export dialog, you’ll see options like quality and size. Aim for a balance between quality and file size – a higher quality will look great, but we don’t want it too large to load! You might set it around 80% quality.
- Name and Save Your File: Choose a catchy and descriptive name for your file, and select the desired location on your computer. Click Export to finish the export process.
- Log into Behance: Once your file is ready, log into your Behance account. If you don’t have one yet, it’s easy to create.
- Create a New Project: Click on Create a Project button, upload your exported file, and start crafting your project layout. Add anything extra that tells your story, like descriptions or process shots!
- Publish: Once you’re satisfied with how everything looks, hit that Publish button, and voilà! Your masterpiece is now live for the world to see!
And there you have it – a complete guide to exporting your artwork from Photoshop to Behance. Now you can share your creativity and connect with fellow artists on this awesome platform!
Also Read This: How to Download from Adobe Stock Library
Choosing the Right File Format for Behance

When you're ready to share your amazing designs on Behance, picking the right file format is crucial. It not only affects the look of your work but also how it functions on the platform. So, let's break down the options!
Here are the most popular formats you might consider:
- JPEG: Great for photos and complex images. It compresses well but can lose some quality, so keep an eye on that.
- PNG: Best for images with transparency and sharp edges, like logos and illustrations. It maintains quality but can lead to larger file sizes.
- GIF: Perfect for simple graphics and animations. Remember, though, it supports only 256 colors!
- PDF: Fantastic for preserving the layout of multi-page documents. However, Behance displays PDFs as separate pages, so keep that in mind.
In general, JPG and PNG are your go-to formats for showcasing designs. If you're uploading for illustrative purposes, make sure to lean towards PNG for its quality. On the other hand, for large images or photographs, you might want to consider JPEG.
Ultimately, it’s about balancing quality and file size for the best presentation. After all, you want your designs to not just be seen, but truly appreciated!
Also Read This: how to remove image from pdf
Tips for Optimizing Images for Online Sharing

Optimizing your images before sharing them on Behance can make a significant difference in how your work is perceived. High-quality images load faster and improve the overall user experience, so let’s dive into some handy tips!
Here are some essential tips to get those images ready:
- Resolution: Aim for 72 DPI (dots per inch) for online images. This resolution strikes a balance between quality and file size.
- Image Dimensions: Make sure your images are not too large. A width of about 1200 pixels usually works well, as it won't stretch too much while maintaining clarity.
- File Size: Keep your images under 2MB when possible. You can use tools like TinyPNG or ImageOptim to compress files without losing much quality.
- Color Profile: Use the sRGB color profile. It displays more consistently across different devices, which is crucial for showing your designs accurately.
By following these tips, your images will not only look great but also load quickly, keeping viewers engaged. Sharing your creative work effortlessly with the world has never been this easy!
Also Read This: How to Eliminate Getty Images from Your Projects and Understand Your Rights
Uploading Your Designs to Behance

Once you've polished your designs in Photoshop, the next exciting step is sharing them with the world on Behance. This process is pretty straightforward, but there are a few details to keep in mind to ensure your work shines!
Follow these steps to upload your designs:
- Export Your Artwork: First, make sure your designs are ready for the web. In Photoshop, go to File > Export > Export As, and select the format you want to use (JPEG, PNG, etc.). Optimize the file size to ensure quick loading times without sacrificing quality.
- Log into Behance: Head over to the Behance website and log into your account. If you don’t have one yet, creating an account is free and simple.
- Create a New Project: Click on the Create a Project button on your profile page. Behance will prompt you to upload files, so grab those freshly exported images!
- Arrange Your Content: You can easily drag and drop images to organize how they appear in your project. It’s all about telling a story with your visuals!
- Add Descriptive Text: Don’t forget to add context. A catchy title and informative descriptions can make a world of difference—let viewers know what inspired you!
- Publish Your Project: Once you’re satisfied with everything, hit the Publish button. Your work is now live for everyone to see!
Remember, once it’s online, you can always update your project later—so feel free to experiment with layouts and adds images after your initial upload!
Also Read This: How to View Your Adobe Stock Purchase
Best Practices for Showcasing Your Work on Behance
When it comes to showcasing your designs on Behance, first impressions really matter. You want your portfolio to stand out and attract viewers—so let’s go over some best practices that can help you achieve that goals!
Here are some tips to consider:
- High-Quality Images: Always use high-resolution images to display your work. Blurry or pixelated designs can undermine your effort and skill.
- Consistent Branding: Maintain a consistent style throughout your projects. This could include using a specific color palette, typography, or layout style that represents your brand effectively.
- Detailed Descriptions: Use the description fields to provide insights about your design process, inspirations, and challenges. This gives viewers a behind-the-scenes look at your work!
- Engagement and Interaction: Engage with your audience by responding to comments or messages on your projects. Interaction can help build a loyal community around your work.
- Utilize Tags Wisely: Use relevant tags to improve the visibility of your projects. Think of keywords that potential viewers might search for and incorporate them into your tags.
- Share Your Projects on Social Media: Once you’ve published your designs, share them on your social media channels to drive traffic to your Behance portfolio.
By keeping these practices in mind, you’ll not only present your work professionally but also engage effectively with the Behance community. Happy showcasing!
How to Export from Photoshop to Behance and Share Your Designs with the World
Sharing your creative designs is a fundamental part of any artist's journey. Behance serves as a phenomenal platform for showcasing your work to a broader audience, and integrating it with Adobe Photoshop can streamline your publishing process significantly. Here’s a detailed guide to help you export your designs from Photoshop to Behance.
Follow these steps to export your work efficiently:
- Open Your Project: Launch Photoshop and open the project you want to share.
- Prepare Your Design: Ensure that your artwork is completed and polished. Use the following tips:
- Flatten layers if you don't need them in the final export.
- Adjust the resolution to 72 DPI for web use.
- Resize your image to appropriate dimensions.
- Export Your Design: Click on File > Export > Save for Web (Legacy). Choose the file format (JPEG, PNG) and adjust settings for quality.
- Save Your File: Choose a descriptive name and save it in a location that’s easy to find.
- Upload to Behance: Go to your Behance profile and click on Create a Project.
Action Description Select Files Click on '+ Add Your Work' and select the exported image from your device. Customize Your Project Add a title, description, and any relevant tags to enhance discoverability. Publish Once you're satisfied, hit the Publish button to share with the world.
By following these simple steps, you can easily export your designs from Photoshop to Behance, making your creations accessible to a global audience. Remember, sharing your work not only invites feedback but also opens doors to potential collaborations and opportunities within the design community.
 admin
admin


