Freeform is an incredibly versatile tool that allows users to create, brainstorm, and organize ideas visually. Whether you’re sketching out concepts, designing layouts, or planning projects, Freeform provides a canvas where creativity knows no bounds. It's particularly useful for teams working on collaborative projects, as it allows for real-time updates and interactive brainstorming sessions. You'll find that Freeform caters to a wide range of users, from students to professionals, making it a go-to choice for visual communication.
Why Export Freeform as an Image?
Exporting your Freeform creations as images is fantastic for a number of reasons. Here are some compelling motivations to consider:
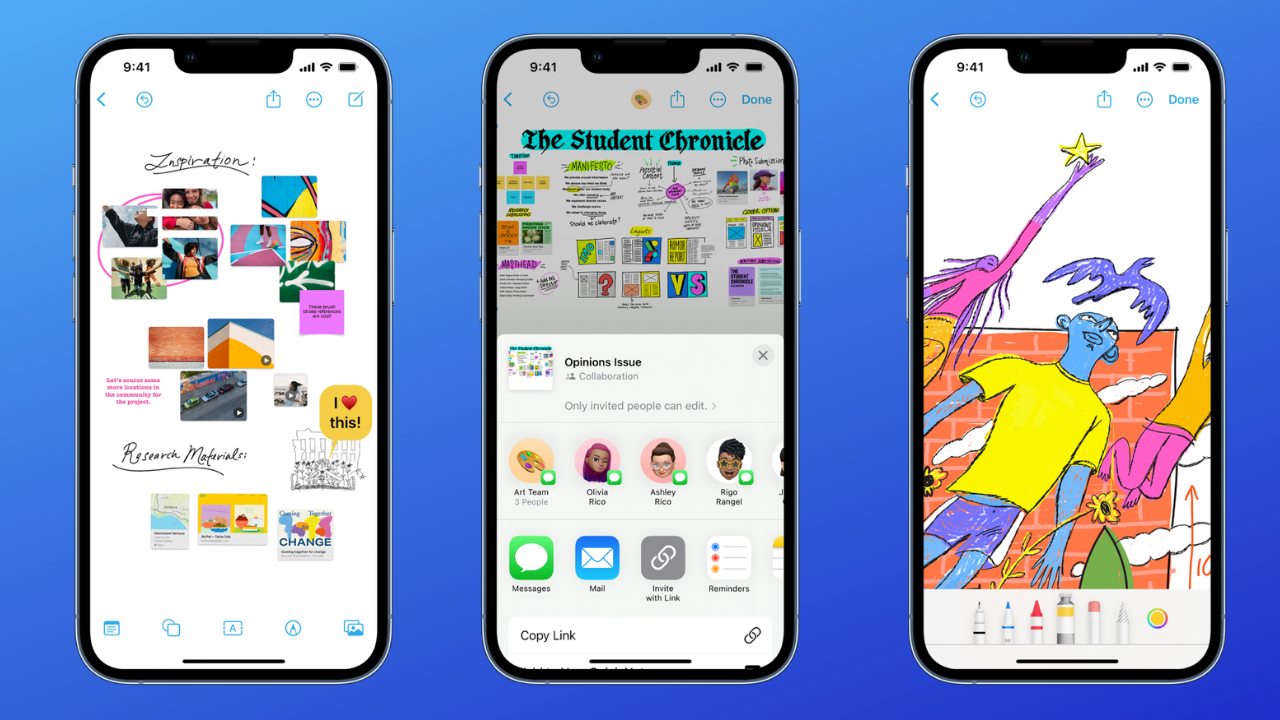
- Easy Sharing: Images are universally accessible. When you export your Freeform project as an image, you can easily share it with colleagues or friends without worrying about compatibility issues. Whether through emails, social media, or instant messaging, images make sharing effortless.
- Presentations: Sometimes, a visual is worth a thousand words. When presenting ideas to a group or during a meeting, having your Freeform visuals exported as clean images can enhance your presentation significantly. They help convey complex ideas simply and effectively.
- Archiving: Not all projects need to remain active forever. By exporting your Freeform content as images, you can archive your work without keeping the application open. This helps declutter your workspace while preserving crucial ideas that you might want to revisit later.
- Printing: If you need to display your Freeform creations physically, such as for classrooms, conferences, or workshops, having images at a high resolution allows for excellent print quality. You'll want your design to look crisp and professional on any paper format.
- Editing Ease: Sometimes you may want to push your visuals further. Exporting as an image allows you to import the design into photo editing software. This opens up a world of possibilities for modifying colors, adding text, or including additional elements to your work.
Whether you're creating mind maps, infographics, or just brainstorming ideas, exporting your Freeform designs as images provides a range of practical applications. In today's visually driven world, being able to present your ideas clearly and effectively is essential. By choosing to export, you’re not just saving an image; you’re enhancing the way you communicate your ideas.
Also Read This: How to Cite Getty Images in APA Style
3. Step-by-Step Guide to Export Freeform as an Image
Exporting your Freeform creations as images can seem daunting if you're not familiar with the process. But don't worry! I'll walk you through it step by step. Grab your favorite drink, sit back, and let’s dive in!
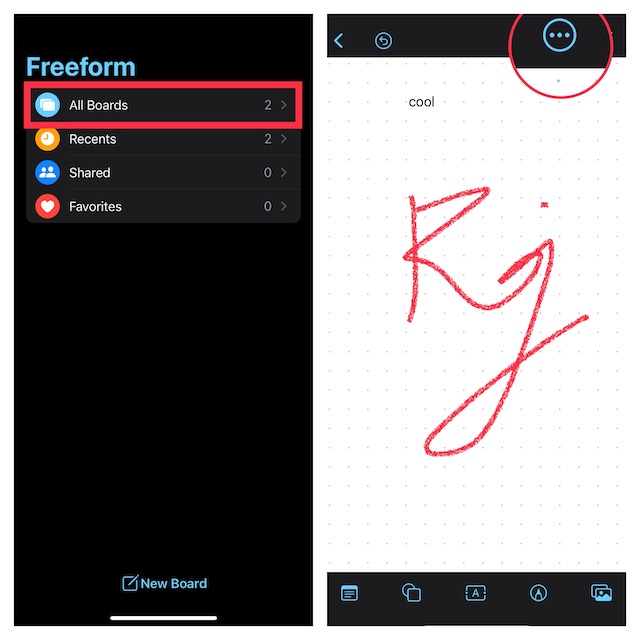
Step 1: Open Your Freeform Project
First, make sure you have the Freeform project you want to export open on your screen. Take a moment to review your work and make sure everything looks just right.
Step 2: Navigate to the Export Option
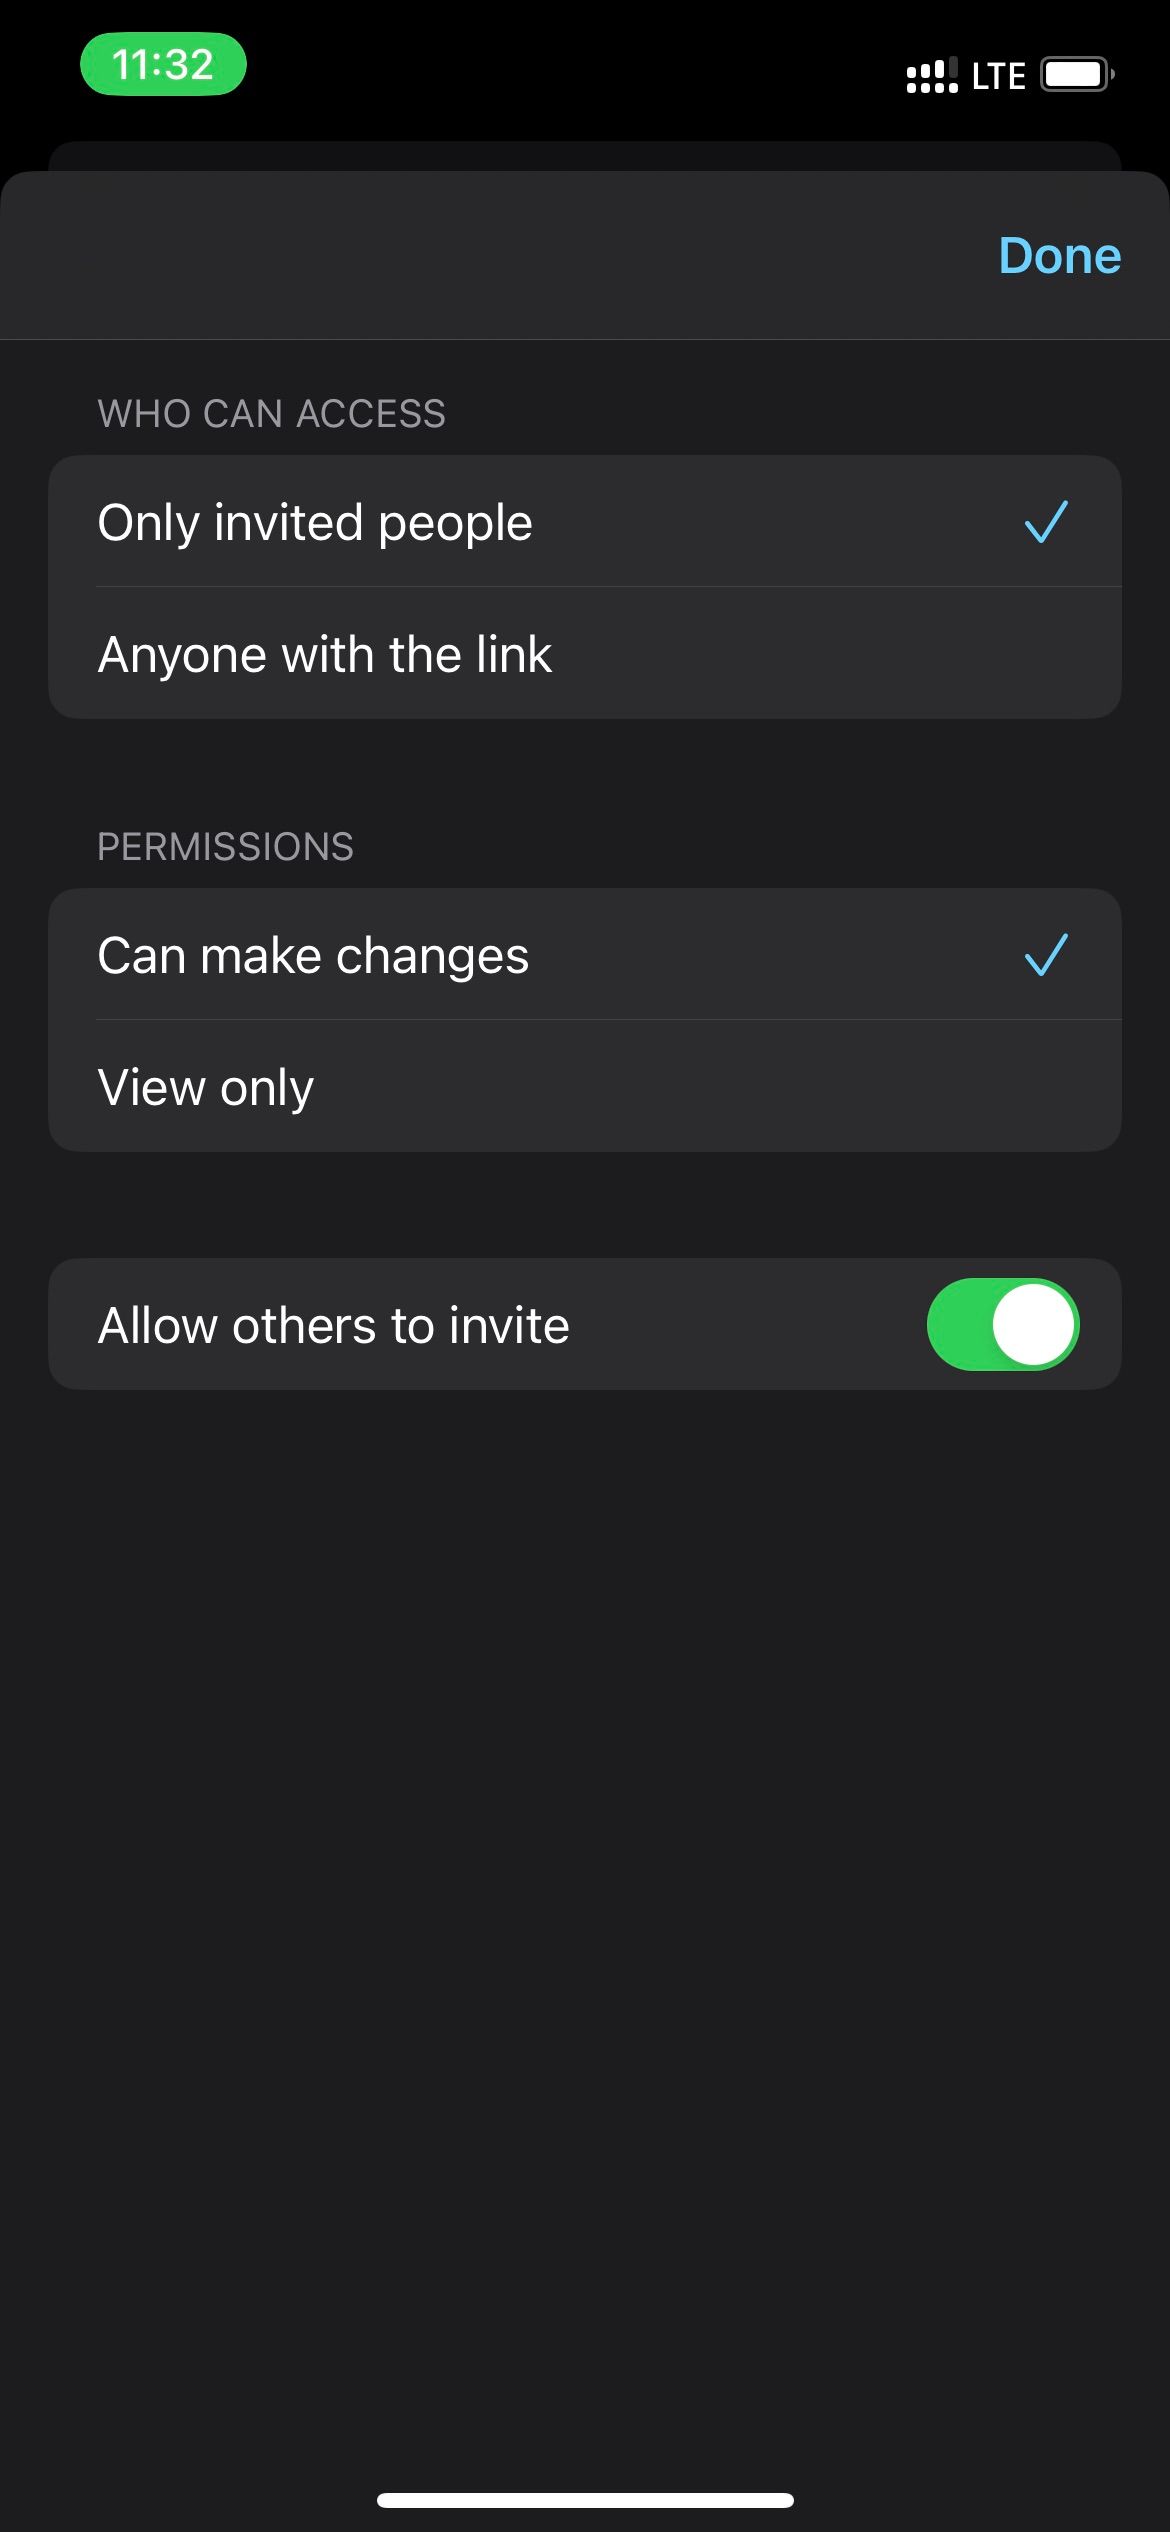
Look for the 'File' menu located at the top left corner of your screen. Click on it, and a dropdown will appear. You’re looking for an option that says 'Export' or 'Save As'—the exact wording may vary depending on the software version you’re using.
Step 3: Choose the Image Format
In the export dialog, you’ll encounter several file format options. The most commonly used formats are:
- PNG: Ideal for high-quality images with a transparent background.
- JPEG: Great for general use, but it doesn’t support transparency.
- GIF: Good for simple graphics with fewer colors.
Choose the format that best suits your needs, keeping in mind factors like quality and file size.
Step 4: Select the Export Location
Next, you’ll want to decide where to save your image. Select a folder or location on your computer where you can easily find it later. It’s a good practice to name your file something descriptive, like “MyFreeformDesign.png.”
Step 5: Adjust the Settings
Depending on the software, you might have options to adjust the image quality, resolution, or size before finalizing your export. If you’re unsure, the default settings usually do a great job, but feel free to tweak if you have specific needs.
Step 6: Click 'Export' or 'Save'
Once you've set everything up, hit that 'Export' or 'Save' button! Take a moment to relax while your Freeform project is being transformed into a beautiful image file.
Step 7: Check Your Image
Head to the location where you saved your exported image and open it to make sure everything looks perfect. This is your chance to admire your hard work!
And there you go! You’ve successfully exported your Freeform project as an image. How easy was that? If you run into any bumps along the way, don’t sweat it; we're moving on to some common troubleshooting tips next!
Also Read This: Ultimate Guide to Saving JPGs for Adobe Stock
4. Troubleshooting Common Issues When Exporting
So, you followed the steps to export your Freeform project, but things didn’t go as smoothly as planned. Let’s discuss some common issues you might encounter and how to tackle them like a pro!
Issue 1: The Export Button Is Greyed Out
This can happen if your project isn’t saved yet. Make sure to save your Freeform project before trying to export it. If it's still greyed out, try closing and reopening the application.
Issue 2: Image Quality Isn't High Enough
If your exported image looks pixelated or blurry, it might be due to the export settings you chose. Double-check the resolution and quality settings in the export dialog. Opt for a higher DPI (dots per inch) for better quality.
Issue 3: Unsupported File Format
If you’re trying to open your exported image and getting an error, you may have chosen a format that’s not supported by your image viewer. Stick with commonly used formats like PNG or JPEG to ensure compatibility.
Issue 4: Missing Elements in Exported Image
Sometimes, elements created in Freeform might not render correctly in the exported image. Ensure layer visibility and that no objects are grouped in a way that could affect visibility. If things still aren’t showing up, try flattening layers before exporting.
Issue 5: Exporting Takes Too Long
If exporting seems to take an eternity, it might be due to a large file size or a complex project. Empower your system by closing any unnecessary applications to free up resources during the export process.
And remember, practice makes perfect! The more you familiarize yourself with the export process, the smoother it will become. If you continue to face issues, consider checking forums or support websites dedicated to your specific Freeform tool, as they might have additional insights.
Now, off you go! Go ahead and get those stunning Freeform creations out into the world!
Also Read This: Chromebook Convenience: Selecting Multiple Songs on Spotify – Chromebook Edition
5. Alternative Methods for Image Exporting
If you're exploring different ways to export your Freeform projects as images, you're in luck! There are several methods you can use, and some may suit your needs better than the standard export options. Let's dive in and look at some alternative approaches that can make your image exporting experience more flexible.
1. Screen Capture Tools:
Sometimes the simplest solution is the most effective. Using screen capture tools can be a quick way to grab your Freeform project as an image. Tools like Snagit, Greenshot, or even built-in utilities like the Snipping Tool on Windows or Command + Shift + 4 on Mac allow you to capture specific areas of your screen. Here’s how to do it:
- Open your Freeform project and adjust the view as needed.
- Launch your screen capture tool.
- Select the area of your screen you want to capture.
- Save the captured image to your desired file format.
This method can be particularly useful for projects that require precise screenshots of your work or when you're looking to share quick drafts.
2. Exporting as PDF:
Did you know you could export your Freeform project as a PDF first? This method is especially handy if you want a high-quality image export. The process is straightforward:
- Go to the 'File' menu and select 'Export' or 'Save As.'
- Choose 'PDF' as the format.
- Save the PDF to your desired location.
Once you have the PDF, you can easily convert it to an image format using various online tools or software like Adobe Acrobat. Many websites allow you to upload a PDF and download images in PNG or JPEG formats. Just be mindful of the image quality after conversion!
3. Use a Design Software:
If you’re familiar with graphic design software like Adobe Photoshop or GIMP, you can import your Freeform project into those applications. This approach gives you more control over the image quality and allows you to make additional adjustments:
- Export your Freeform project in a compatible format (like SVG or PDF).
- Open the file in Photoshop or GIMP.
- Make any desired edits or enhancements.
- Export the final image in your preferred file format.
This method is fantastic for individuals looking to create polished, professional images from their Freeform projects.
These alternative methods can be incredibly useful depending on your specific needs—whether you want something quick and simple or a more polished final product. Try them out and see what works best for you!
6. Conclusion and Additional Resources
And there you have it! Whether you're using the standard export methods or exploring alternative ways to export your Freeform projects as images, the options are plentiful. Finding the right method boils down to your personal preferences and the specific requirements of your project. Here are a few quick takeaways:
- Always consider the quality of the image and the intended use. Some methods provide higher resolutions than others.
- Experiment with different tools and techniques to discover what’s most efficient for you.
- Don’t forget about online conversion tools if you export as a PDF and need images!
For those looking to dive deeper into Freeform and image exporting, here are some resources that you might find beneficial:
- Freeform Official Resource Page - A treasure trove of guides and tutorials.
- Adobe Photoshop Learning Hub - Great for learning about image editing and exporting.
- Canva Tutorials - Useful for understanding design basics and image formatting.
In conclusion, whether you choose traditional exporting methods or embrace innovative alternatives, exporting your Freeform projects as images is easier than ever. Keep experimenting with different techniques, and soon you'll have a toolkit of strategies to effectively share your creativity!
 admin
admin


