Embroidering images on fabric is a unique and creative way to add personalized touches to your textiles. Whether you're looking to create a custom design for clothing, home décor, or gifts, embroidery allows you to turn any image into a piece of art. In this guide, we’ll walk you through the steps, tips, and techniques to help you get started with this craft. From selecting the right tools to stitching intricate designs, you’ll learn how to bring your images to life on fabric using embroidery. Let’s dive into this colorful and rewarding process!
Understanding the Basics of Image Embroidery

Before you start embroidering images on fabric, it's important to understand the basics of embroidery techniques. Image embroidery is different from simple stitching because it involves more intricate patterns and colors to replicate an image. Here's a simple breakdown:
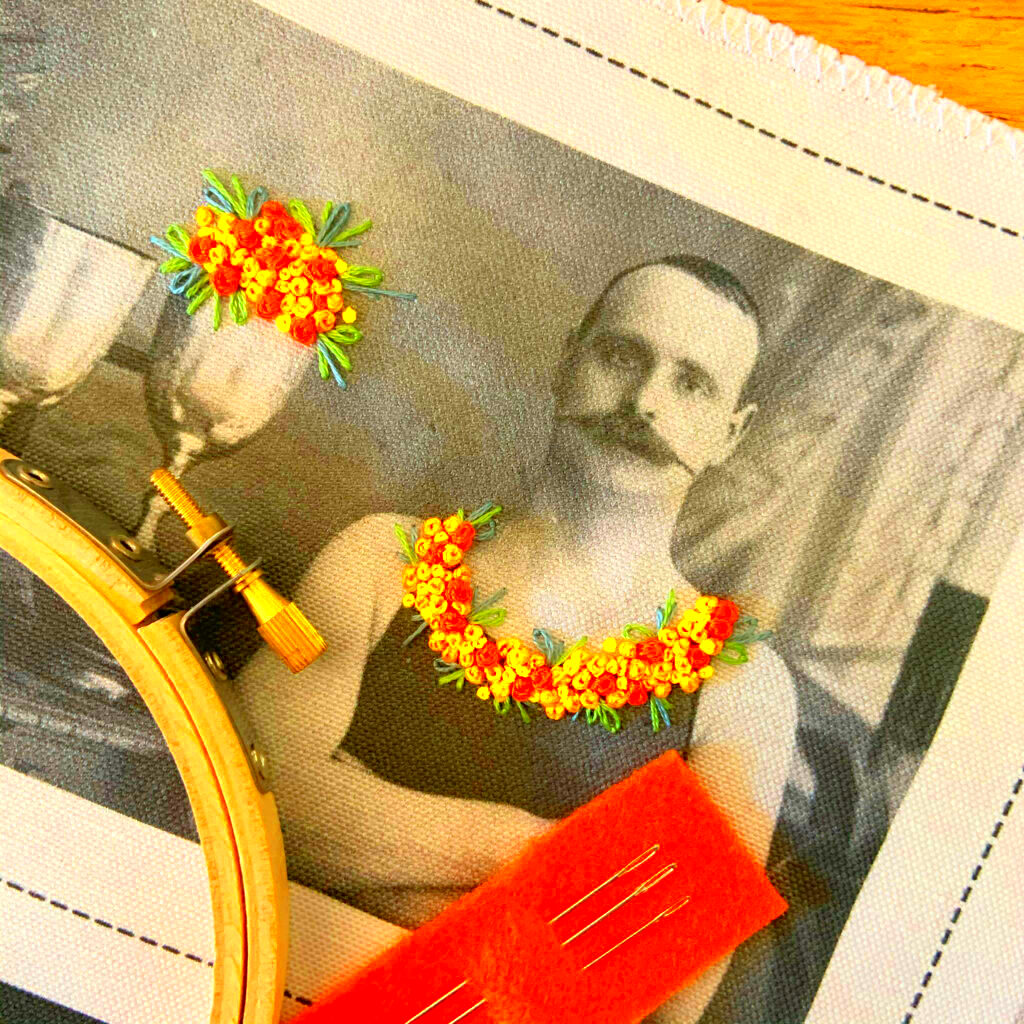
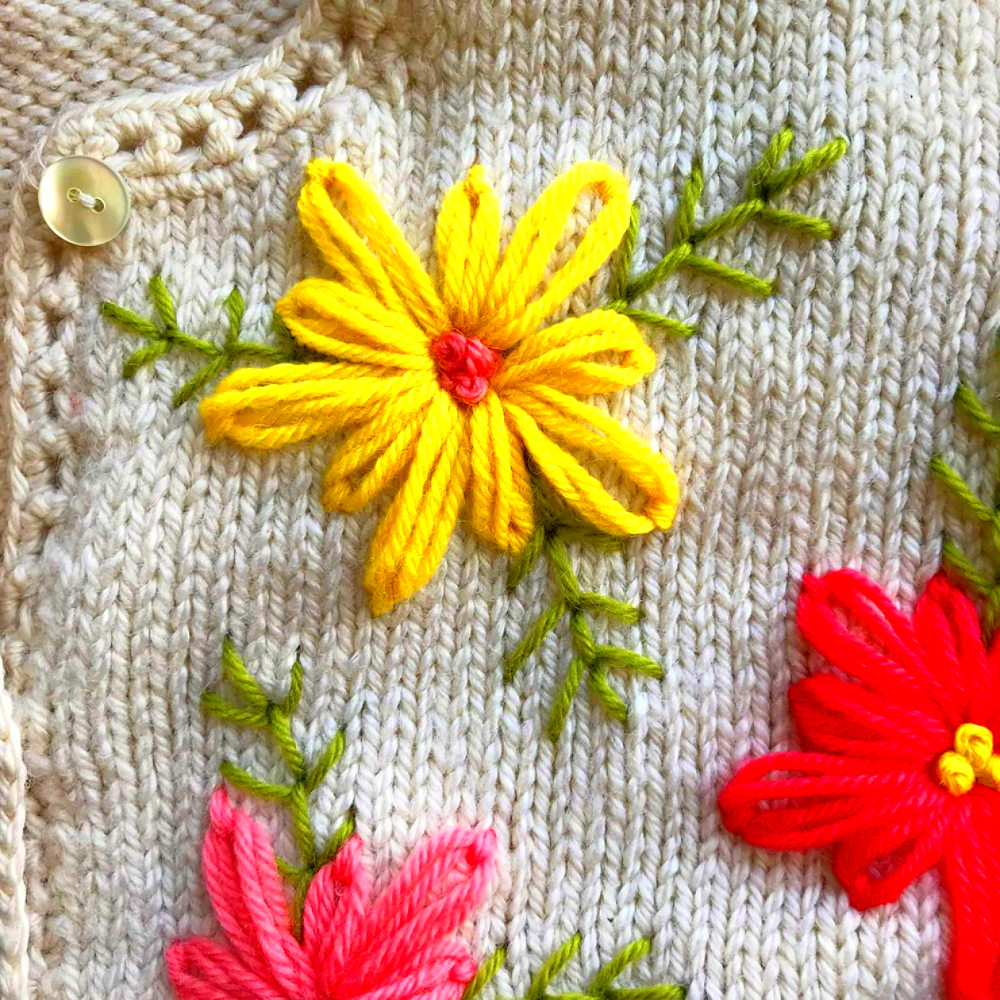
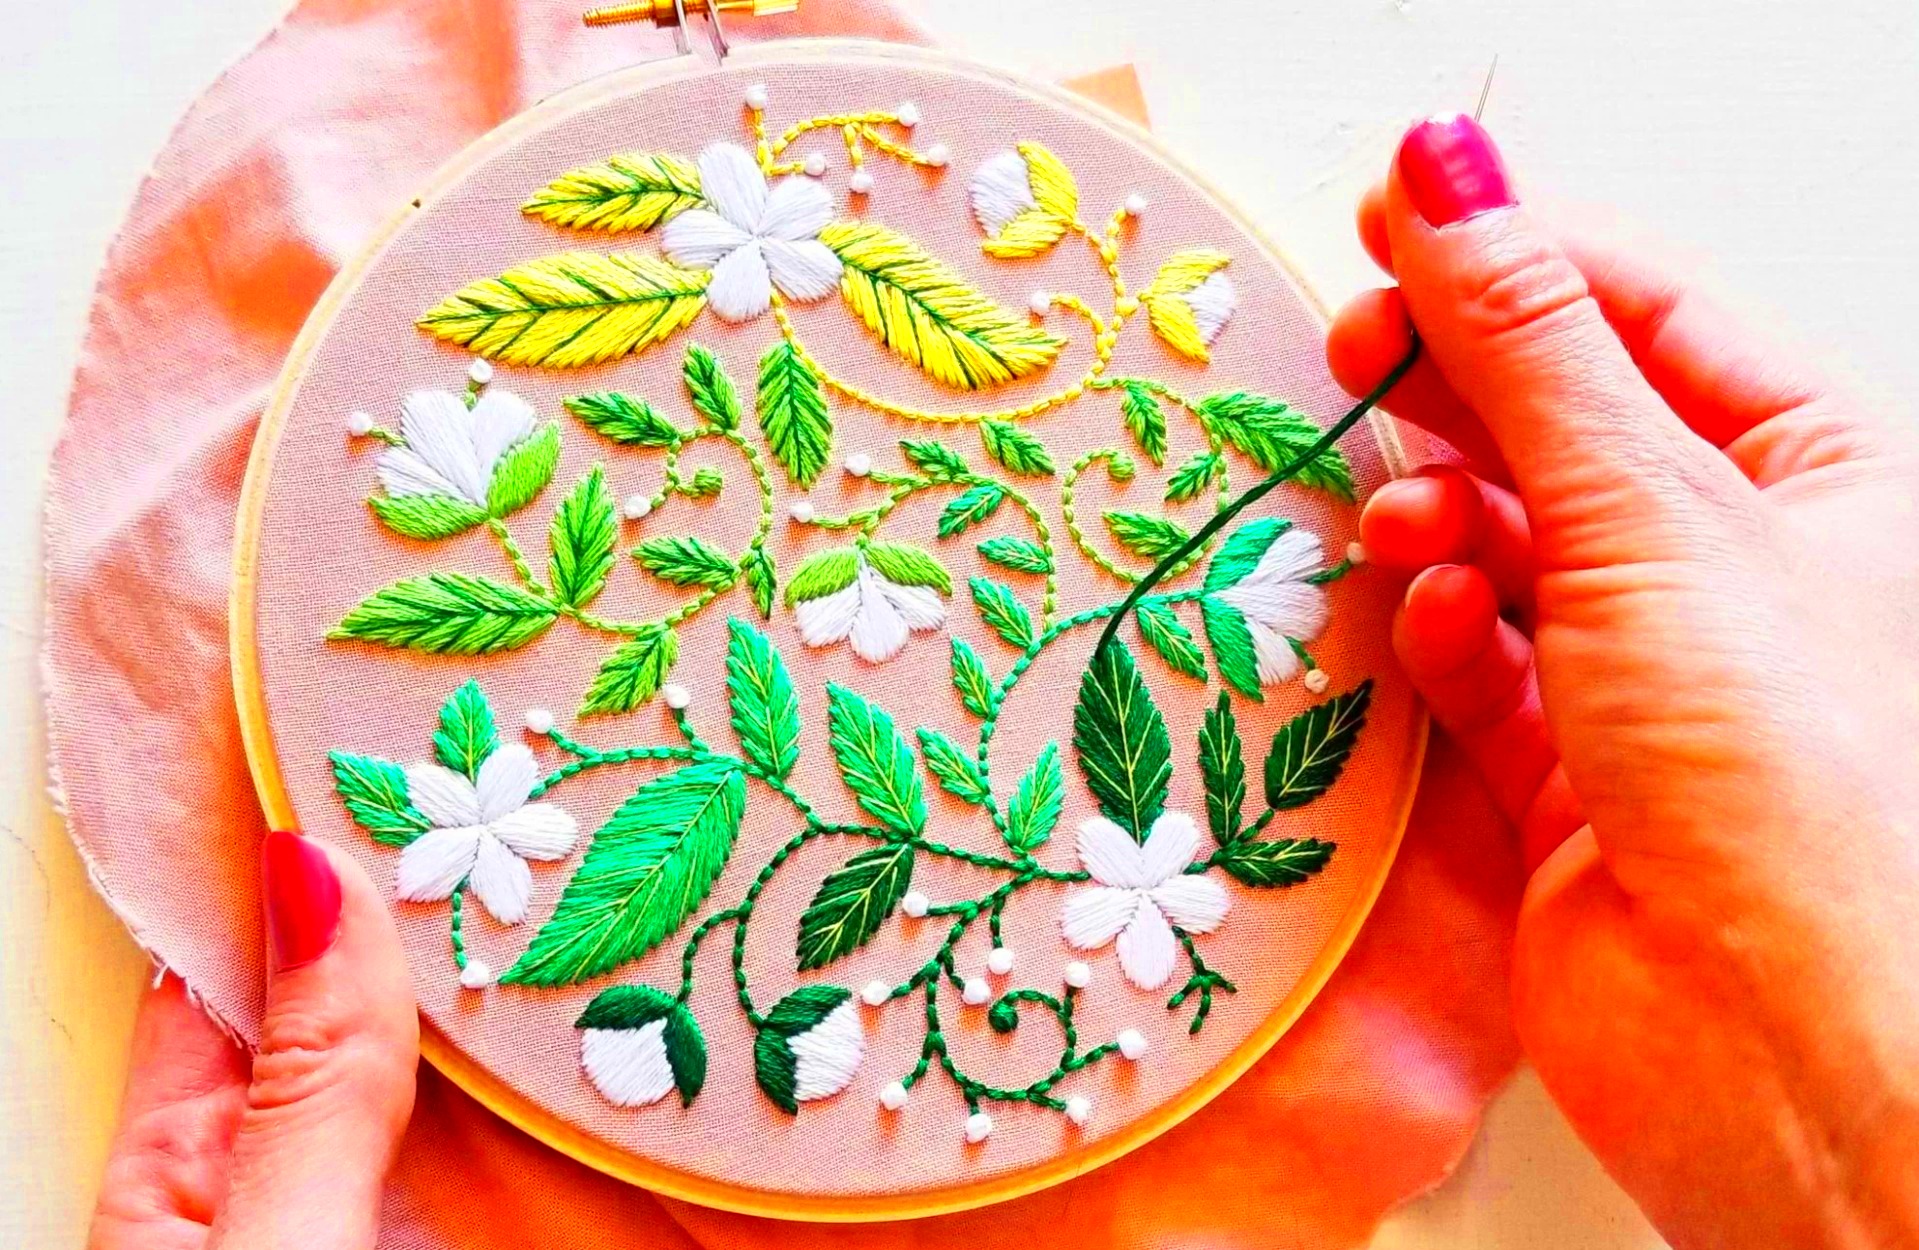
- Types of stitches: The most common stitches used for images are satin stitch, long and short stitch, and French knots.
- Hooping the fabric: Properly securing the fabric in an embroidery hoop is essential for even stitching and clear image representation.
- Thread choice: The type of thread you choose impacts the final look. Cotton thread gives a soft finish, while metallic or silk threads can add shine.
By practicing these techniques and learning to control your stitches, you'll be able to transform any image into an embroidered masterpiece. Patience is key, as replicating complex images can take time and practice.
Also Read This: Crafting Engaging LinkedIn Slideshows with Creative Ideas for Professionals
Choosing the Right Fabric for Embroidery

The fabric you choose plays a crucial role in the success of your embroidery project. Different fabrics can affect how well the stitches hold up and how the design looks when finished. Here's how to choose the right one:
- Cotton: Cotton is soft, versatile, and one of the most popular fabrics for embroidery. It works well with most thread types and allows stitches to show up clearly.
- Linen: Linen has a slightly rougher texture, which can add character to your embroidery. It's a good choice for more rustic, traditional designs.
- Canvas: If you’re working on larger pieces, canvas provides a sturdy surface and is ideal for creating durable, long-lasting images.
- Silk: For high-end projects, silk provides a luxurious look. However, it can be slippery and tricky to work with for beginners.
Consider the texture, thickness, and purpose of the fabric when making your selection. Lighter fabrics, like cotton, are ideal for intricate designs, while thicker fabrics like canvas work best for bold, large images. Don’t forget to pre-wash your fabric to avoid shrinkage after the design is completed.
Also Read This: The Role of Imago Images in Creating Augmented Reality Content
Selecting the Best Thread for Image Embroidery

Choosing the right thread for image embroidery is key to achieving vibrant, clean, and professional-looking designs. There are different types of threads, and each brings its unique qualities to your project. Here’s what you need to know:
- Cotton Thread: Cotton is one of the most commonly used threads in embroidery. It’s versatile, affordable, and works well on most fabrics. Cotton thread gives a matte finish and is available in many colors.
- Silk Thread: For a luxurious finish, silk threads provide a smooth, glossy appearance. They are perfect for intricate, high-end designs but can be more challenging to work with due to their delicate nature.
- Floss Thread: Embroidery floss is a twisted cotton thread often used for detailed designs. It can be separated into strands, allowing you to customize the thickness of your stitches.
- Metallic Thread: If you're looking to add some sparkle to your design, metallic threads are a great choice. They shine and shimmer, but they can be harder to work with, so practice is important.
- Wool Thread: Wool is thicker and provides a more textured look. It’s ideal for bold, eye-catching designs but may not be suitable for very fine or intricate patterns.
When selecting a thread, consider the color, texture, and sheen of the material. For more complex images, choose threads that contrast well with your fabric to ensure the design stands out. It’s also a good idea to test your thread on a small piece of fabric before starting your project to see how it behaves.
Also Read This: How to Create Stunning Bridal Makeup for Your Special Day
Preparing Your Image for Embroidery
Before you start stitching, preparing your image is a crucial step. This will ensure that your embroidery reflects the design accurately and looks polished. Follow these steps to get your image ready for embroidery:
- Choose Your Image: Select a clear, simple image. Highly detailed or complex images may need to be simplified to work well with embroidery.
- Resize Your Image: Depending on the fabric and size of your hoop, resize the image to fit your project. Make sure the proportions remain accurate, especially for logos or text.
- Convert to Outline or Trace: Many embroiderers convert their image into an outline or sketch to make stitching easier. You can trace over the image using tracing paper or digital tools if you're using a sewing machine with embroidery software.
- Transfer the Design: Once the design is ready, transfer it to your fabric. You can do this by printing it onto transfer paper, using a heat transfer method, or tracing it directly onto the fabric with a water-soluble pen.
- Test on Scrap Fabric: It’s always a good idea to test the design on a scrap piece of fabric to check how well the stitches align with the image.
By preparing your image carefully, you ensure that your embroidery will look crisp and detailed, reflecting the image’s true essence on fabric.
Also Read This: Effective Ways to Cover Dark Circles with Makeup
Step-by-Step Guide to Embroidering Images on Fabric
Now that your image is ready and your materials are selected, let’s walk through the process of embroidering an image on fabric. This step-by-step guide will help you stitch with confidence, whether you’re a beginner or an experienced embroiderer.
- Step 1: Secure the Fabric in the Hoop – Begin by placing your fabric in an embroidery hoop. Make sure the fabric is taut and smooth to avoid any wrinkles while stitching.
- Step 2: Thread the Needle – Cut a length of embroidery thread (usually 18-24 inches long). Thread the needle, tying a small knot at the end of the thread.
- Step 3: Start with the Outline – If you have an outlined image, start by stitching the outermost lines of the design. Use a simple running stitch or backstitch to create the framework of your design.
- Step 4: Fill in the Details – Once the outline is done, begin filling in the design with the appropriate stitch. You can use satin stitch, long and short stitch, or French knots depending on the texture and appearance you want.
- Step 5: Change Colors – If your design requires multiple thread colors, change threads as needed. Cut the old thread, tie off the knot, and start a new section with the new color. Remember to keep your stitches neat and tidy.
- Step 6: Finish the Design – Once the entire design is stitched, tie off the last thread at the back of the fabric. Carefully remove any visible markings from the fabric using a damp cloth if you used a water-soluble pen.
- Step 7: Iron and Frame – After finishing the embroidery, iron the fabric to remove any creases. If you plan to frame your design, place it in a frame or use it for the intended project, such as clothing or a home décor item.
With patience and practice, you'll be able to master the art of embroidering images on fabric. Remember, the key is to take your time and enjoy the process. Each stitch brings you closer to creating a beautiful, unique design!
Also Read This: How to Add Skills in LinkedIn to Highlight Your Expertise
Common Challenges in Embroidering Images and How to Overcome Them
While embroidering images on fabric can be a rewarding experience, it's not without its challenges. These hurdles are common, but with the right knowledge and techniques, you can overcome them. Let’s go through some typical problems and how to solve them:
- Uneven Stitches: One of the most common issues is uneven stitching, where some stitches are tighter or looser than others. To fix this, make sure to keep your tension consistent while stitching. If necessary, practice on scrap fabric to get a feel for the right tension.
- Fabric Wrinkles: Wrinkles can distort your design. To avoid this, ensure your fabric is tightly secured in the hoop and always press it with an iron before starting. If wrinkles appear while stitching, gently smooth them out without pulling the fabric.
- Thread Breakage: Thread can sometimes snap during stitching, especially if it’s too long or if the fabric is rough. Cut your thread to a manageable length (18-24 inches), and avoid pulling too hard on the needle. Choose high-quality threads that are less likely to break.
- Design Looking Blurry: If your image appears blurry or unclear after stitching, it could be due to using too many thread colors or overly intricate details. Simplify your design, and focus on bold, clear shapes and fewer colors to improve the outcome.
- Transferring the Image: If your transfer marks don't come off easily, try using a damp cloth or water-soluble pen to trace your design onto the fabric. Avoid using a permanent marker for transfers, as it can bleed through the fabric.
By addressing these challenges as they come up and practicing your techniques, you’ll be able to embroider images more confidently and achieve a professional finish every time.
Also Read This: 10 Proven Tips for Incorporating Imago Images into Your Marketing Strategies
FAQs about Embroidering Images on Fabric
If you’re new to embroidery or just looking to sharpen your skills, you may have some questions about the process. Here are some frequently asked questions to help guide you through the basics of image embroidery:
- How do I choose the best image for embroidery? – Simple images with clear outlines and not too many small details work best for embroidery. Avoid overly complicated images that may be difficult to replicate with thread.
- What fabric is best for embroidery? – Cotton and linen are great choices for embroidery. They are easy to stitch on and hold the thread well. Thicker fabrics like canvas can work for larger designs, while finer fabrics like silk can be used for delicate, intricate work.
- Can I use a sewing machine for image embroidery? – Yes, many modern sewing machines have built-in embroidery functions or can be fitted with an embroidery attachment. However, if you're just starting out, hand stitching may be more manageable.
- What is the best thread to use for embroidery? – Embroidery floss or cotton thread is the most common. For more luxurious finishes, you can use silk or metallic threads. Choose your thread based on the texture and look you want to achieve.
- How do I fix a mistake in my embroidery? – If you make a mistake, don’t worry! Simply remove the stitches carefully with a seam ripper and re-stitch the section. Be patient, and take your time to ensure the corrected area looks neat.
- How can I ensure my design stays in place while I embroider? – Use an embroidery hoop to keep the fabric taut, preventing shifting or puckering. This also helps to maintain an even stitch tension throughout the design.
Conclusion: Tips for Successful Image Embroidery
Embroidery is a fantastic way to add personal, artistic touches to your fabric projects. To make sure your image embroidery turns out beautifully, here are a few final tips:
- Plan Your Design: Simplify the image to make it easier to stitch. Break it into clear sections and focus on bold outlines rather than fine details.
- Practice First: Before diving into your main project, practice stitching on scrap fabric to get comfortable with the stitches and the fabric.
- Use High-Quality Materials: Invest in good-quality threads, needles, and fabric to achieve the best results. Poor-quality materials can cause frustration and affect the look of your design.
- Take Your Time: Embroidery is a slow and careful craft, so don’t rush the process. Enjoy the experience and focus on creating neat, precise stitches.
- Stay Consistent: Keep your stitch tension even, and regularly check the alignment of your design as you work. If you notice a mistake, fix it early before moving on.
With these tips in mind, you'll be well on your way to mastering the art of embroidering images on fabric. Remember, embroidery is all about practice and patience, so don’t be discouraged if your first few projects aren’t perfect. Keep practicing, and soon you'll be stitching beautiful, intricate designs with ease!

 admin
admin


